


KTM Duke 390, KTM Duke 125 2017 2018 Duke Carbon Fibre Screen bracket Version 3
After releasing the second version of my brackets to allow the fitment of a small Carbon Fibre to the newer version of the KTM Duke 390 and 125 I went back to the drawing board to develop a whole new version.
My main reasons for this was to add more strength and make it easier to fit. Along with trying to make it easier for me to print and prepare for sale.
What I have come up with a is a single piece design and print which reduces the original 6 piece design with this 1 piece. I have designed it in such as way as to allow me to print it with zero support which take lots of time to remove after printing. I have also added some branding which is created by printing the text and then filling with paint later. More work, but adds to the design.


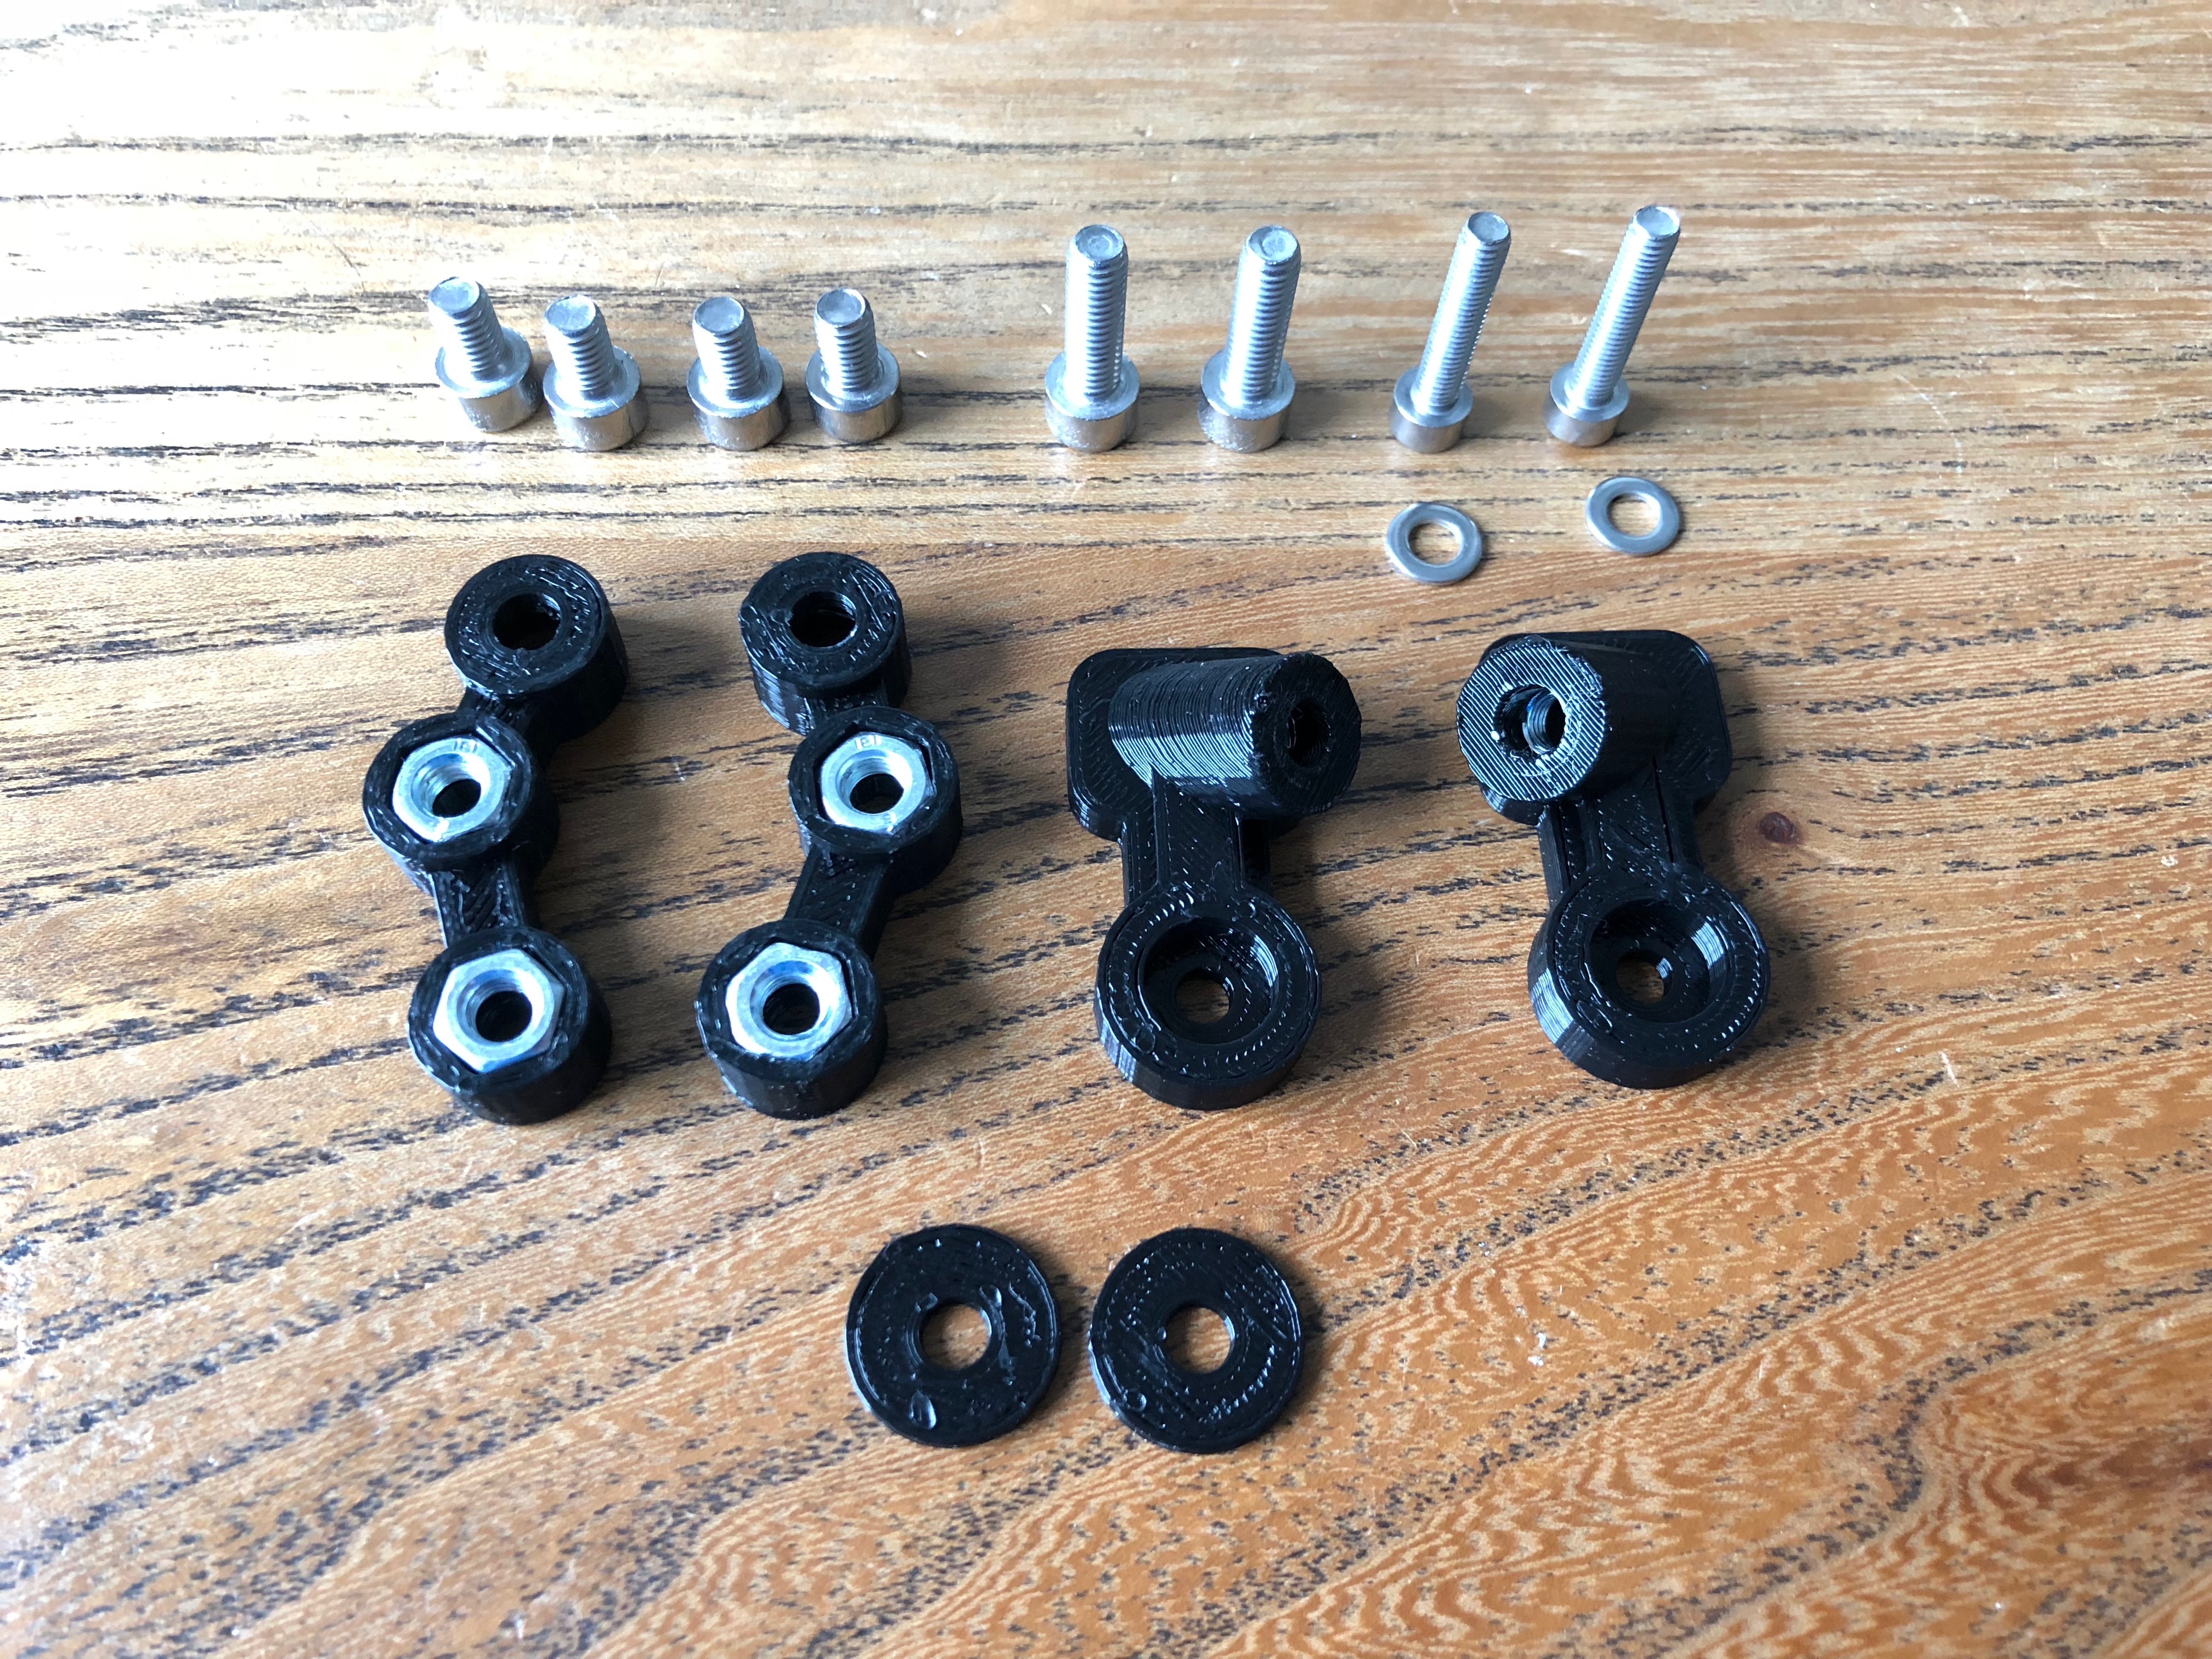
Parts List
1 Screen Bracket
4 x M6 Bolts 10MM
2 x M6 x 20mm bolts
2 x M5 x 25mm bolts
4 x M6 Nyloc Nuts
Gallery


Manual
A full installation manual is available to download here
Fitment
These brackets are designed to allow the fitment of screens from the previous versions of the KTM Duke 125 and 390 from before 2017. It has been tested with the Zero Limits carbon fibre version, but others that match the stock part should also fit. Here are some links to various different screen choices.
Warning: touring style screens or larger style screens have not been tested with these brackets. They put far more stress on the brackets.
I will be making and selling these brackets for anyone who would like one. Please contact me for more info. I ship pretty much anywhere in the world.
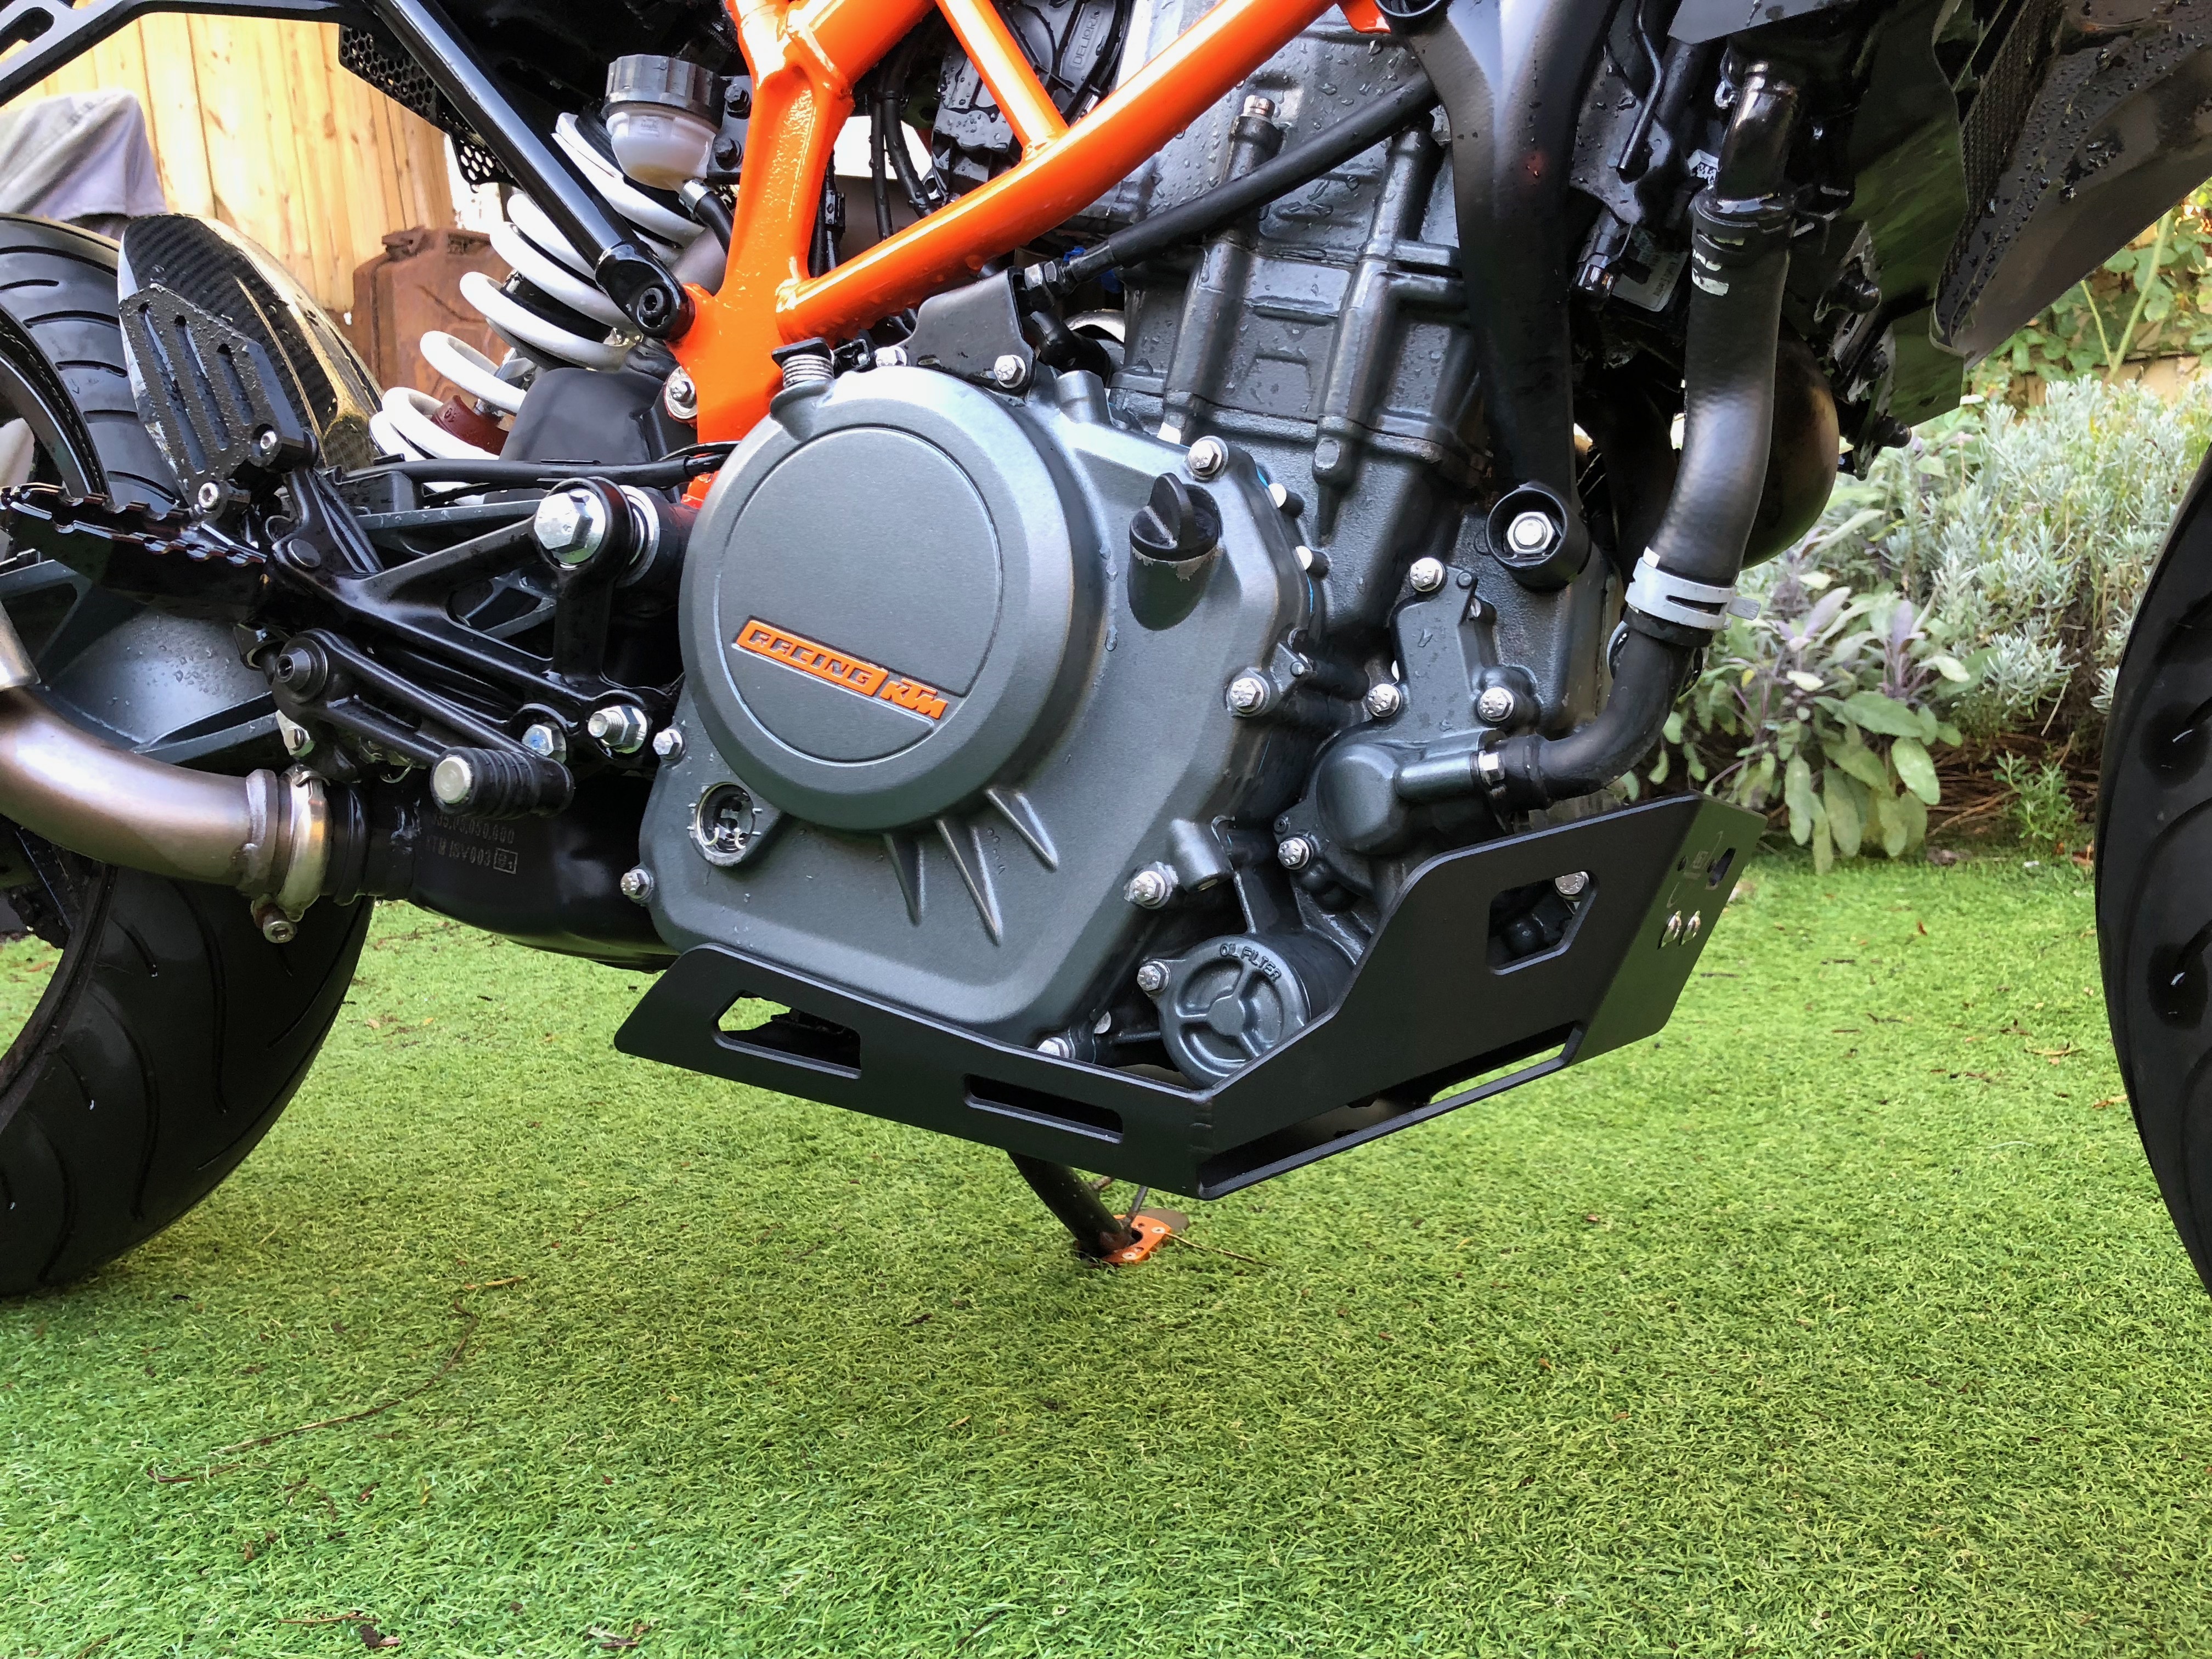
KTM Duke 390 2017-18 Sump guard/Skid plate Modifications
In my last post I described the path to getting the great AS3 Performance sump guard/skid plate to fit on the newer models of the KTM Duke 390’s. It was a great success however after a few hundred miles I ran into an issue. It was noise.
The metal vibrations due to the sump guard sounded very odd. So I decided to fix this. After a quick test of concept with some simple rubber washers I decided to make some rubber spacers to damp the guard from the engine itself.

I took a sheet of 3mm rubber I had to hand and cut 4 small washers out, 2 larger round washers and finally a large section to cover the main bracket.
I then backed these with some high strength 3M double sided sticky tape.

Next I stuck the three larger washers onto the sump guard, on the inside.

I needed some 5mm longer bolts to attached the guard, as the stock ones were too short with the rubber sections in place. I probably could have eliminated the rubber washers for the bolts themselves, but I thought I may as well damp as much noise as possible.
The Results
I’m very happy with how it turned out, it fixed the problem completely. For a 30min investment in time and some materials I had laying around it was great. I made a quick video of the sound before and after to show the difference.
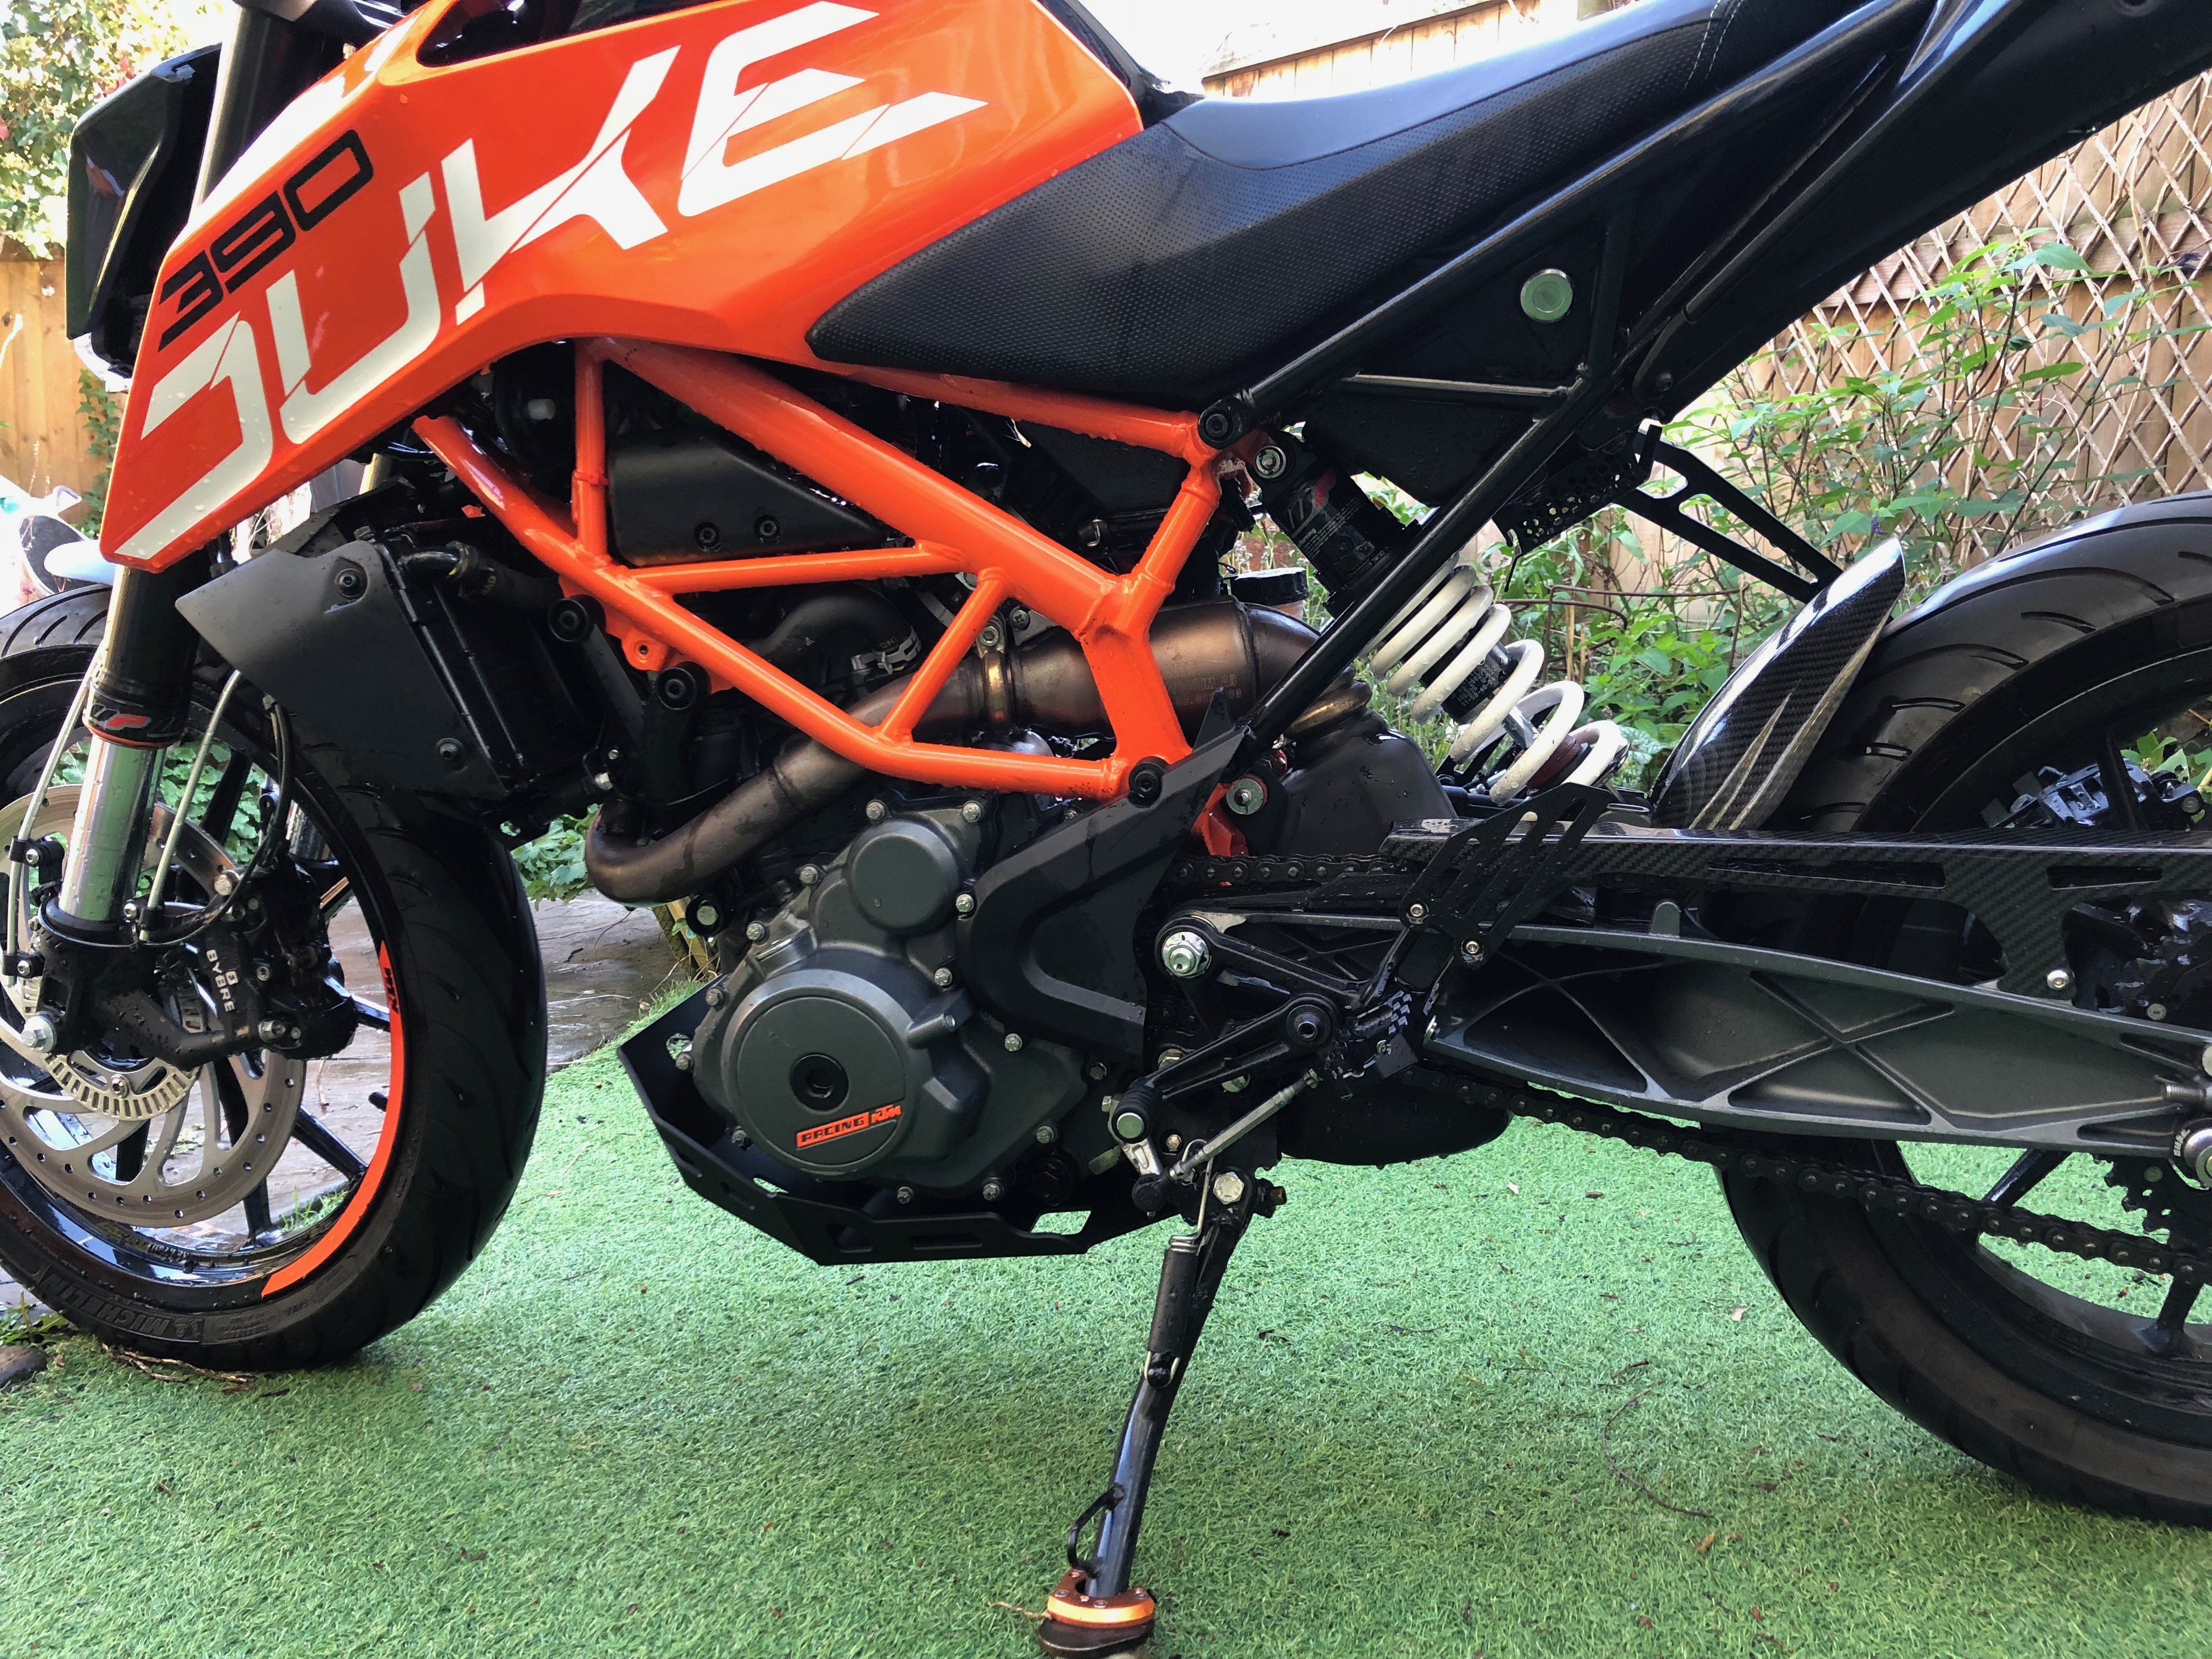
KTM Duke 390 2017-18 Sump guard/Skid plate
I’ve not be a fan of the plastic engine skid plate/sump guard on the 2017 390. It’s quite plasticy and doesn’t look great. I wanted to find something that would look better and maybe provide better protection. After a fairly long fruitless search I had given up on finding something the for the 2017 models. There are plenty for the earlier ones but nothing for the newer models.
In the end I decided to take matters into my own hand. I found a great looking guard for the 2012-14 models of the duke 390 and it looked like it should work.
AS3 Performance do a great looking aluminium sump guard and after approaching them about fitment they were very helpful. They had no idea if it would fit, but if it didn’t they would be happy to take it back. They’ve been very communicative through the whole process. So a big thumbs up for them.

It arrived and sadly the weather was far too wet to try it out. So after waiting a few days I finally got to do a trial fit. After taking of the stock skid plate it was clear that it was not a match for the AS3 performance guard. However all was not terrible, I can sort this I was sure.
The front bracket was so close to fitting but was just 1mm out. There is an aluminium spacer as part of the kit. It was 15mm tall but needed to be 14mm. Ok that’s solvable I thought, a quick 3d printed test part proved that to be the case. So I got my local machine shop to take off 1mm of the spacer and did a trial fit.

At the back things were far worse, the stock bracket was miles out. However after spending some time pouring over the ktm parts fiches, I found a solution I thought should work. That was to order the rear bracket for the 2014 model of the Duke 390. It looked like a straight fit would happen.
I ordered a KTM belly pan bracket rear part number 93008021120 that was only a few pounds and waited for it to arrive. Once it got here I did a test fit and blow me down it worked.
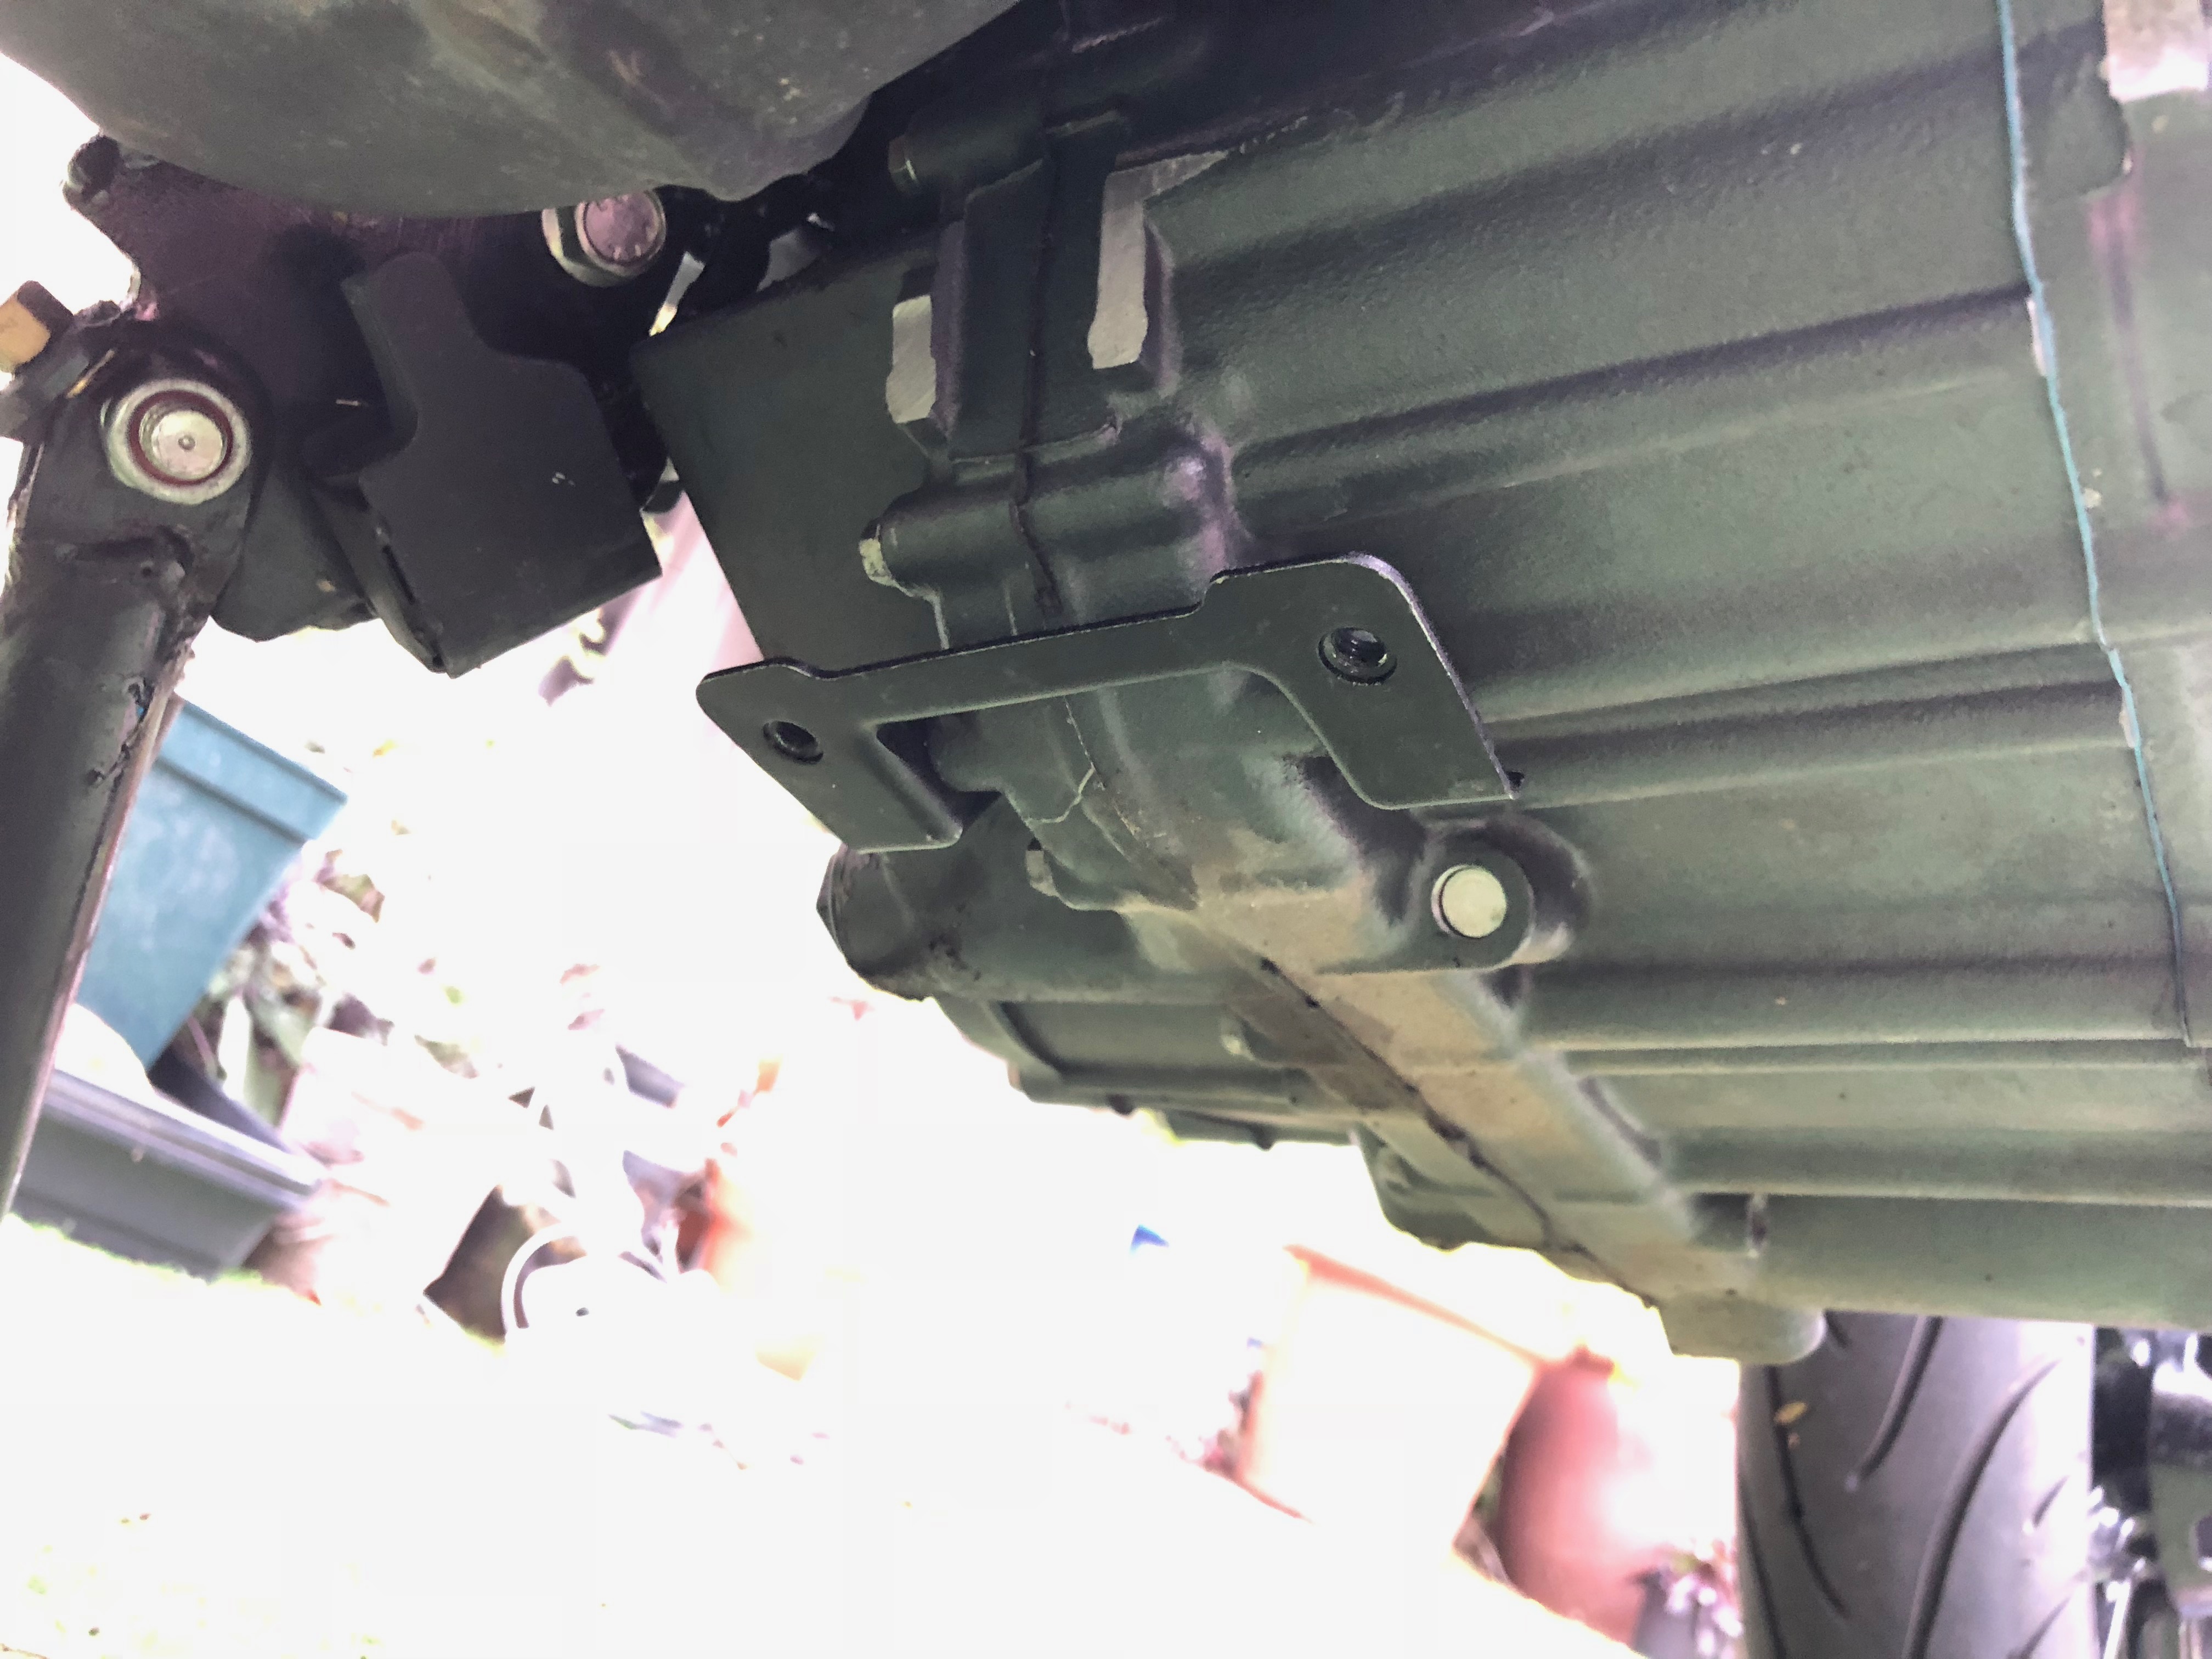
I think its about 1mm wider than the original part but that isn’t a problem at all.
This allowed me to finally get the guard fitted. I’m very happy with how it turned out, it should really protect the engine and gets rid of more bits of plastic!
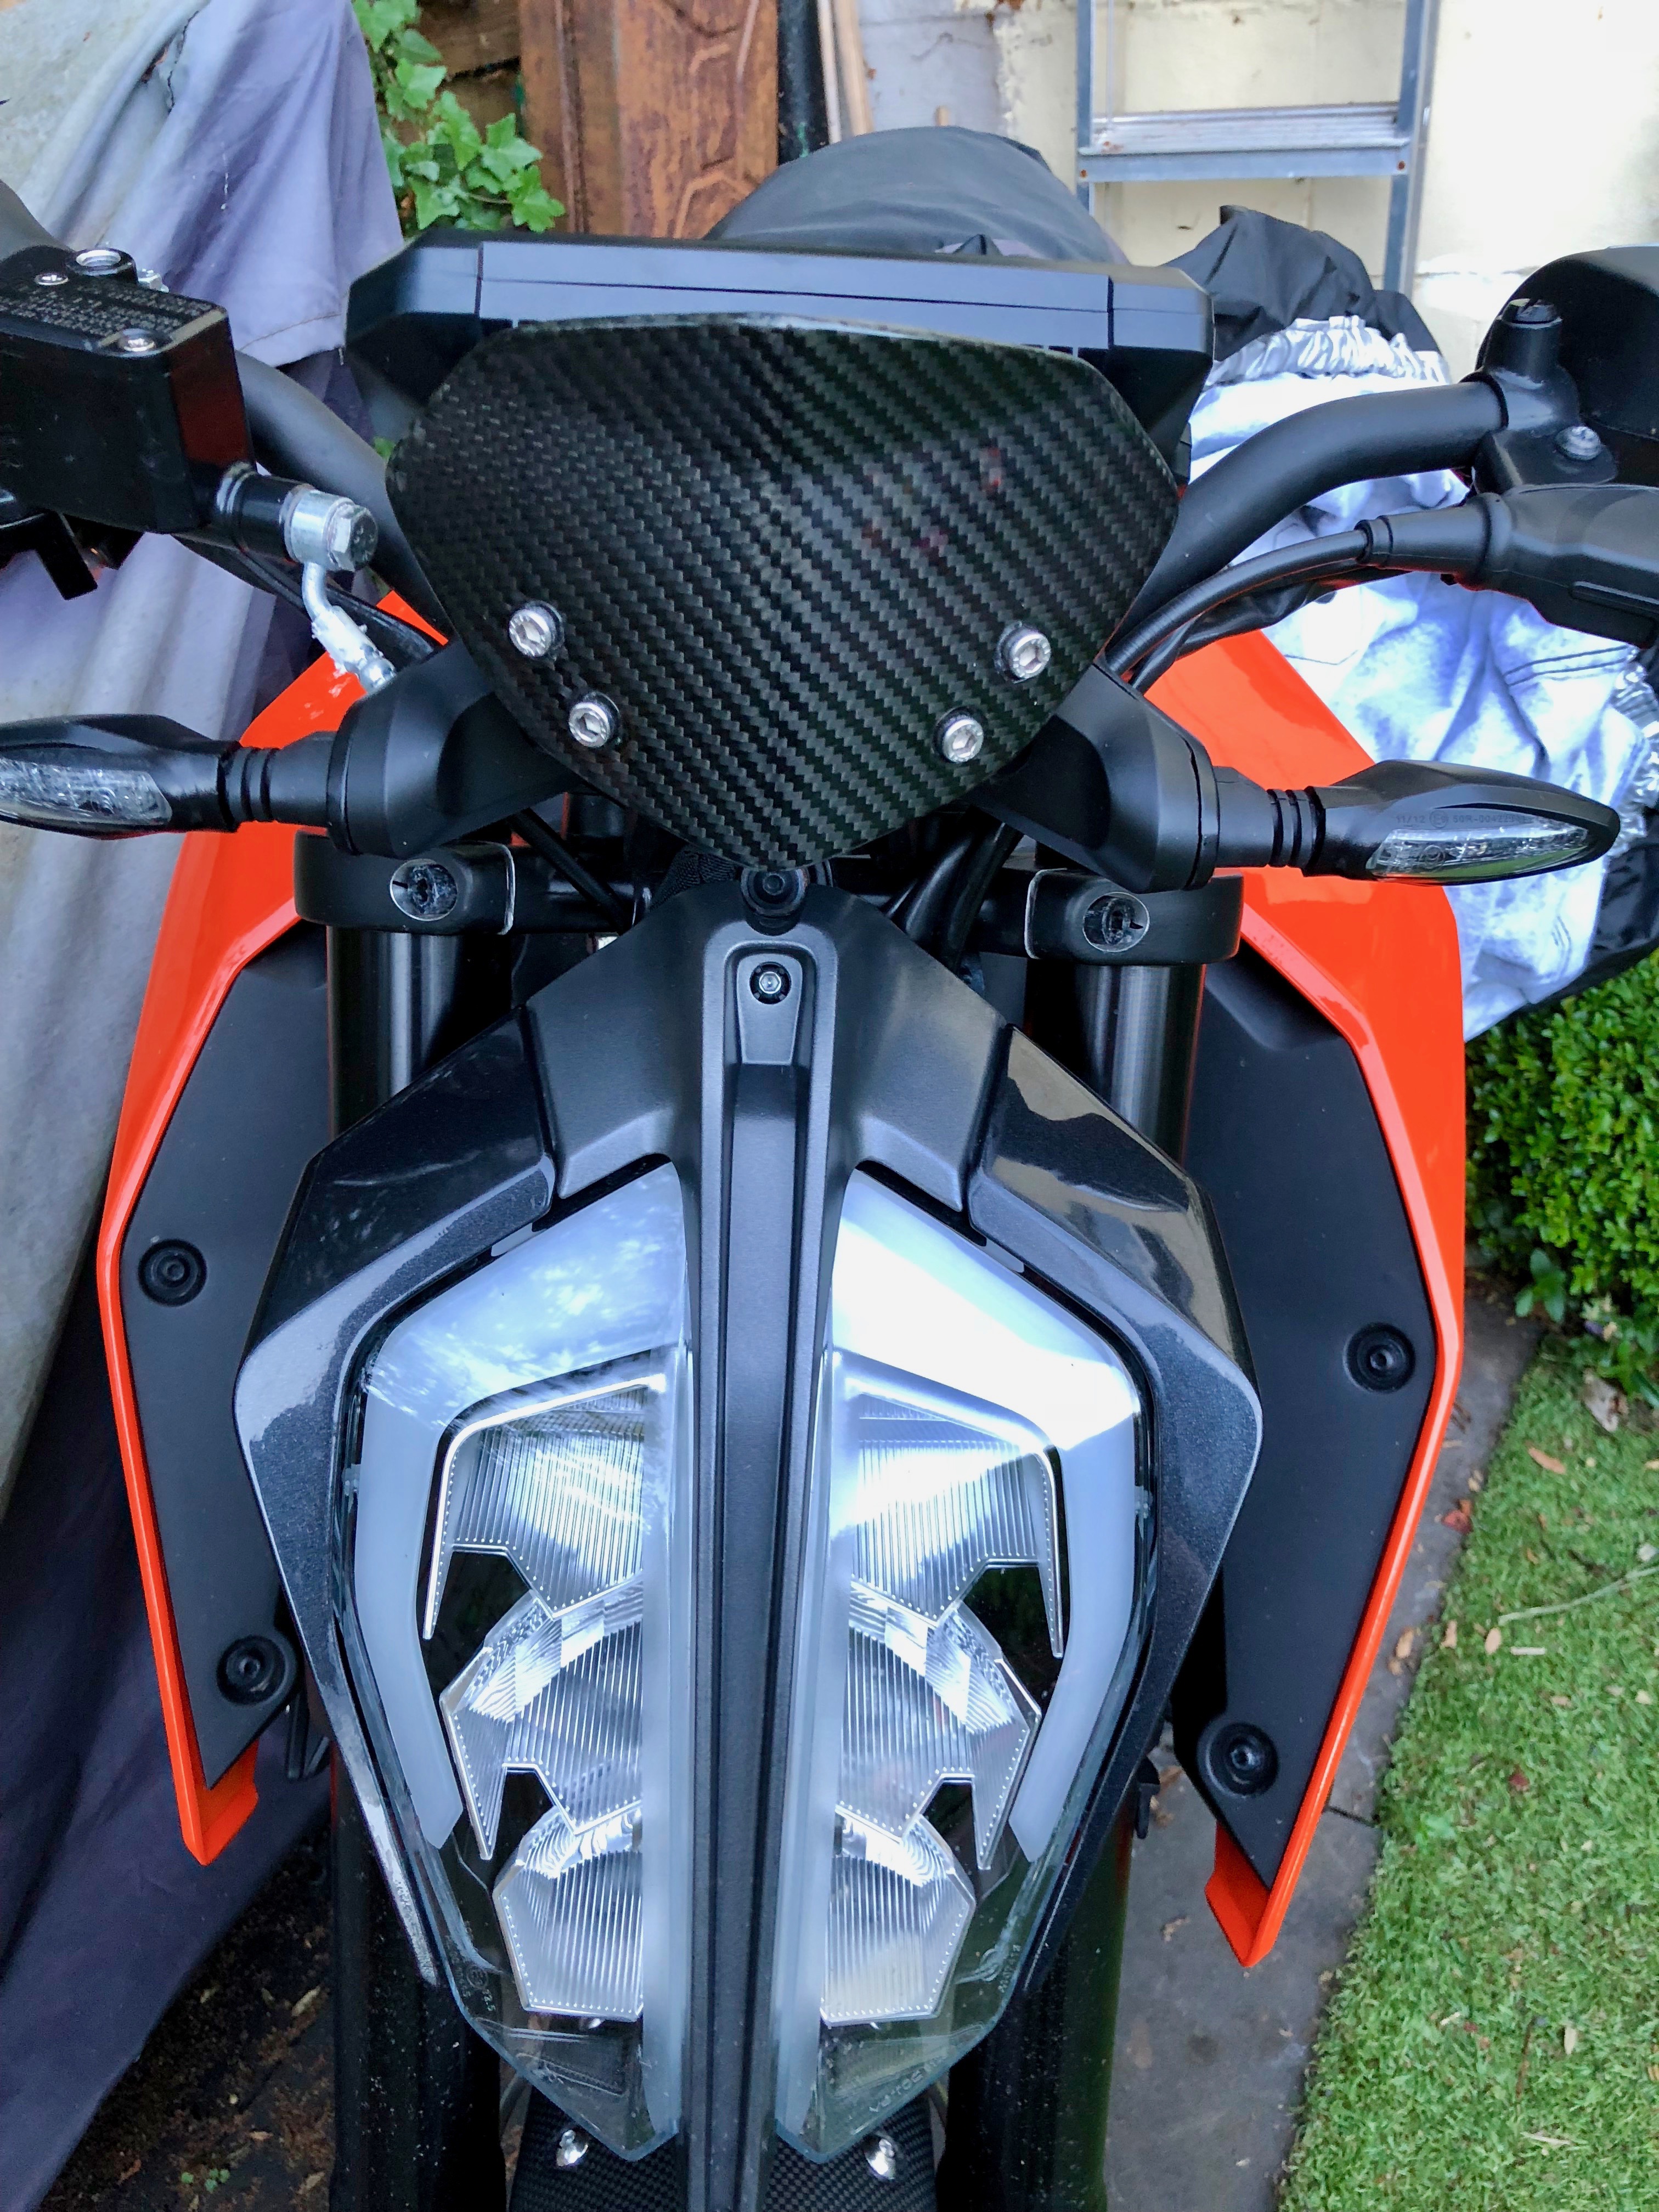
KTM Duke 390 2017+ Carbon Screen version 2
All new version 3 Now available
I’ve had quite a few KTM Duke 390 owners now running the 3d printed brackets. They have used all kinds of screens which is great to see. I decided to make some improvements to the design to allow for larger screens and installation easier.
The major change is that the two brackets that mount to the back of the TFT display are now one connected bracket. This means is much stronger and less able to flex. I have also made the screen brackets fit into a notch for alignment. It improves installation a fair bit.

Parts List
2 x Screen brackets (left & right)
1 x TFT bracket
2 x Plastic TFT bracket spacers
4 x M6 Bolts 10MM
2 x M6 x 20mm bolts
2 x M5 x 25mm bolts
Manual
A full installation manual is available to download here
Fitment
These brackets are designed to allow the fitment of screens from the previous versions of the KTM Duke 125 and 390 from before 2017. It has been tested with the Zero Limits carbon fibre version, but others that match the stock part should also fit. Here are some links to various different screen choices.
Warning: touring style screens or larger style screens have not been tested with these brackets. They put far more stress on the brackets.
I will be making and selling these brackets for anyone who would like one. Please contact me for more info.
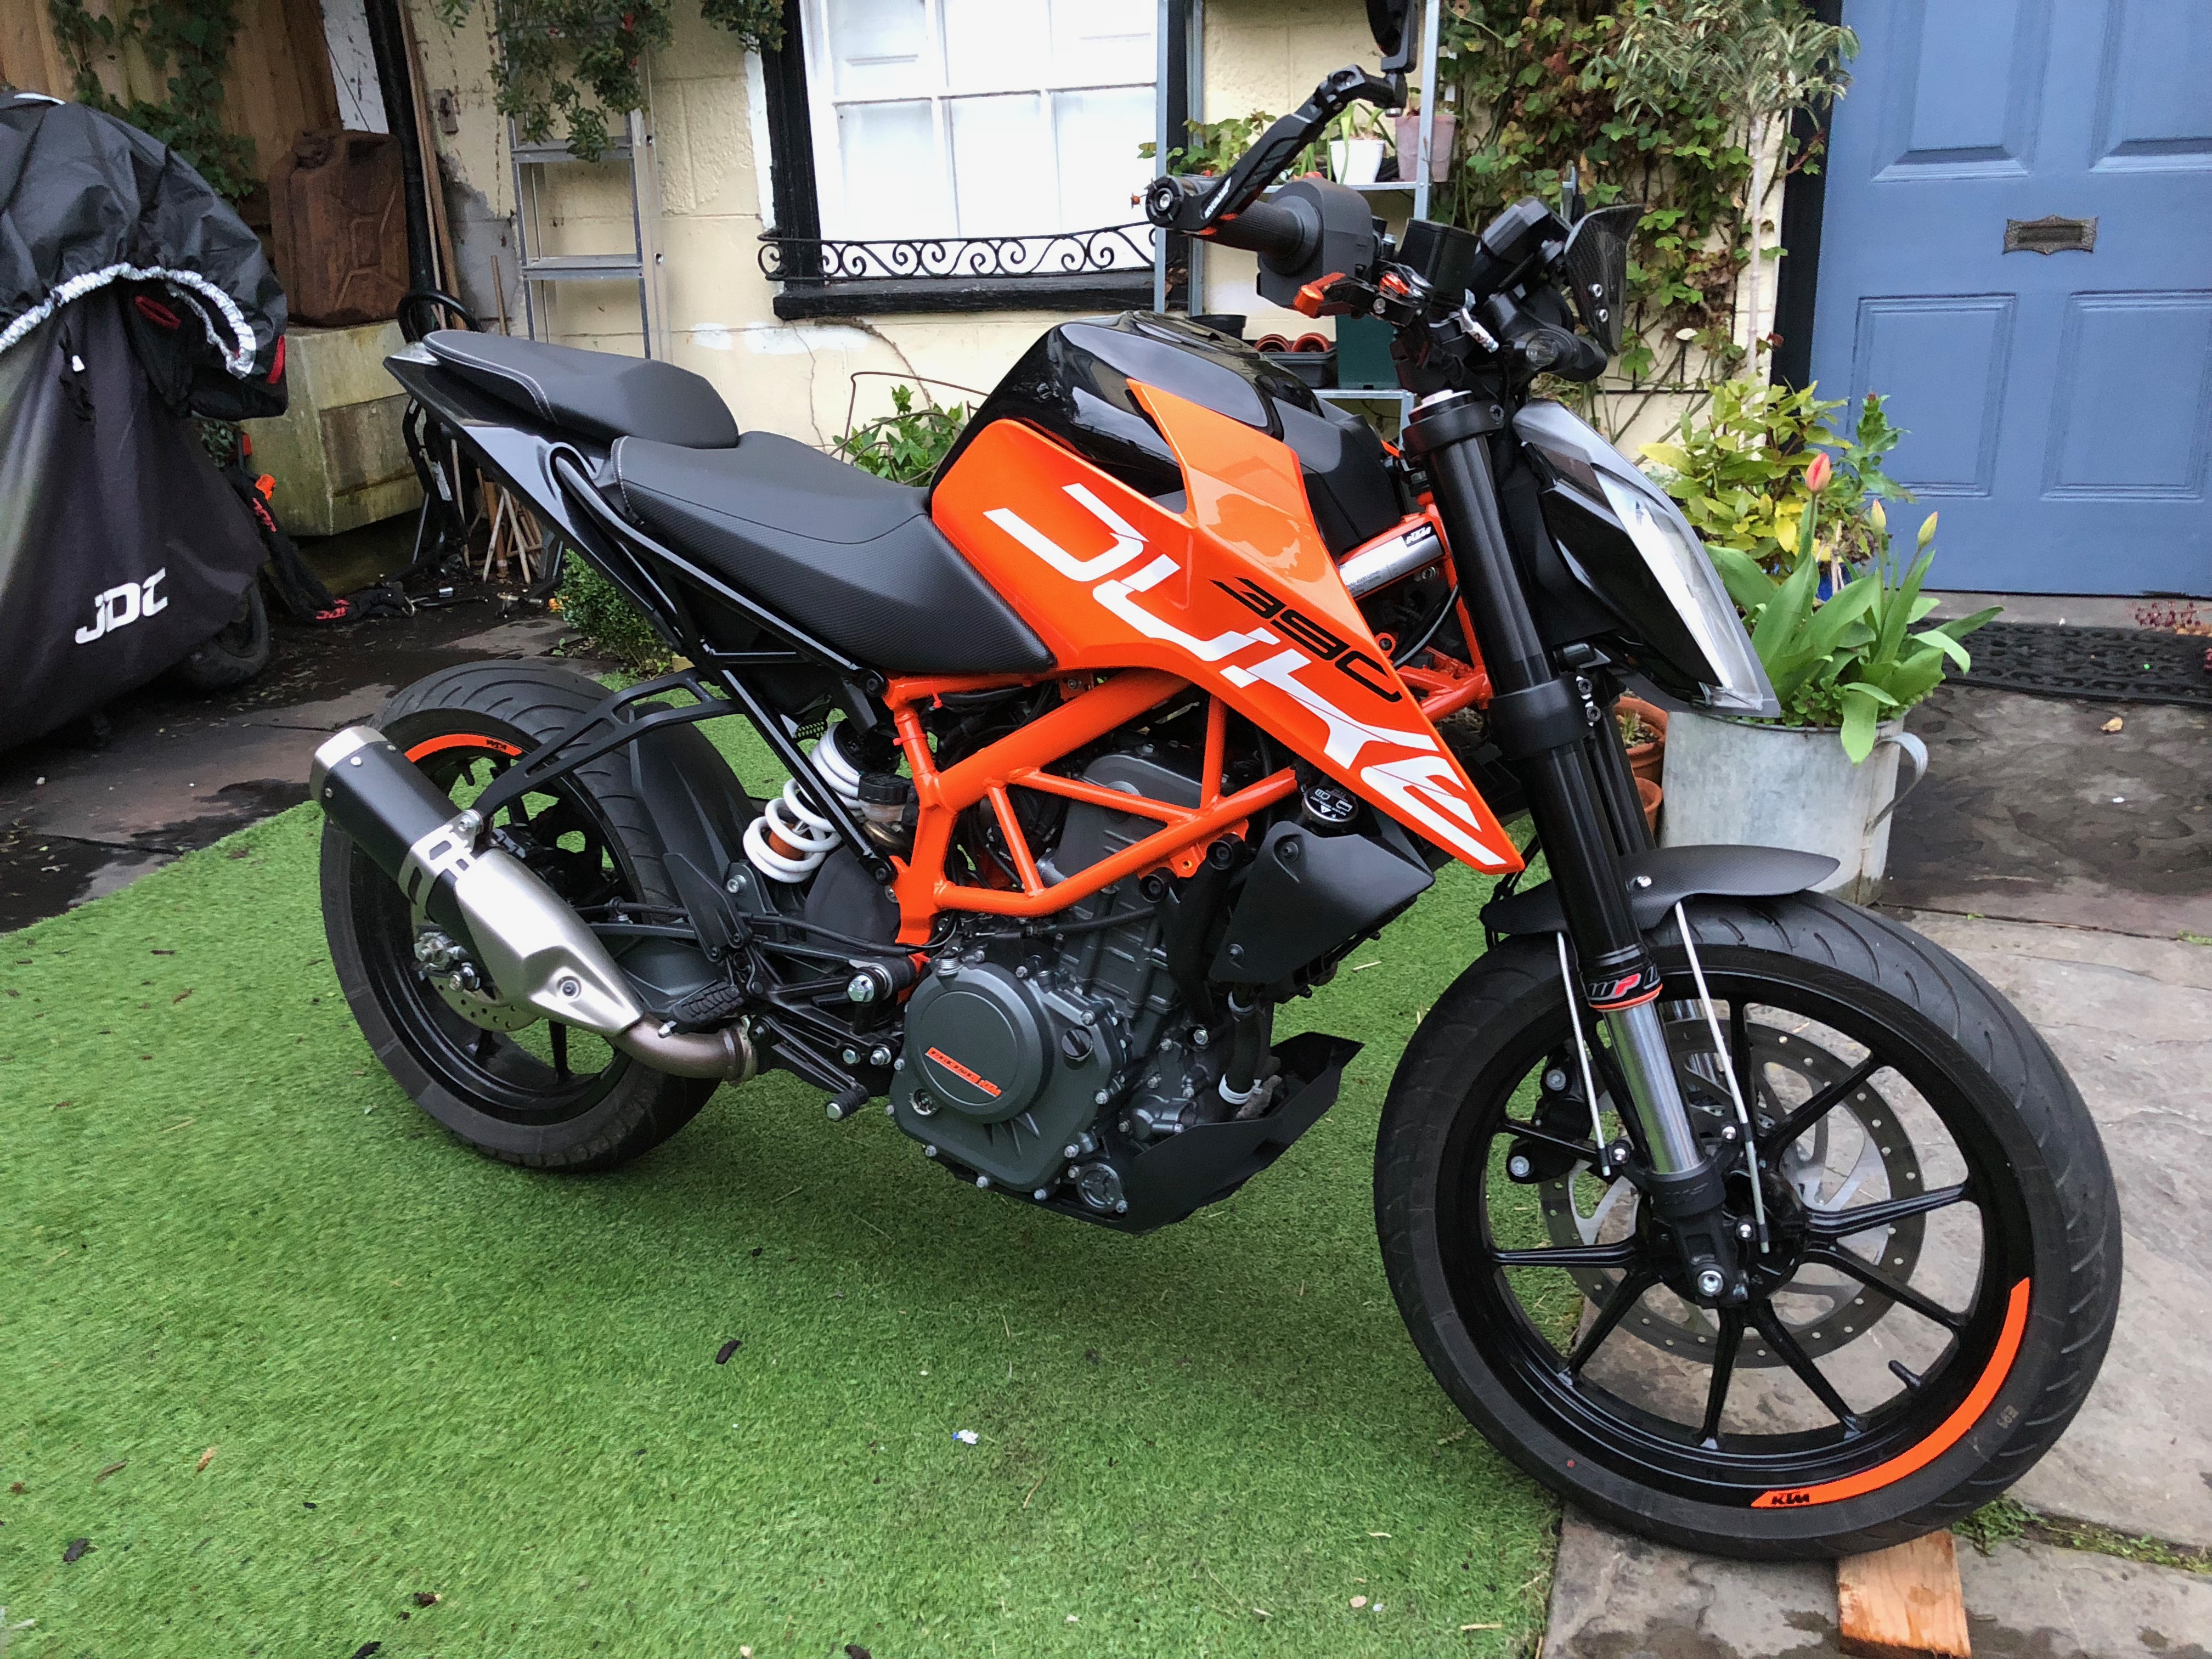
KTM 390 Duke 2017: Black out
I’ve done some more colour changing on the KTM Duke 390 2017, it’s now a lot more black. The side panels and headlight surrounds are painted a Porsche Volcano grey metallic colour.
Also changed is the front mudguard for a carbon fibre Ducati scrambler with a custom bracket I designed and made.


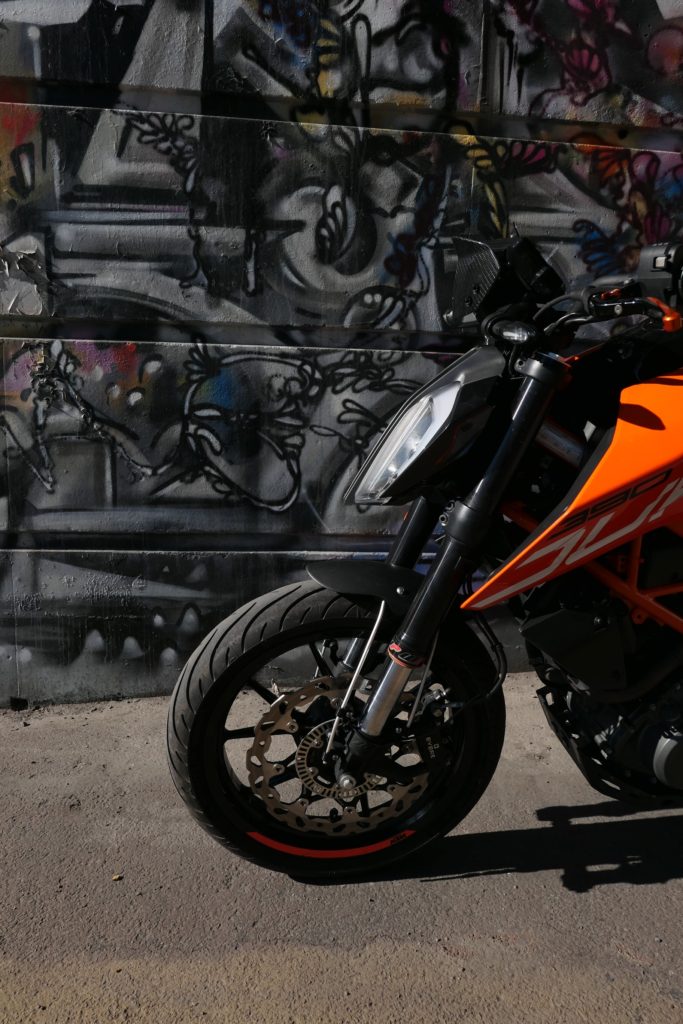
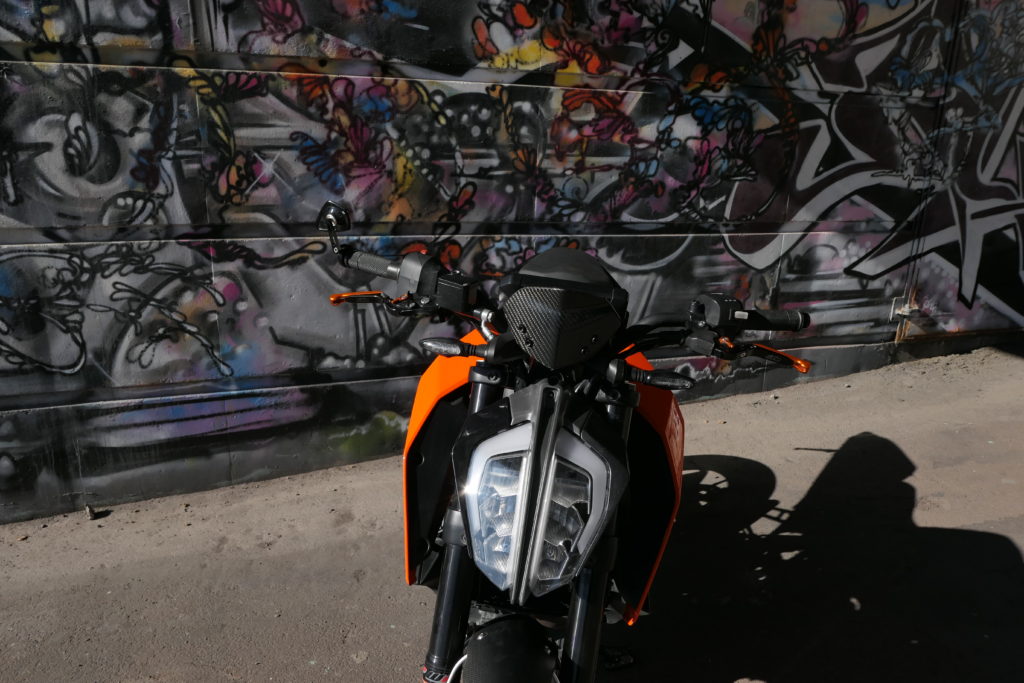
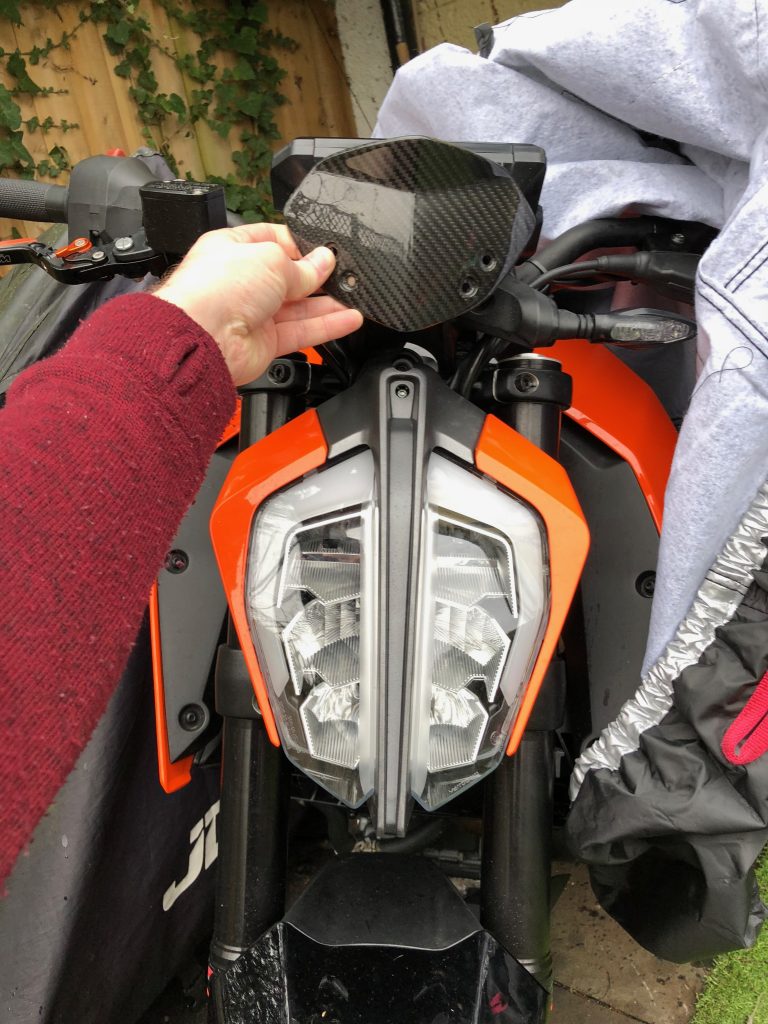
KTM Duke 390 2017 Carbon Screen
All new version 3 Now available
One of the issue with the new 2017 is the poor availability of screens for it. Along with those that are available being both expensive and ugly. I set upon trying to find an good alternative.
What I came across was a Carbon Fiber screen for the older 2011-16 models. It fits in around the display on these versions. I took a punt on this hoping that I could make some kind of bracket to make it work. I got this screen from Zero Limits they were great during the buying process and sent me lots of info.
Parts List
2 x Screen brackets (left & right)
2 x TFT brackets (Left and Right)
2 x Plastic TFT bracket spacers
4 x M6 Bolts 10MM
2 x M6 x 20mm bolts
2 x M5 x 25mm bolts
2 x M5 Washers
Fitment
These brackets are designed to allow the fitment of screens from the previous versions of the KTM Duke 125 and 390 from before 2017. It has been tested with the Zero Limits carbon fibre version, but others that match the stock part should also fit. Here are some links to various different screen choices.
I will be making and selling these brackets for anyone who would like one. Please contact me for more info.
Manual
A full installation manual is available to download here

The carbon screen arrived quickly.
A quick test fit to make sure it is going to work.
Next I spent a lot of time 3D modelling and print off multiple brackets for testing. Believe it or not this is only around 50% of them in this picture.

The final bracket is a 6 piece design and deals with all the angles etc.

Doesn’t look half bad just the bracket.

The final screen in place.

From the riders seat.


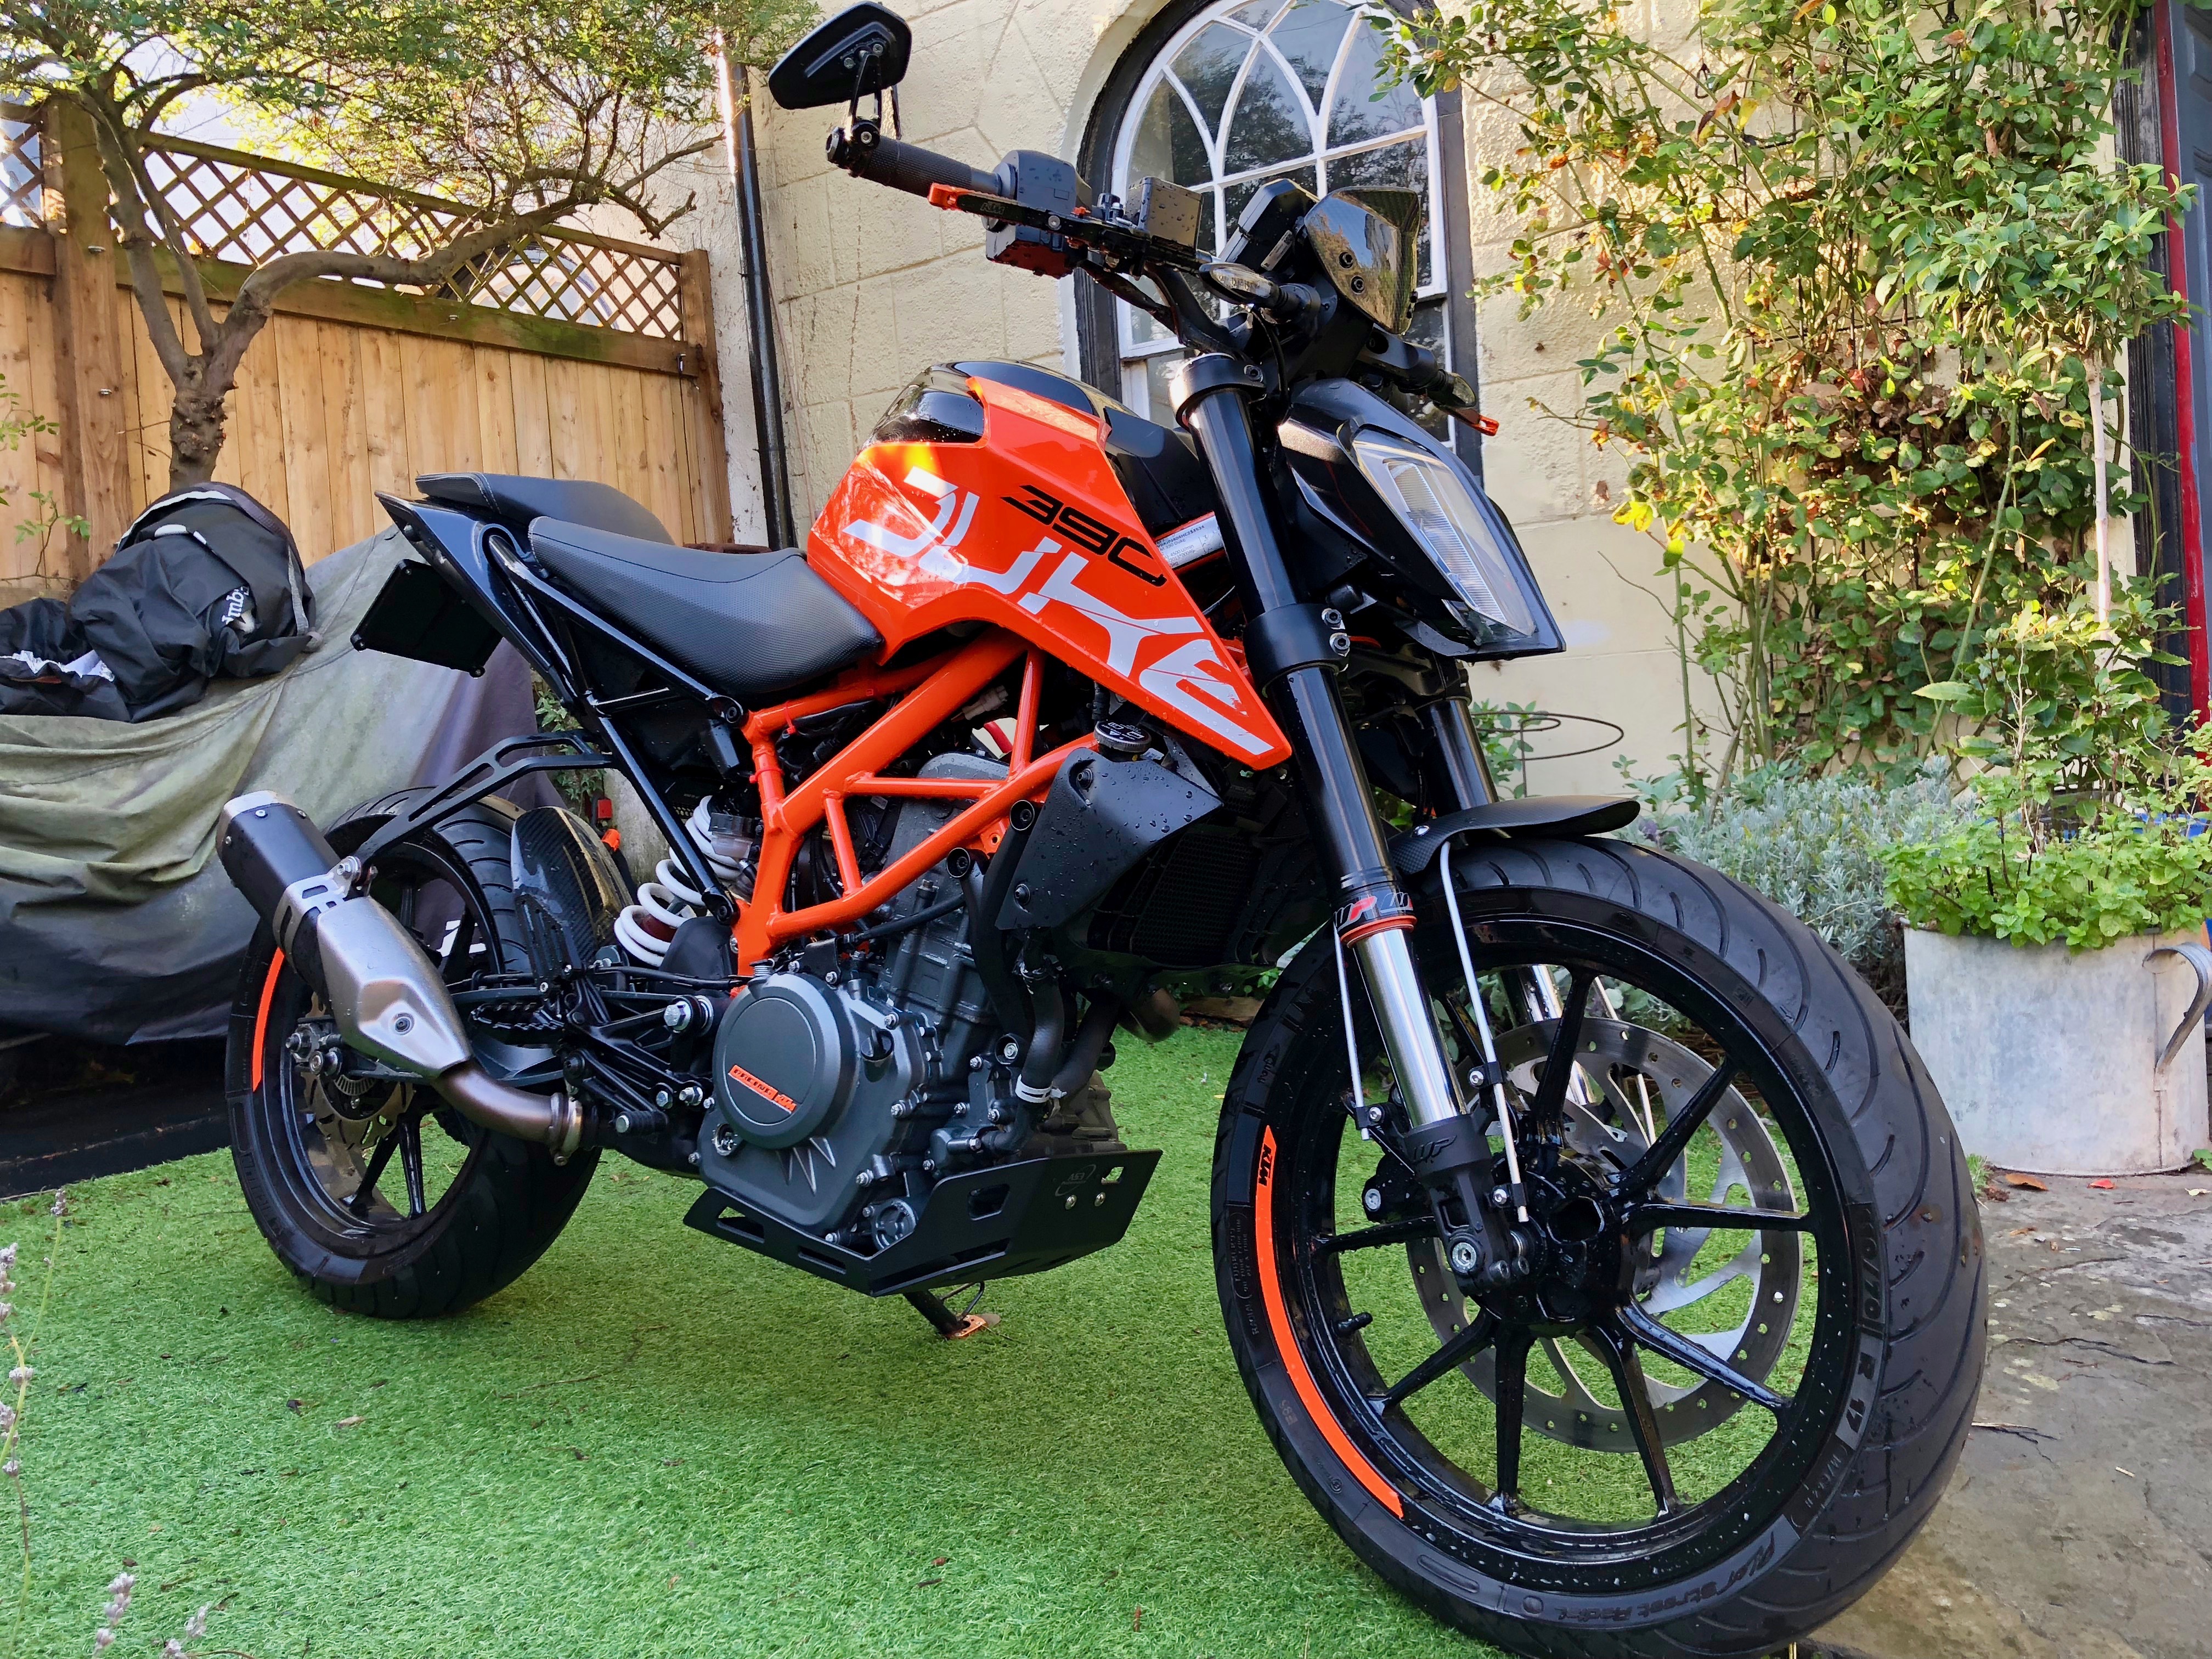
KTM Duke 390 2017 with black wheels
One of the first things I wanted to change on the KTM Duke 390 is the amount of orange. Whilst I like the orange I feel there is just too much of it. I researched powder coating and other options, but in the end the easiest and cheapest option seemed to be obvious. Get a pair of Duke 125 wheels. These come in black as standard and from my research they should be identical. After a bit of ebaying a got a barely used set for very reasonable money. I was worried that the whole plan was not going to work, but it was all fine. There were three differences between the 125 and 390 wheels:
- Colour
- Front disc size
- The rubber bits seem to be a different design.
Apart from all those they are the same wheels. Result
Pics:


I still want to get rid of more the orange. I’d love to get the frame painted black, but that just not going to happen. I think the next stage is to swap the orange headlight side panels for black ones, and sort the white rear section out.
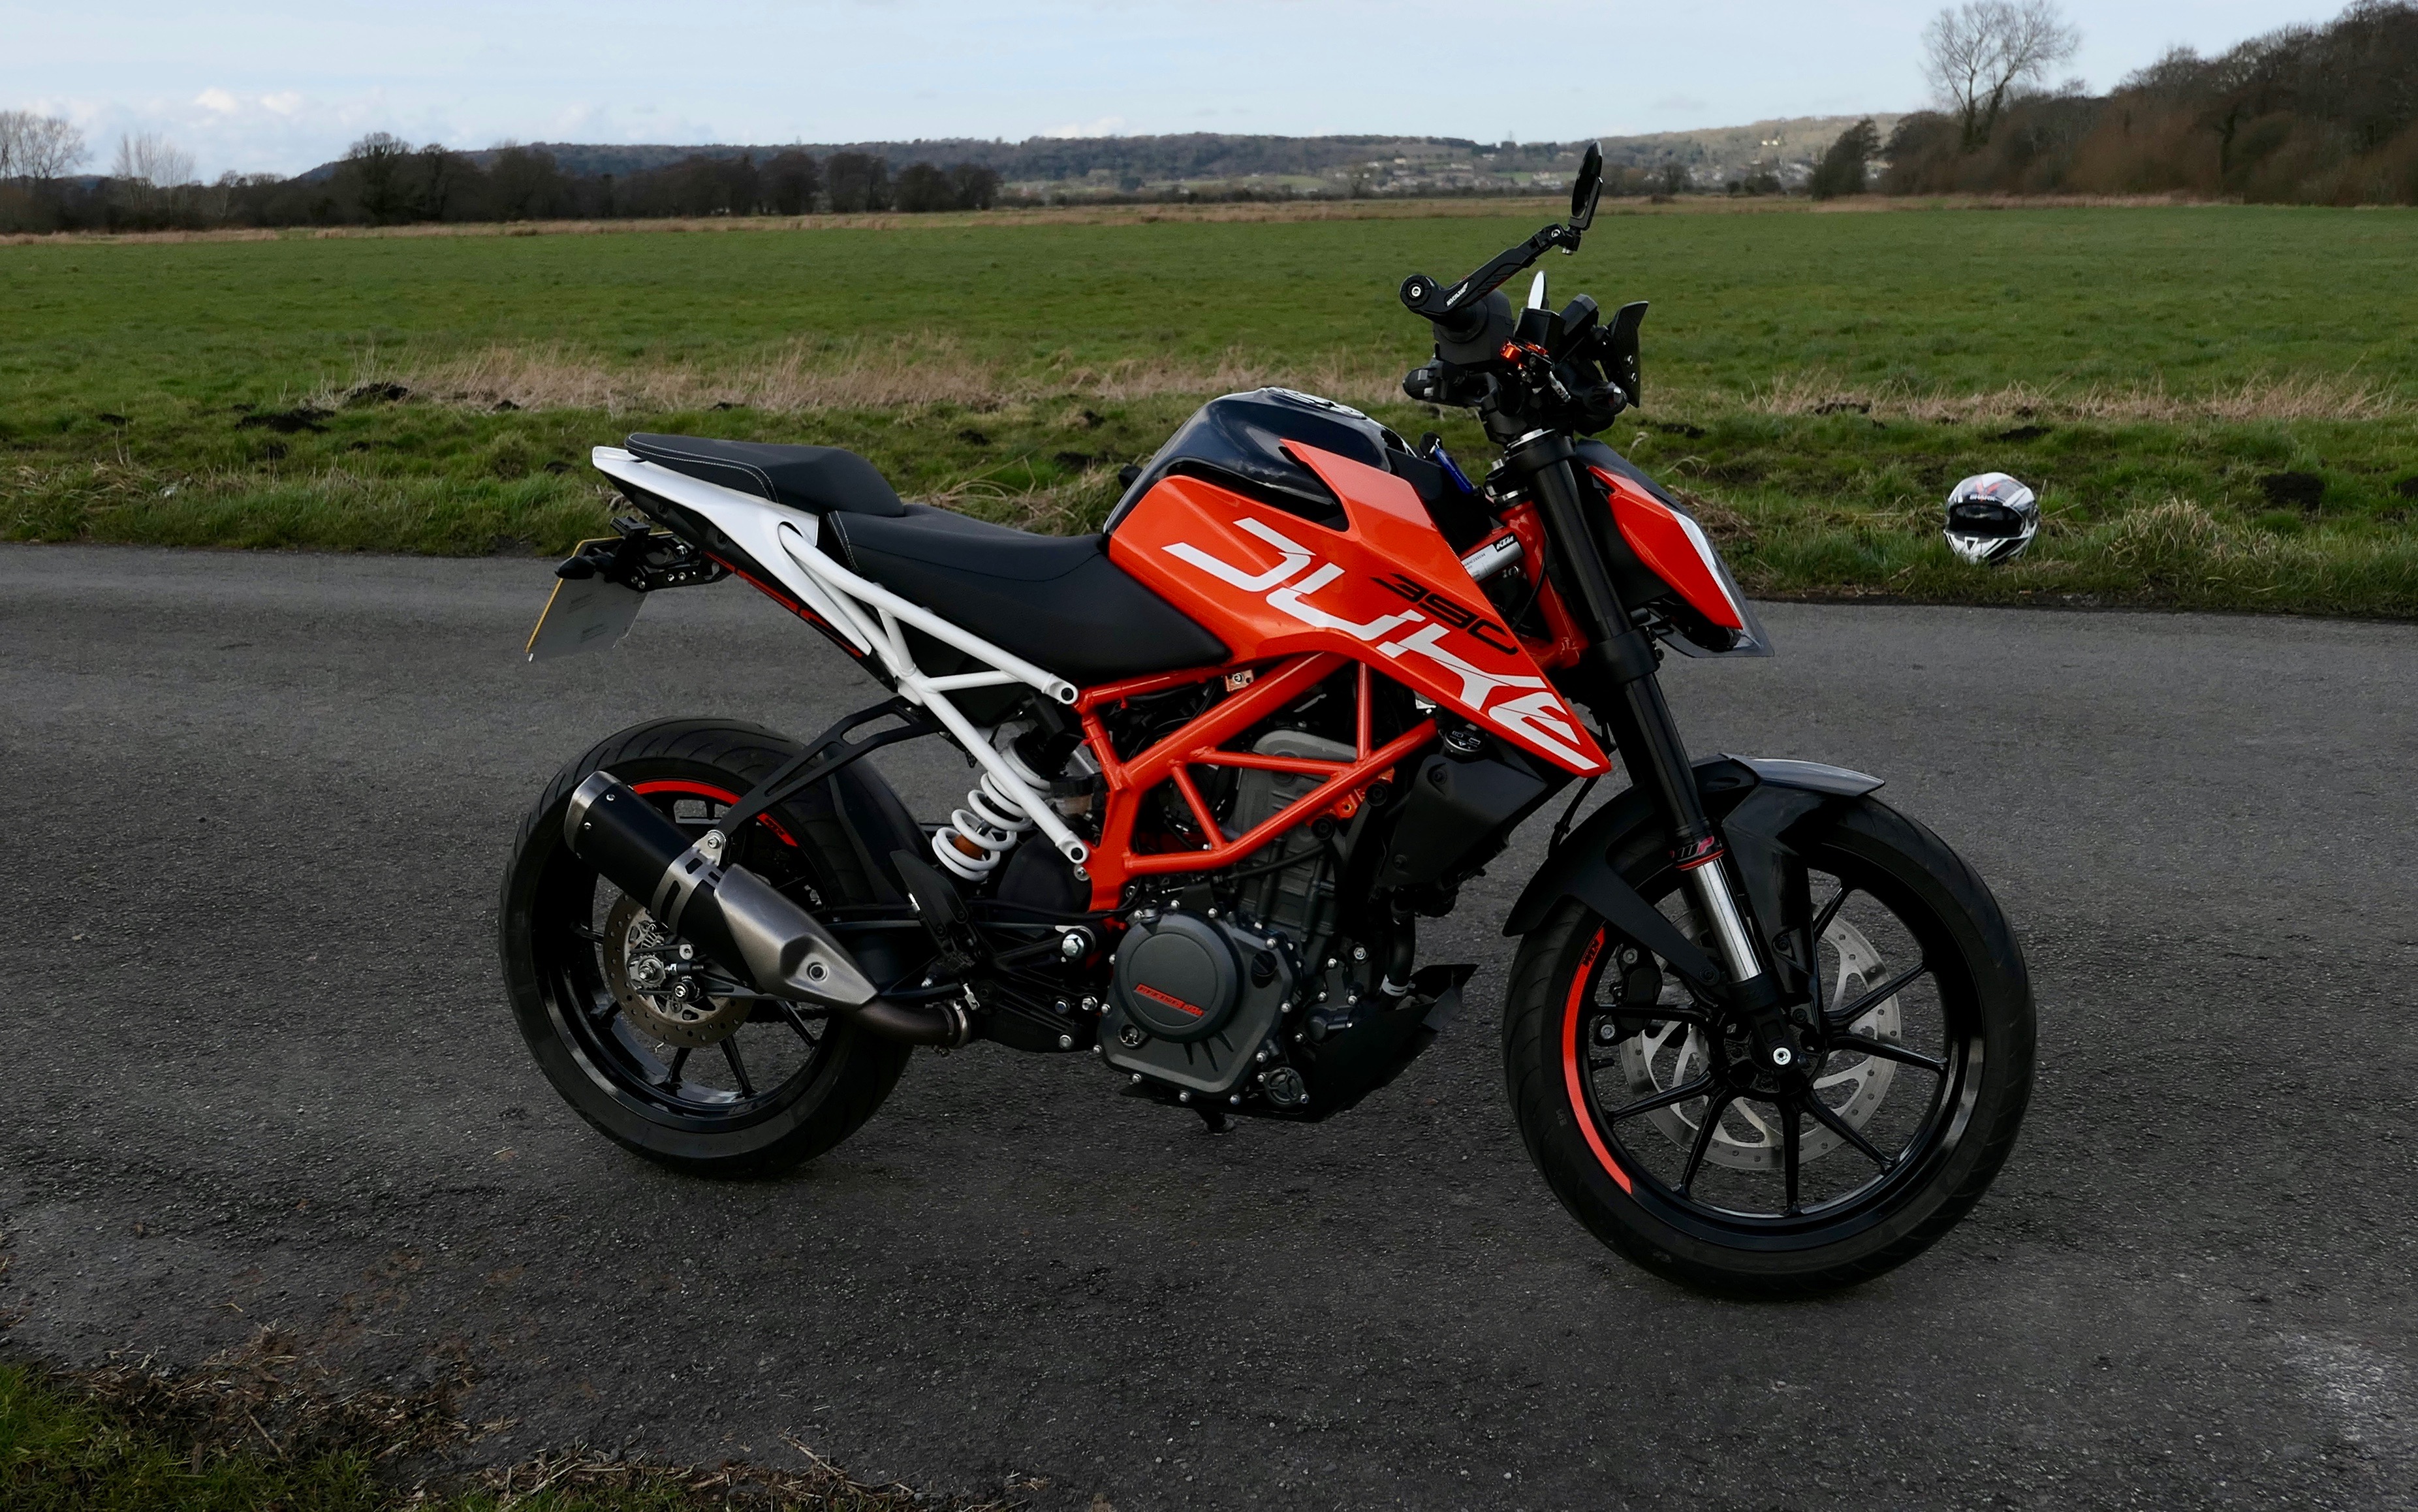
New motorbike. KTM Duke 390 2017
Well, after all the fun with my Z650 I decided it was time for a new motorcycle. KTM were doing amazing offers over black friday with a 1/3 off a new KTM Duke 390. It would have been rude not to bite their hands off.

I’m still running the bike in, but it is so light a nimble compared to my Z650. I love it.
I intend to make a few changes to improve the bike. These include a tail tidy and new mirrors and some other parts.
Rewiring Progress on the Z650/KZ650
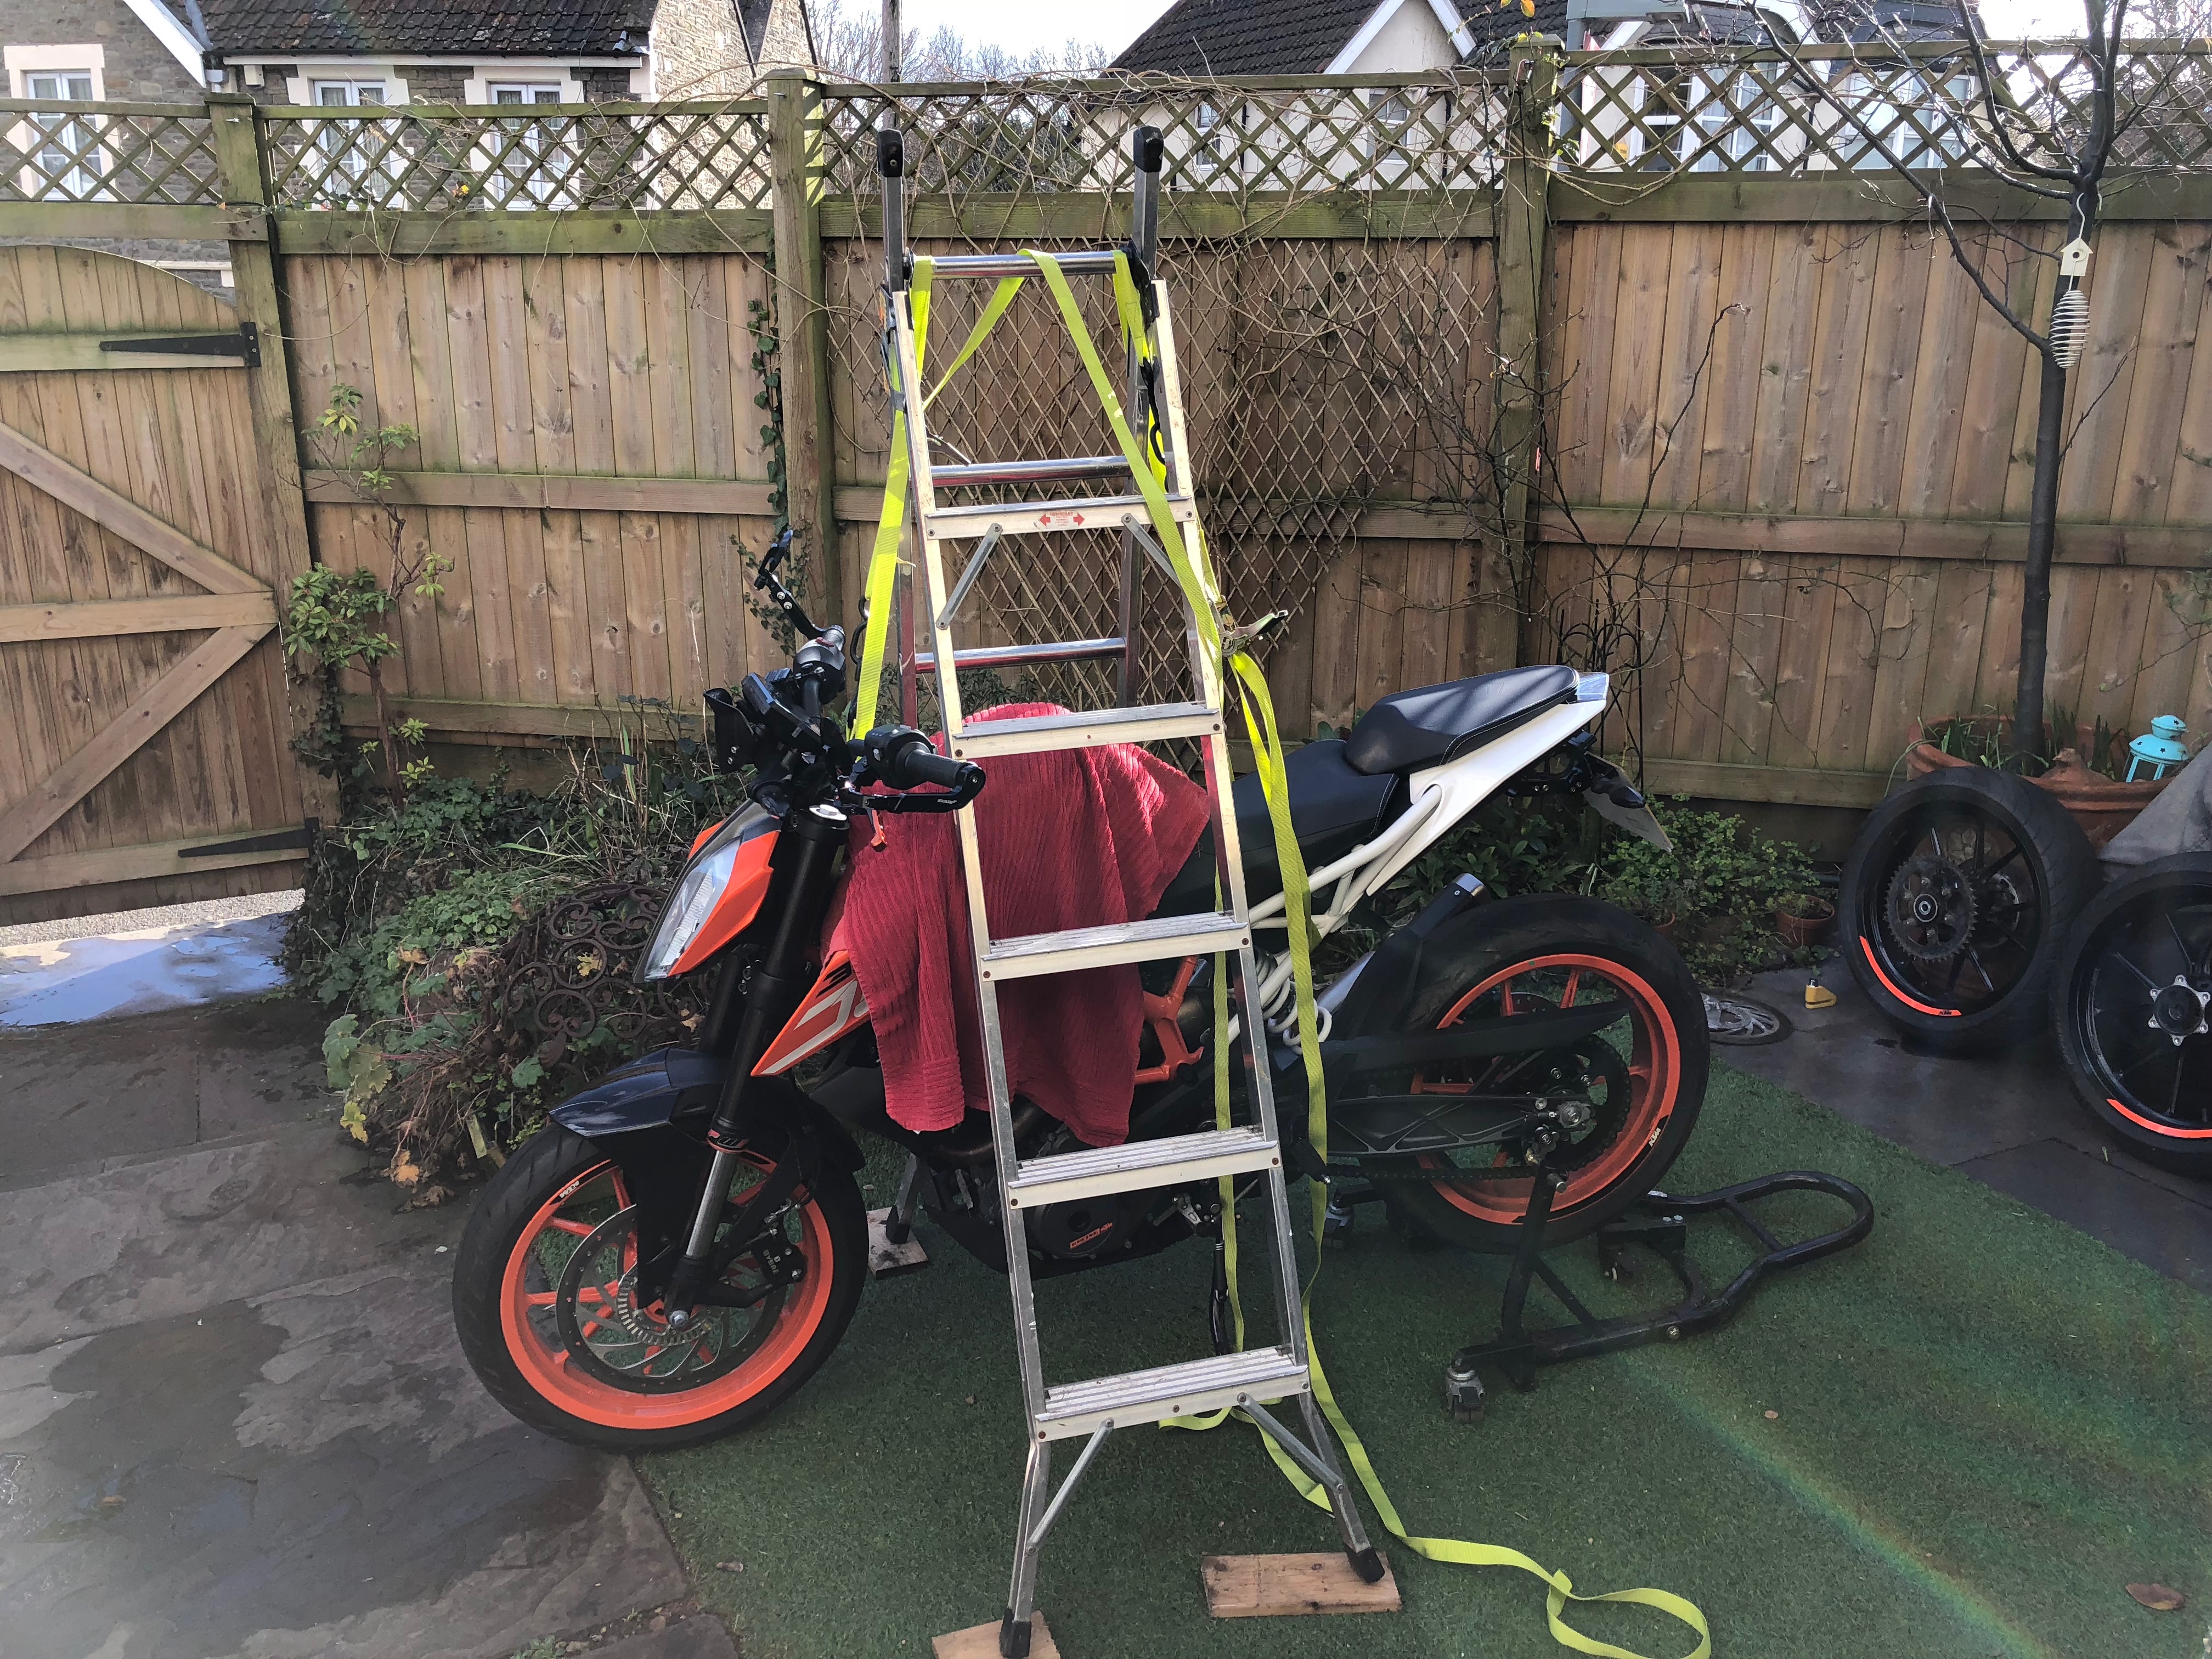
Well some forward progress was made on the wiring. I took a couple of days of work to start making real progress. Unfortunately the British weather was well British which slowed things down.
I got out the tarp again to make some form of shelter to work under.

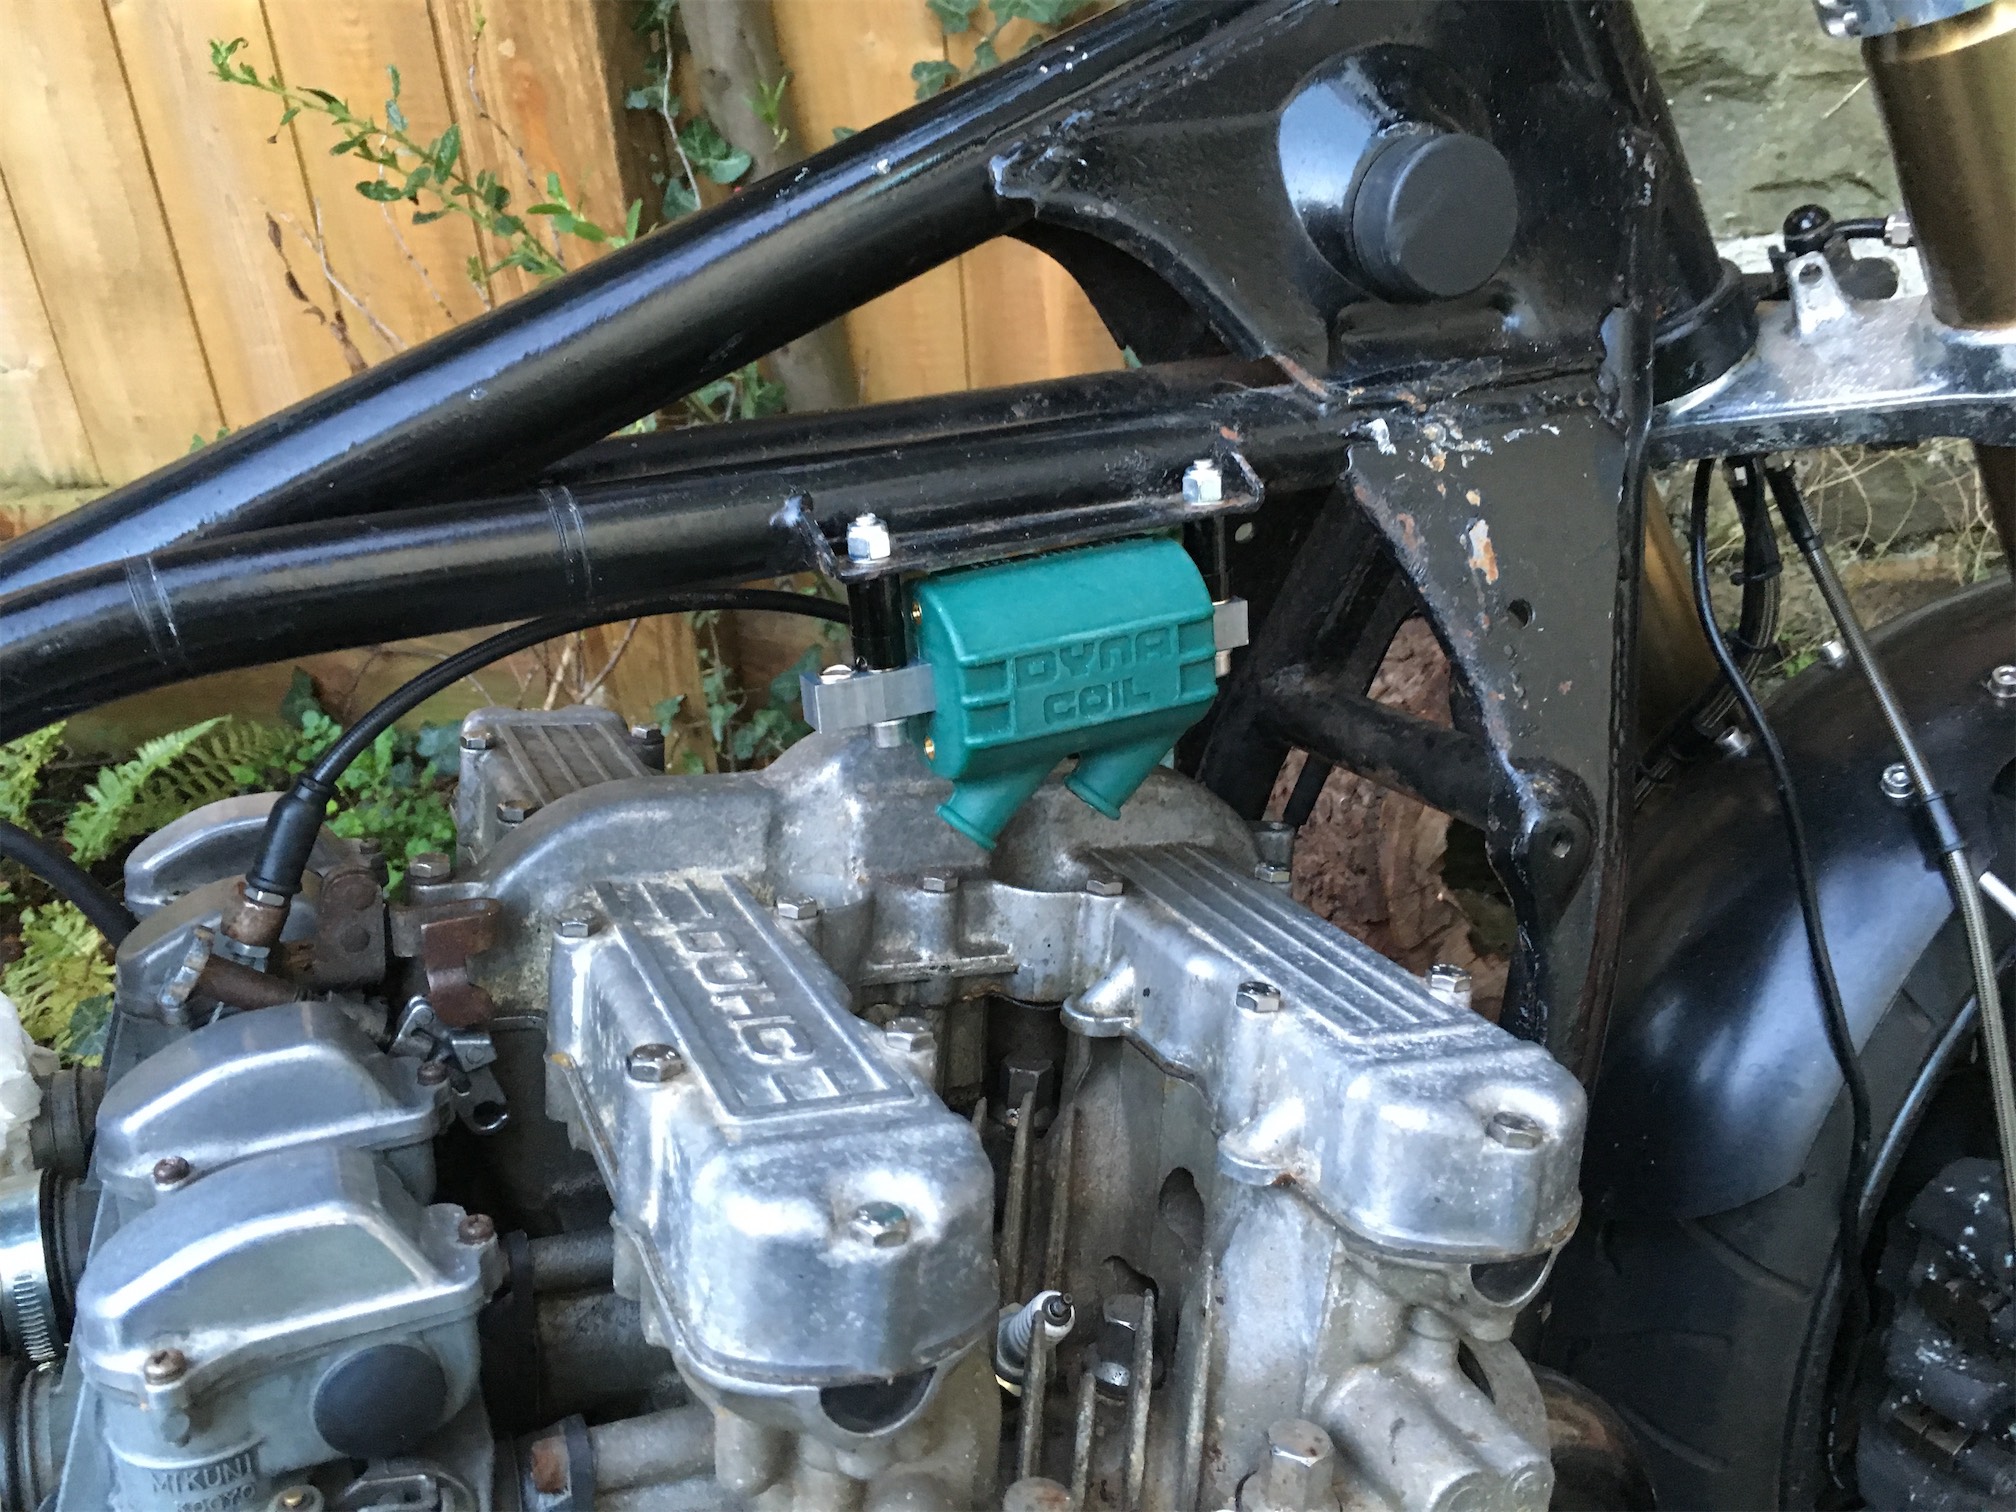
First job was to get the Dyna Coils in place. I had to order some nylon spacers from ebay and sand them down to the right size, but they now fit perfectly.
I also managed to get the battery and M-Unit mounting into place to make sure it would fit. Luckily it did!

Next up I fitted the Dyna S ignition. I’ve not set it up fully yet, but it’s in place.


Other jobs included a new mounting point for a new brake reservoir as the previous one was leaking. I knocked this up in aluminium, Also I had fitted the new switches from Highway dirtybikes. These mount directly onto the brake levers. Sadly the left one doesn’t fit so I had to use a different switch setup from the previous switch setup. It’s still cool looking but I wanted two identical ones instead of similar ones.


I’ve broken the back of the main rewiring, it’s just the final fitting into place of the main loom. I am fed up of seeing and working on cables and connectors now, but it will be worth it.

With a lot of the loom work I tried to merge things together to simplify things and make routes to the main loom easier. Such as this section of front indicators/horn and brake switch.

I’ve had a play with the M-Unit and it’s a great bit of kit.
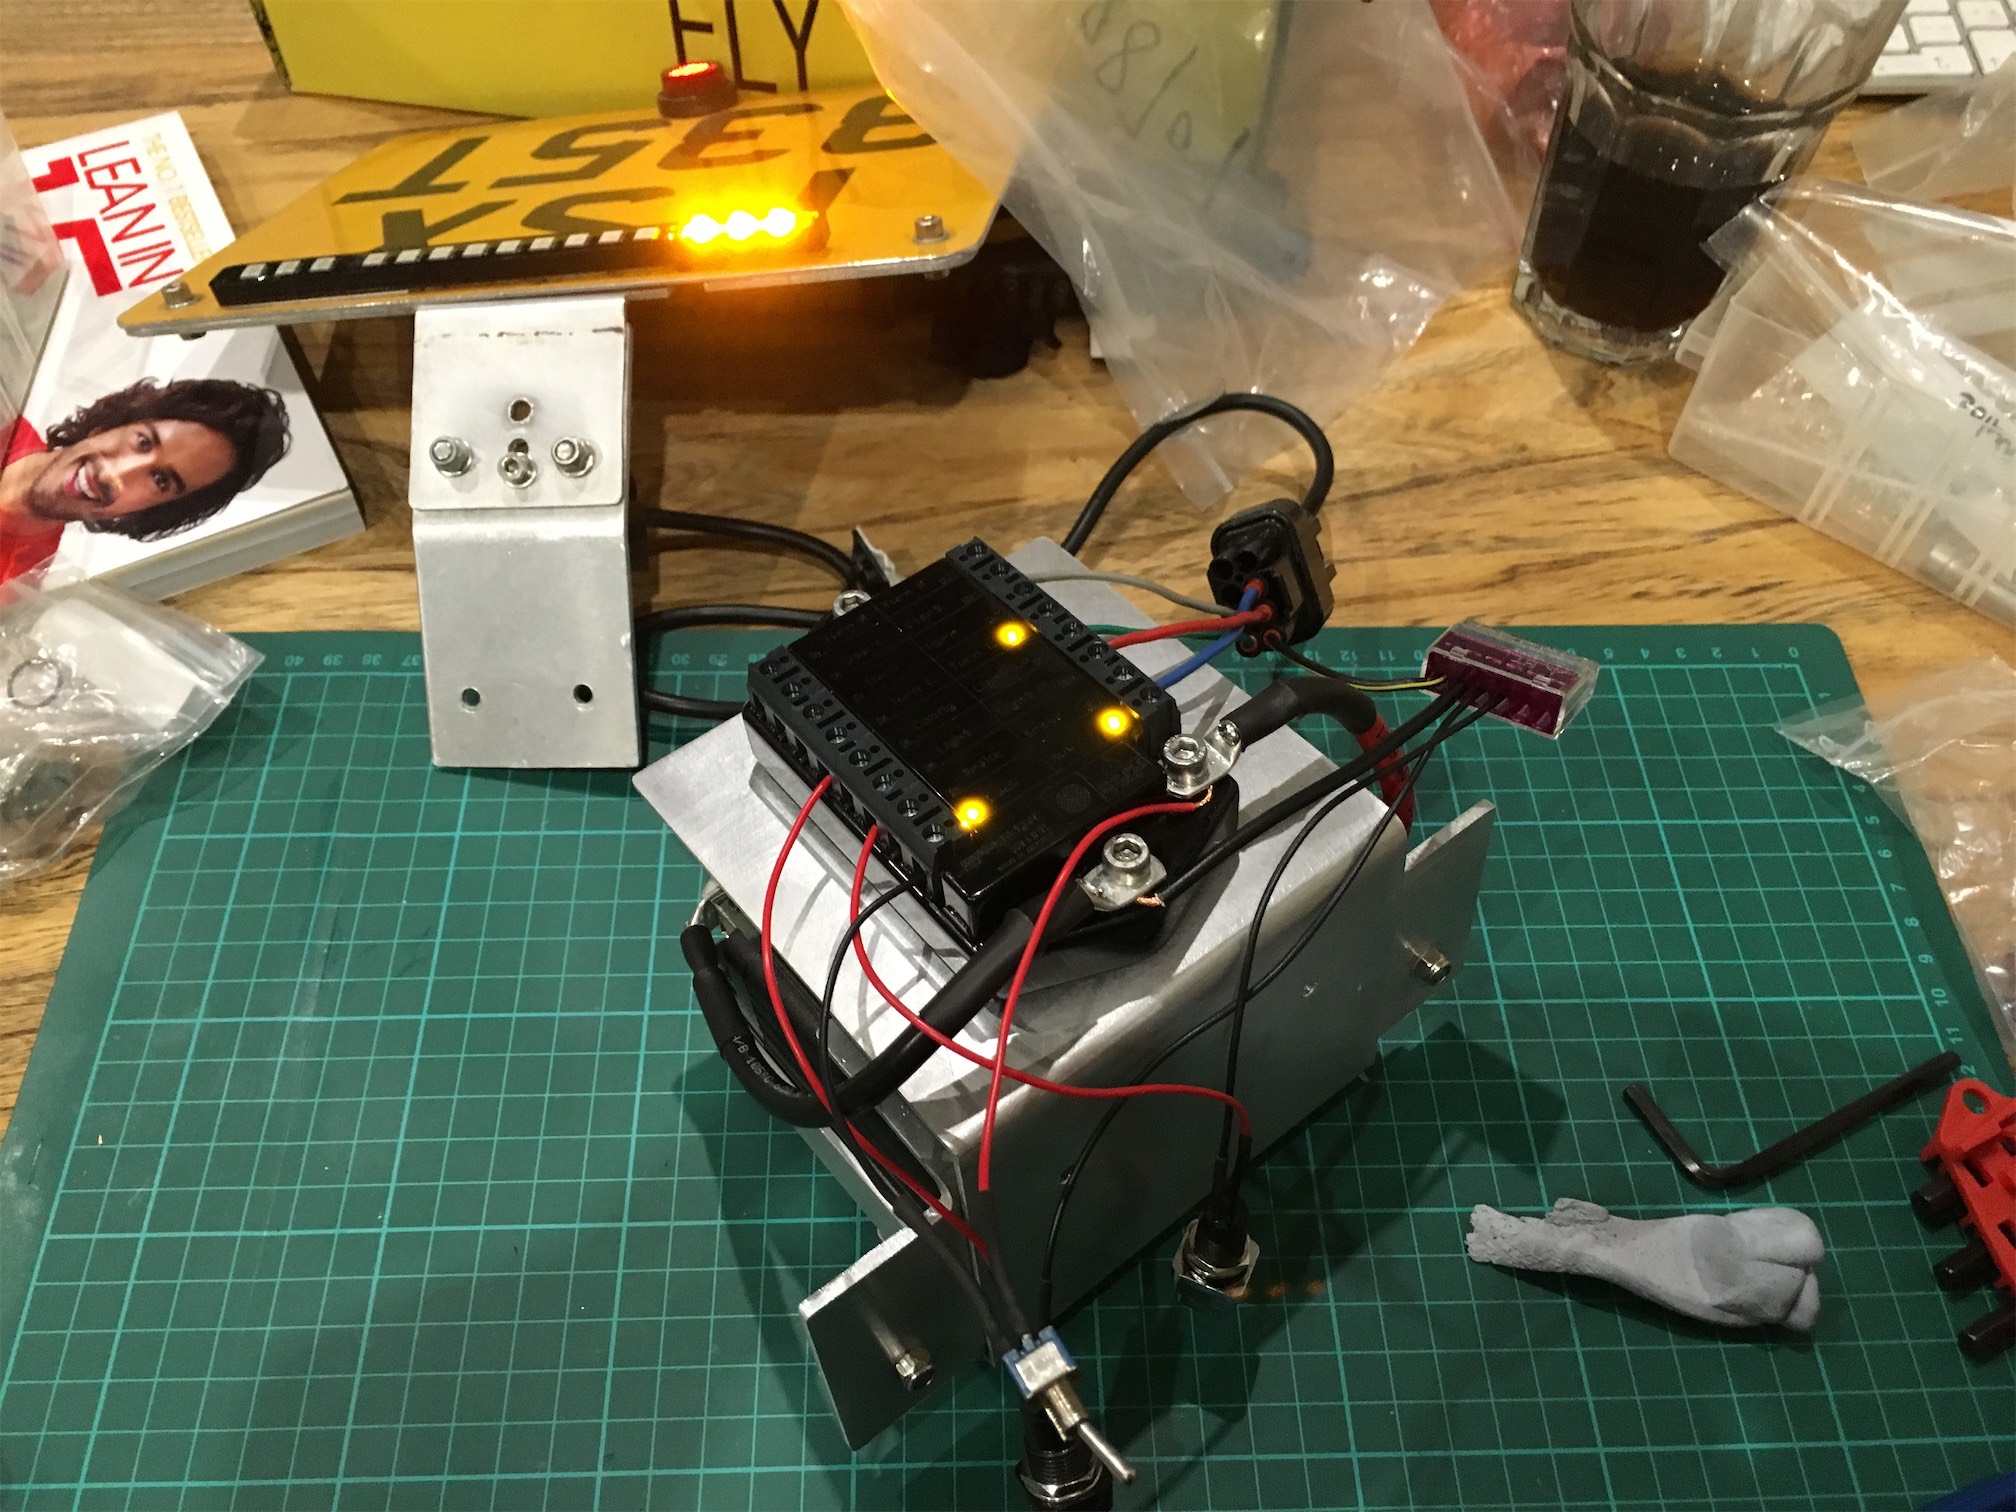
My final completed job was to make a mounting point for the Motogadget M-Lock. I’ve put it down the side so I can easily get to it. It may move when I finally decide what to do with the side panels. As I think a hidden setup would be best.

Using the key is awesome, I need to get the glass vial fitted to my glove asap.
Video:
Not going to get more done this weekend, but hopefully I will get the final wiring done soon as I want to ride it!!
Shorai Battery box
A quickish update. I’m still waiting on parts to start the rewire. I’m hoping my birthday tomorrow brings some shiny treats for the bike….
The Shorai Battery arrived and I was blown away by it’s size and weight.
New vs Old

Next to the m-unit it also looks so tiny.

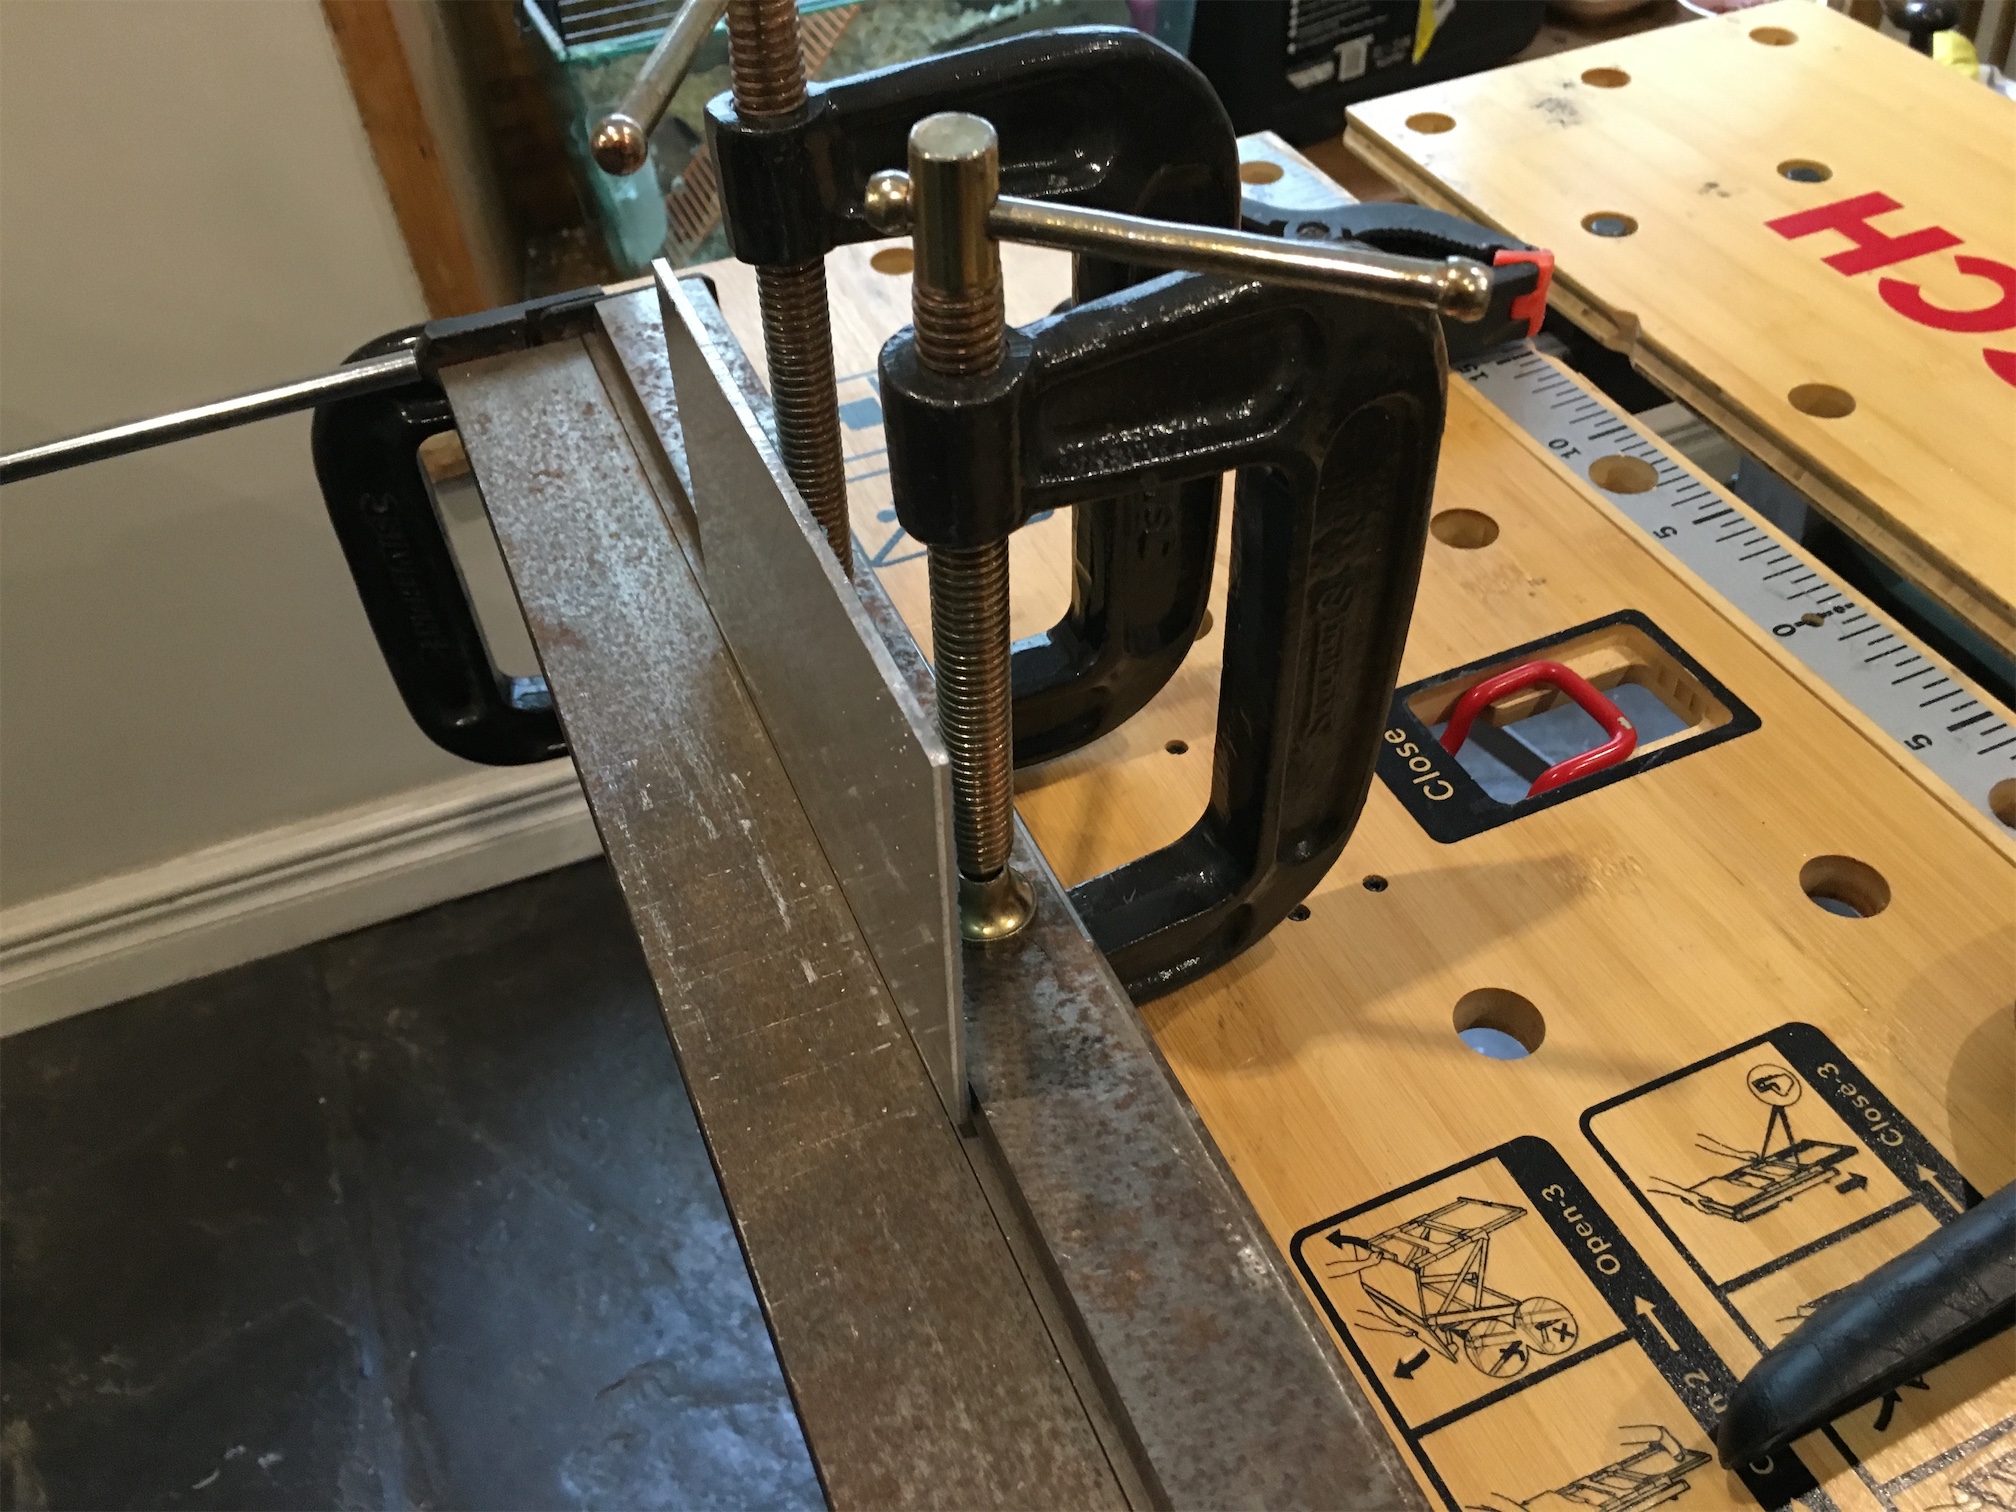
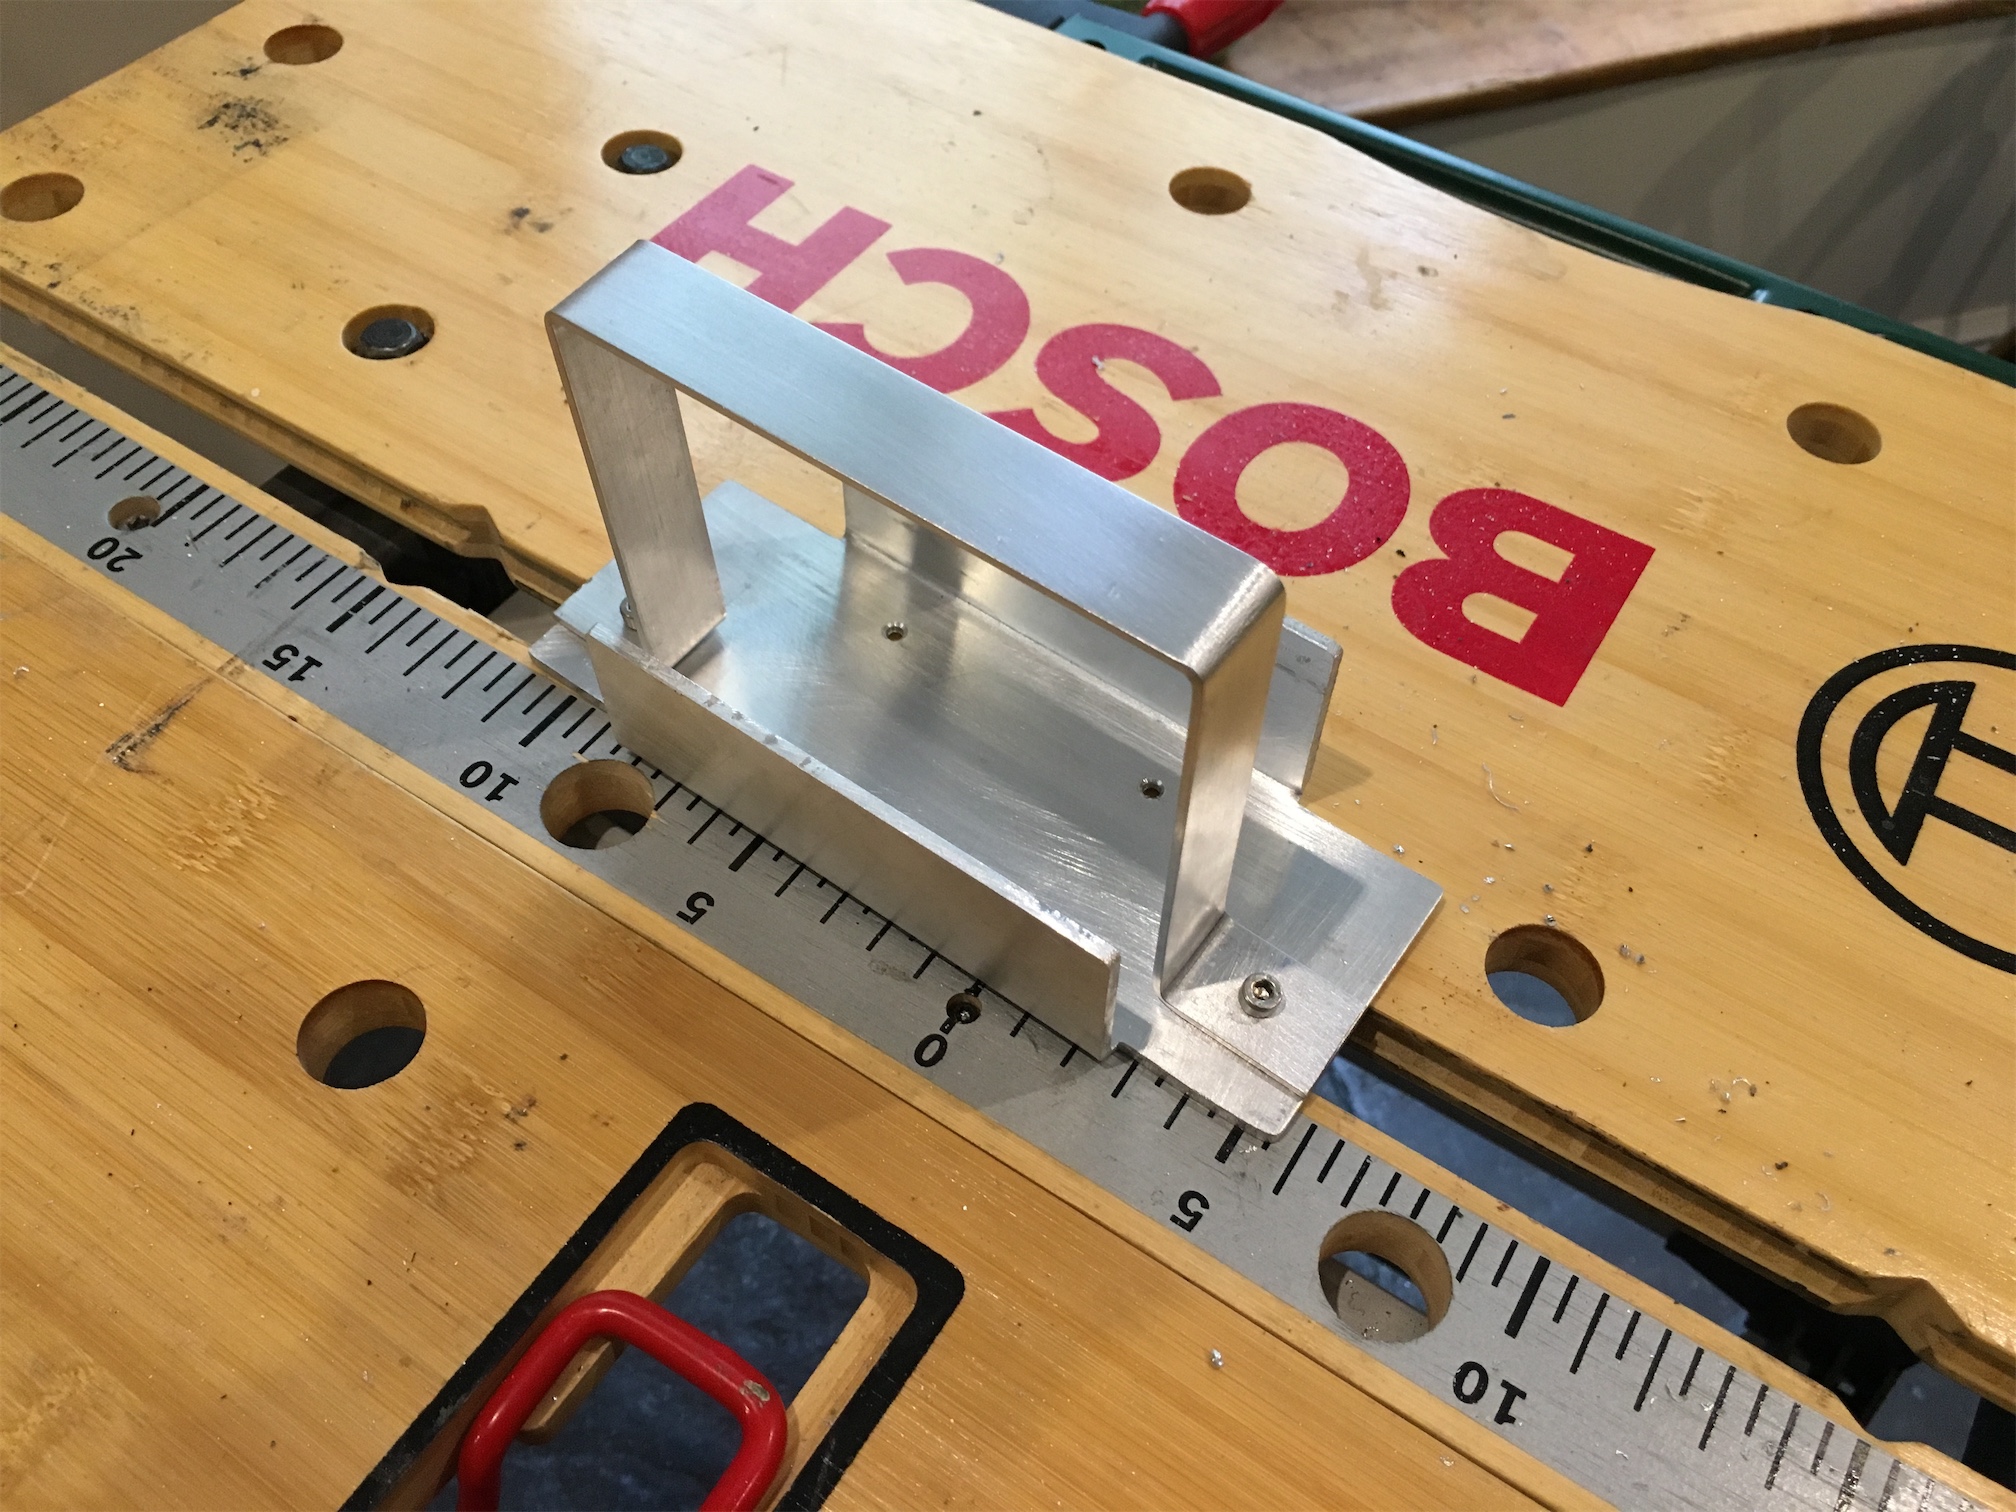
In the meantime I got to work building the battery mounting box. I’m fabricating this out of sheet aluminium. After a couple of sketch drawings I got to work using the bending brake.
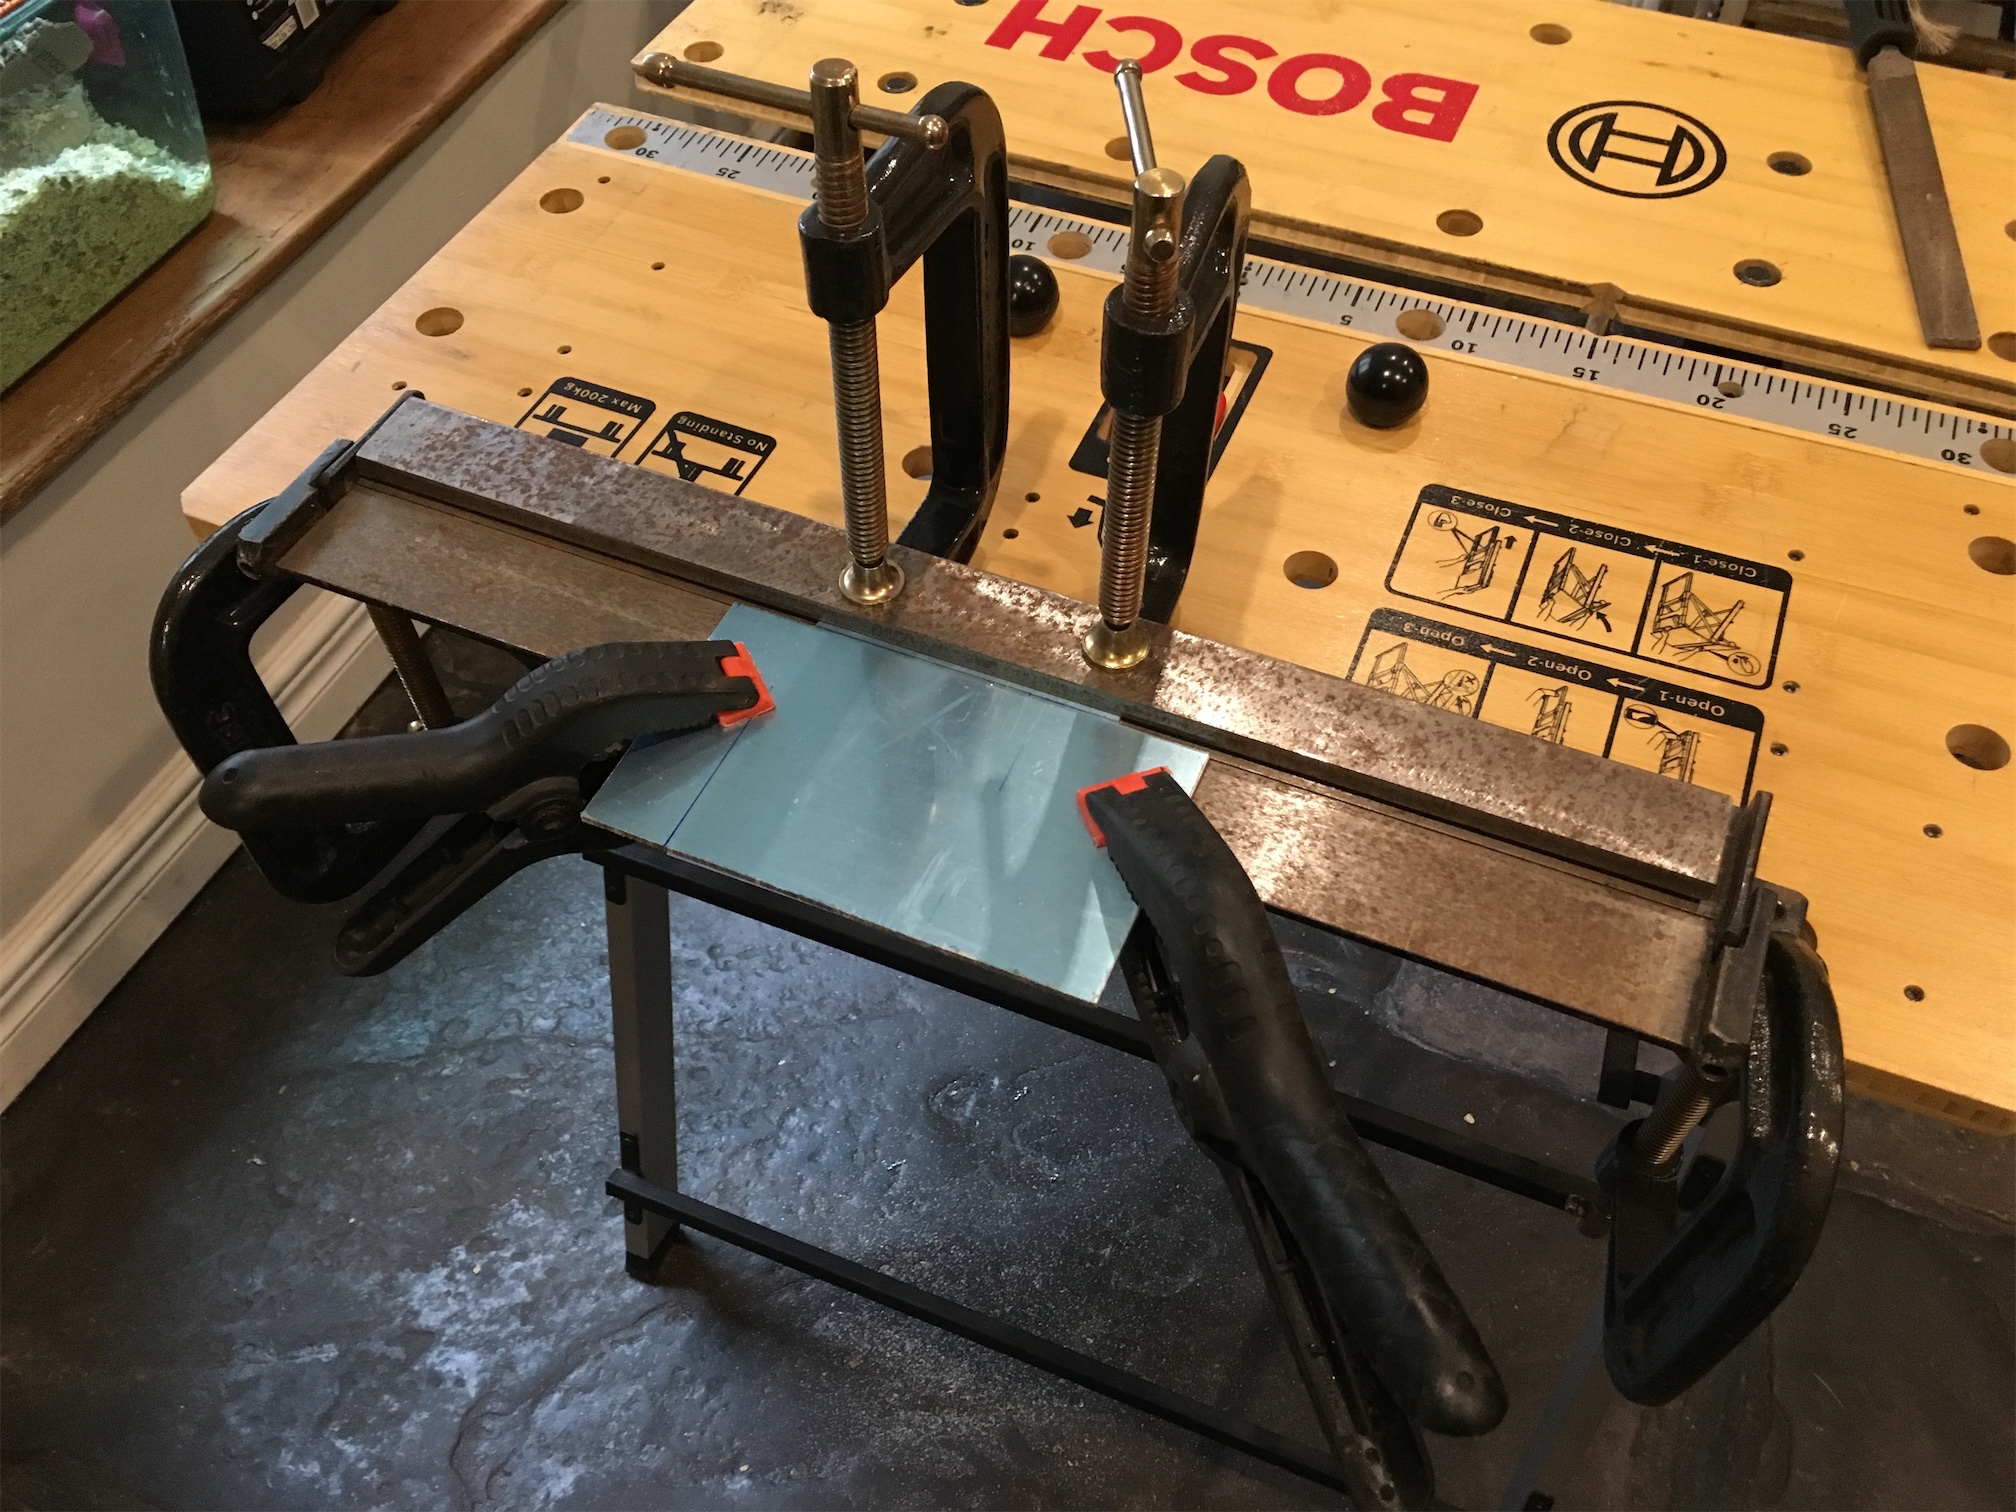
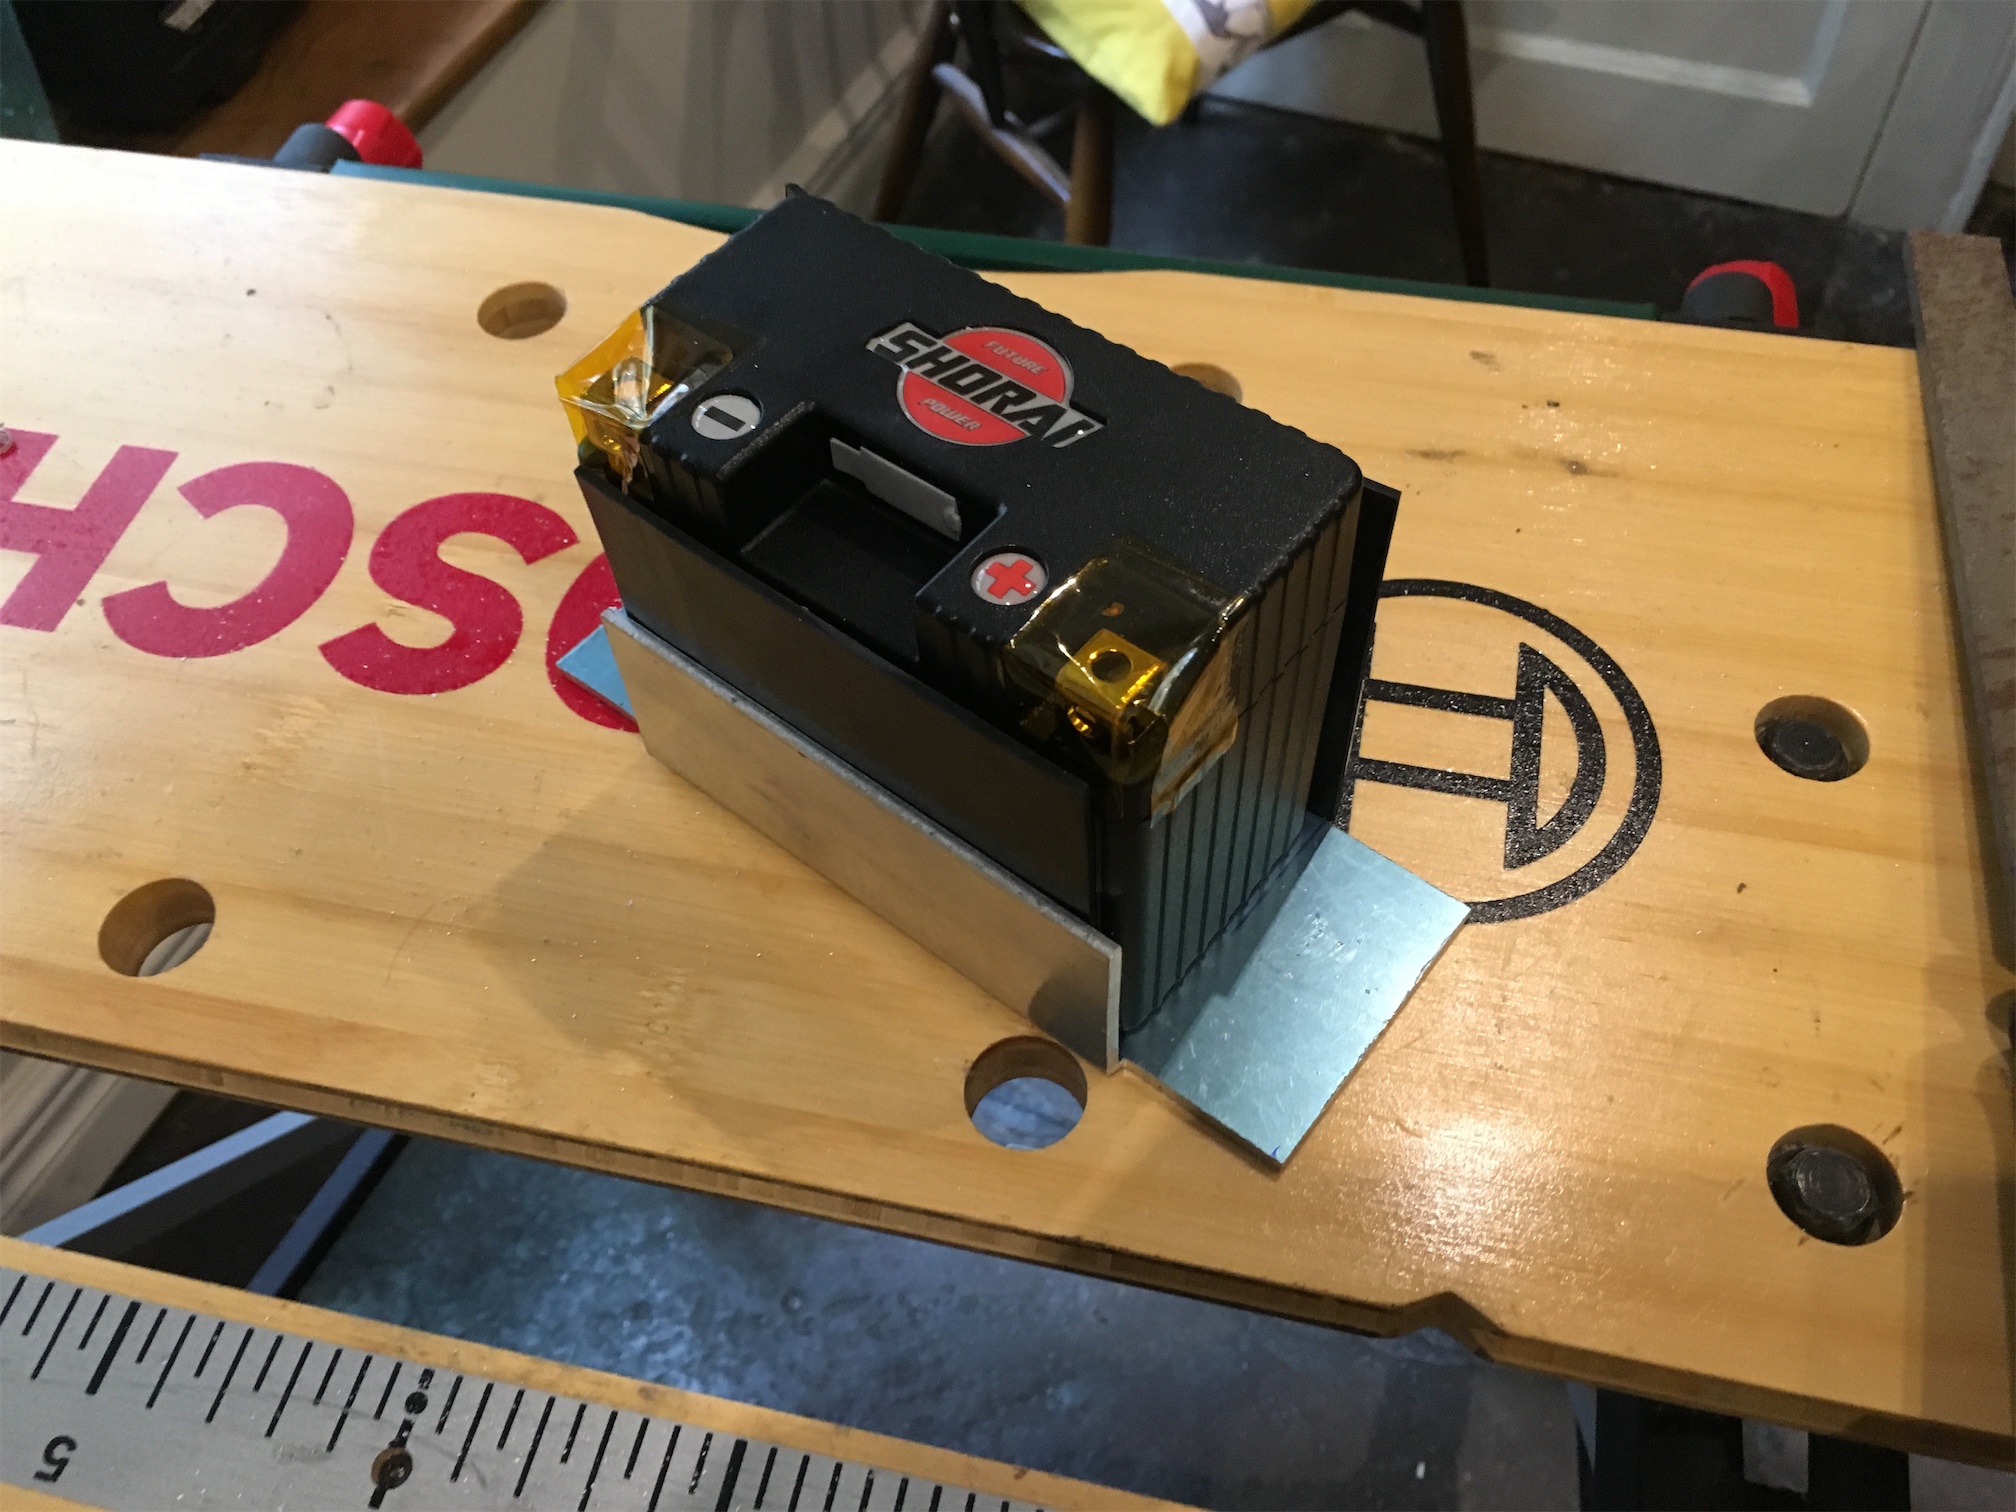
A quick test fit.

Next I made the attachment strap out of aluminium as well.

Looks like this should work. I need some longer mounting bolts and some sheet rubber for protecting the battery from the metal, but it’s a start.

Next job will be to drill the holes into the frame for the battery box to mount to. I’m not looking forward to that bit!
