After releasing the second version of my brackets to allow the fitment of a small Carbon Fibre to the newer version of the KTM Duke 390 and 125 I went back to the drawing board to develop a whole new version.
My main reasons for this was to add more strength and make it easier to fit. Along with trying to make it easier for me to print and prepare for sale.
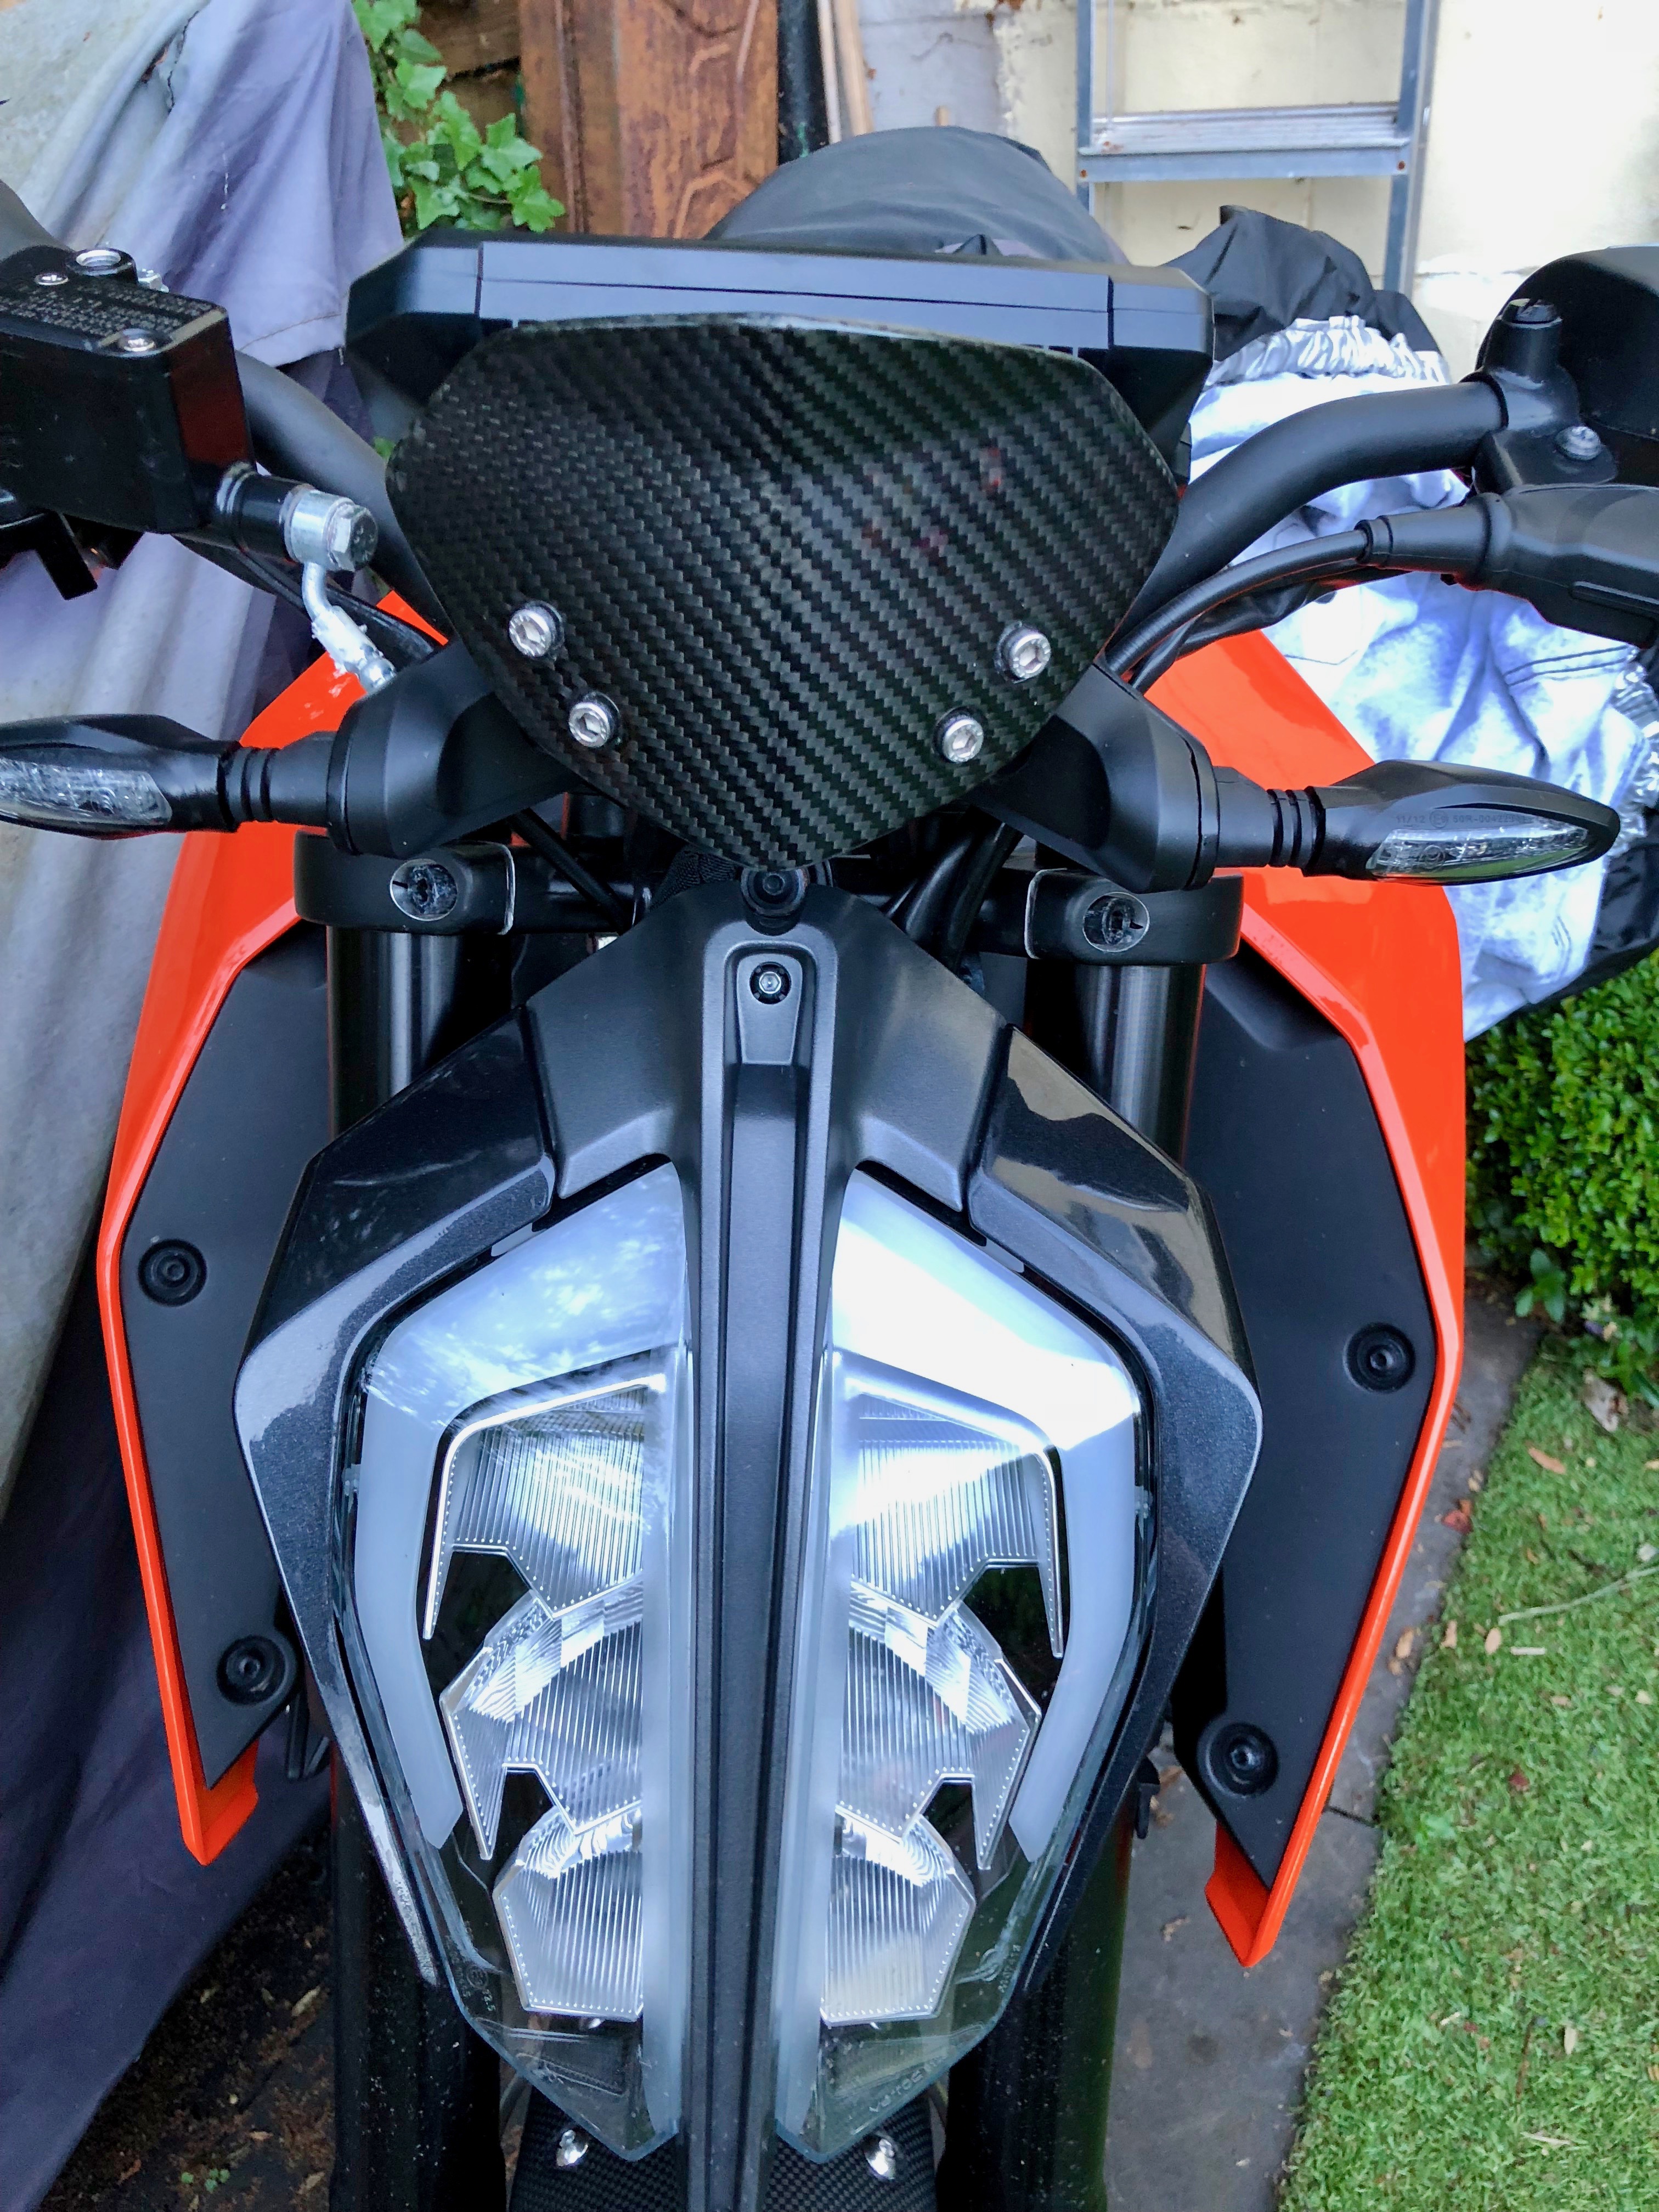
What I have come up with a is a single piece design and print which reduces the original 6 piece design with this 1 piece. I have designed it in such as way as to allow me to print it with zero support which take lots of time to remove after printing. I have also added some branding which is created by printing the text and then filling with paint later. More work, but adds to the design.
Version 3 with the 6 bolts. The nyloc nuts are already in place.
Parts List
1 Screen Bracket 4 x M6 Bolts 10MM 2 x M6 x 20mm bolts 2 x M5 x 25mm bolts 4 x M6 Nyloc Nuts
Gallery
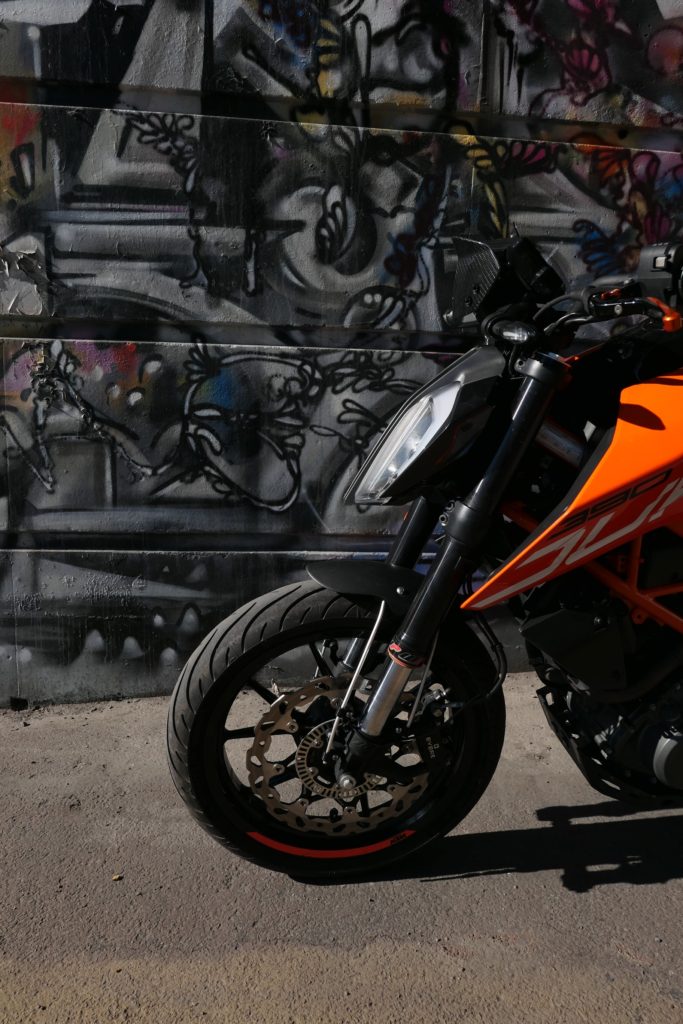
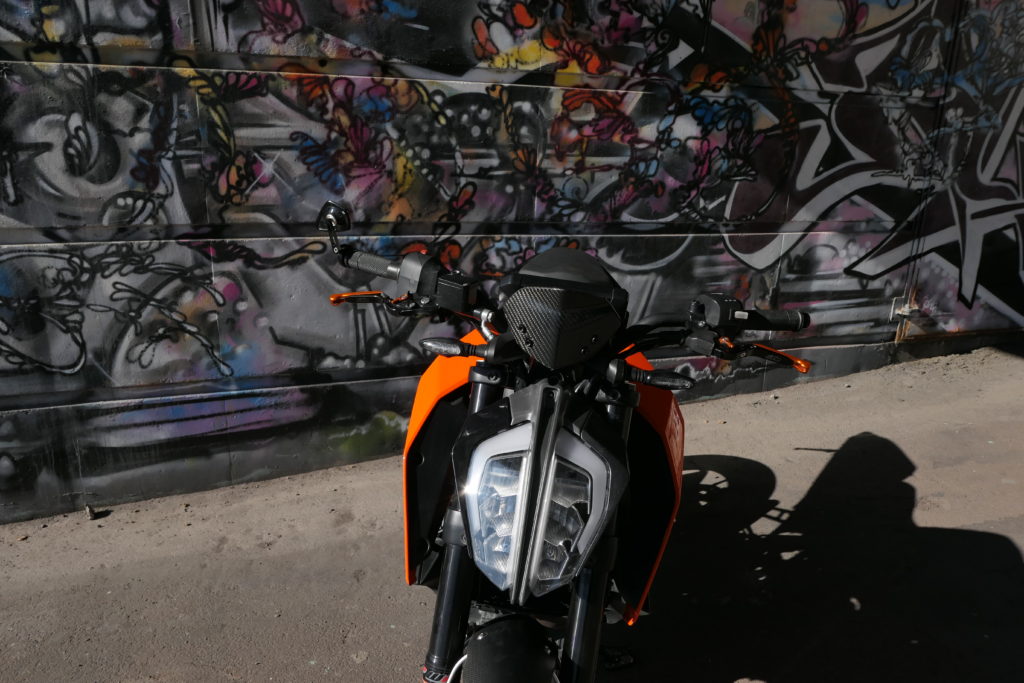
Screen fittedSide onBracket in placeFront On3/4 Shot
Manual
A full installation manual is available to download here
Fitment
These brackets are designed to allow the fitment of screens from the previous versions of the KTM Duke 125 and 390 from before 2017. It has been tested with the Zero Limits carbon fibre version, but others that match the stock part should also fit. Here are some links to various different screen choices.
In my last post I described the path to getting the great AS3 Performance sump guard/skid plate to fit on the newer models of the KTM Duke 390’s. It was a great success however after a few hundred miles I ran into an issue. It was noise.
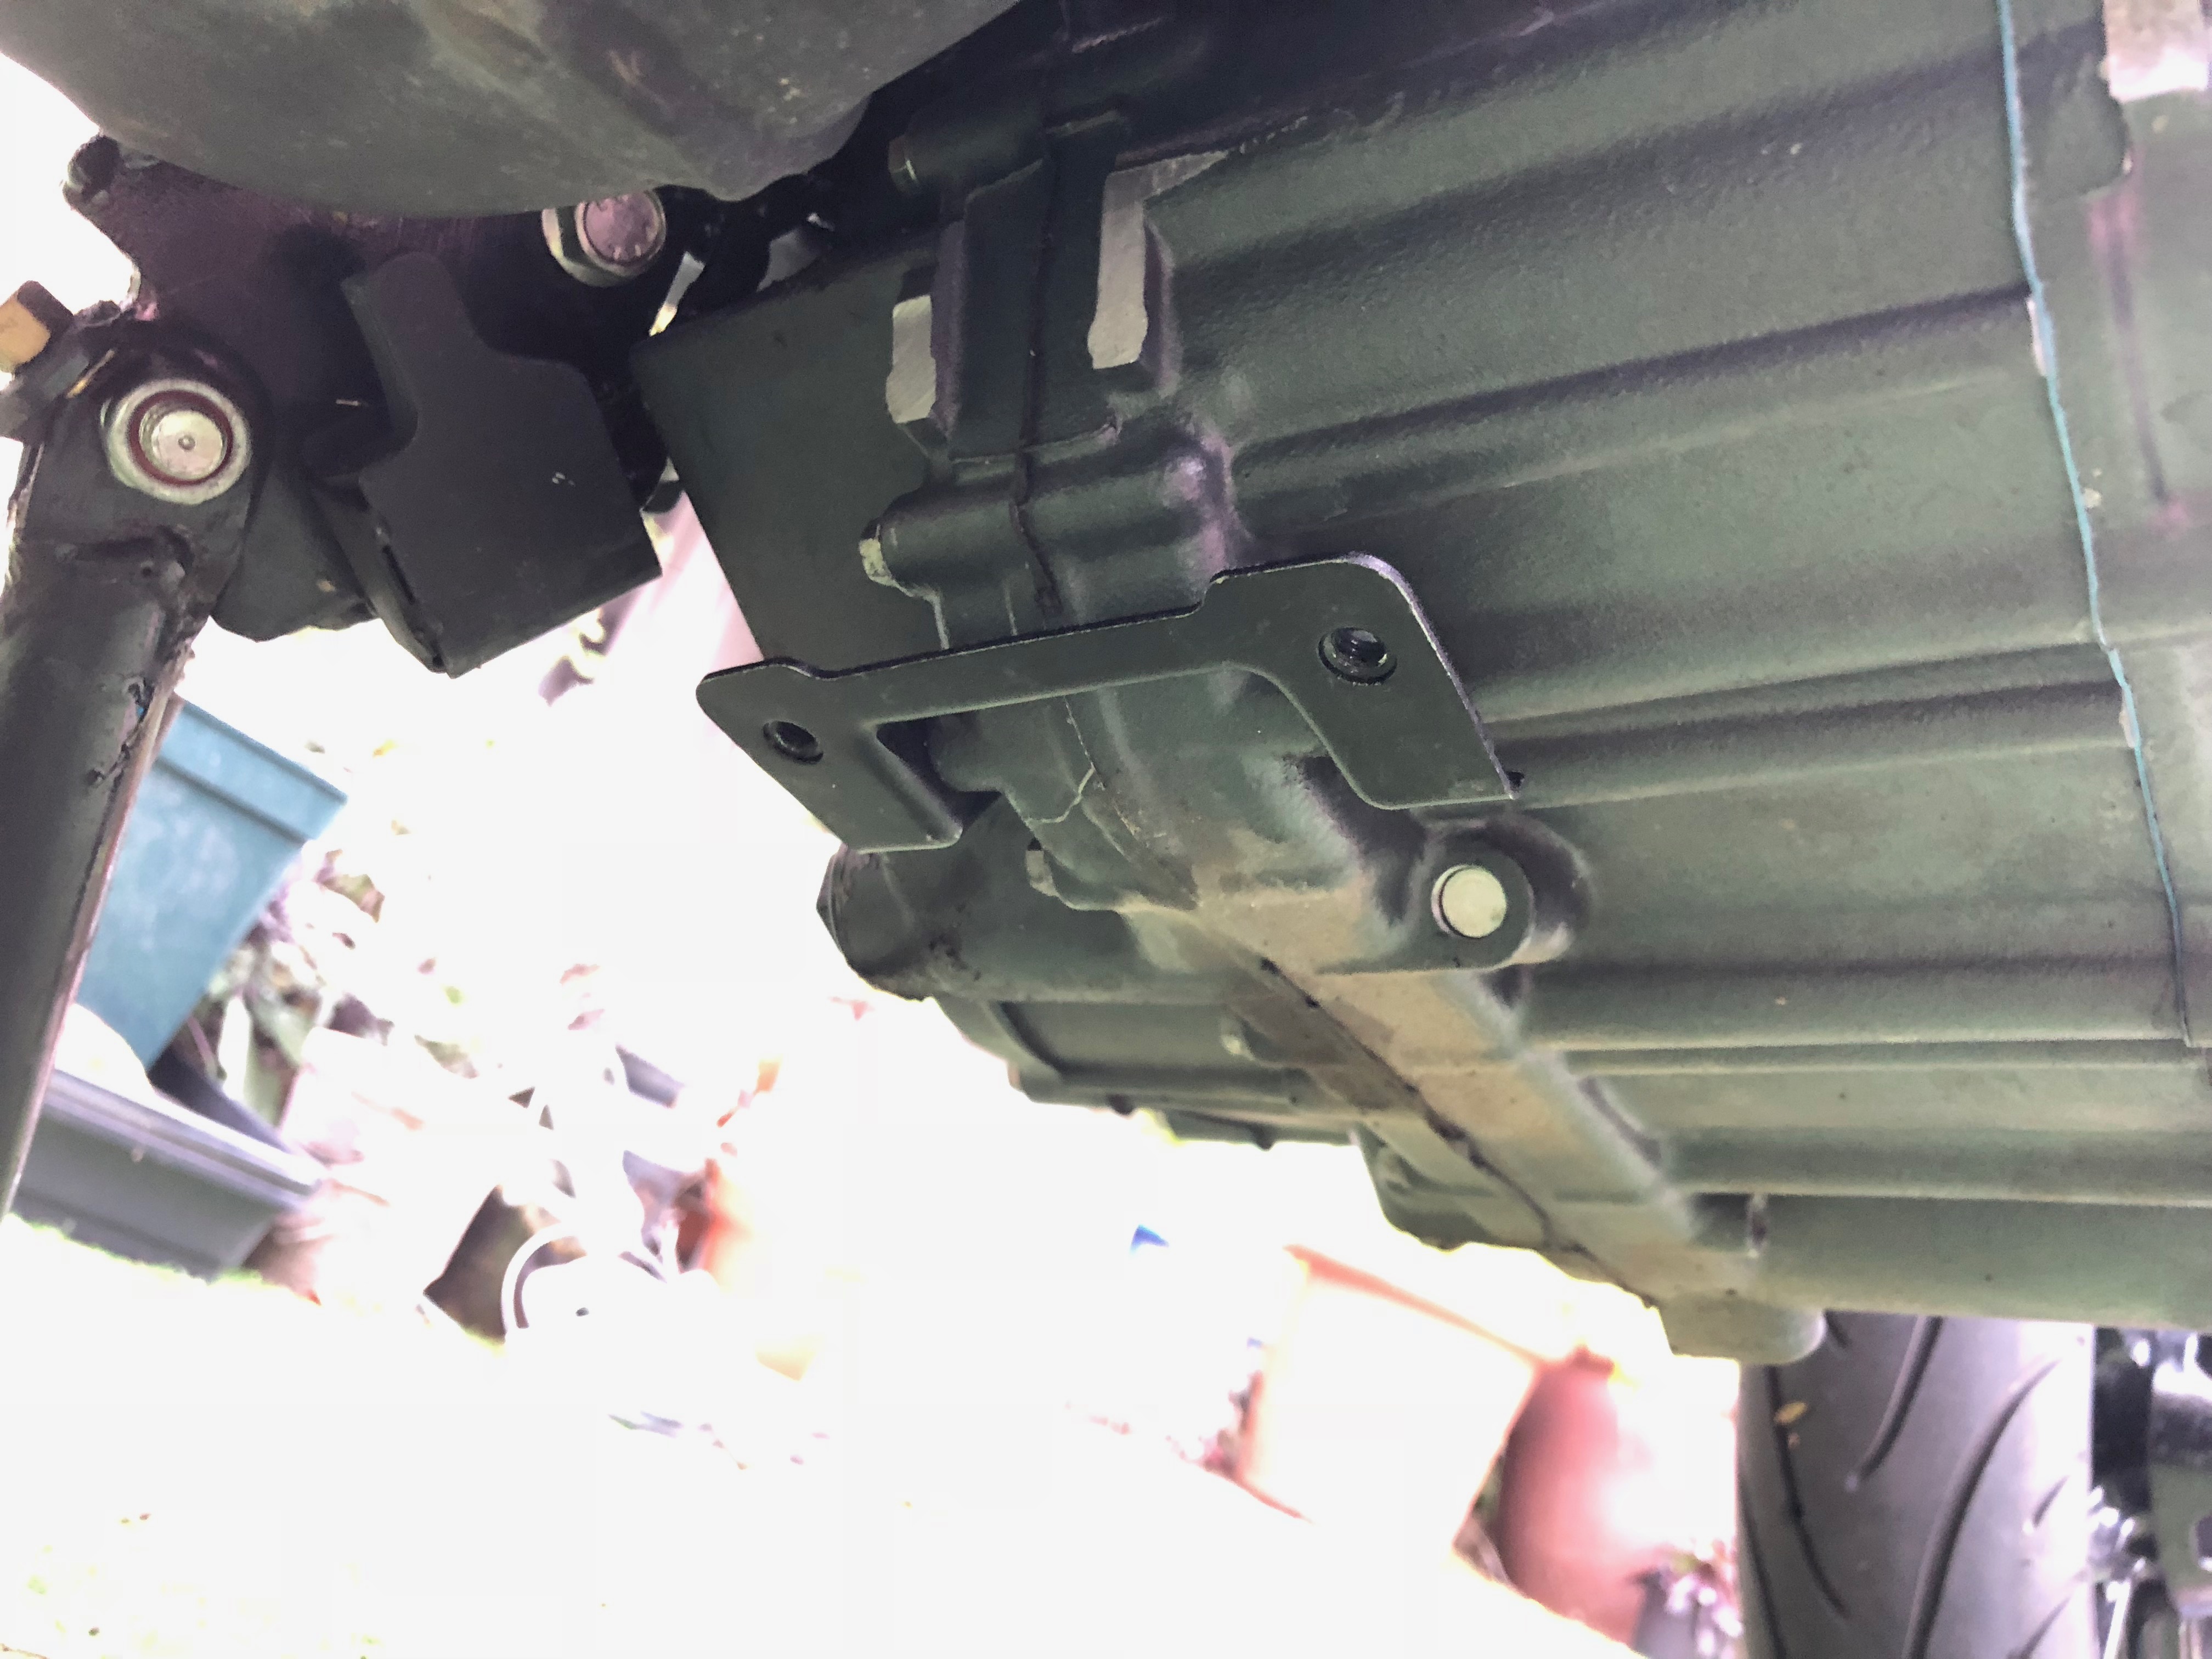
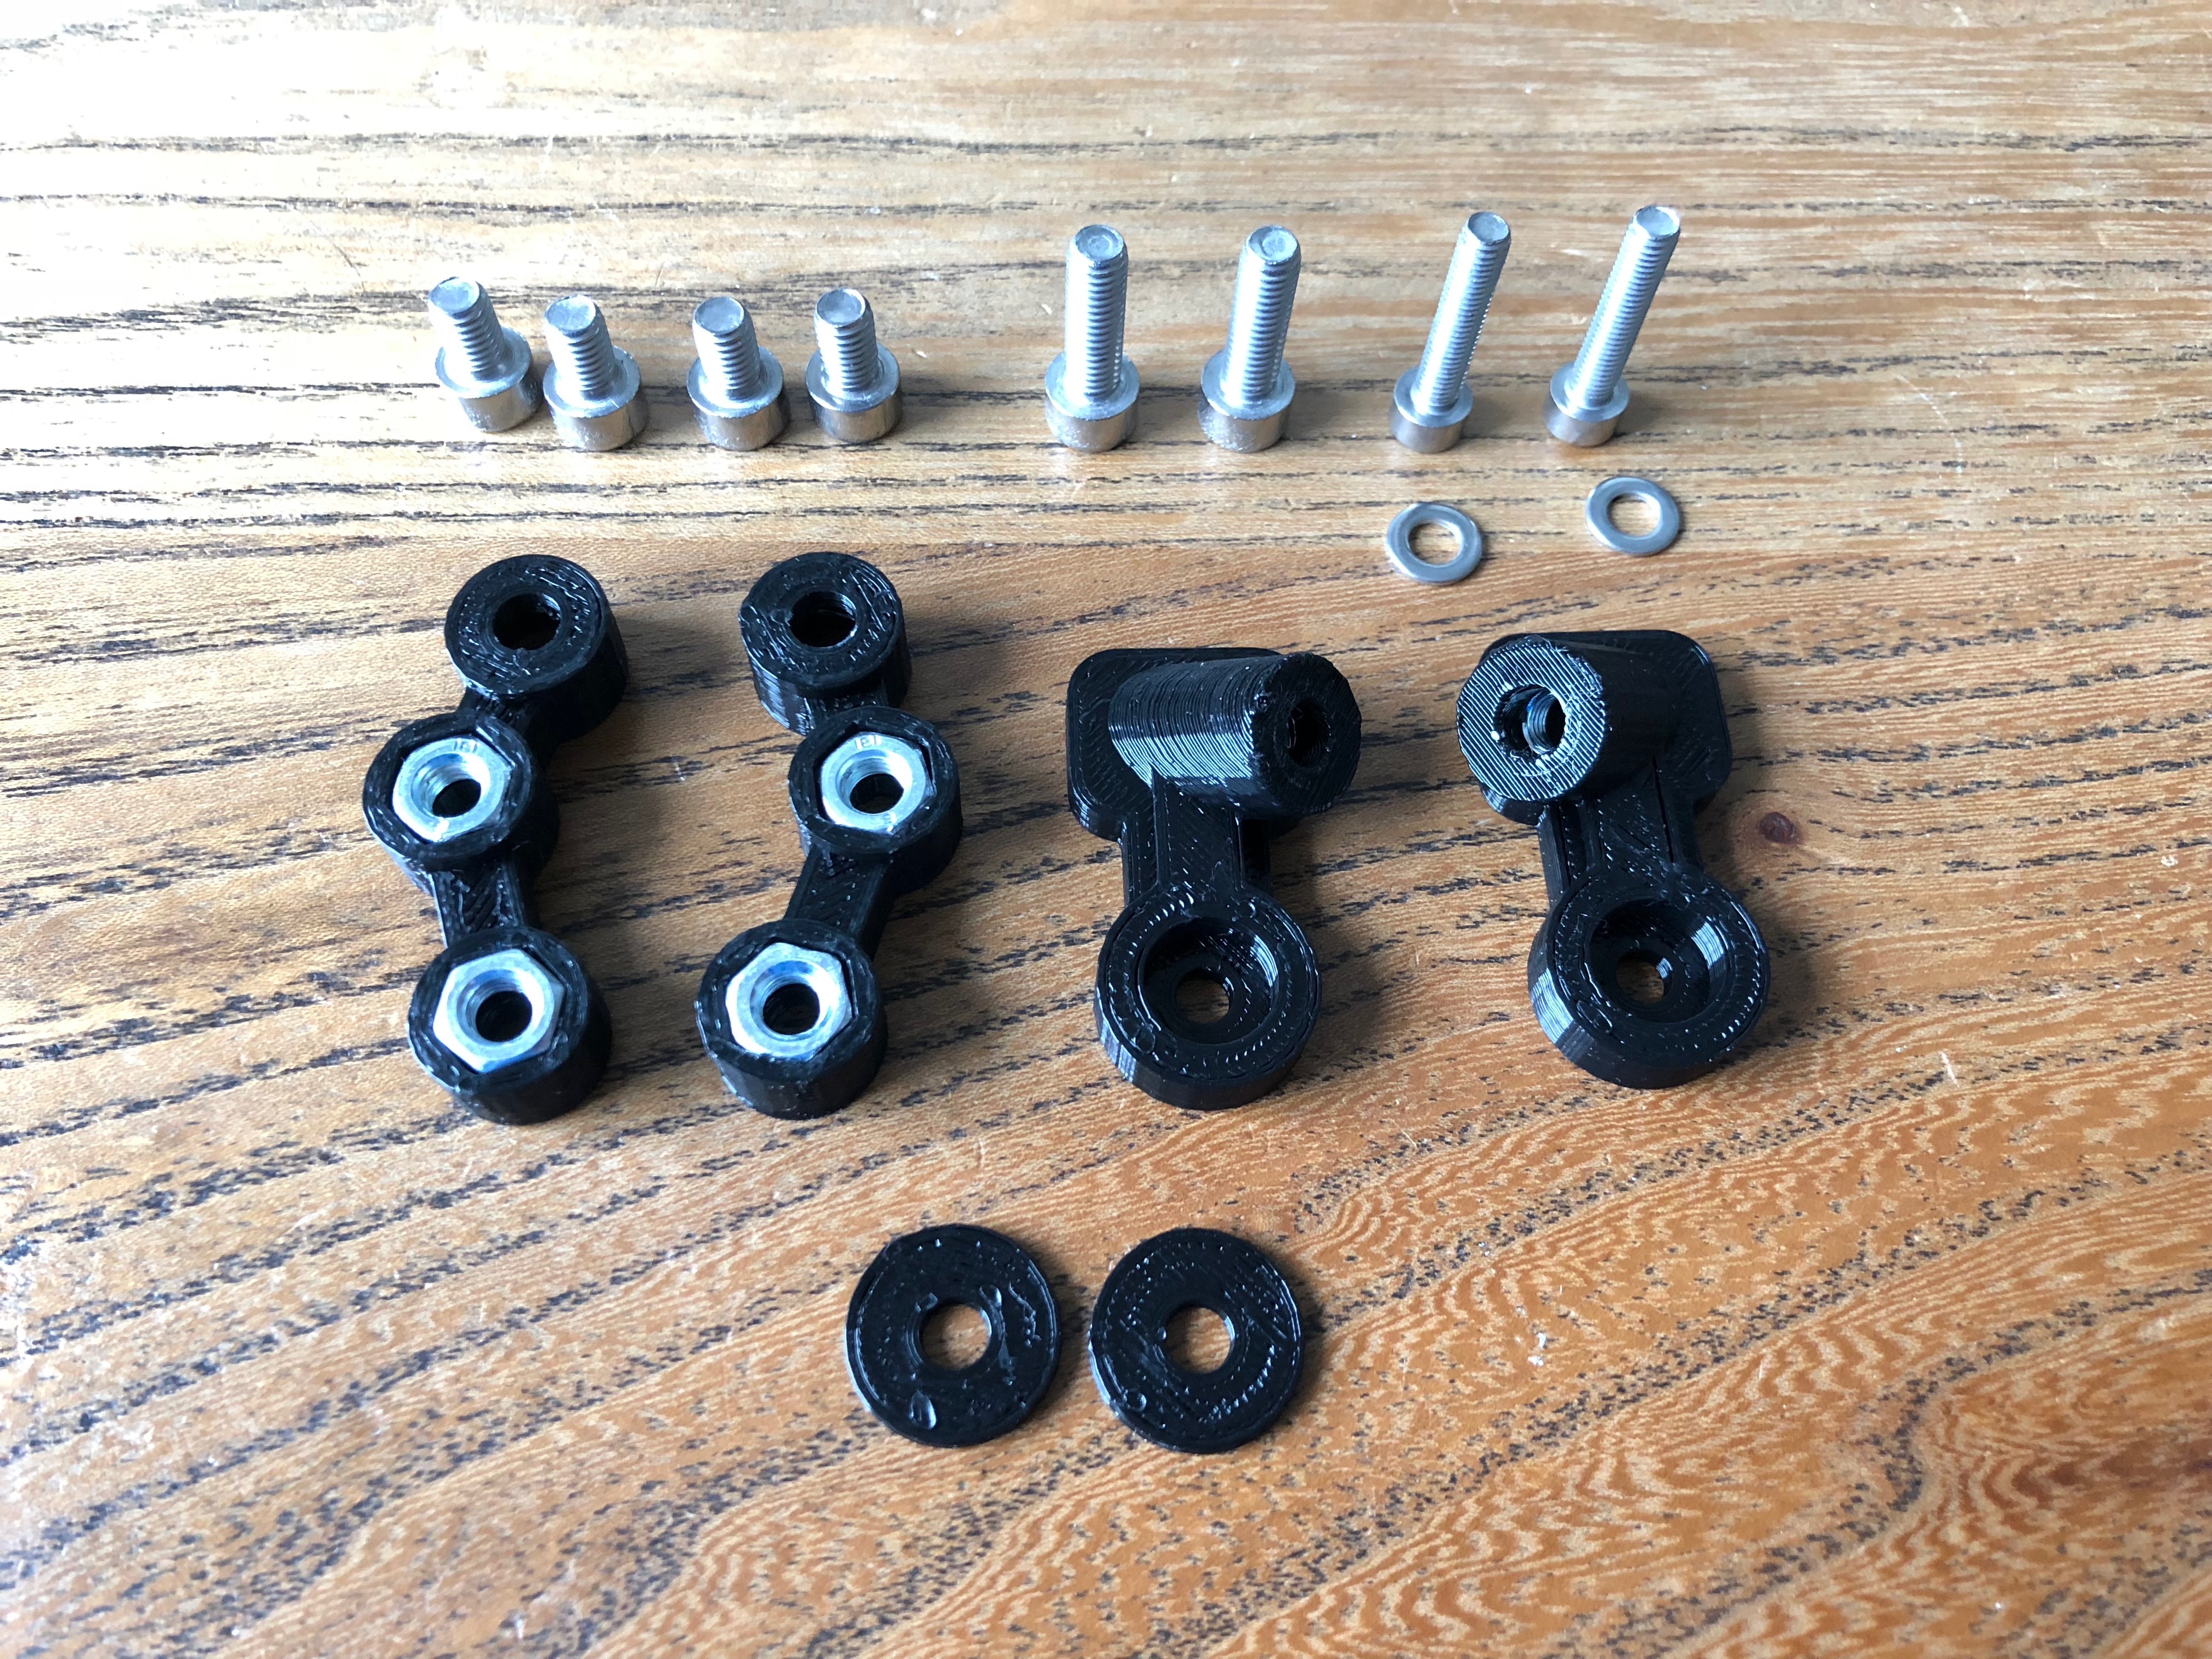
The metal vibrations due to the sump guard sounded very odd. So I decided to fix this. After a quick test of concept with some simple rubber washers I decided to make some rubber spacers to damp the guard from the engine itself.
Rubber spacing kit
I took a sheet of 3mm rubber I had to hand and cut 4 small washers out, 2 larger round washers and finally a large section to cover the main bracket.
I then backed these with some high strength 3M double sided sticky tape.
Tape stuck in place. Squaretape is hard on circles!
Next I stuck the three larger washers onto the sump guard, on the inside.
Rubber washers stuck down
I needed some 5mm longer bolts to attached the guard, as the stock ones were too short with the rubber sections in place. I probably could have eliminated the rubber washers for the bolts themselves, but I thought I may as well damp as much noise as possible.
The Results
I’m very happy with how it turned out, it fixed the problem completely. For a 30min investment in time and some materials I had laying around it was great. I made a quick video of the sound before and after to show the difference.
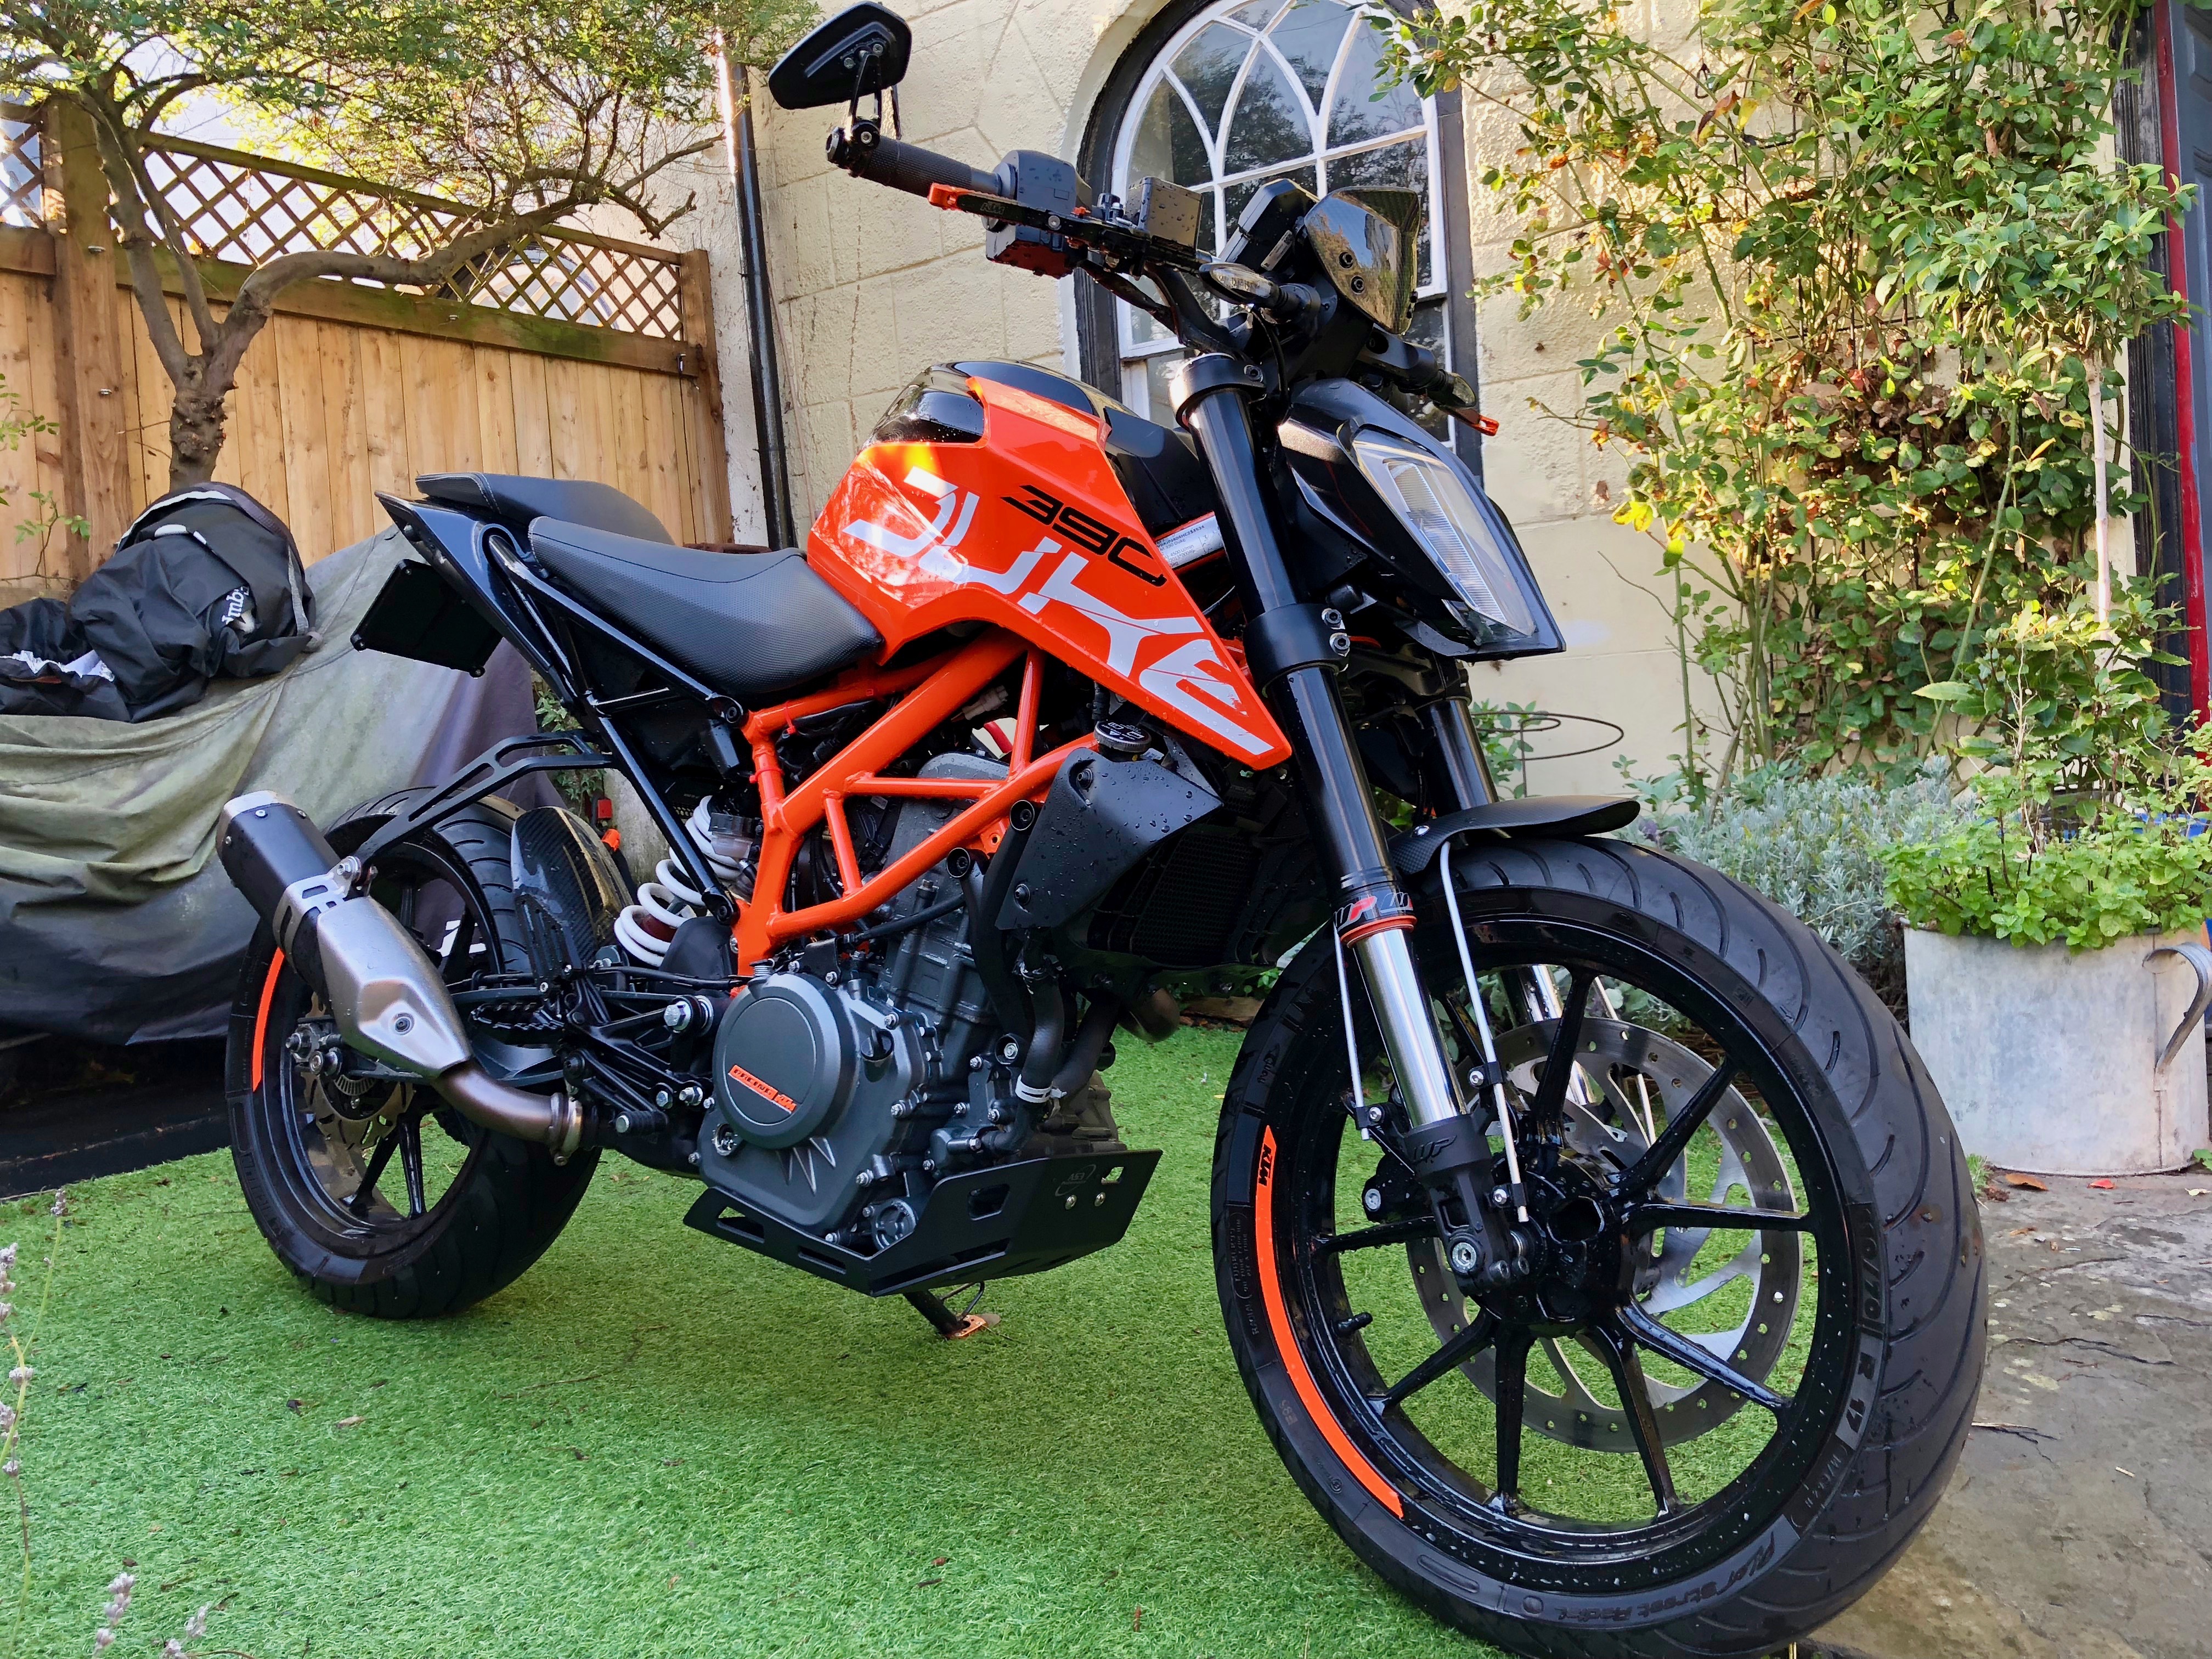
I’ve not be a fan of the plastic engine skid plate/sump guard on the 2017 390. It’s quite plasticy and doesn’t look great. I wanted to find something that would look better and maybe provide better protection. After a fairly long fruitless search I had given up on finding something the for the 2017 models. There are plenty for the earlier ones but nothing for the newer models.
In the end I decided to take matters into my own hand. I found a great looking guard for the 2012-14 models of the duke 390 and it looked like it should work.
AS3 Performance do a great looking aluminium sump guard and after approaching them about fitment they were very helpful. They had no idea if it would fit, but if it didn’t they would be happy to take it back. They’ve been very communicative through the whole process. So a big thumbs up for them.
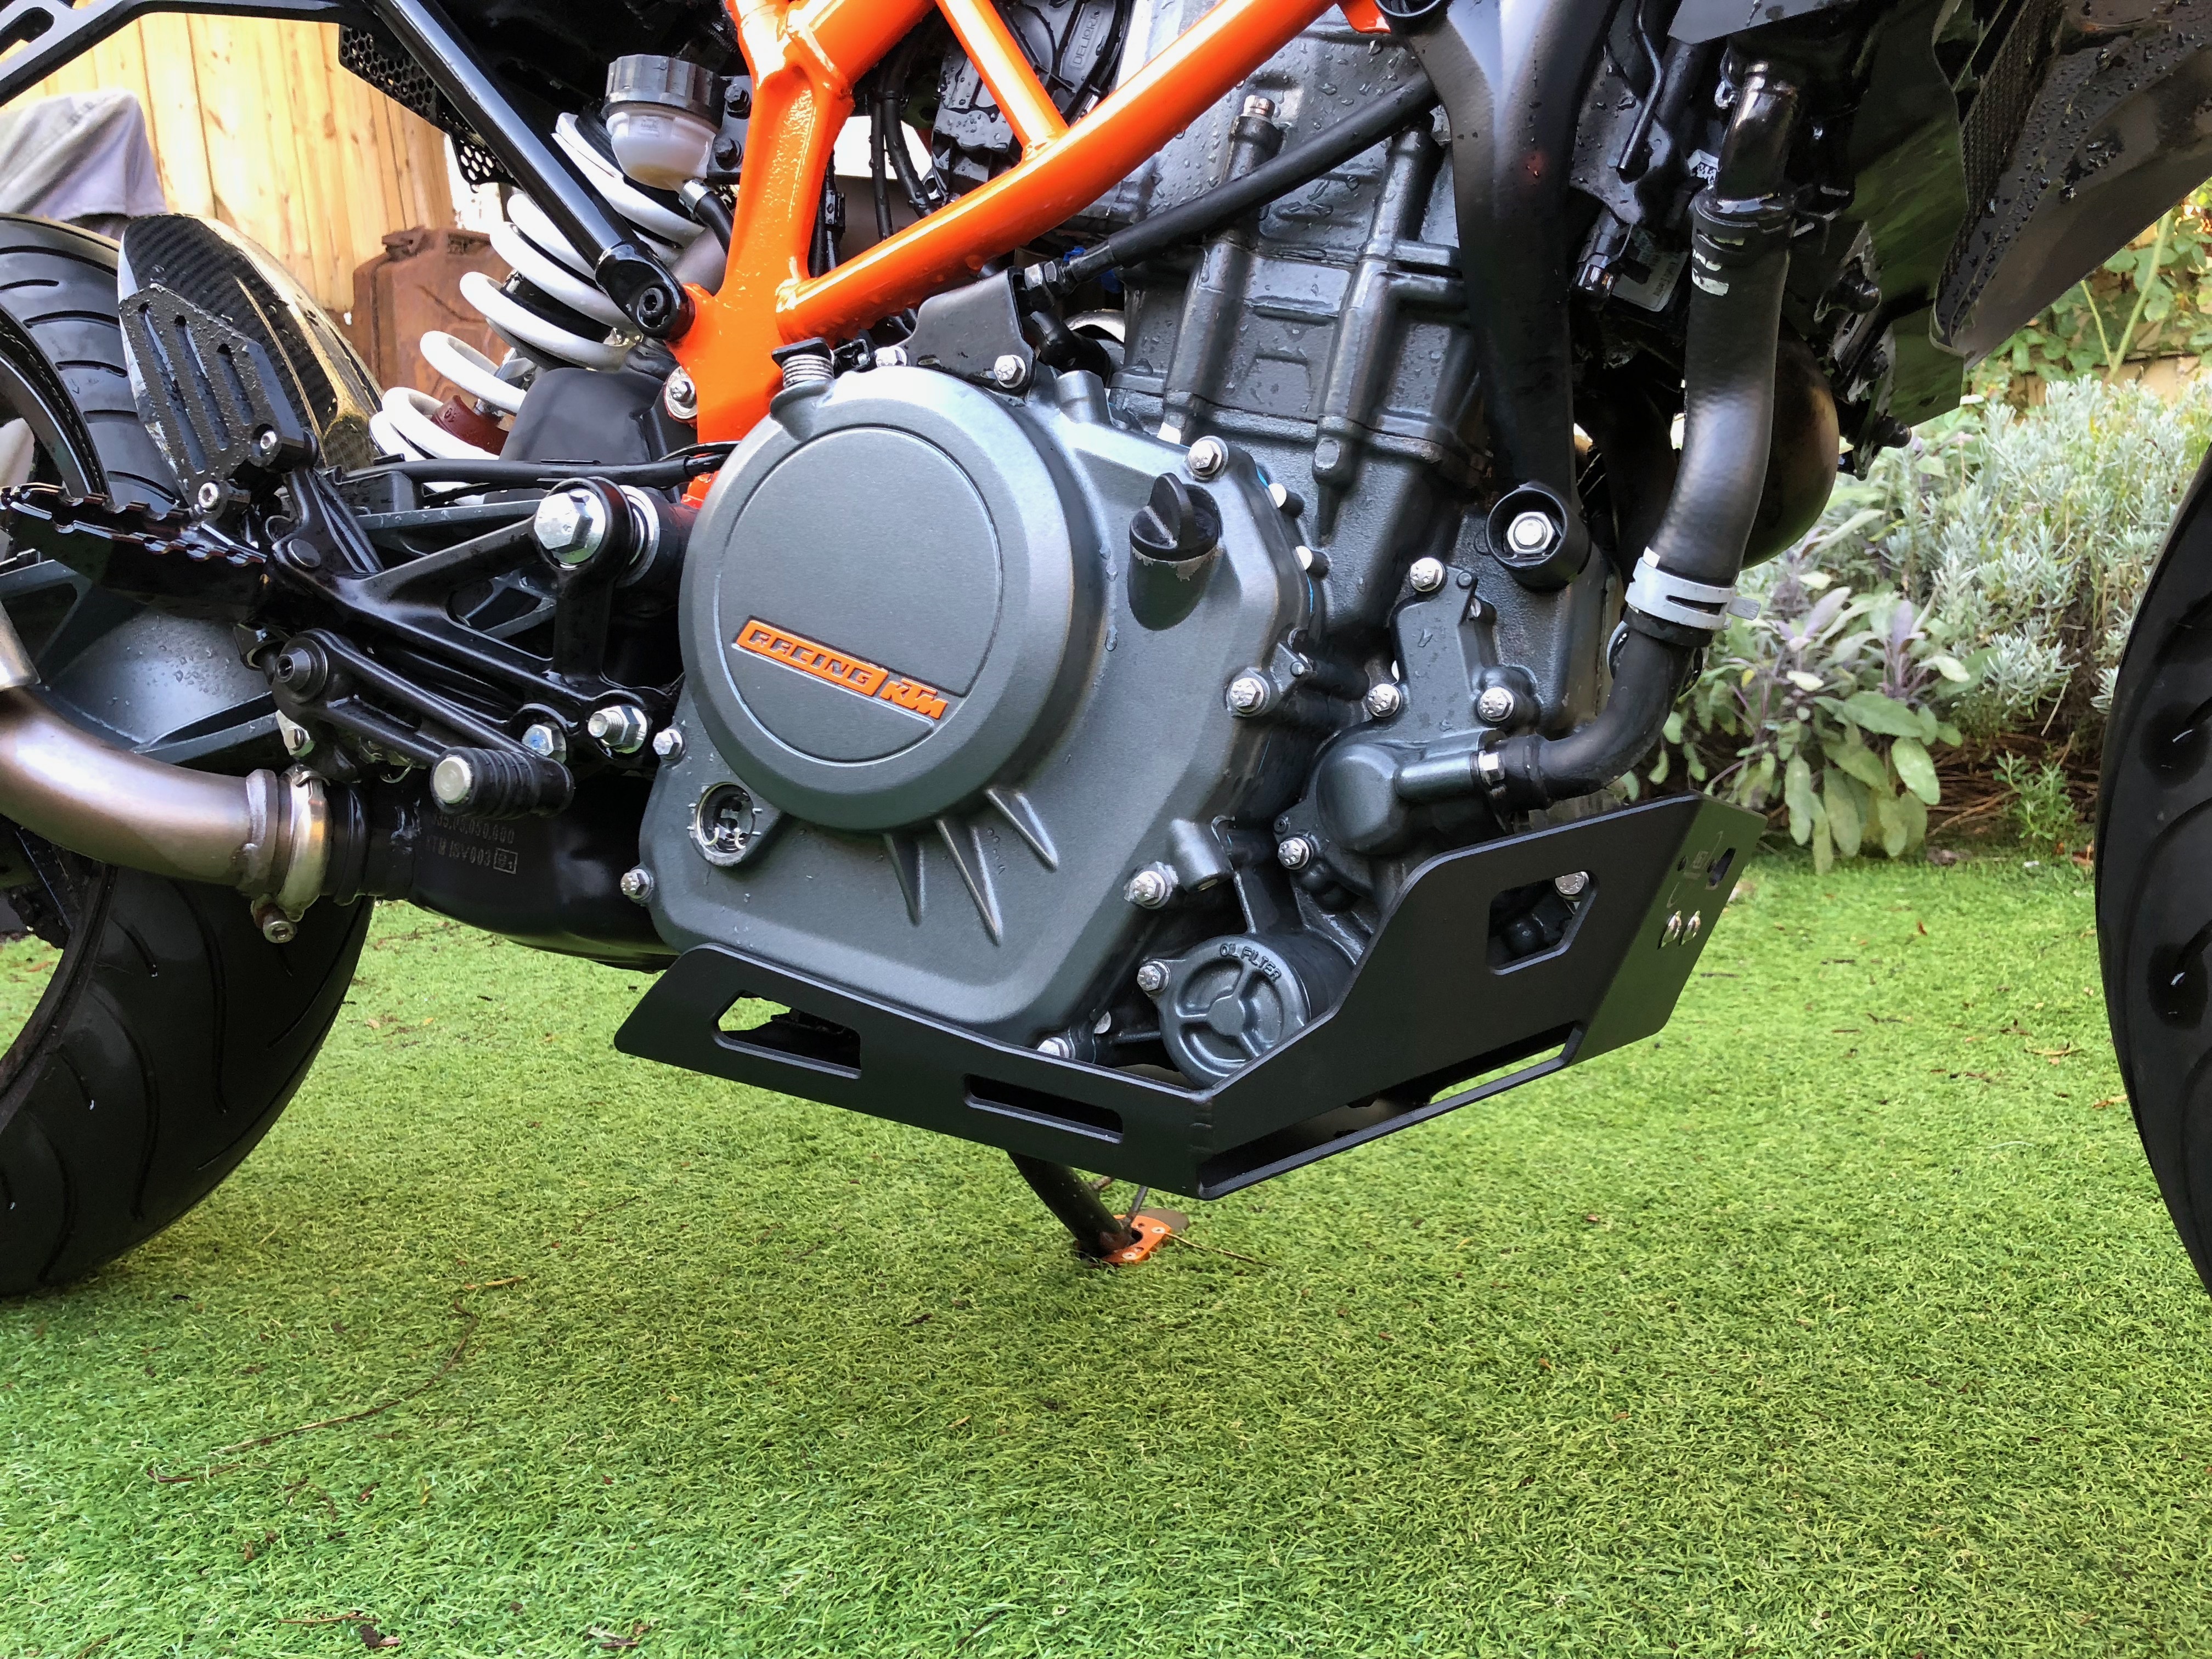
It arrived and sadly the weather was far too wet to try it out. So after waiting a few days I finally got to do a trial fit. After taking of the stock skid plate it was clear that it was not a match for the AS3 performance guard. However all was not terrible, I can sort this I was sure.
The front bracket was so close to fitting but was just 1mm out. There is an aluminium spacer as part of the kit. It was 15mm tall but needed to be 14mm. Ok that’s solvable I thought, a quick 3d printed test part proved that to be the case. So I got my local machine shop to take off 1mm of the spacer and did a trial fit.
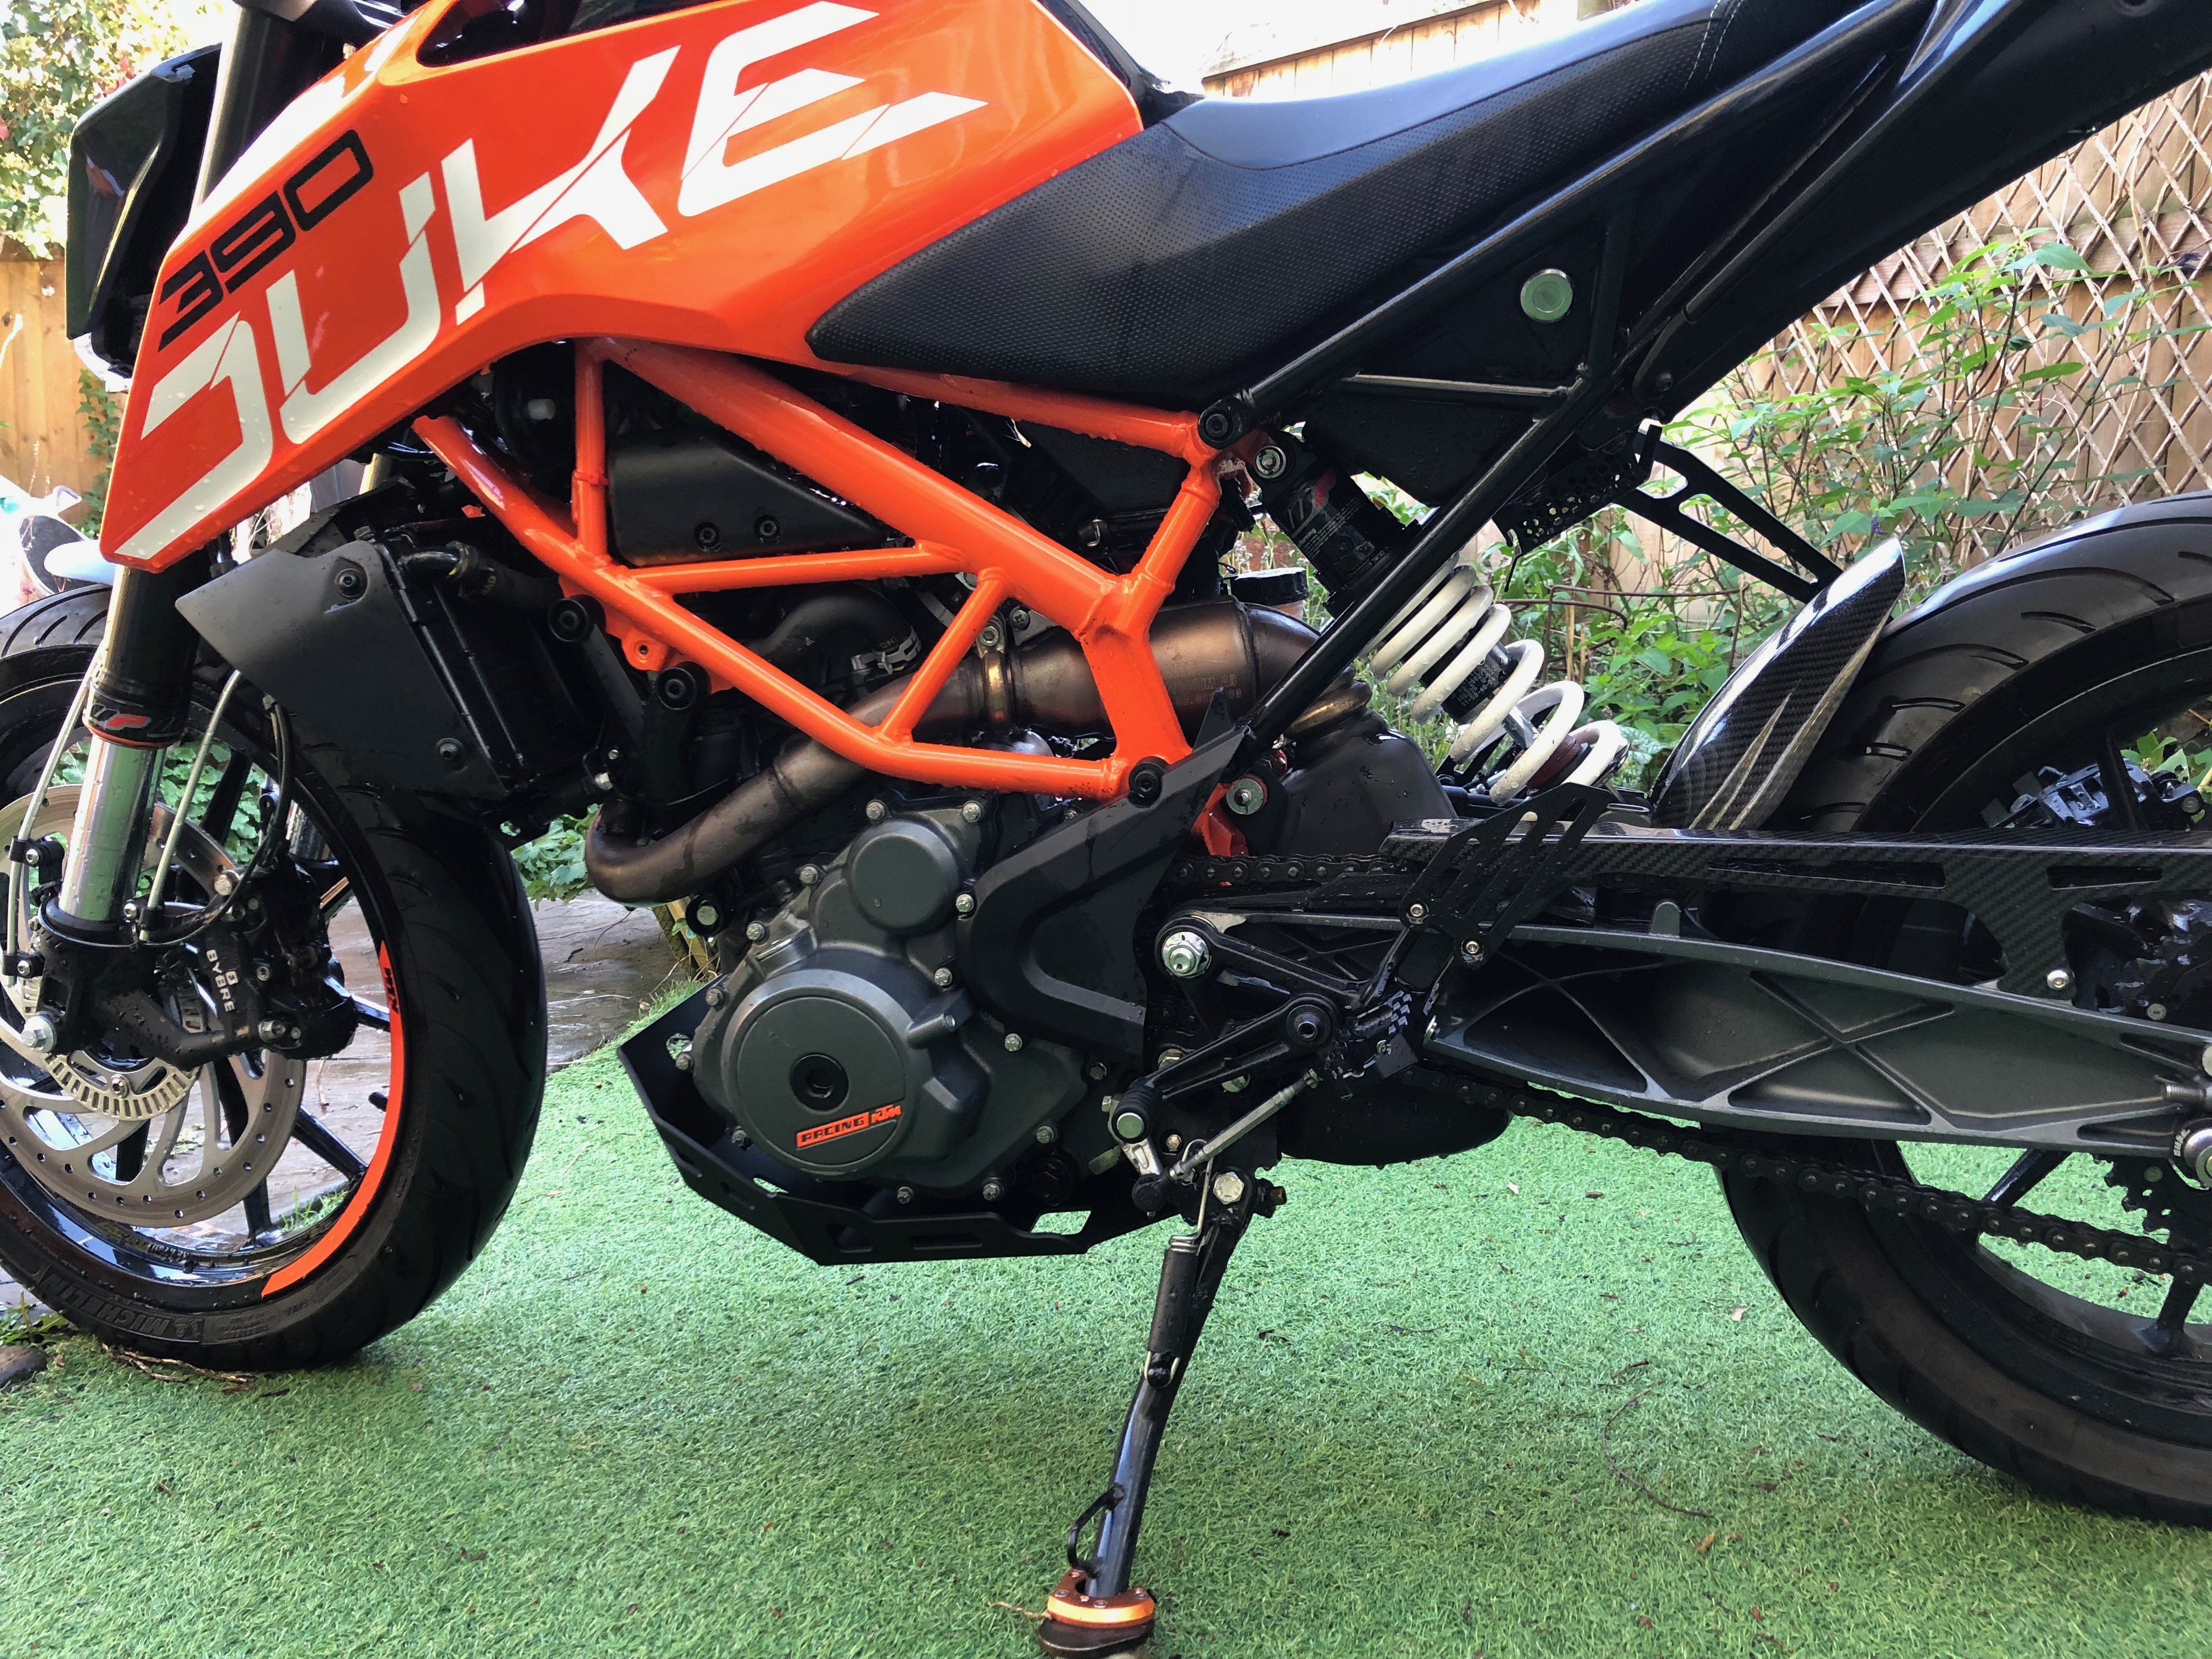
At the back things were far worse, the stock bracket was miles out. However after spending some time pouring over the ktm parts fiches, I found a solution I thought should work. That was to order the rear bracket for the 2014 model of the Duke 390. It looked like a straight fit would happen.
I think its about 1mm wider than the original part but that isn’t a problem at all.
This allowed me to finally get the guard fitted. I’m very happy with how it turned out, it should really protect the engine and gets rid of more bits of plastic!
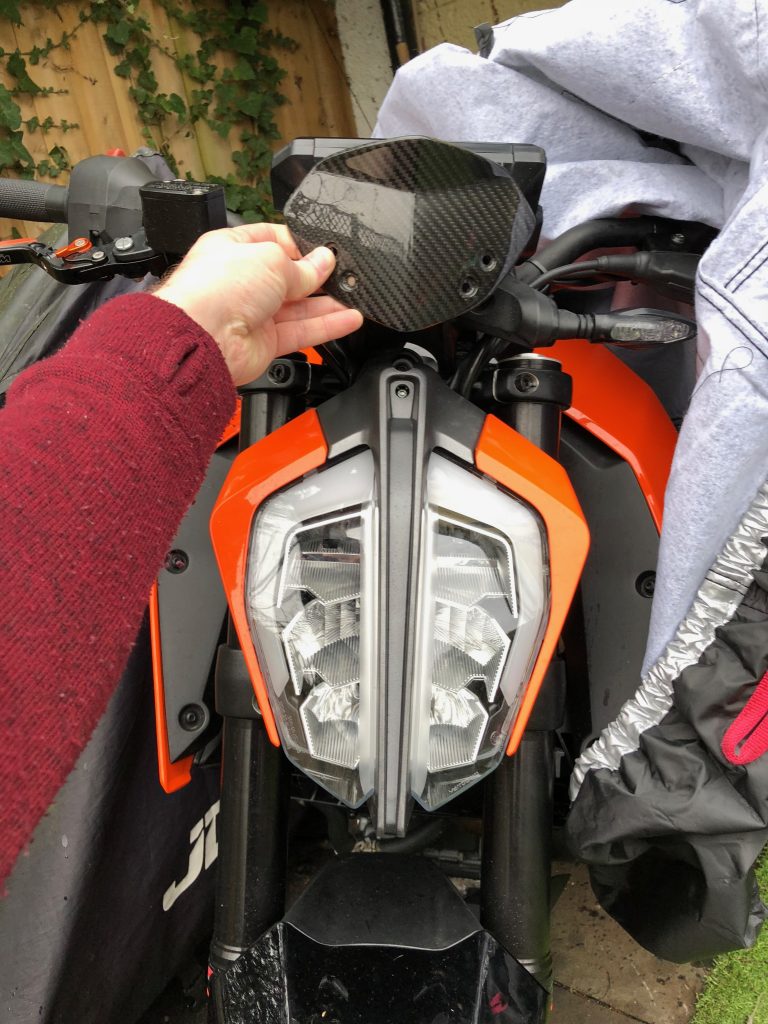
One of the issue with the new 2017 is the poor availability of screens for it. Along with those that are available being both expensive and ugly. I set upon trying to find an good alternative.
What I came across was a Carbon Fiber screen for the older 2011-16 models. It fits in around the display on these versions. I took a punt on this hoping that I could make some kind of bracket to make it work. I got this screen from Zero Limits they were great during the buying process and sent me lots of info.
Parts List
2 x Screen brackets (left & right)
2 x TFT brackets (Left and Right)
2 x Plastic TFT bracket spacers
4 x M6 Bolts 10MM
2 x M6 x 20mm bolts
2 x M5 x 25mm bolts
2 x M5 Washers
Fitment
These brackets are designed to allow the fitment of screens from the previous versions of the KTM Duke 125 and 390 from before 2017.It has been tested with the Zero Limits carbon fibre version, but others that match the stock part should also fit.Here are some links to various different screen choices.
I will be making and selling these brackets for anyone who would like one. Please contact me for more info.
Manual
A full installation manual is available to download here
The carbon screen arrived quickly.
A quick test fit to make sure it is going to work.
Next I spent a lot of time 3D modelling and print off multiple brackets for testing. Believe it or not this is only around 50% of them in this picture.
The final bracket is a 6 piece design and deals with all the angles etc.
So since I last updated the blog, I’ve made a ton of changes and progress on the stryfe. When I first planned it out I wasn’t intending to do any painting or majors changes. It was going to be a 3d printed Kriss Vector replica. However I wasn’t a fan of the final look as it looked rather bulky and orange. So I decided to make some changes to the plan.
Only use some of the kriss vector kit, ditching the mag cover and stock.
Paint the main blaster red with a black grip.
Remove the IMR based setup and replace it with a proper lipo setup.
Get more tacticool bits, because clearly it needed more.
Step 1 was to order a ton of bits from Taobao as they take a long time to arrive. I then ordered some battery bits and bobs from Hobbyking.
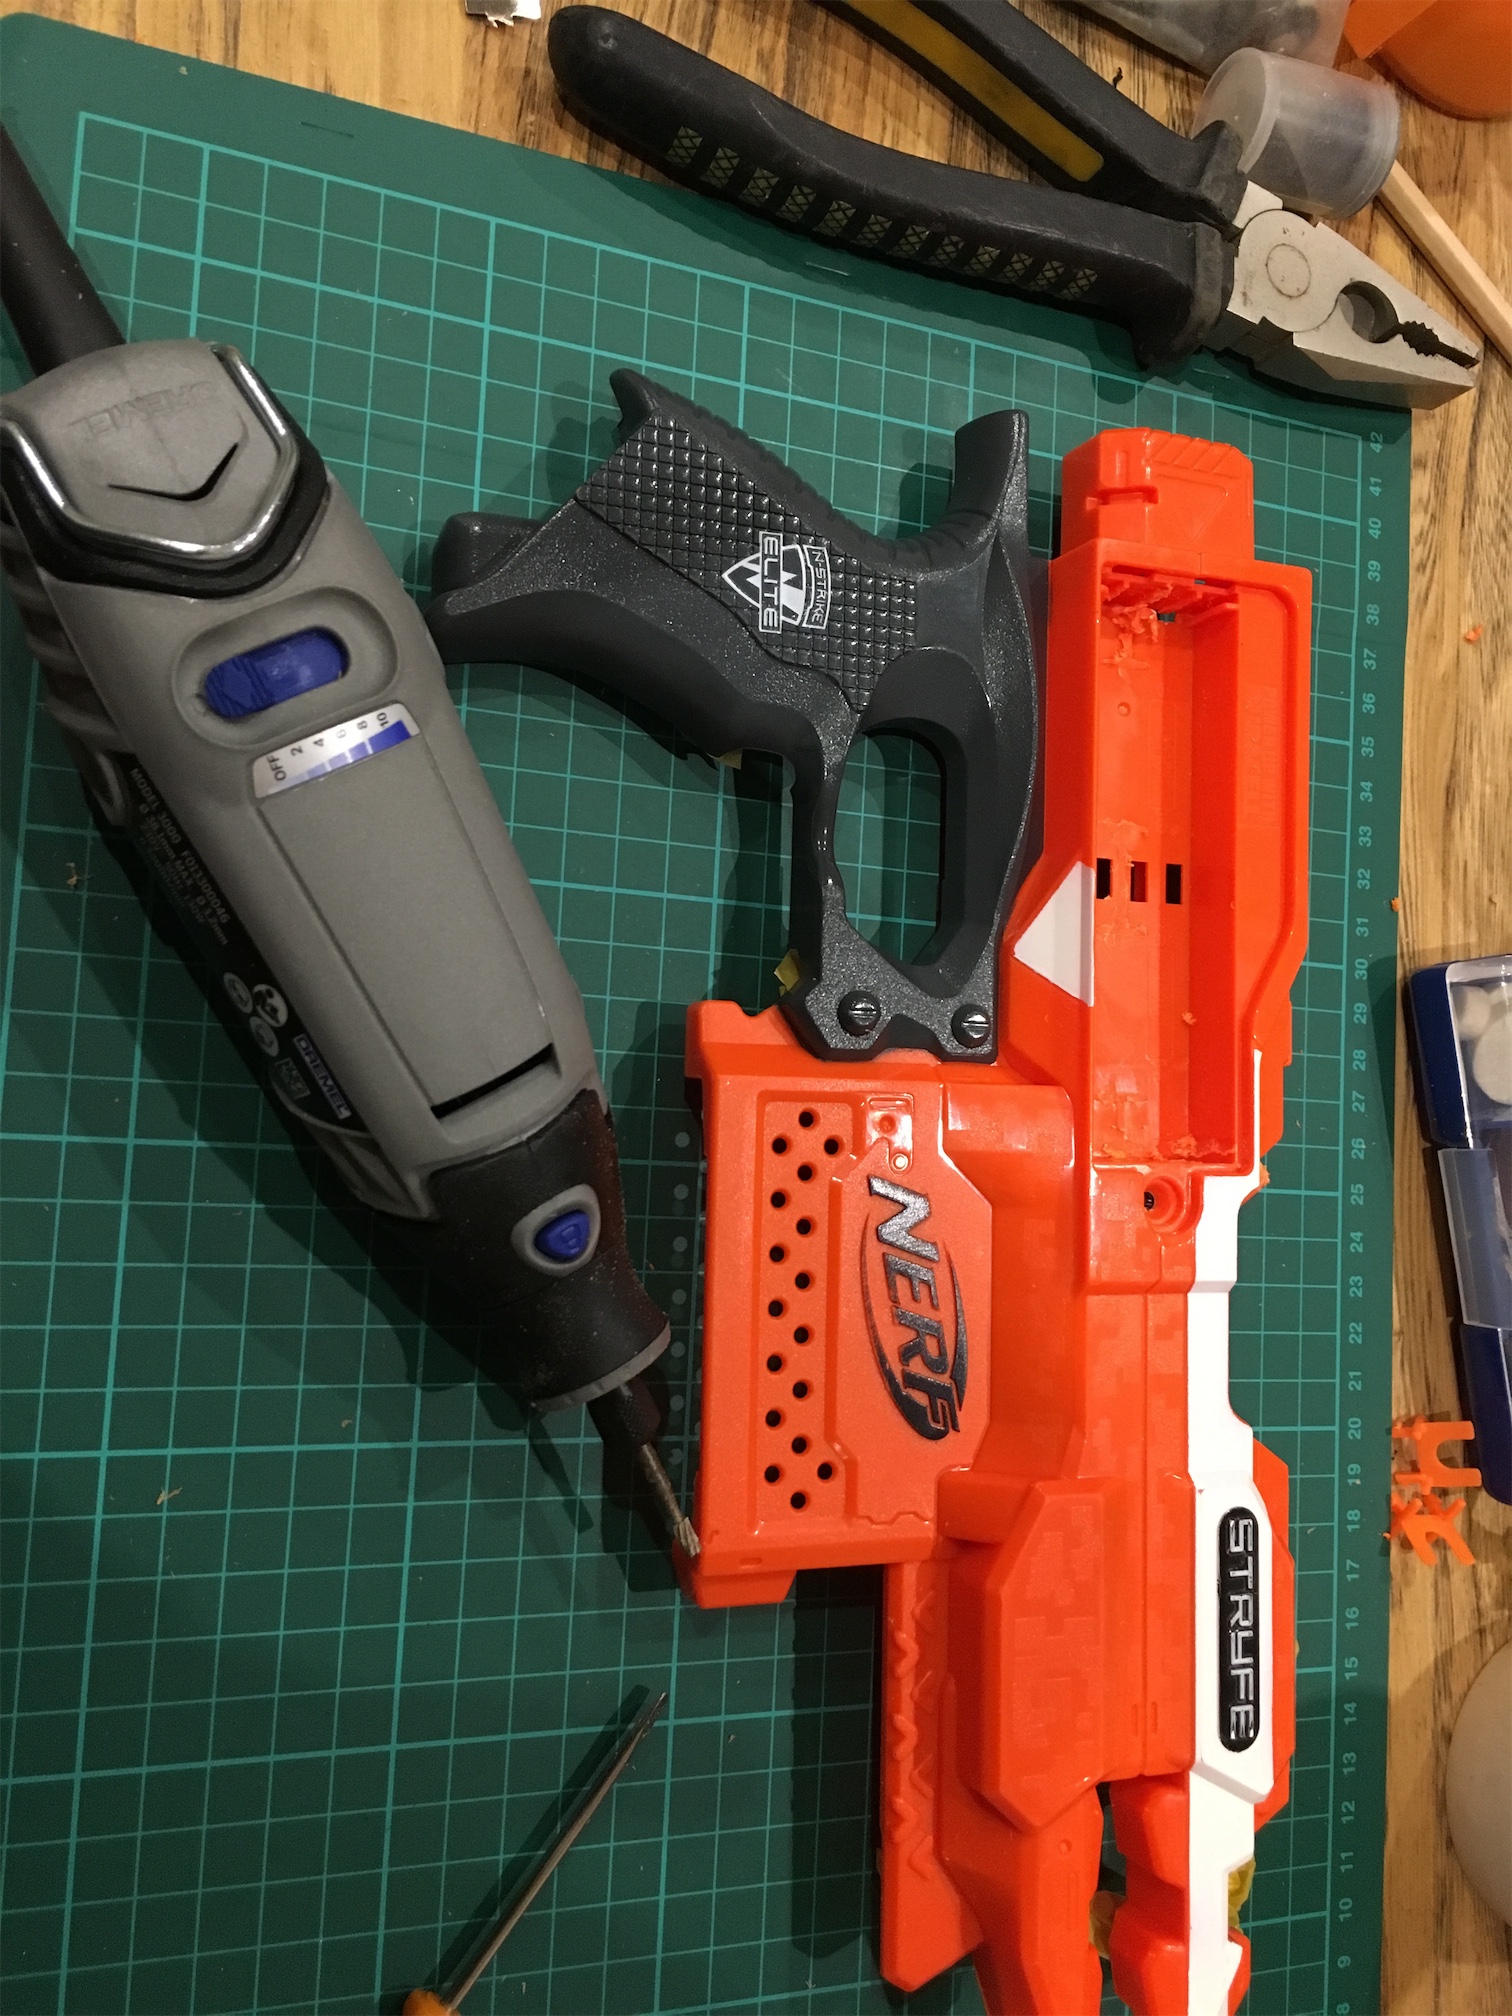
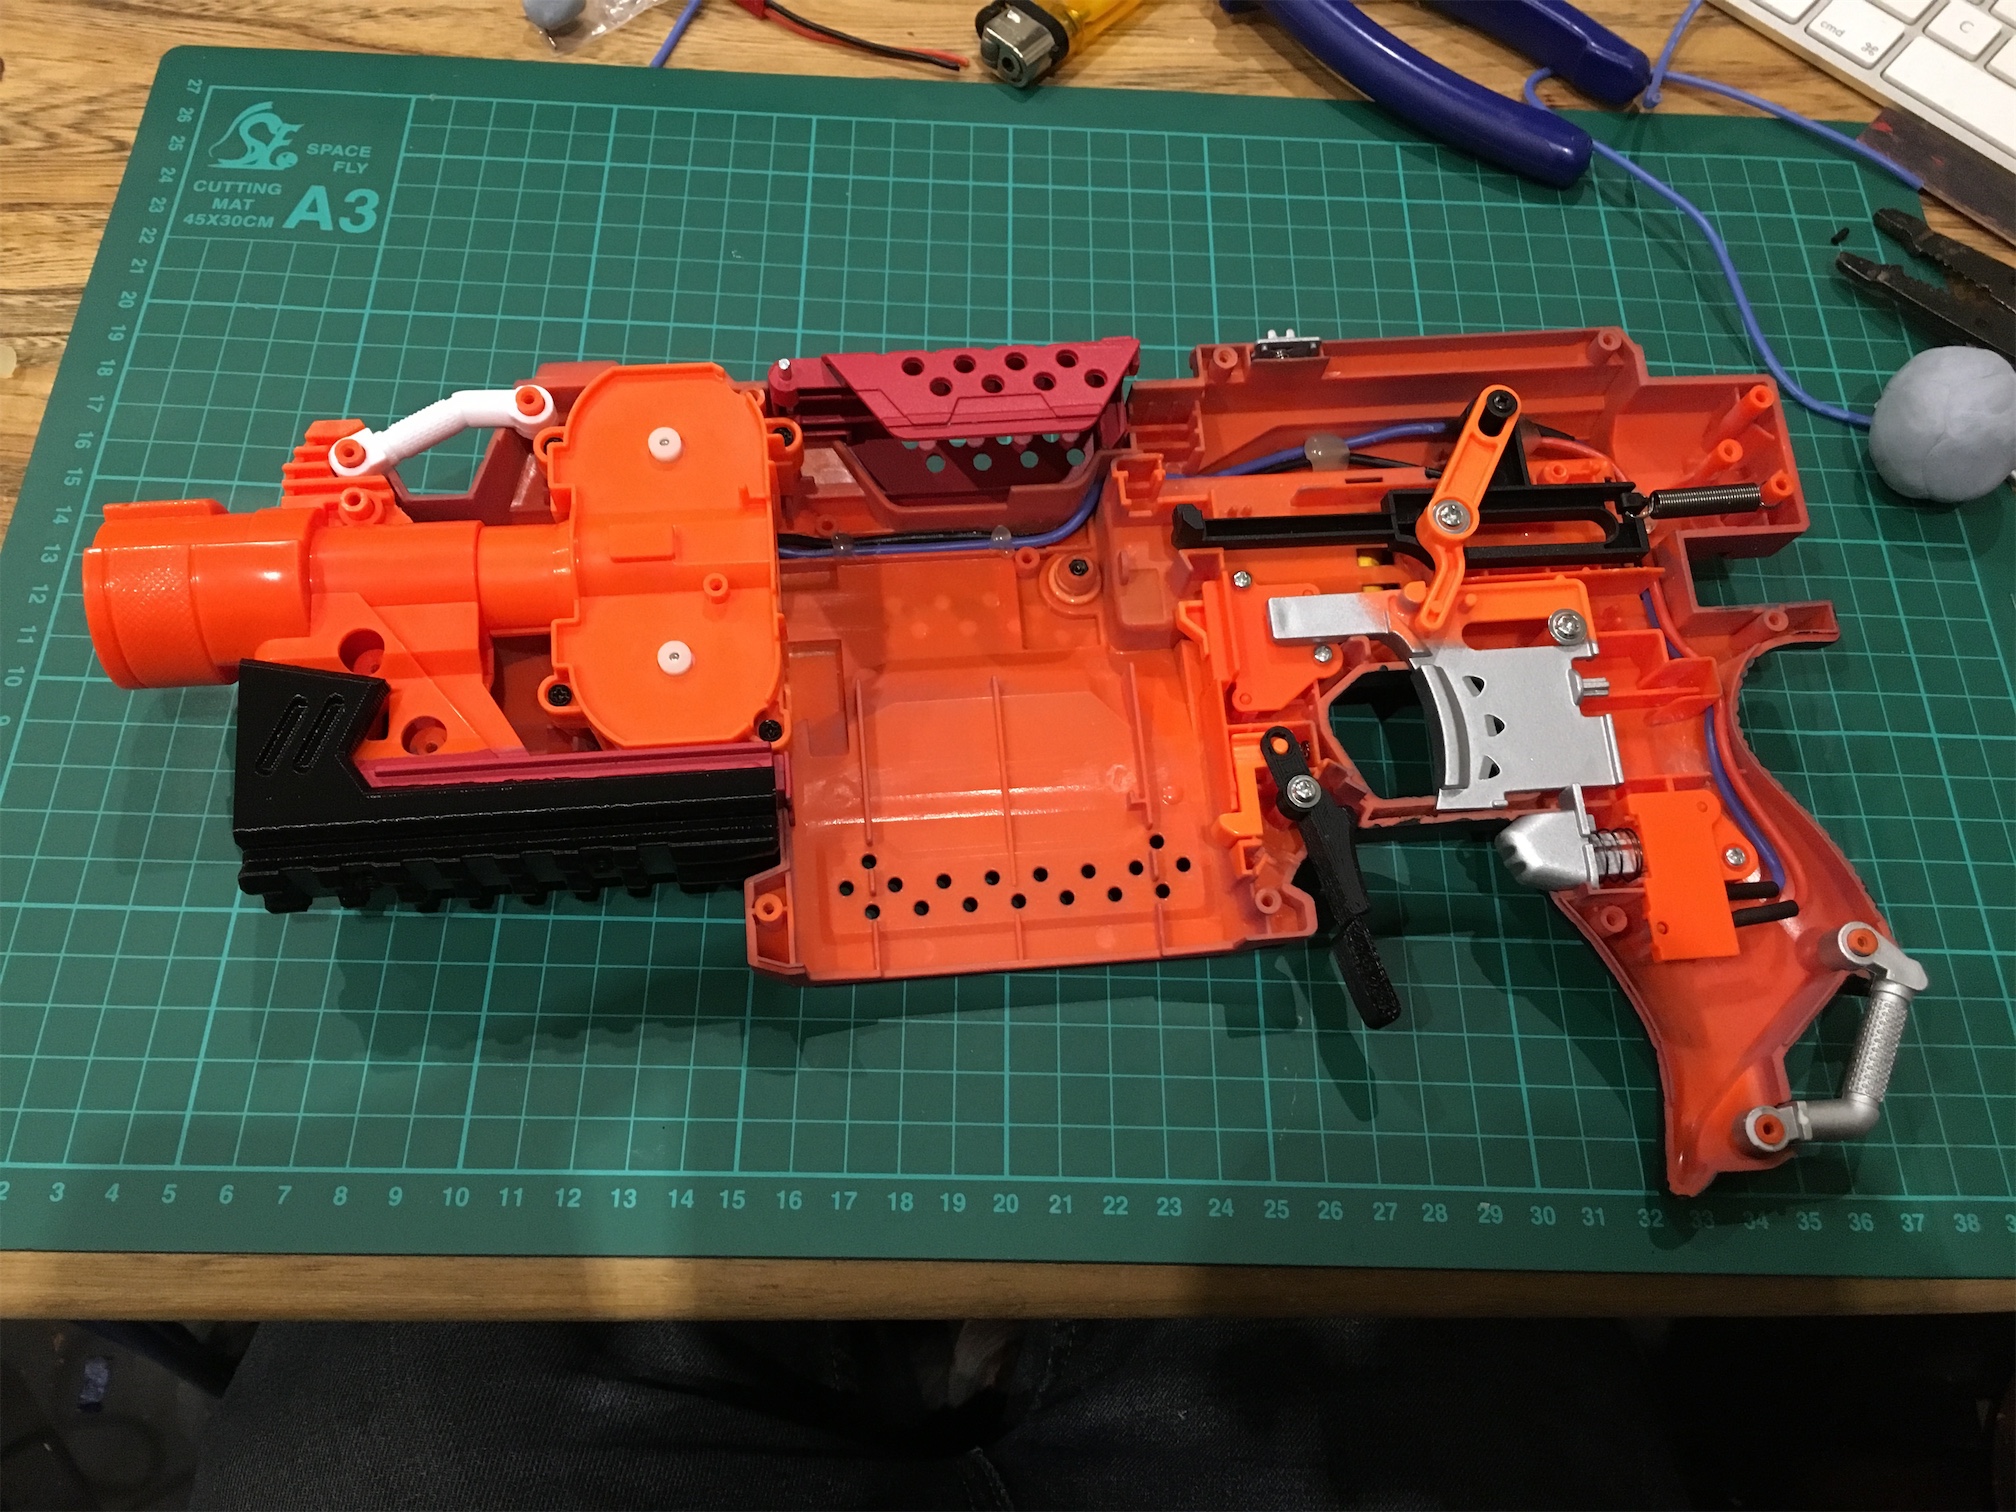
Step 2 was to start attacking the battery tray with my dremel to free up room for the new battery.
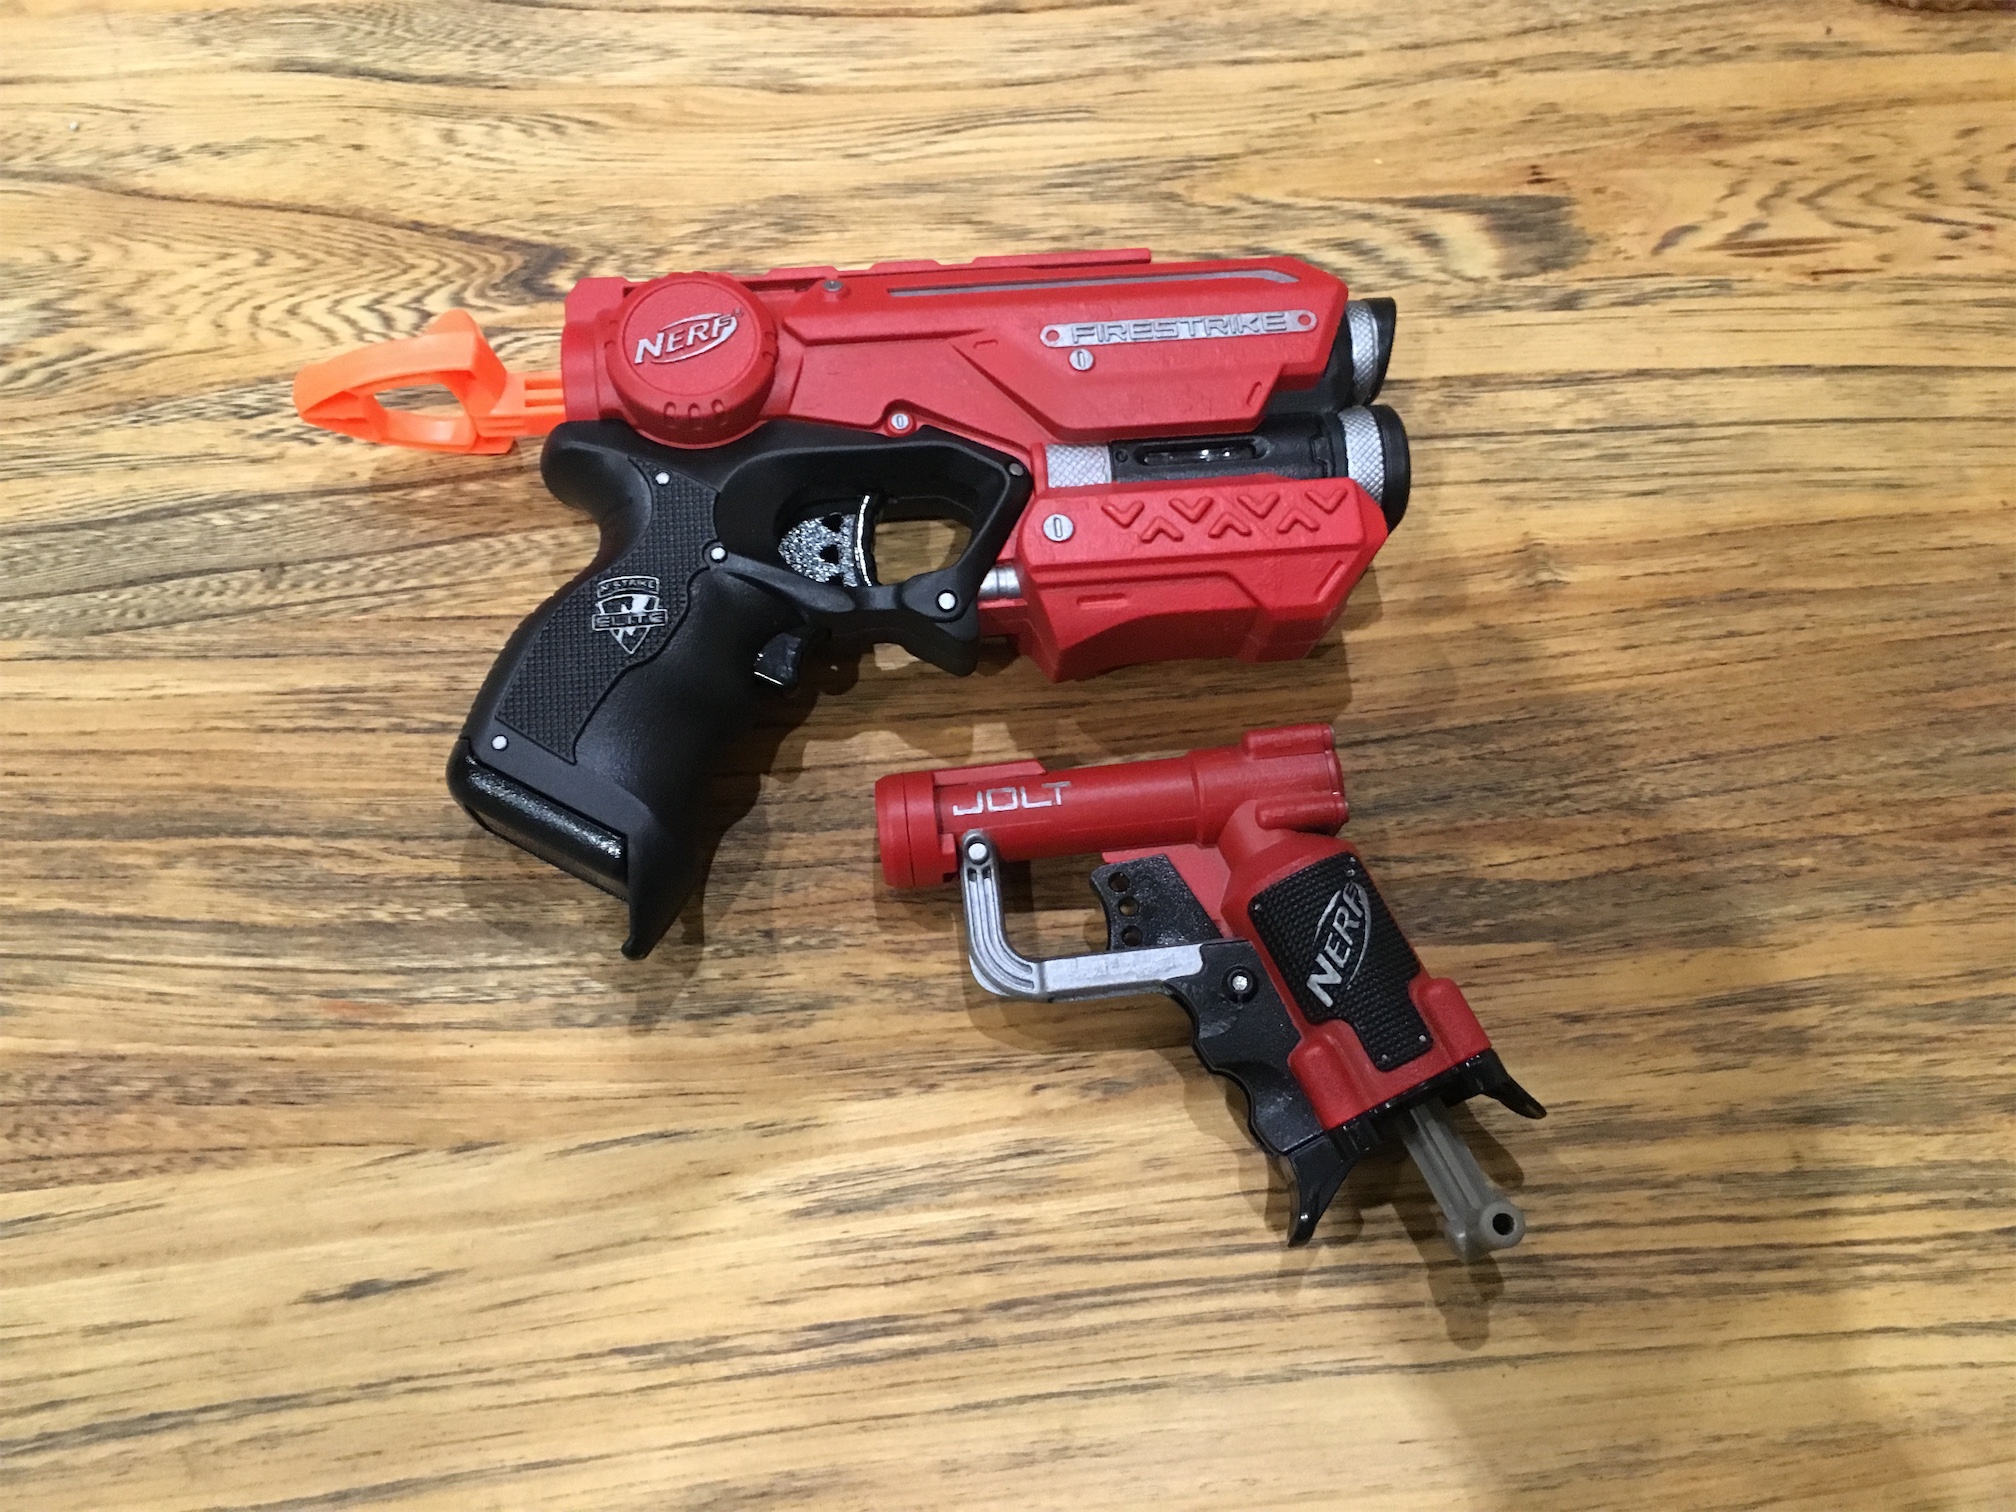
Step 3 was to get painting. As I had practiced on some firestrikes and a jolt I was confident in how I was going to get it done to my satisfaction.
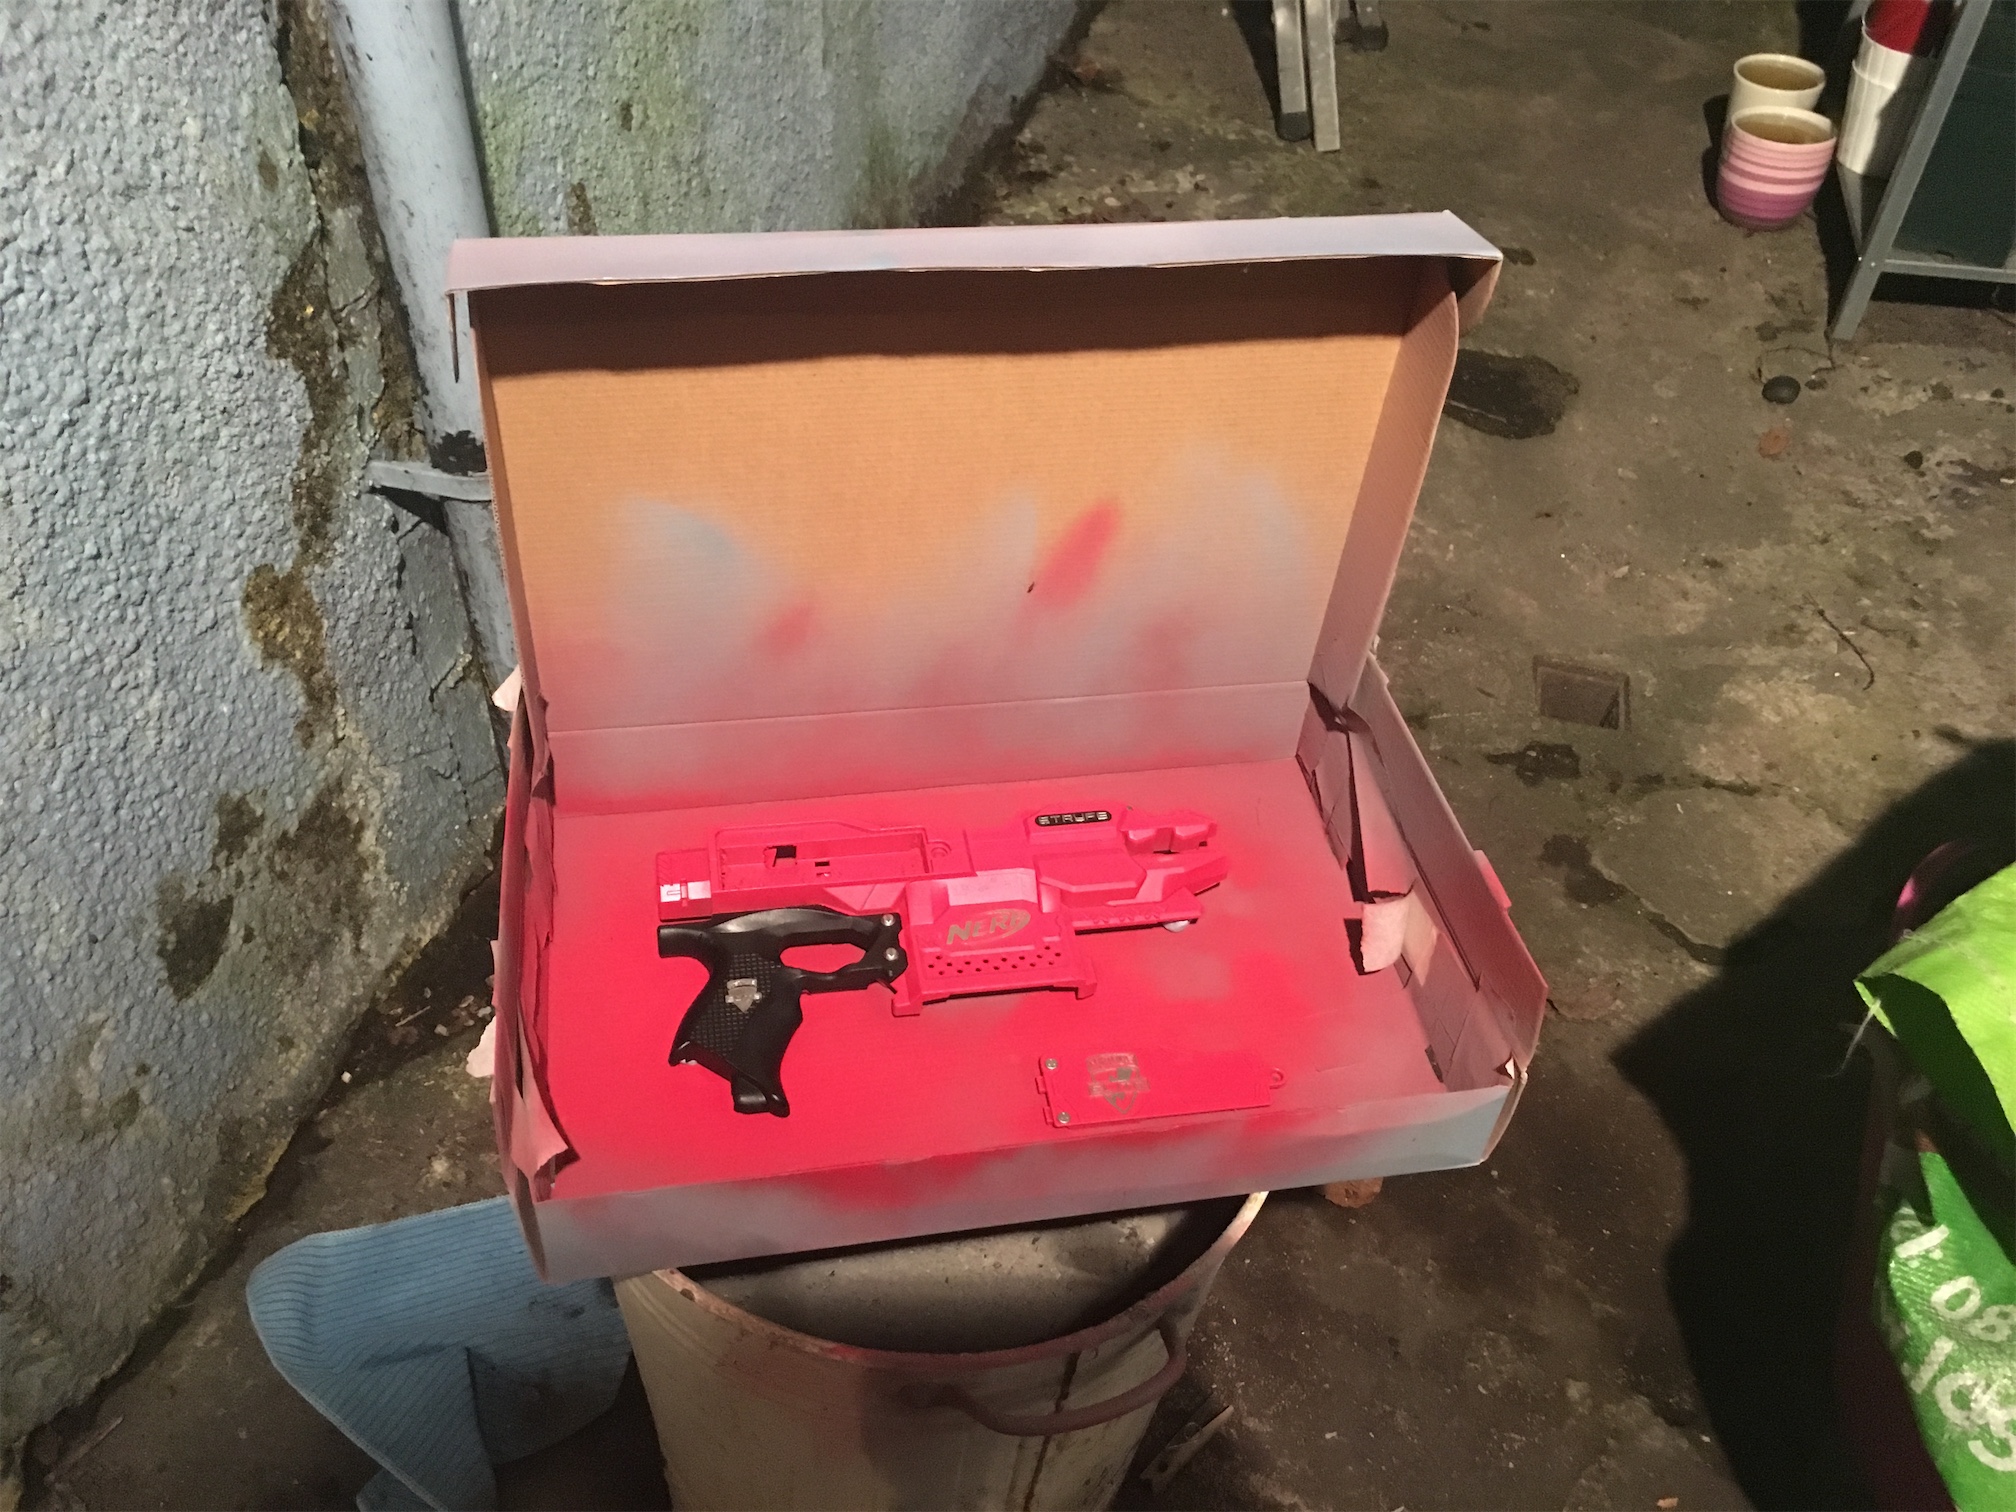
I used a lot of really light coats to build up the layers of paint slowly. Spraying too much in one go results in losing detail and a bad end result. I use a box to contain the parts and paint as much as possible.
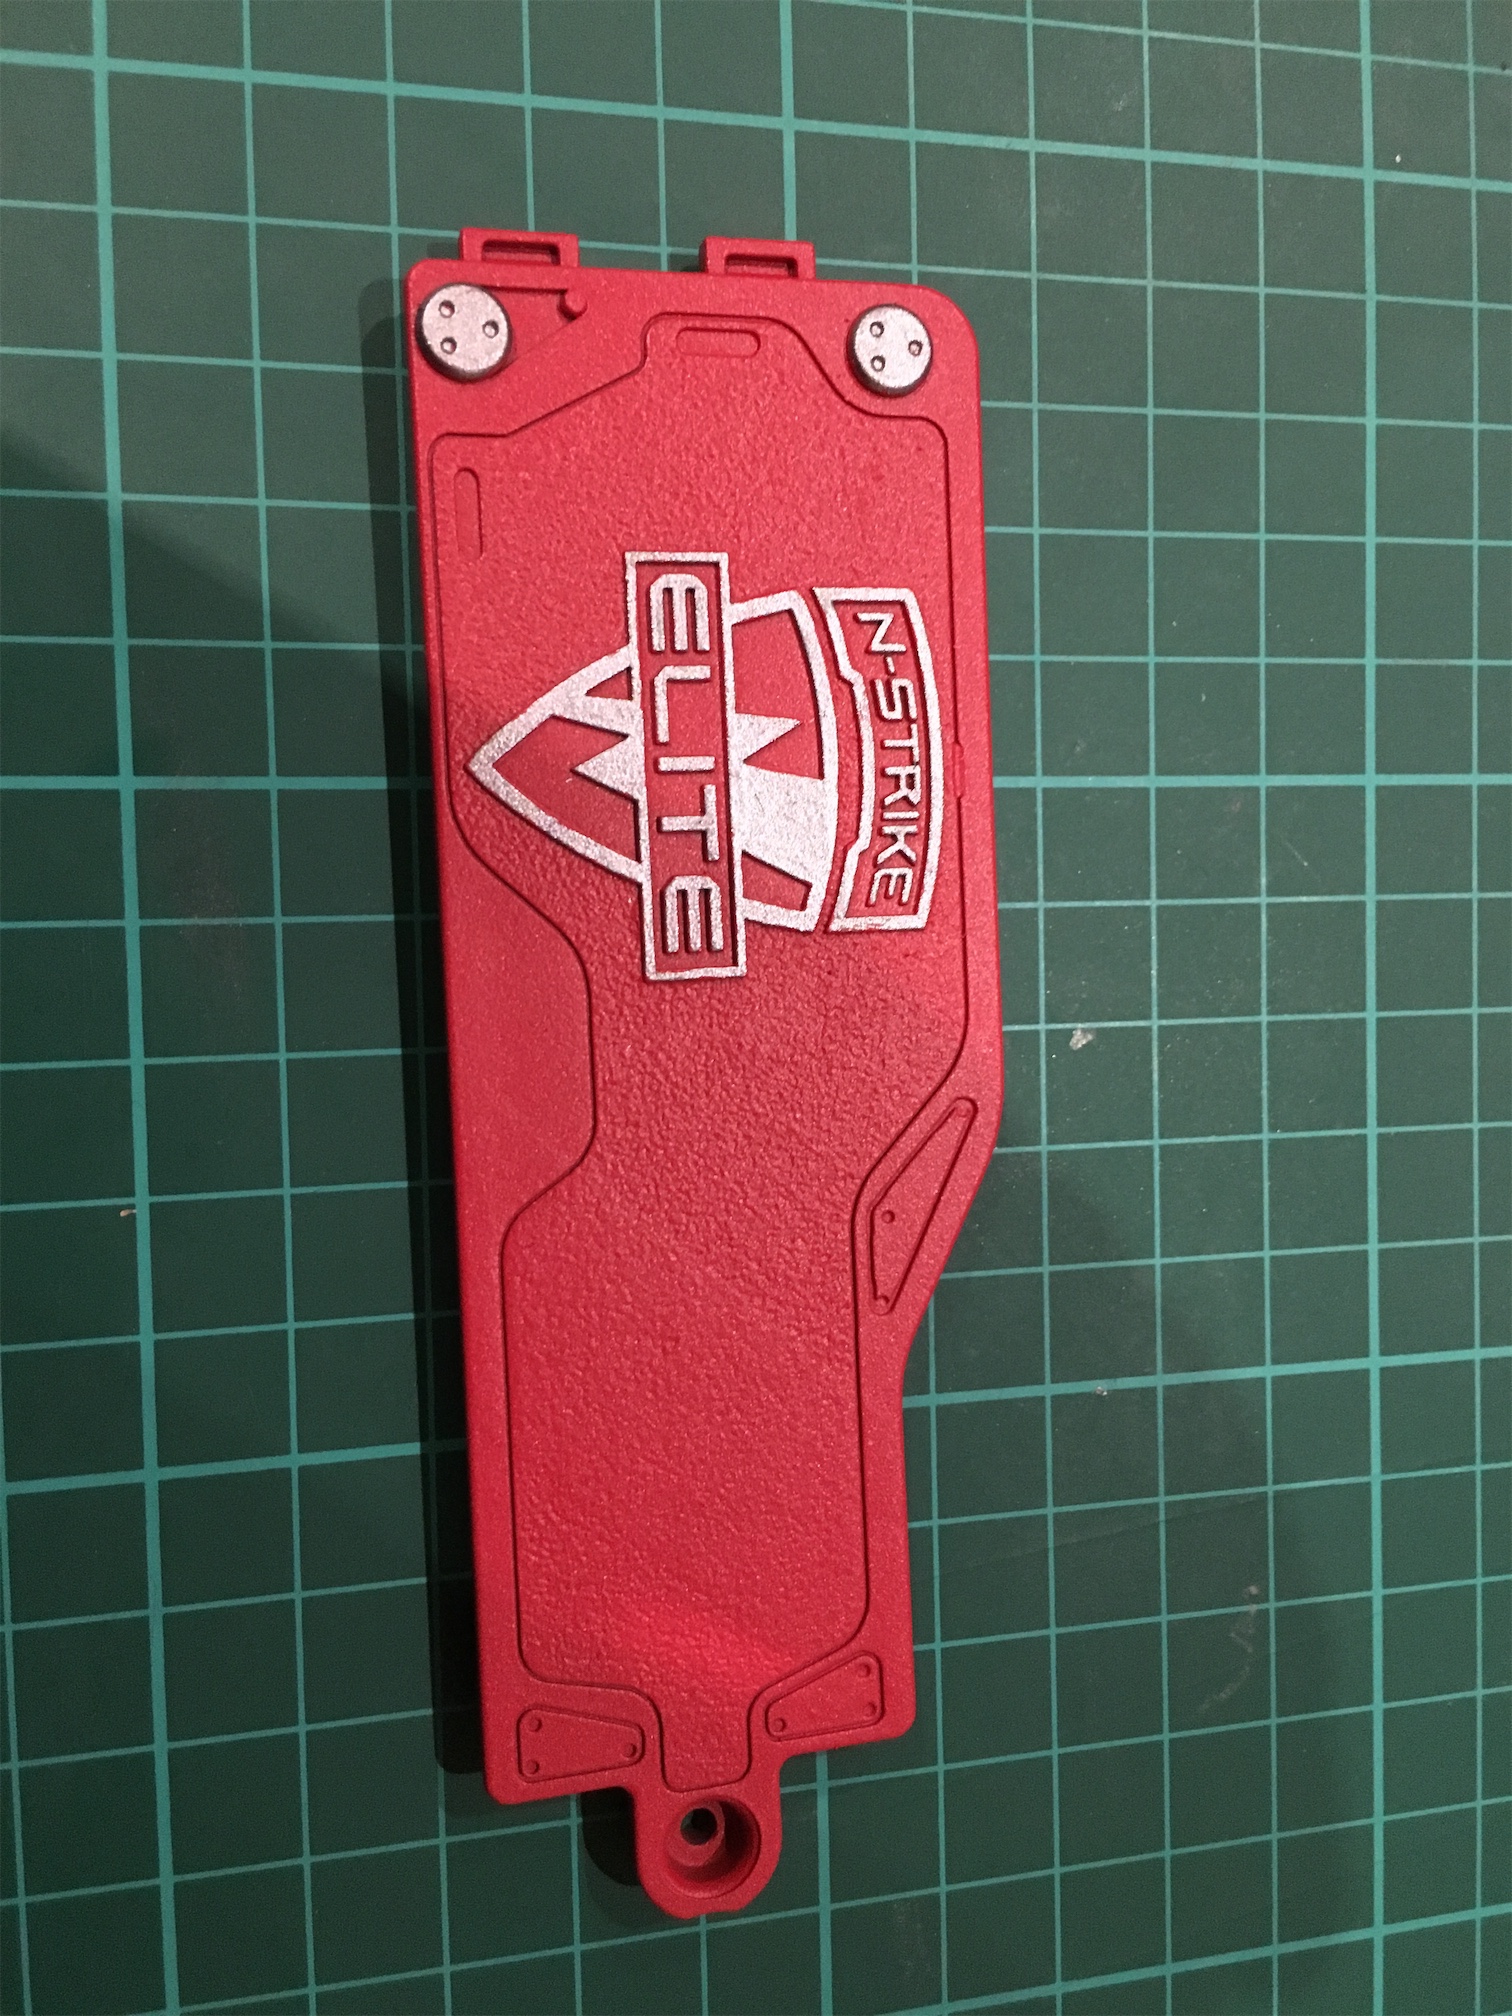
After the final coats of Plastikote Matt Red, I then set to work detailing it with enamel paints and a brush. I was very happy with how it turned out.
For the triggers and other parts I went for a silver finish as a contrast. I’m very pleased with how it turned out. I left the bits that won’t be visible as orange for speed. It also allows me to make it much more toy looking if I ever want to use it more publicly.
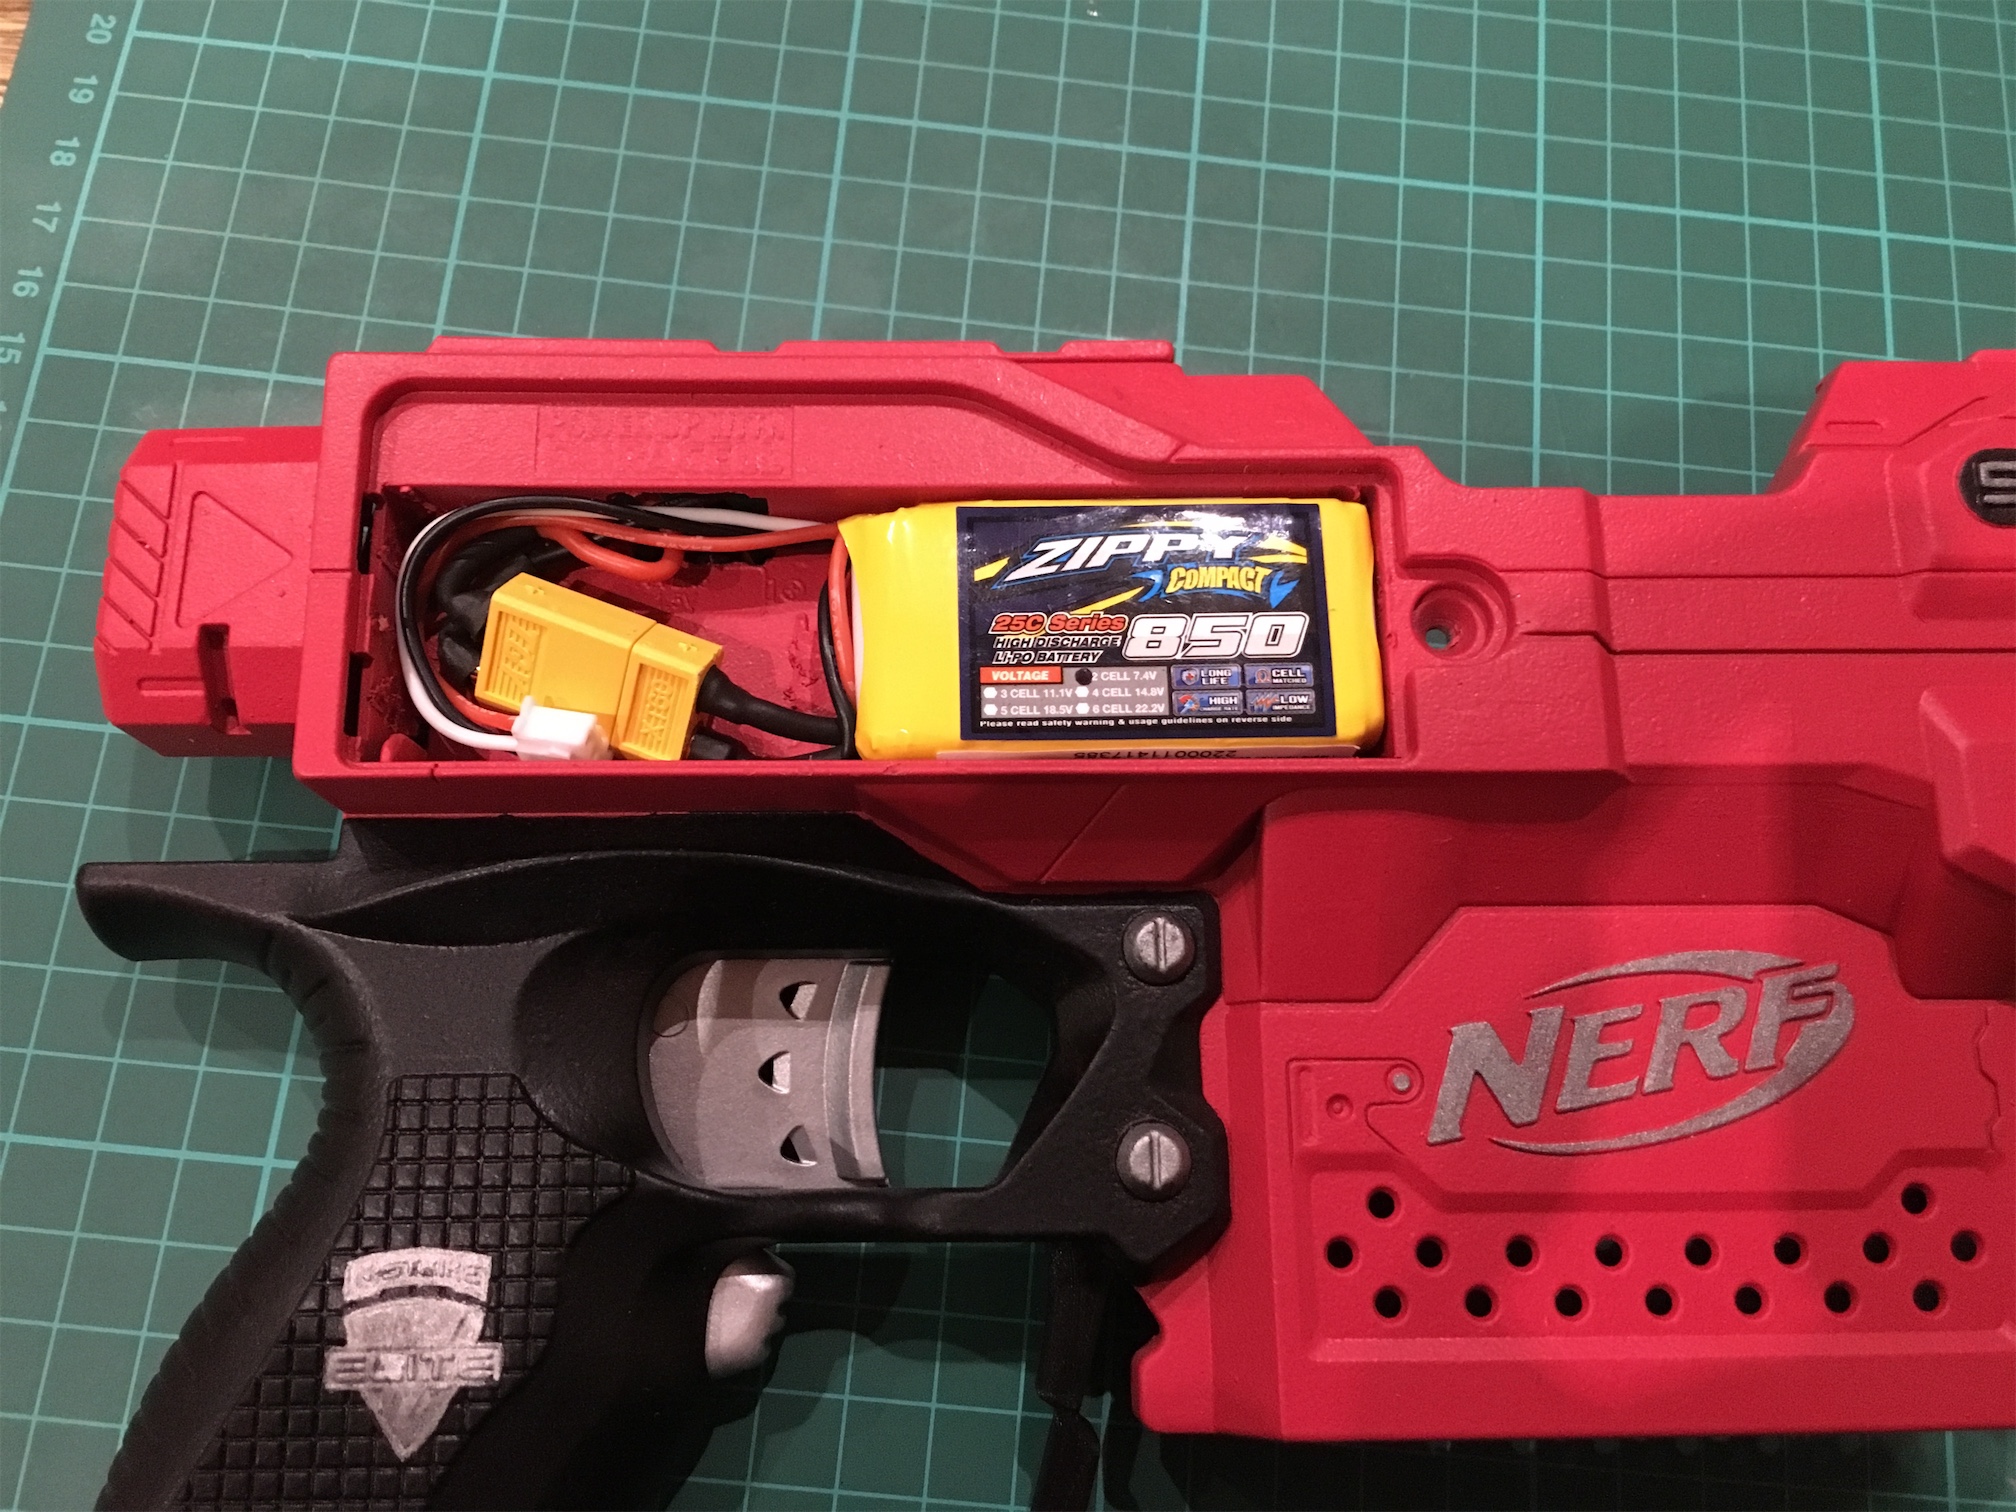
Next up I had to wire in the new Lipo system. I went with an combination alarm and digital display, but at present it’s not fitting in place. I will have to come up with a solution to this soon.
The battery cover just fits in place with the battery in and the plastic ridges dremel’d off the battery cover.
By now my Taobao order had arrived with some new goodies.
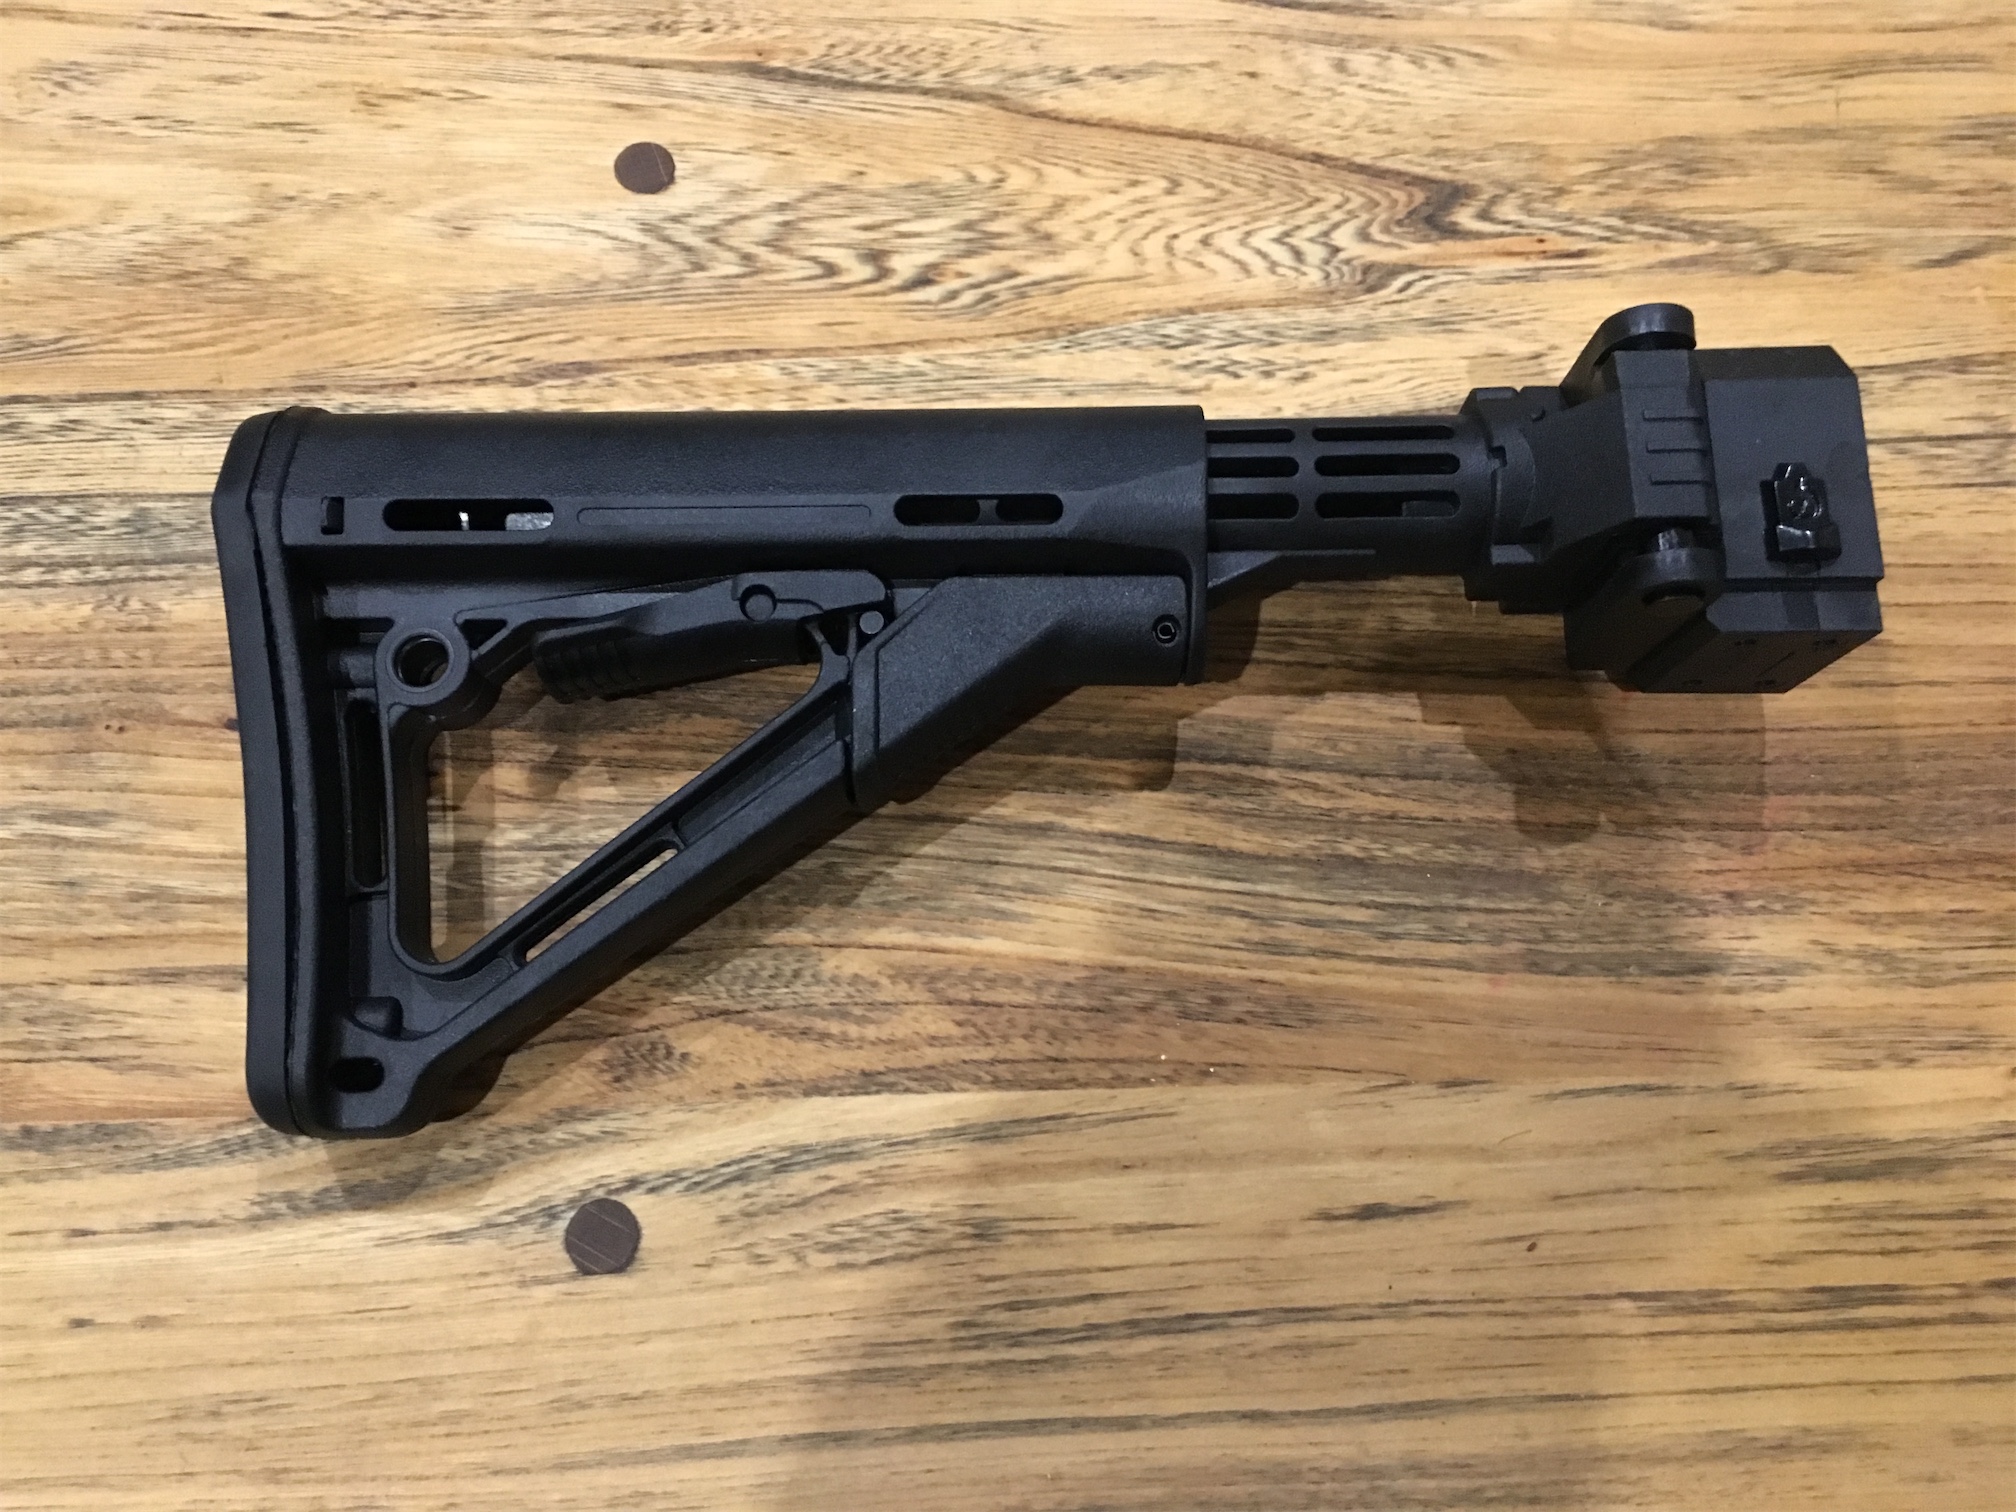
Folding Worker stock mount and CTR adjustable stock
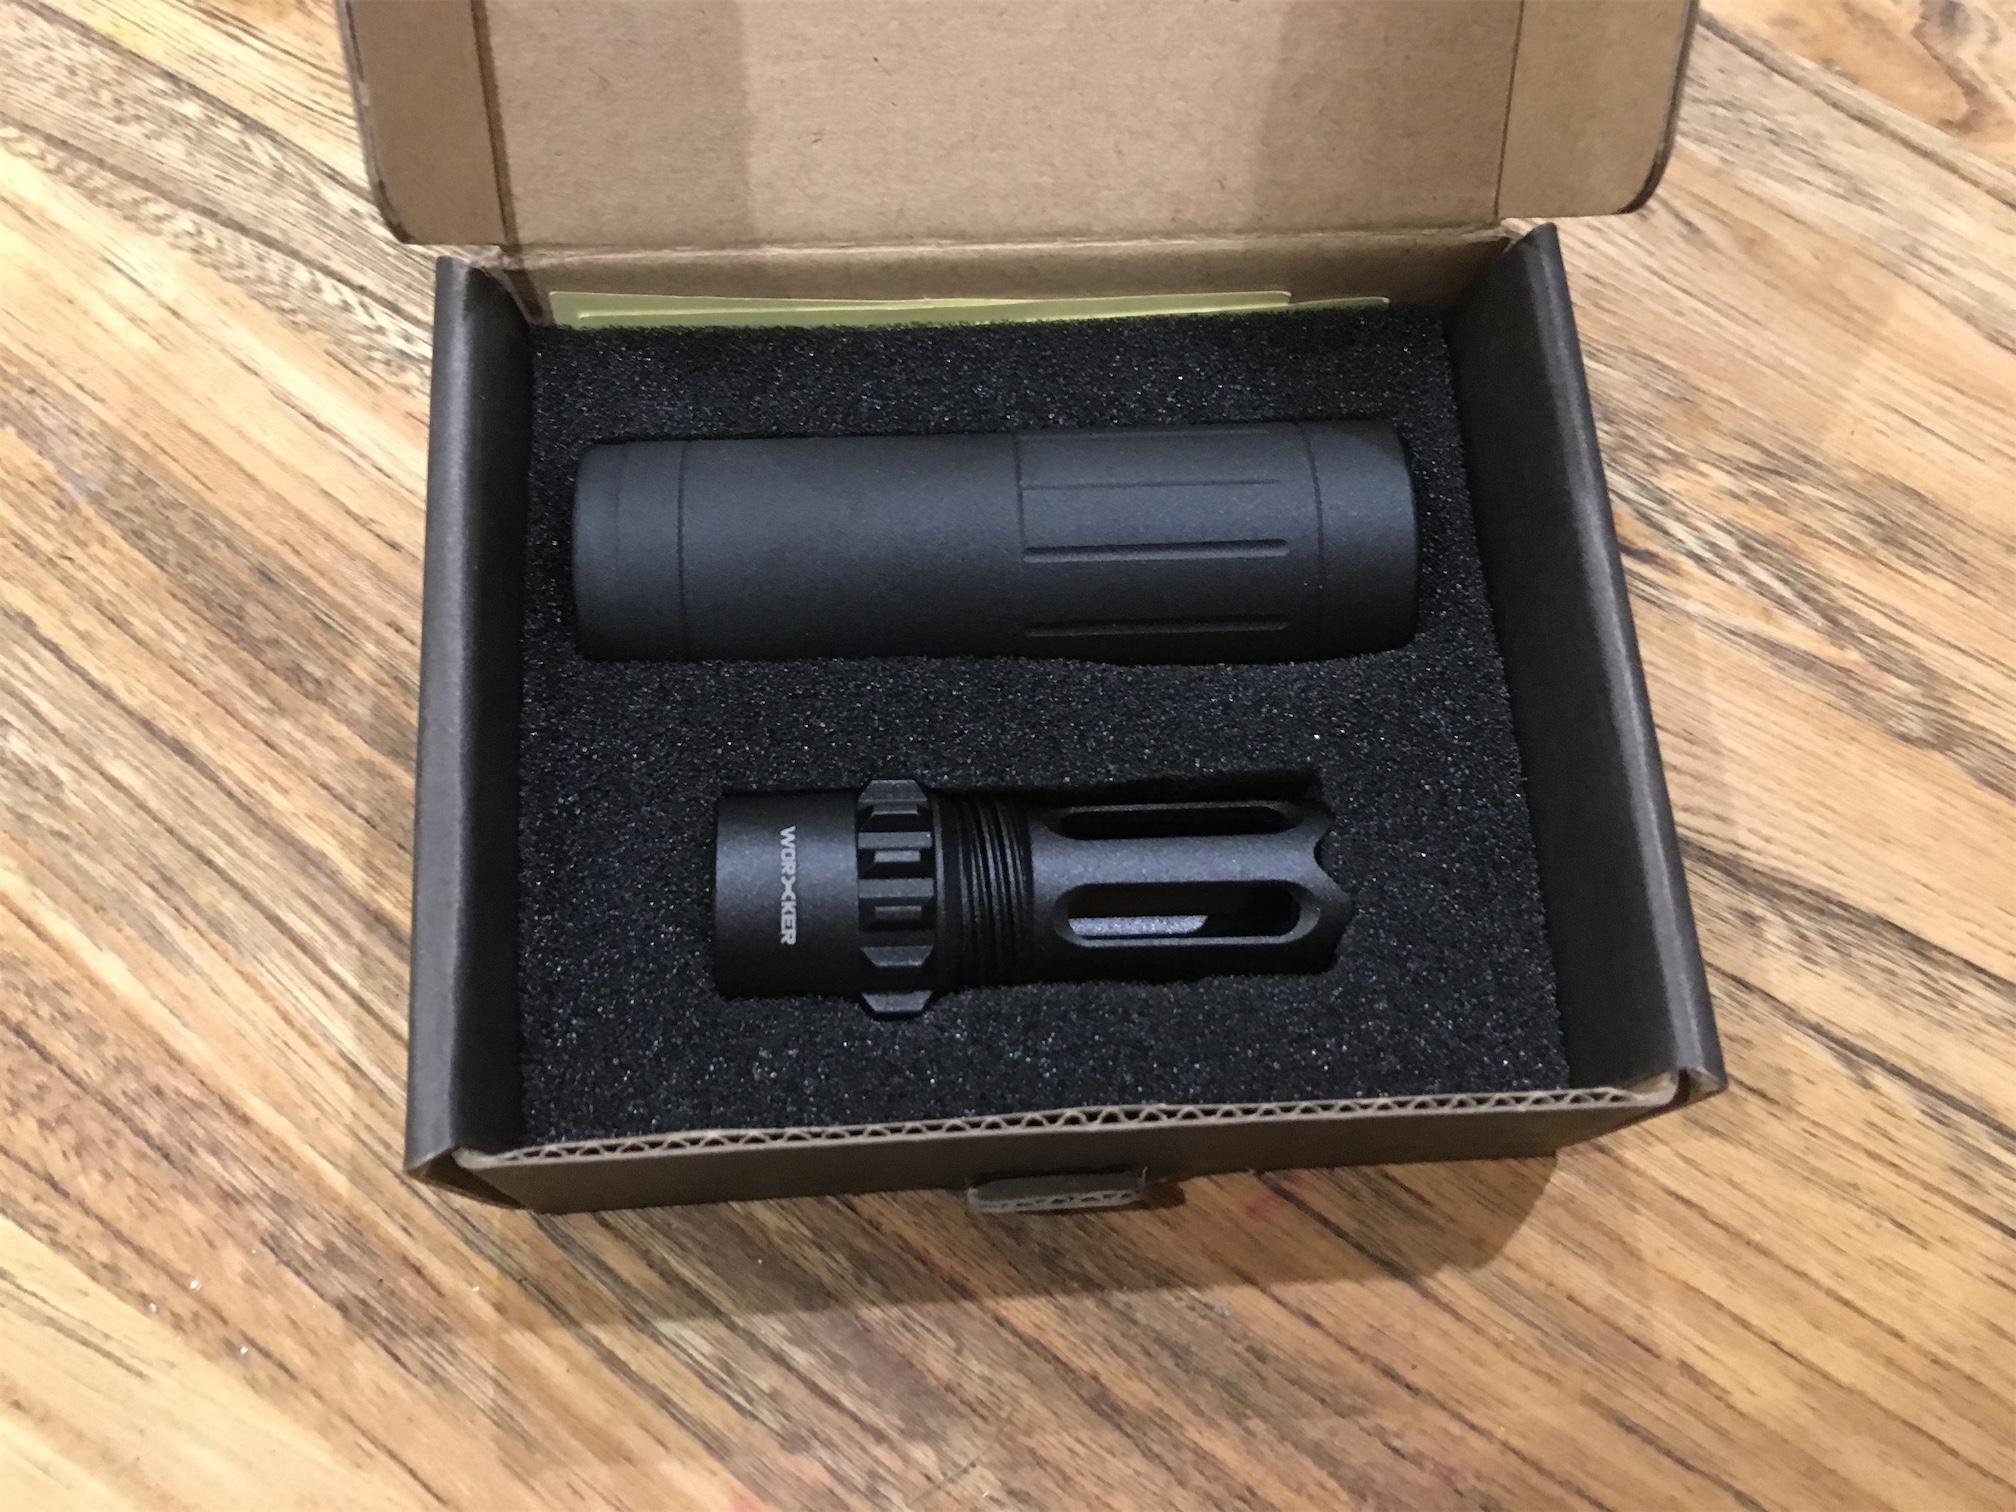
Worker aluminium silencer and flasher
Worker 12 round Mag’s with puller
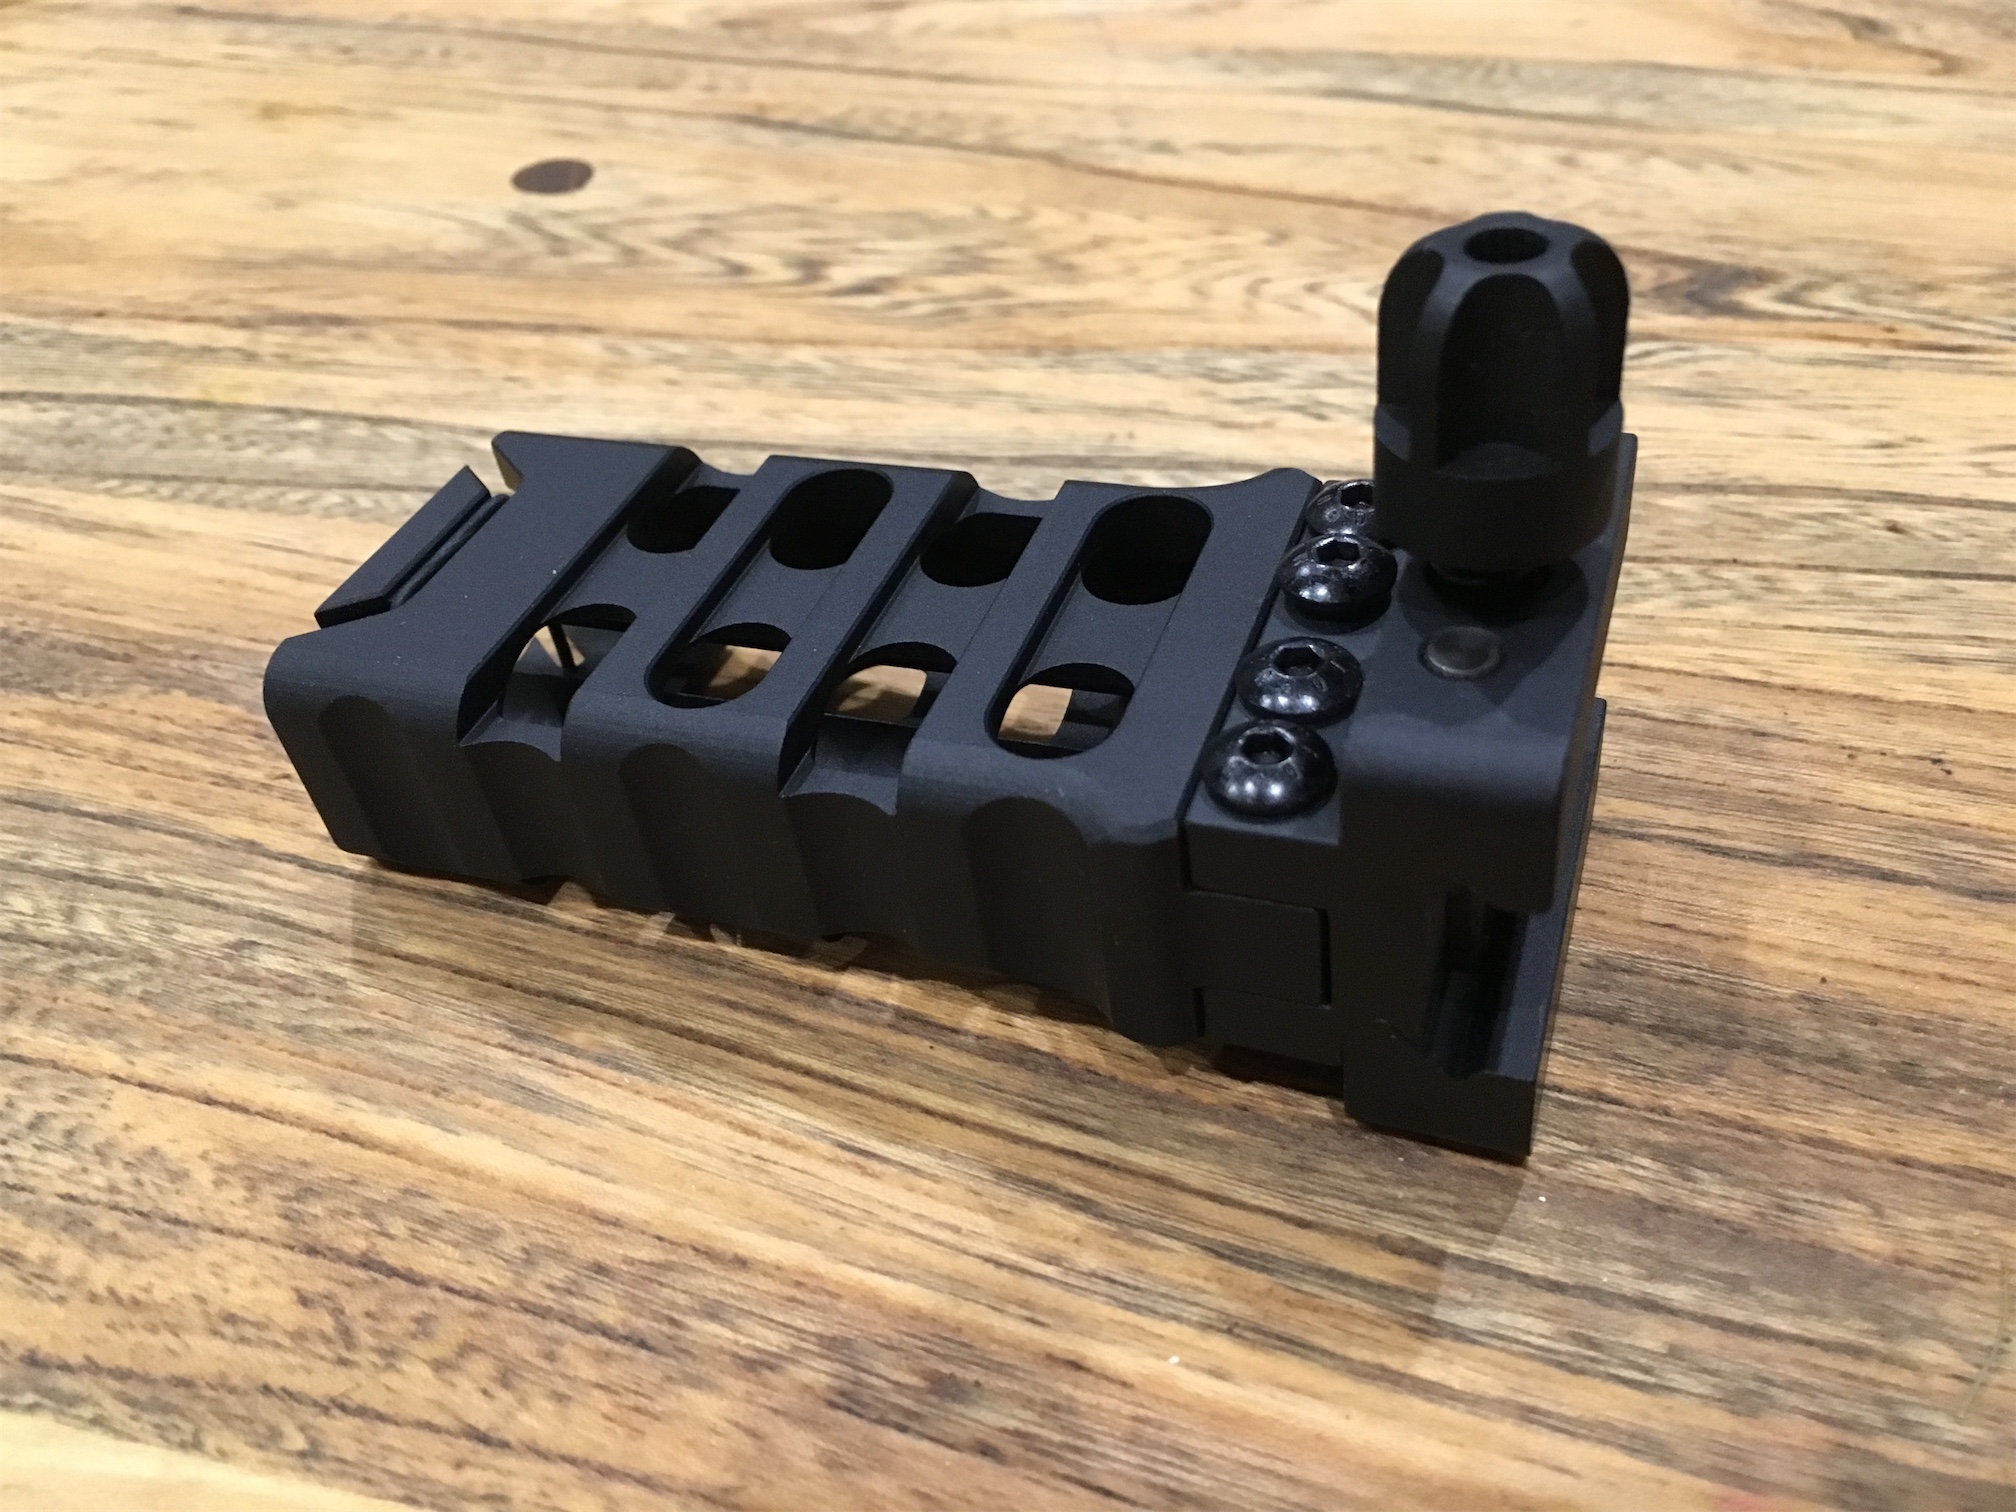
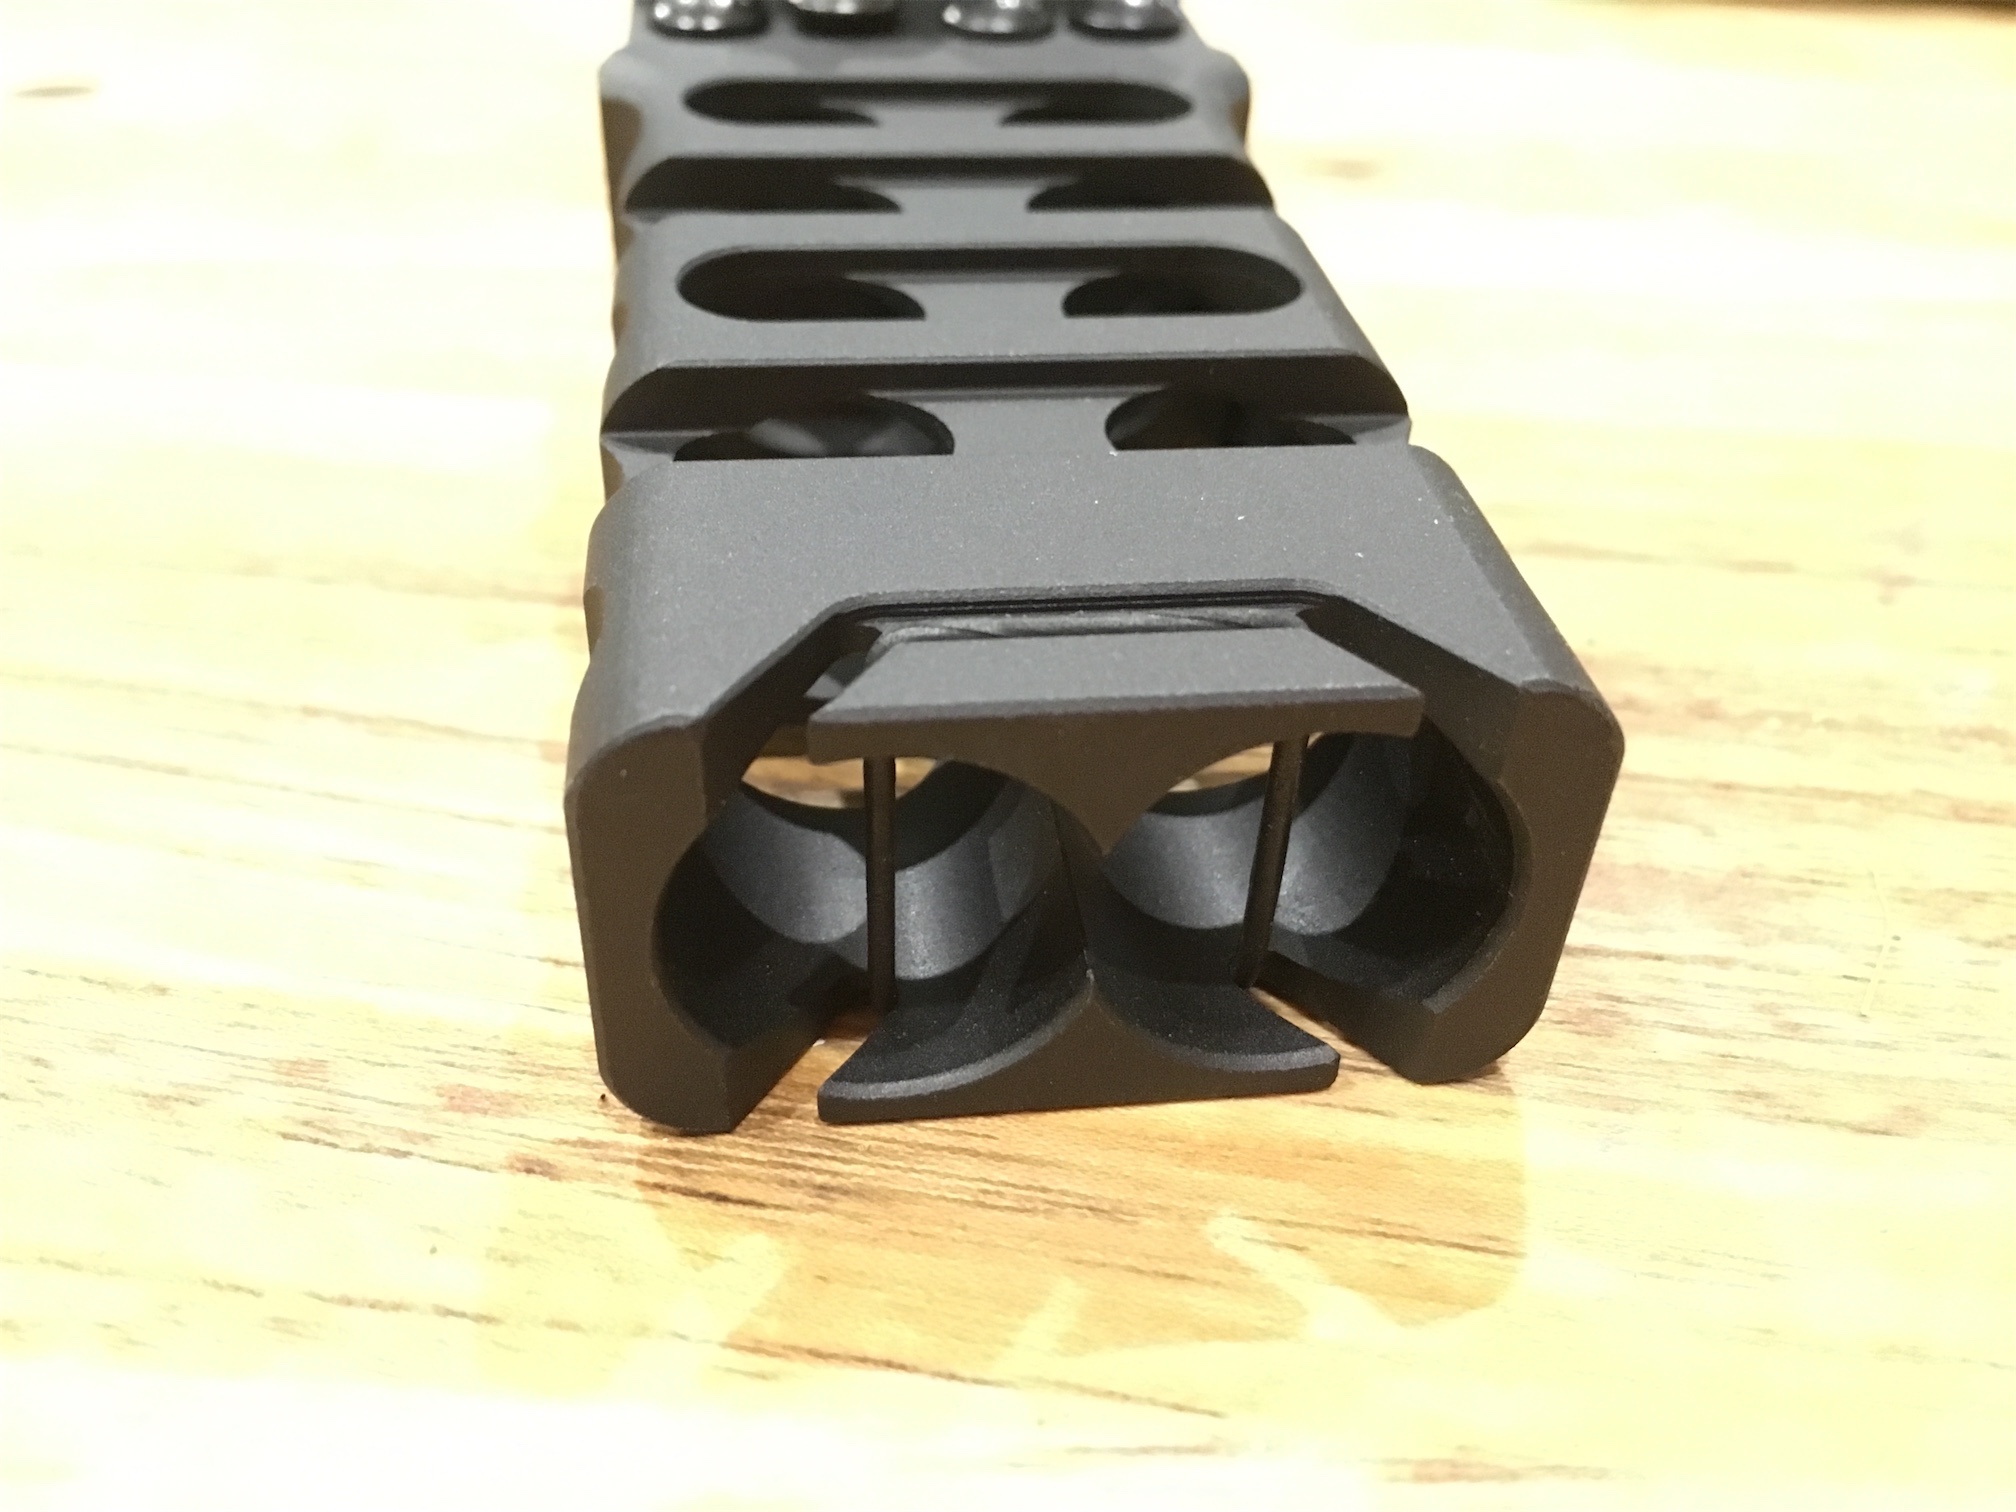
Finally a little something special. A new aluminium foregrip. It’s a stunning bit of kit and I love it. It even has a space inside for spare batteries.
I had some other trinkets in the order such as MBUS sites and a sling. Along with parts for my rapidstrike and demolisher builds.
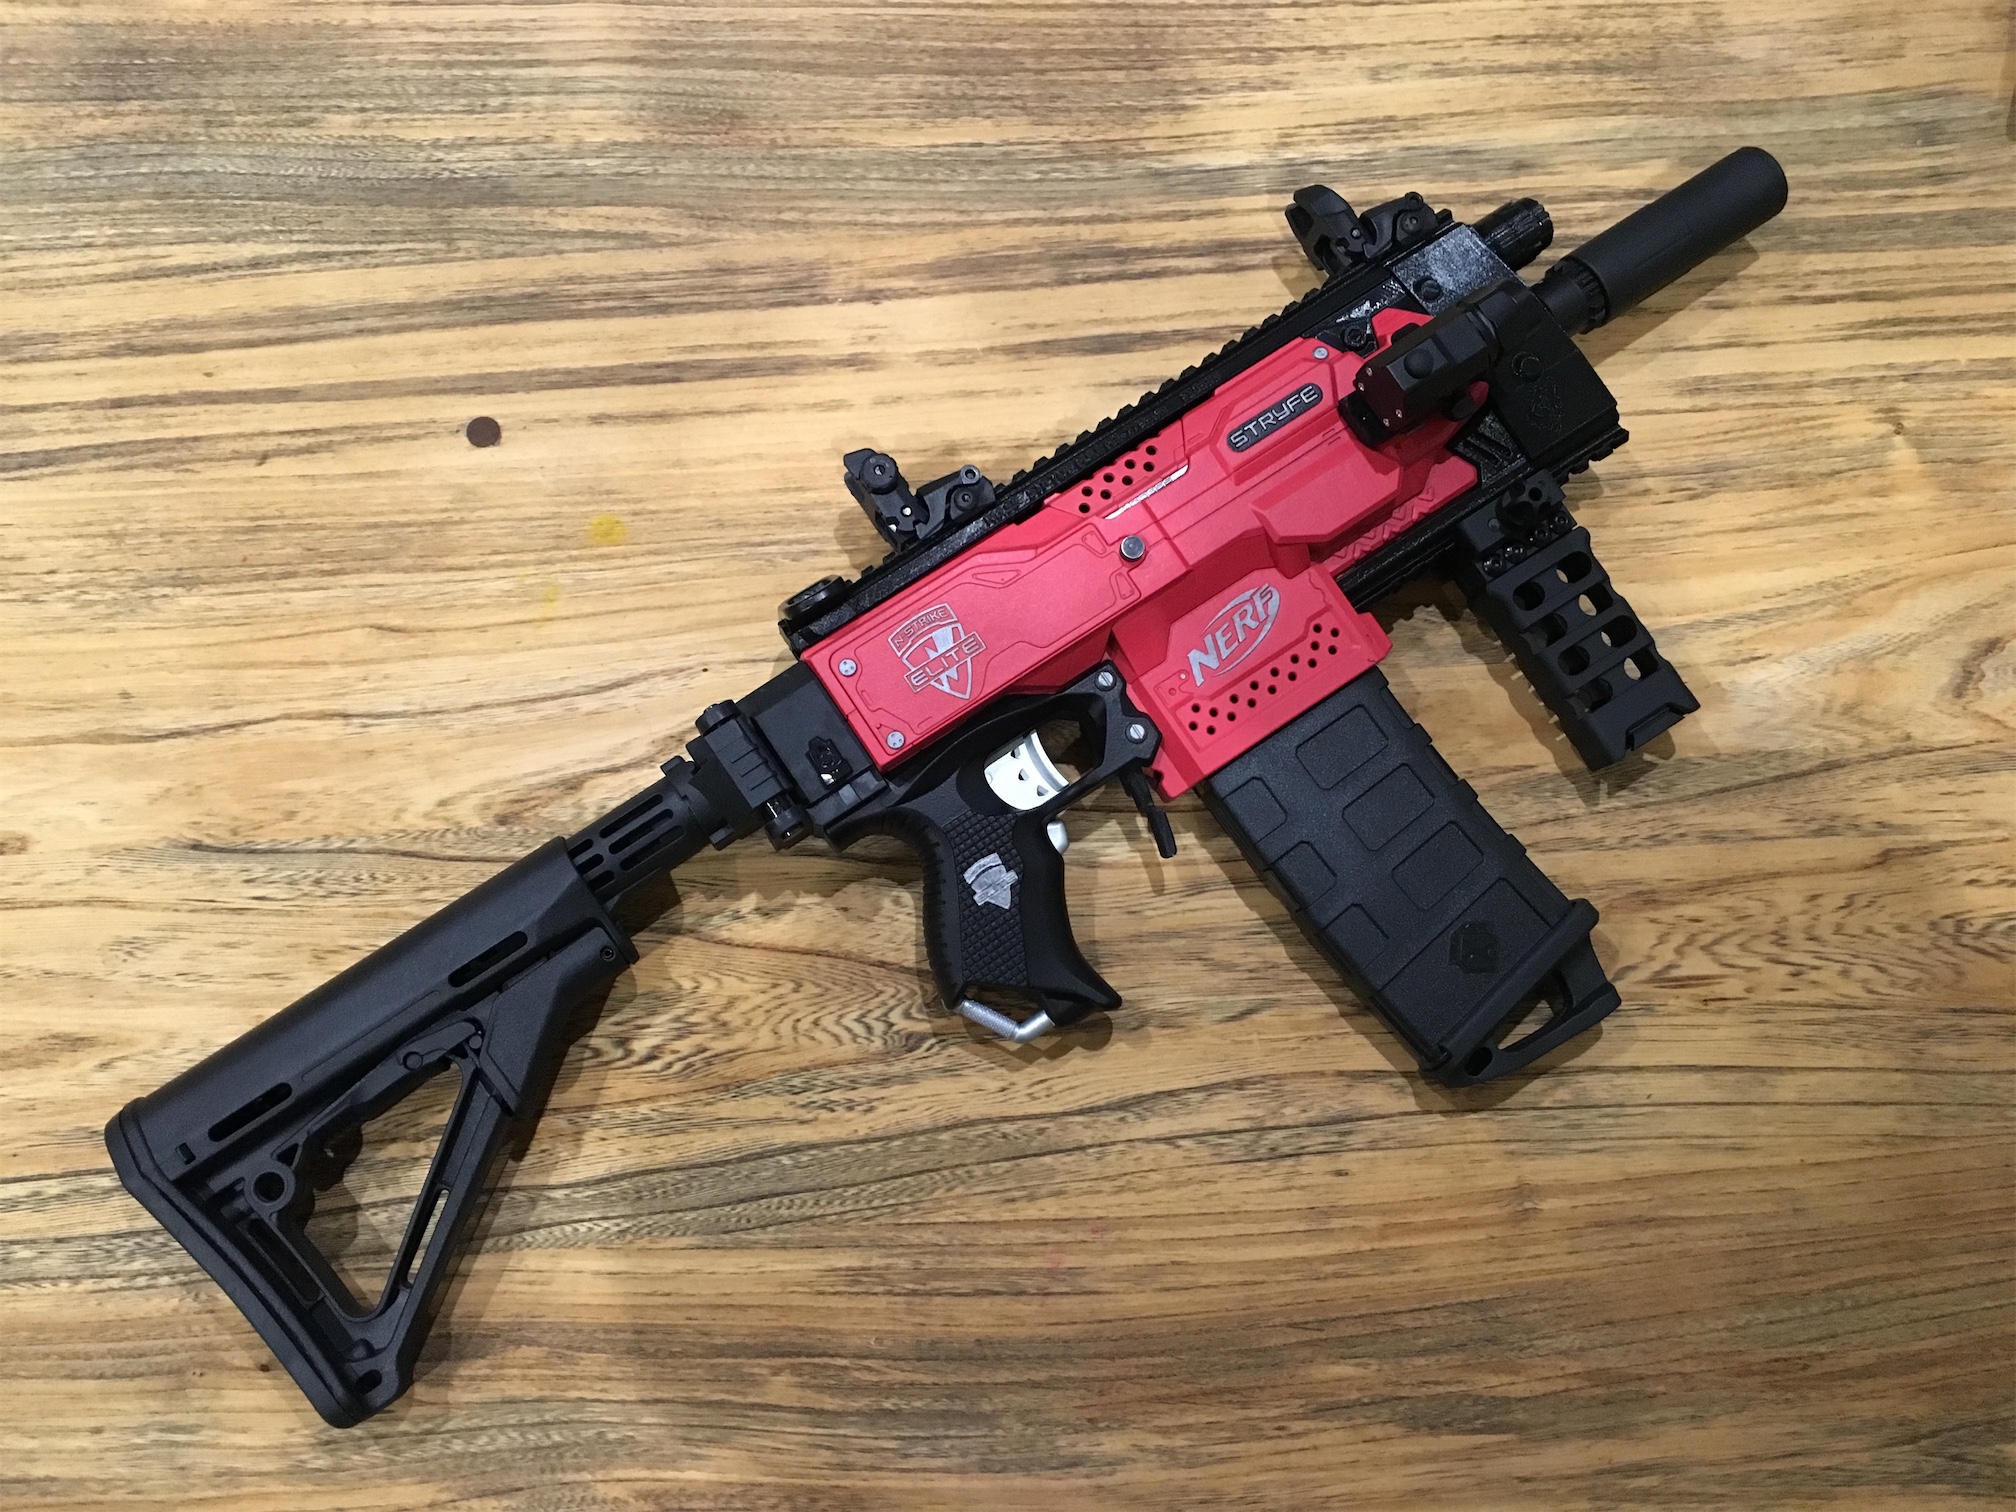
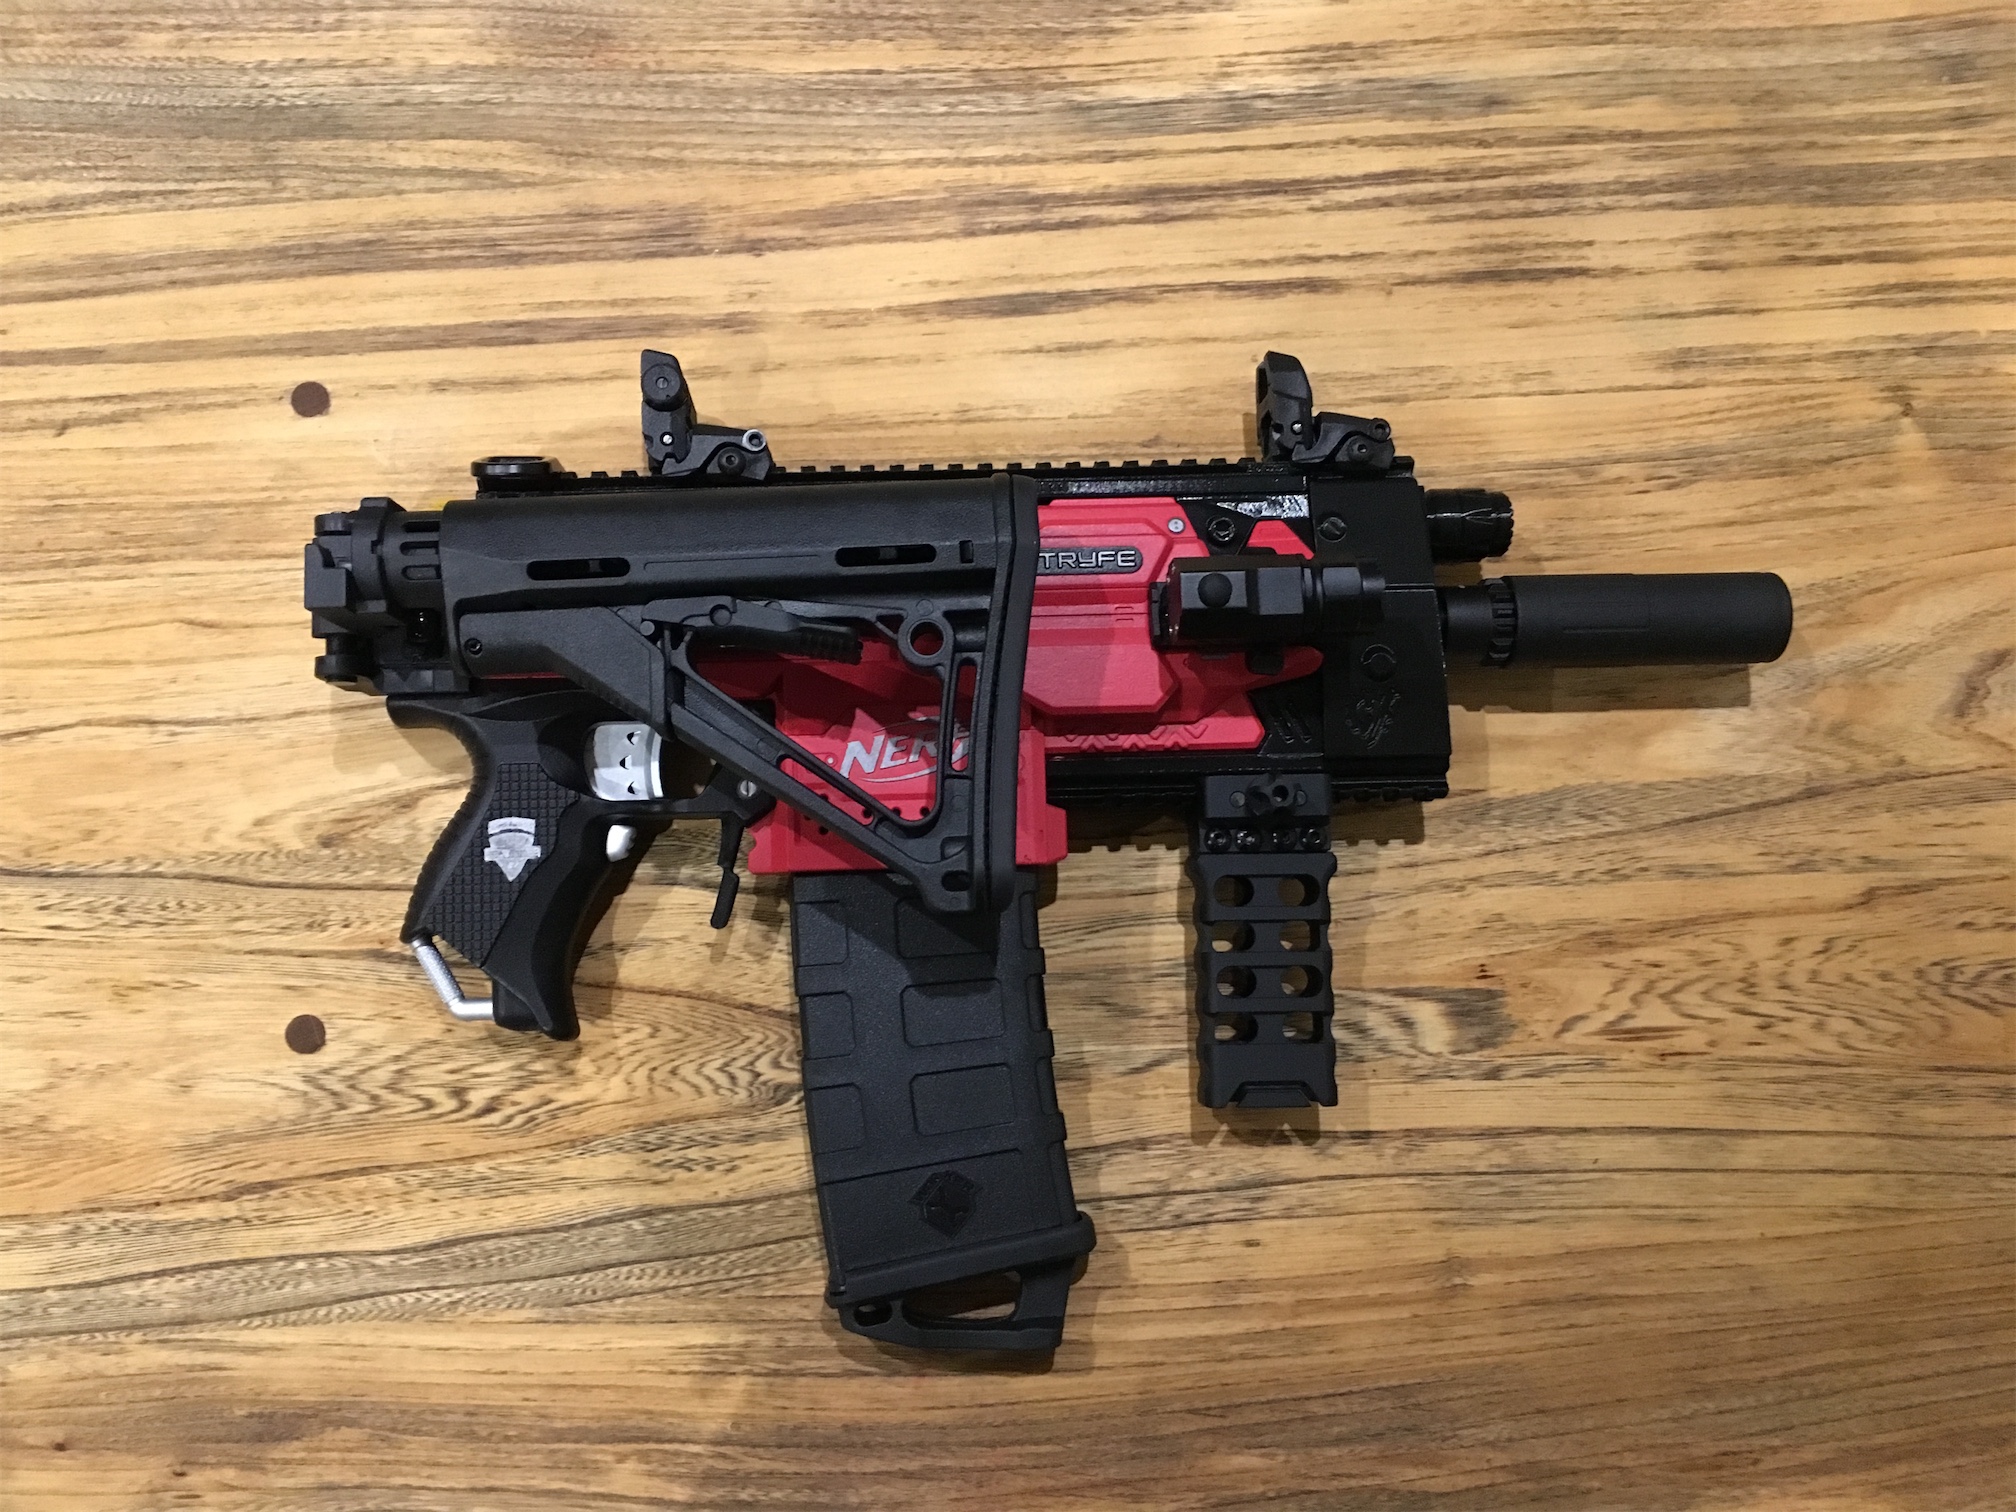
I could now set to work assembling the blaster, I was exceedingly happy with the end result. It has some serious weight to it now!
Nerf Stryfe Tacticool
Nerf Stryfe Tacticool Folded Stock
Nerf Stryfe Tacticool No Stock
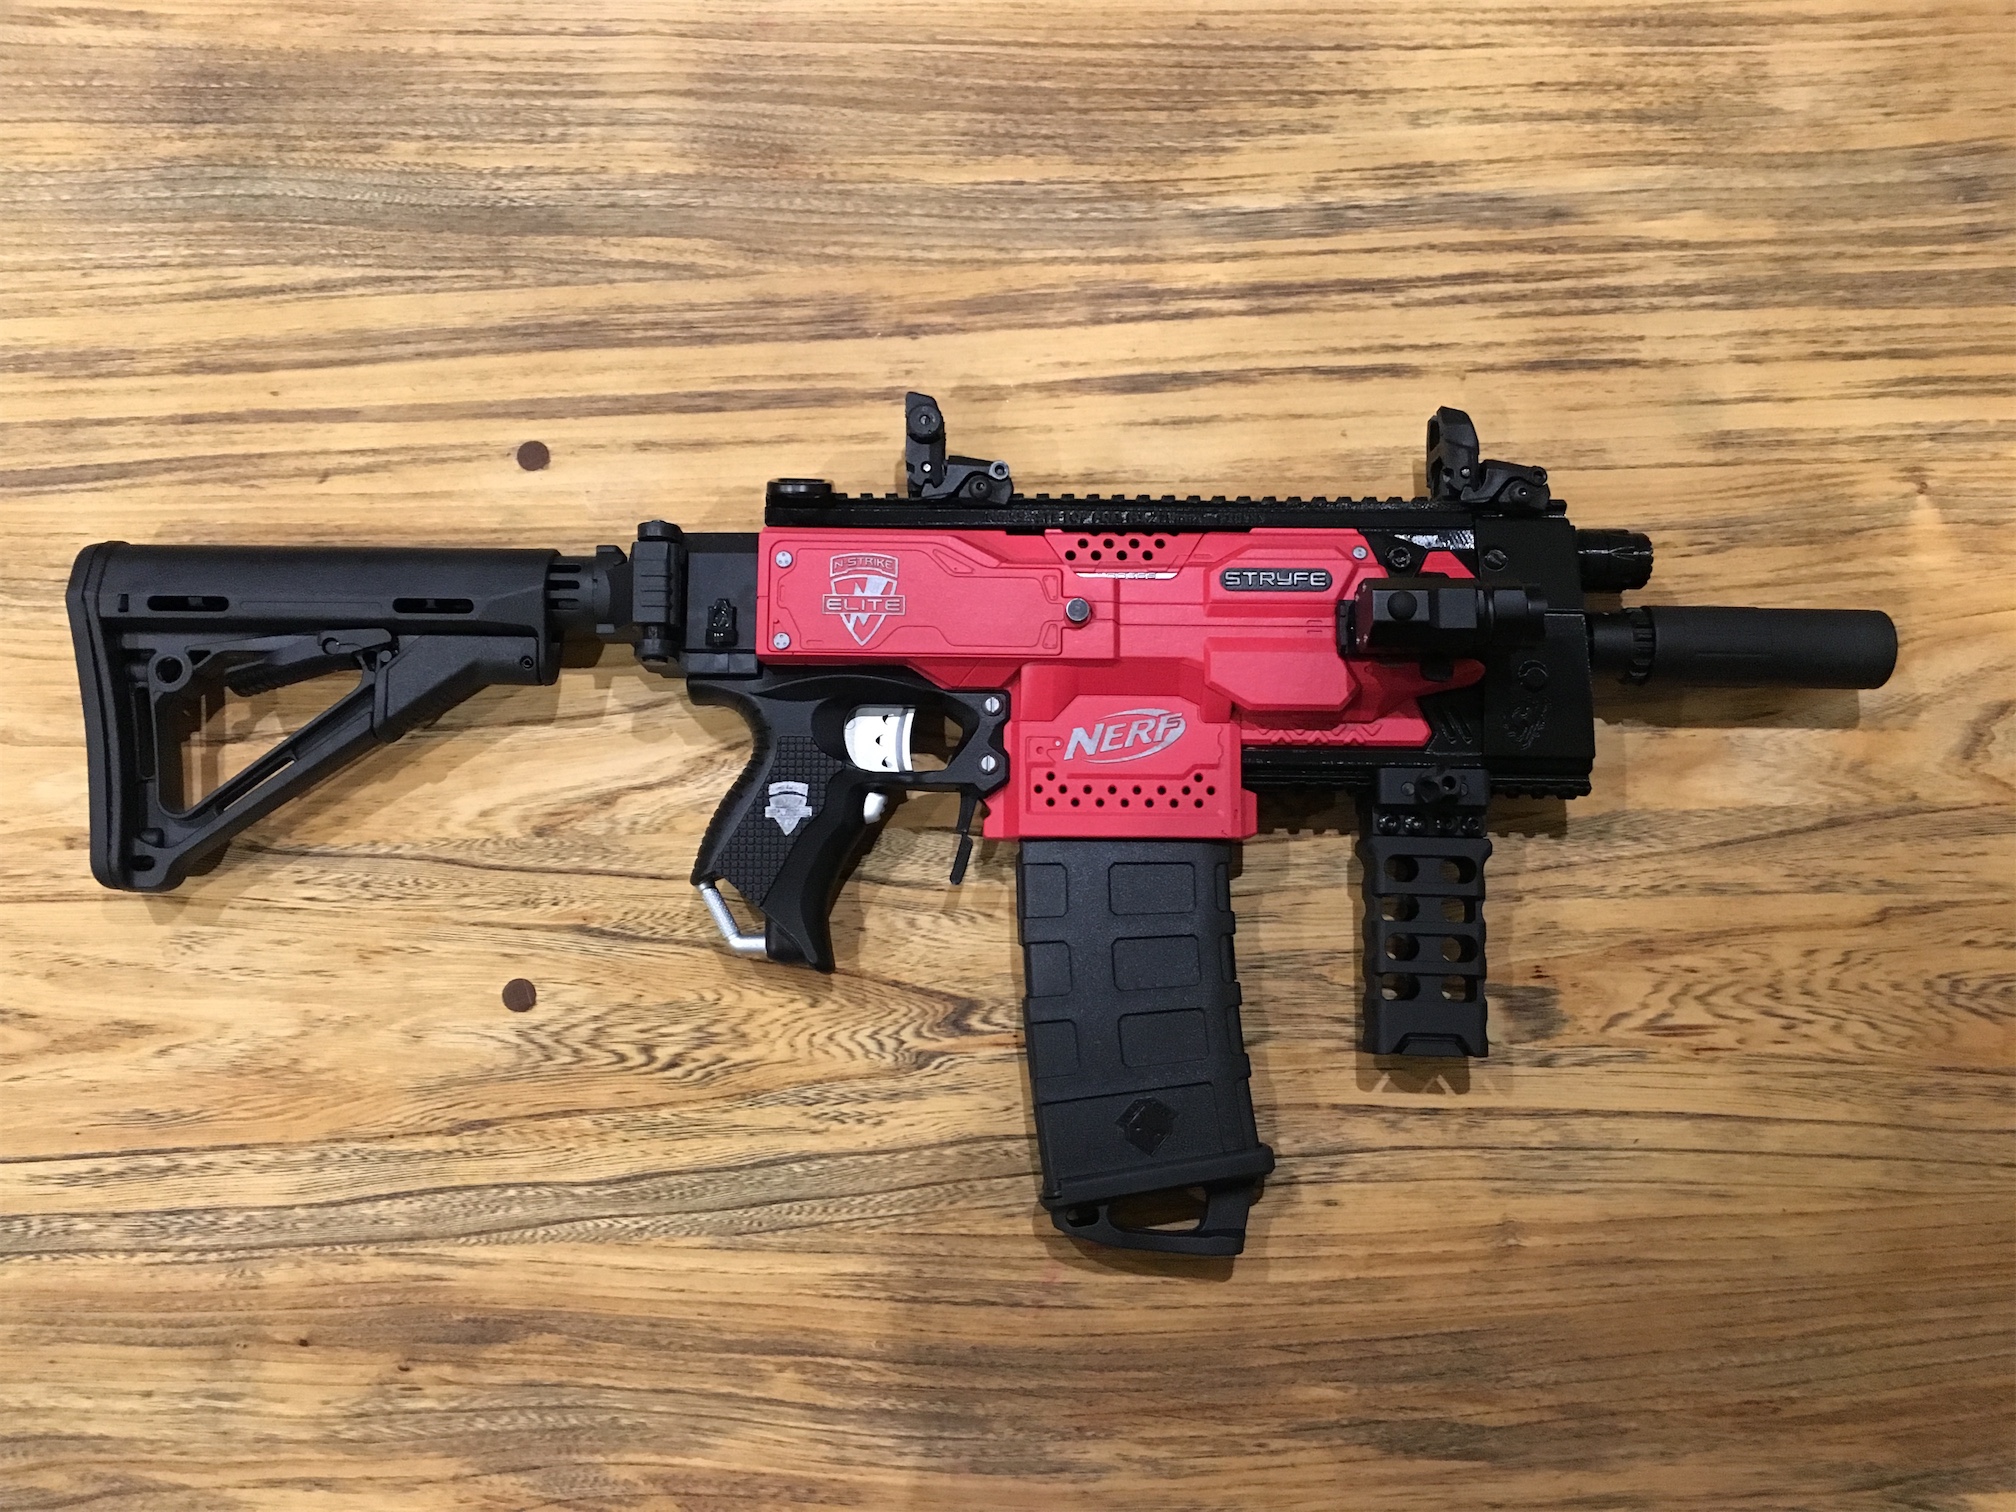
Nerf Stryfe Tacticool with Stock
It looks very different to how it last looked.
Nerf Stryfe Kriss Vector
Here is a video of it in action
The final spec’s/parts are as follows:
Nerf Stryfe
18 AWG Rewire
2 x Rhino MTB Motors
2S Zippy Compact 850 battery
XT60 Connectors
Worker Flywheels
All locks removed
Gavinfuzzy 3d Printed Mag release.
Worker Aluminium flasher and silencer.
Worker 12 Pmag with puller.
Worker battery thumbscrew
Worker folding stock
CTR Stock
MBUS sights
F10555 3D Printed top rail
F10555 3D Printed side rail
F10555 3D Printed bottom rail
F10555 3D Kriss Vector front section
Viking Tactics Ultralight Vertical Grip
TrustFire LED Gun Tactical Flashlight
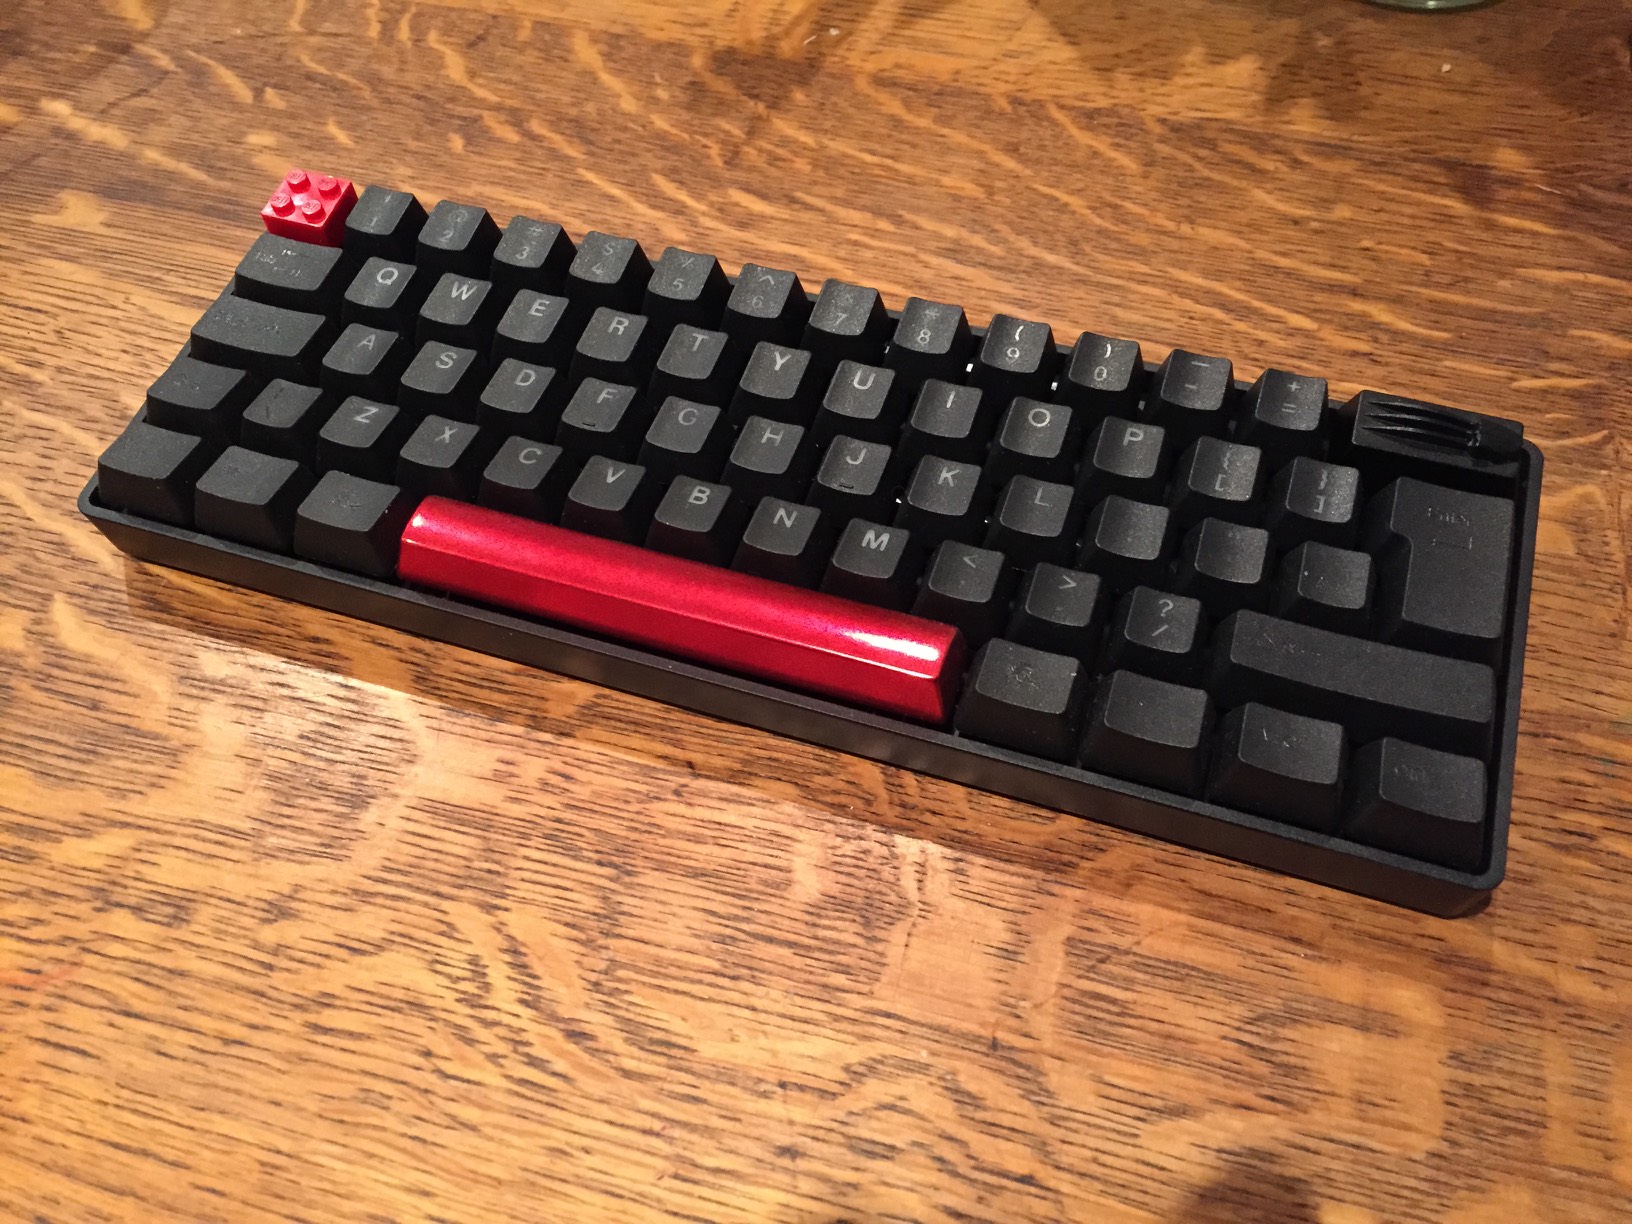
I bought it before xmas as my first mechanical keyboard. It was originally a German ISO keyboard Cherry Red. I used a UK ISO PBT keycap set from ducky as a start. I then added some PBT doubleshot keycaps from Massdrop.
Other additions are my lego keycap that I made, a red aluminium spacebar and newly arrived today was a Holyoops backspace key.
I want to get a silver aluminium case and red cable from Pexonpcs then it will be finished… maybe
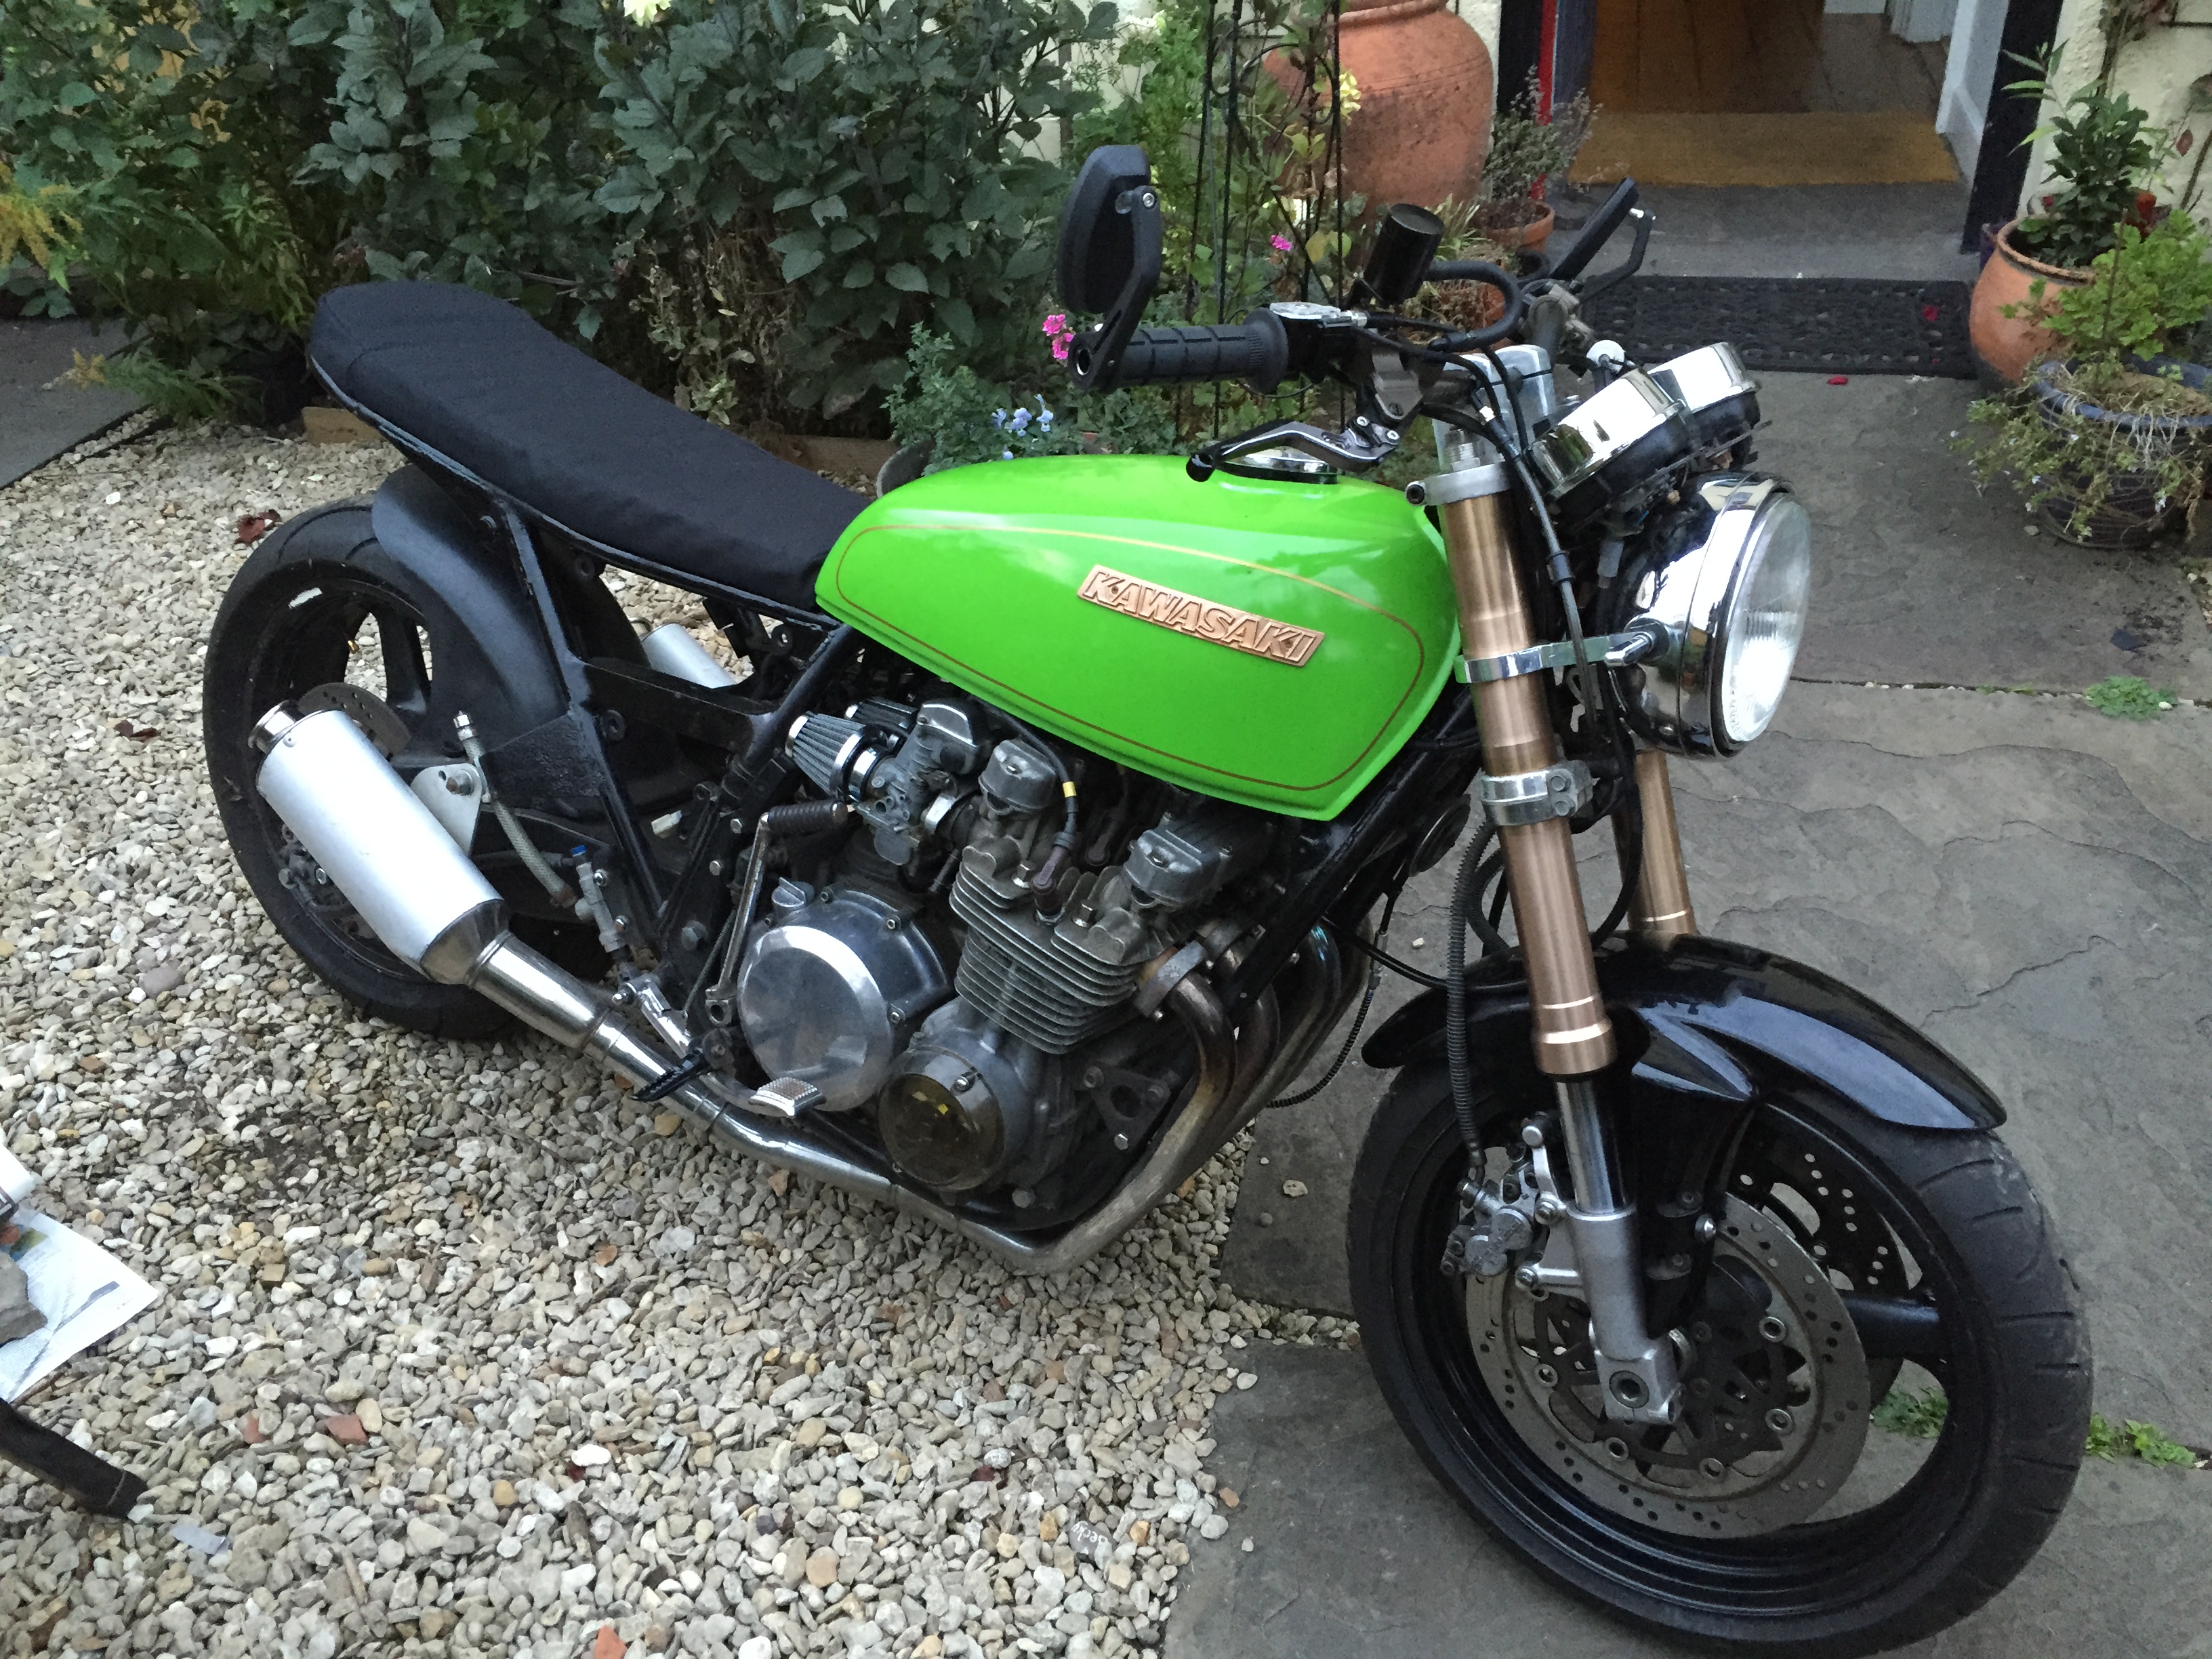
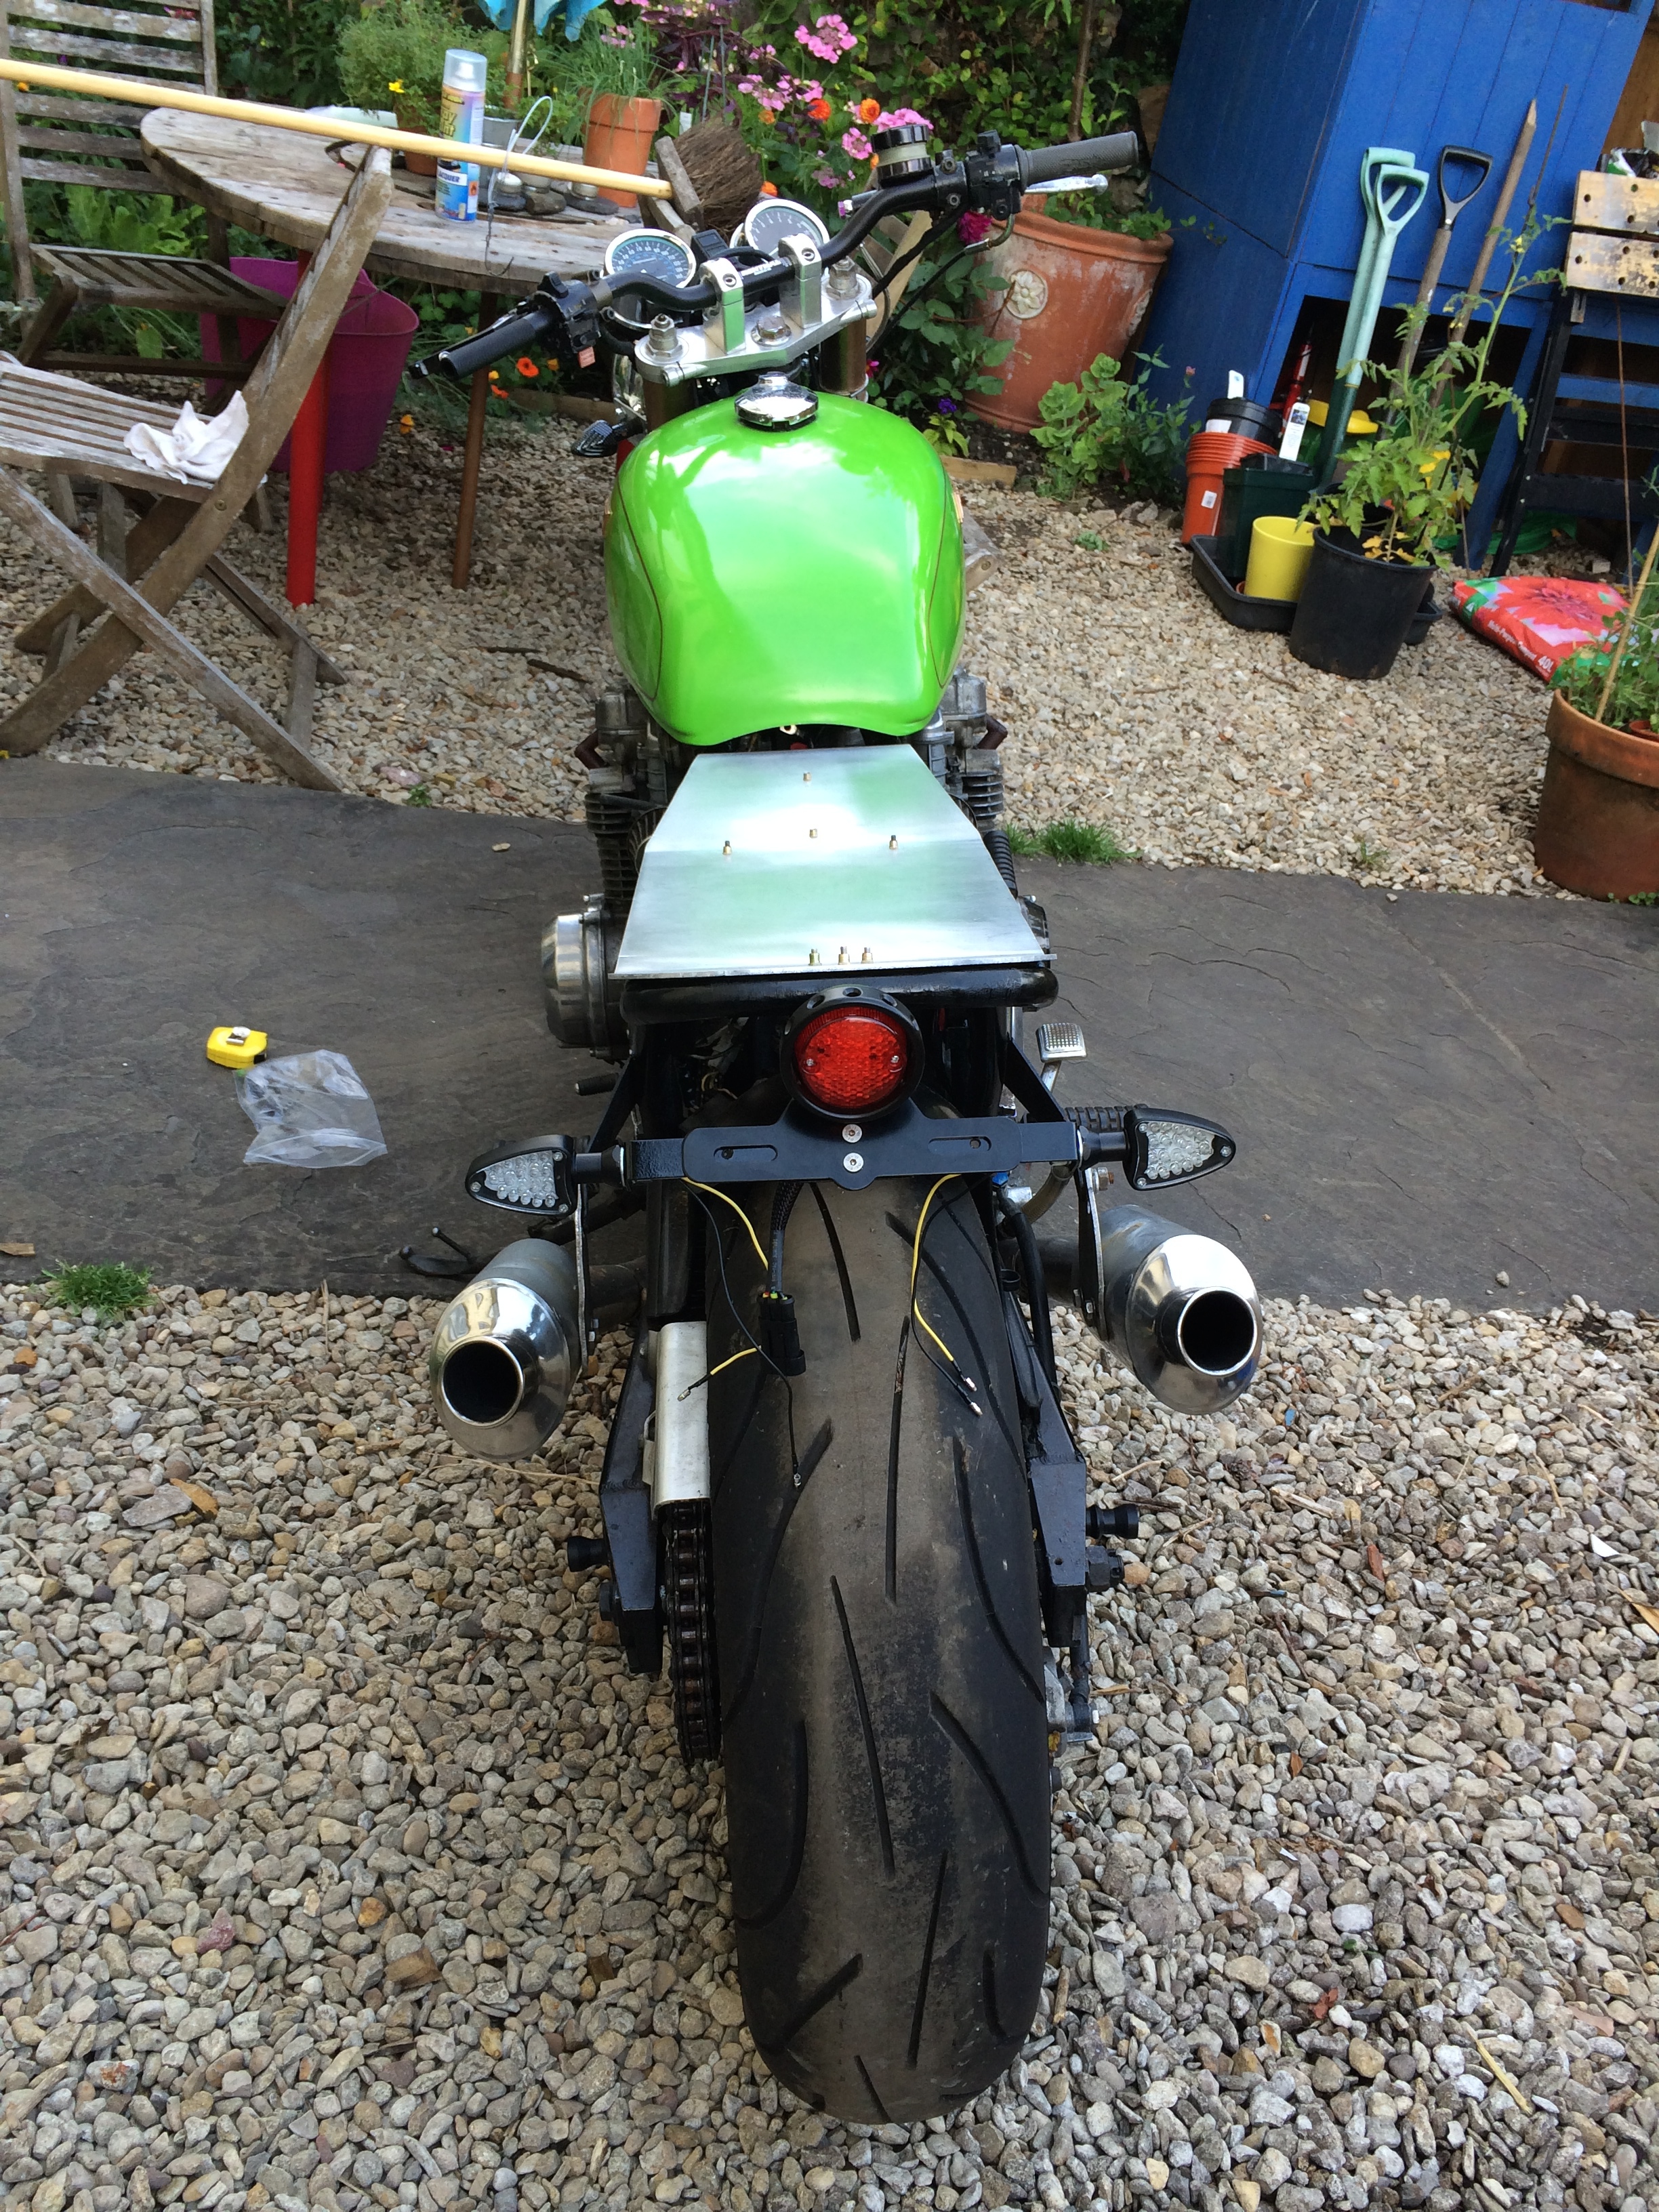
So, it’s been quite some time since I have updated this thread. I have made some progress on the bike. However not as much as I’ve hoped for. It’s still not on the road, but closer than ever!
The major issue has been some wiring gremlins. Some caused by me and some caused by some shoddy work in the past. I got a couple of wires wrong when hooking up the new controls, which I fixed quite quickly. However there was a very bad short which caused smoke to appear from near the speedo and fry the main fuse. After much poking around with the multimeter I realised that the speedo wiring was to blame. I found a really awful mess of cables hidden under some tape. Really really shoddy work, some of which was touching the frame of the headlamp and causing a short. So instead of waiting to fit the new speedo I’ve ripped out the old dials and wiring and started doing it now, as the wiring would have taken ages to fix properly.
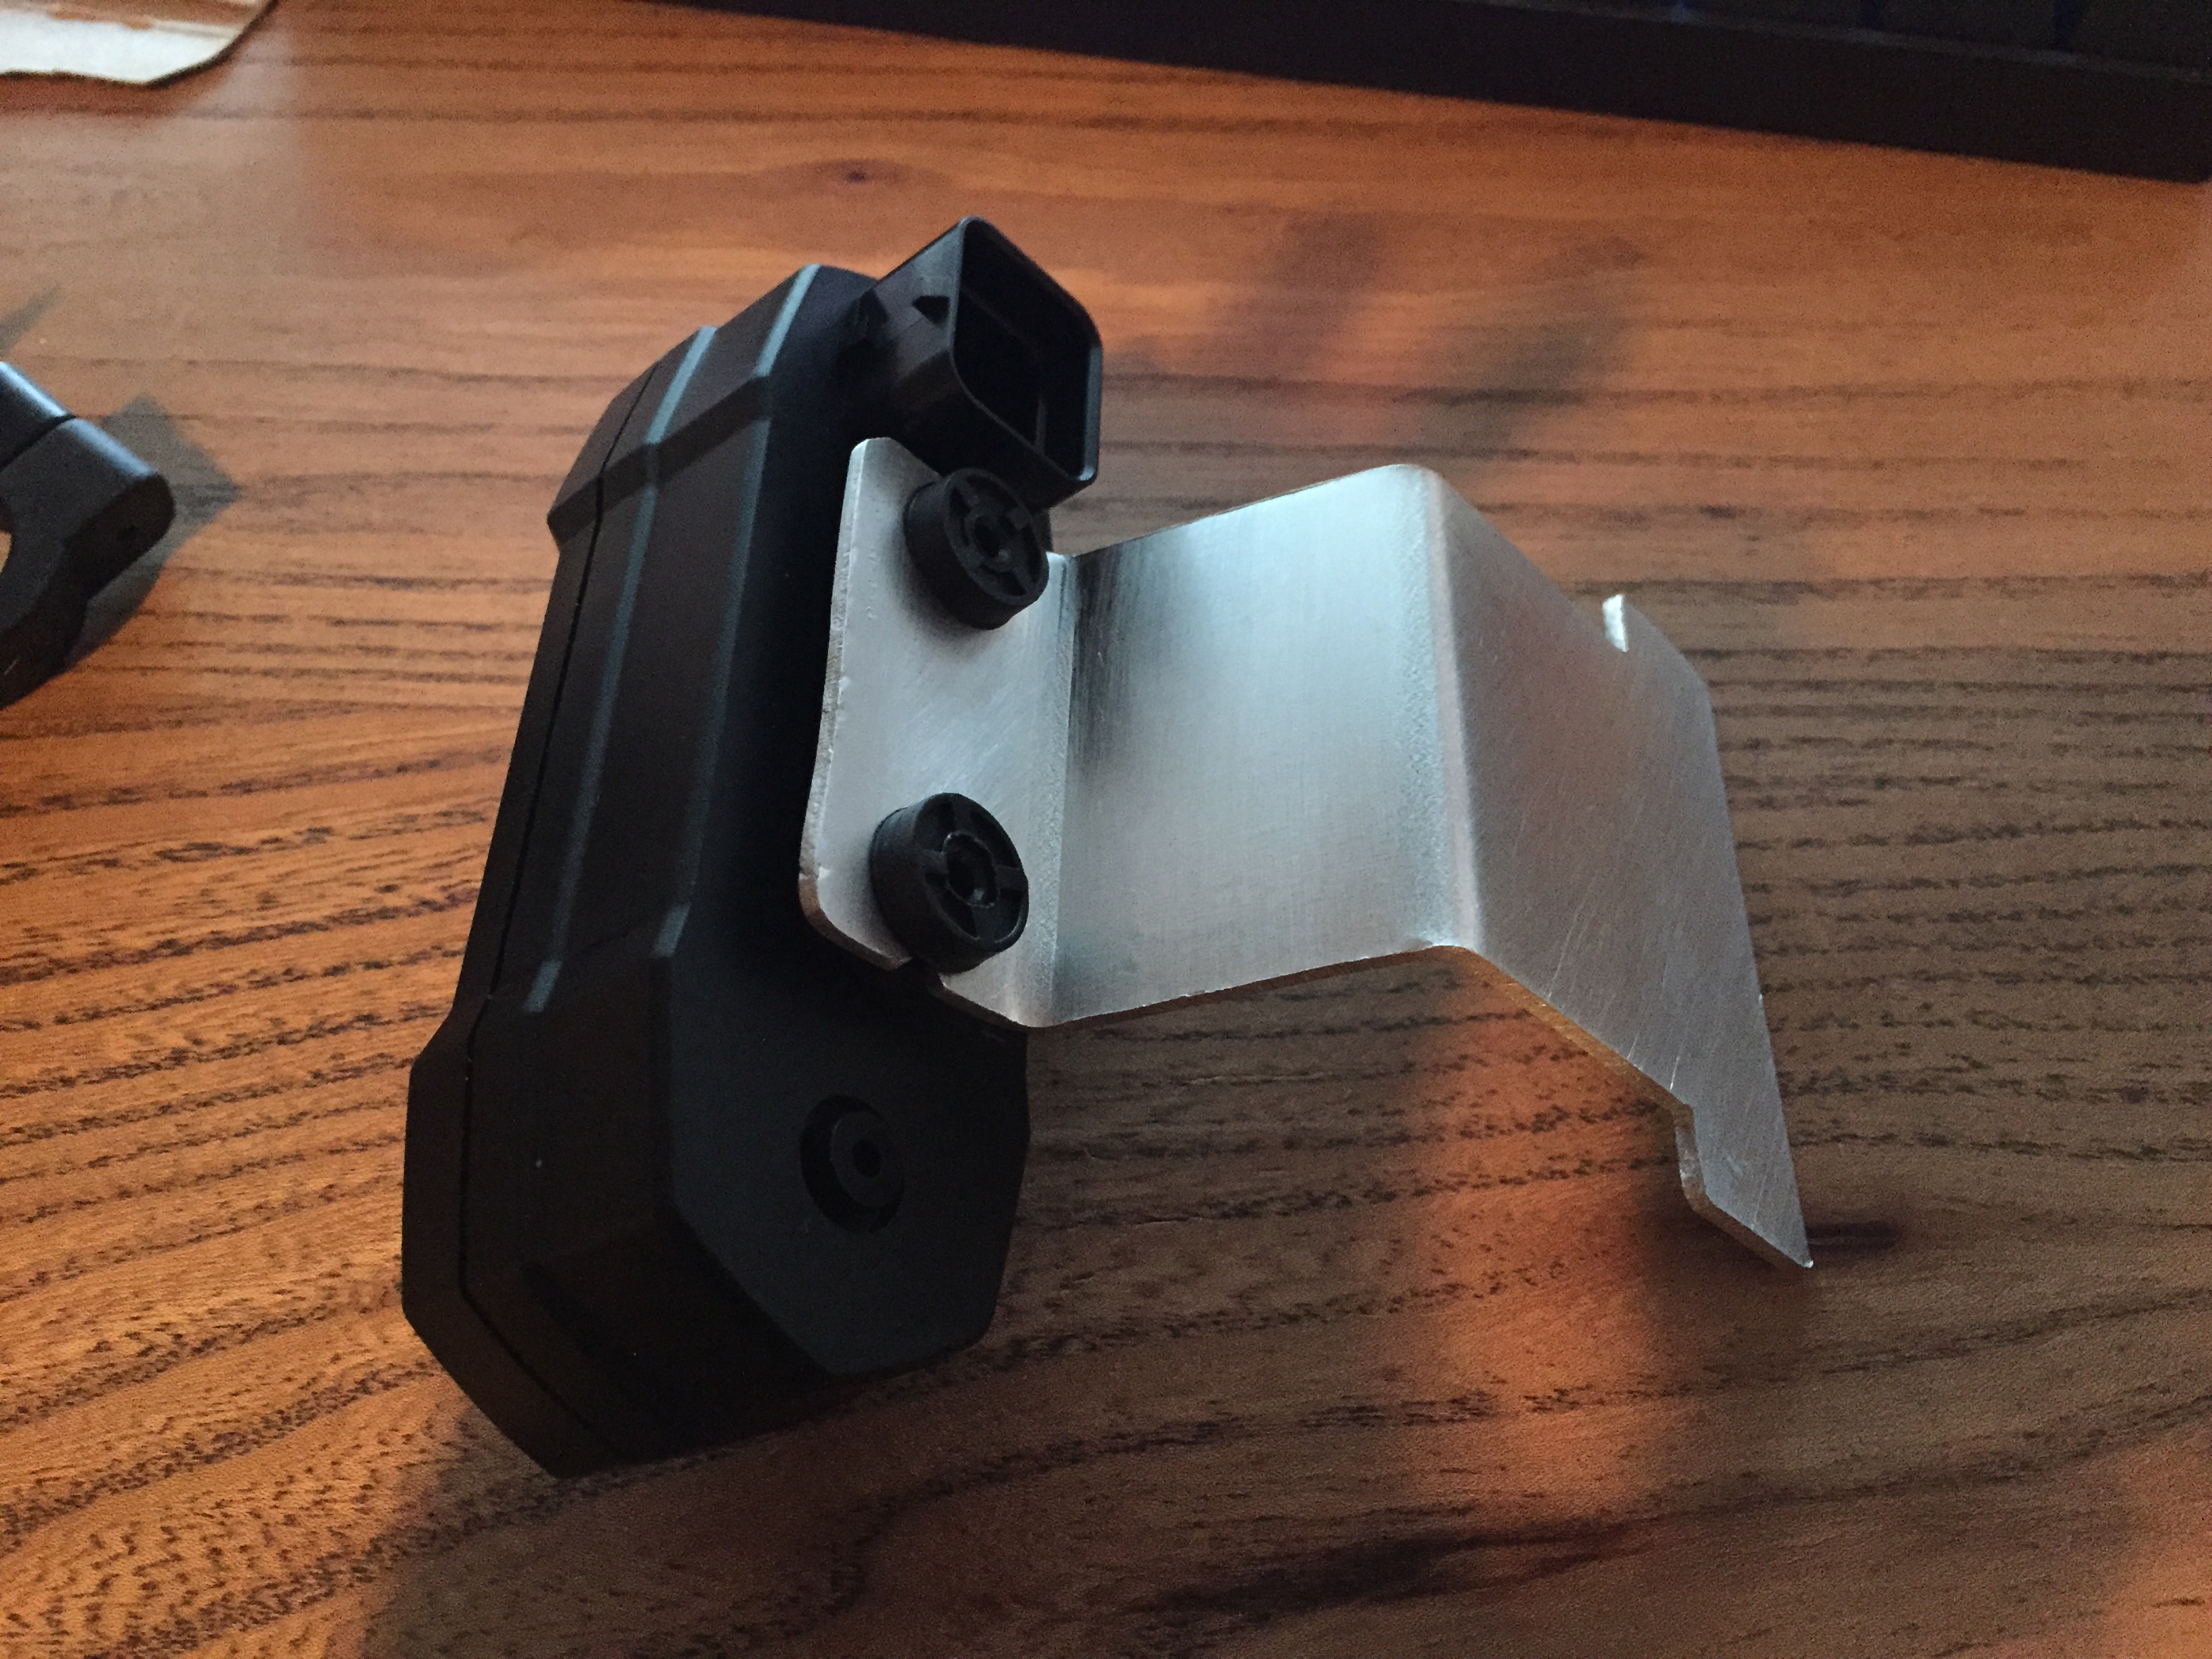
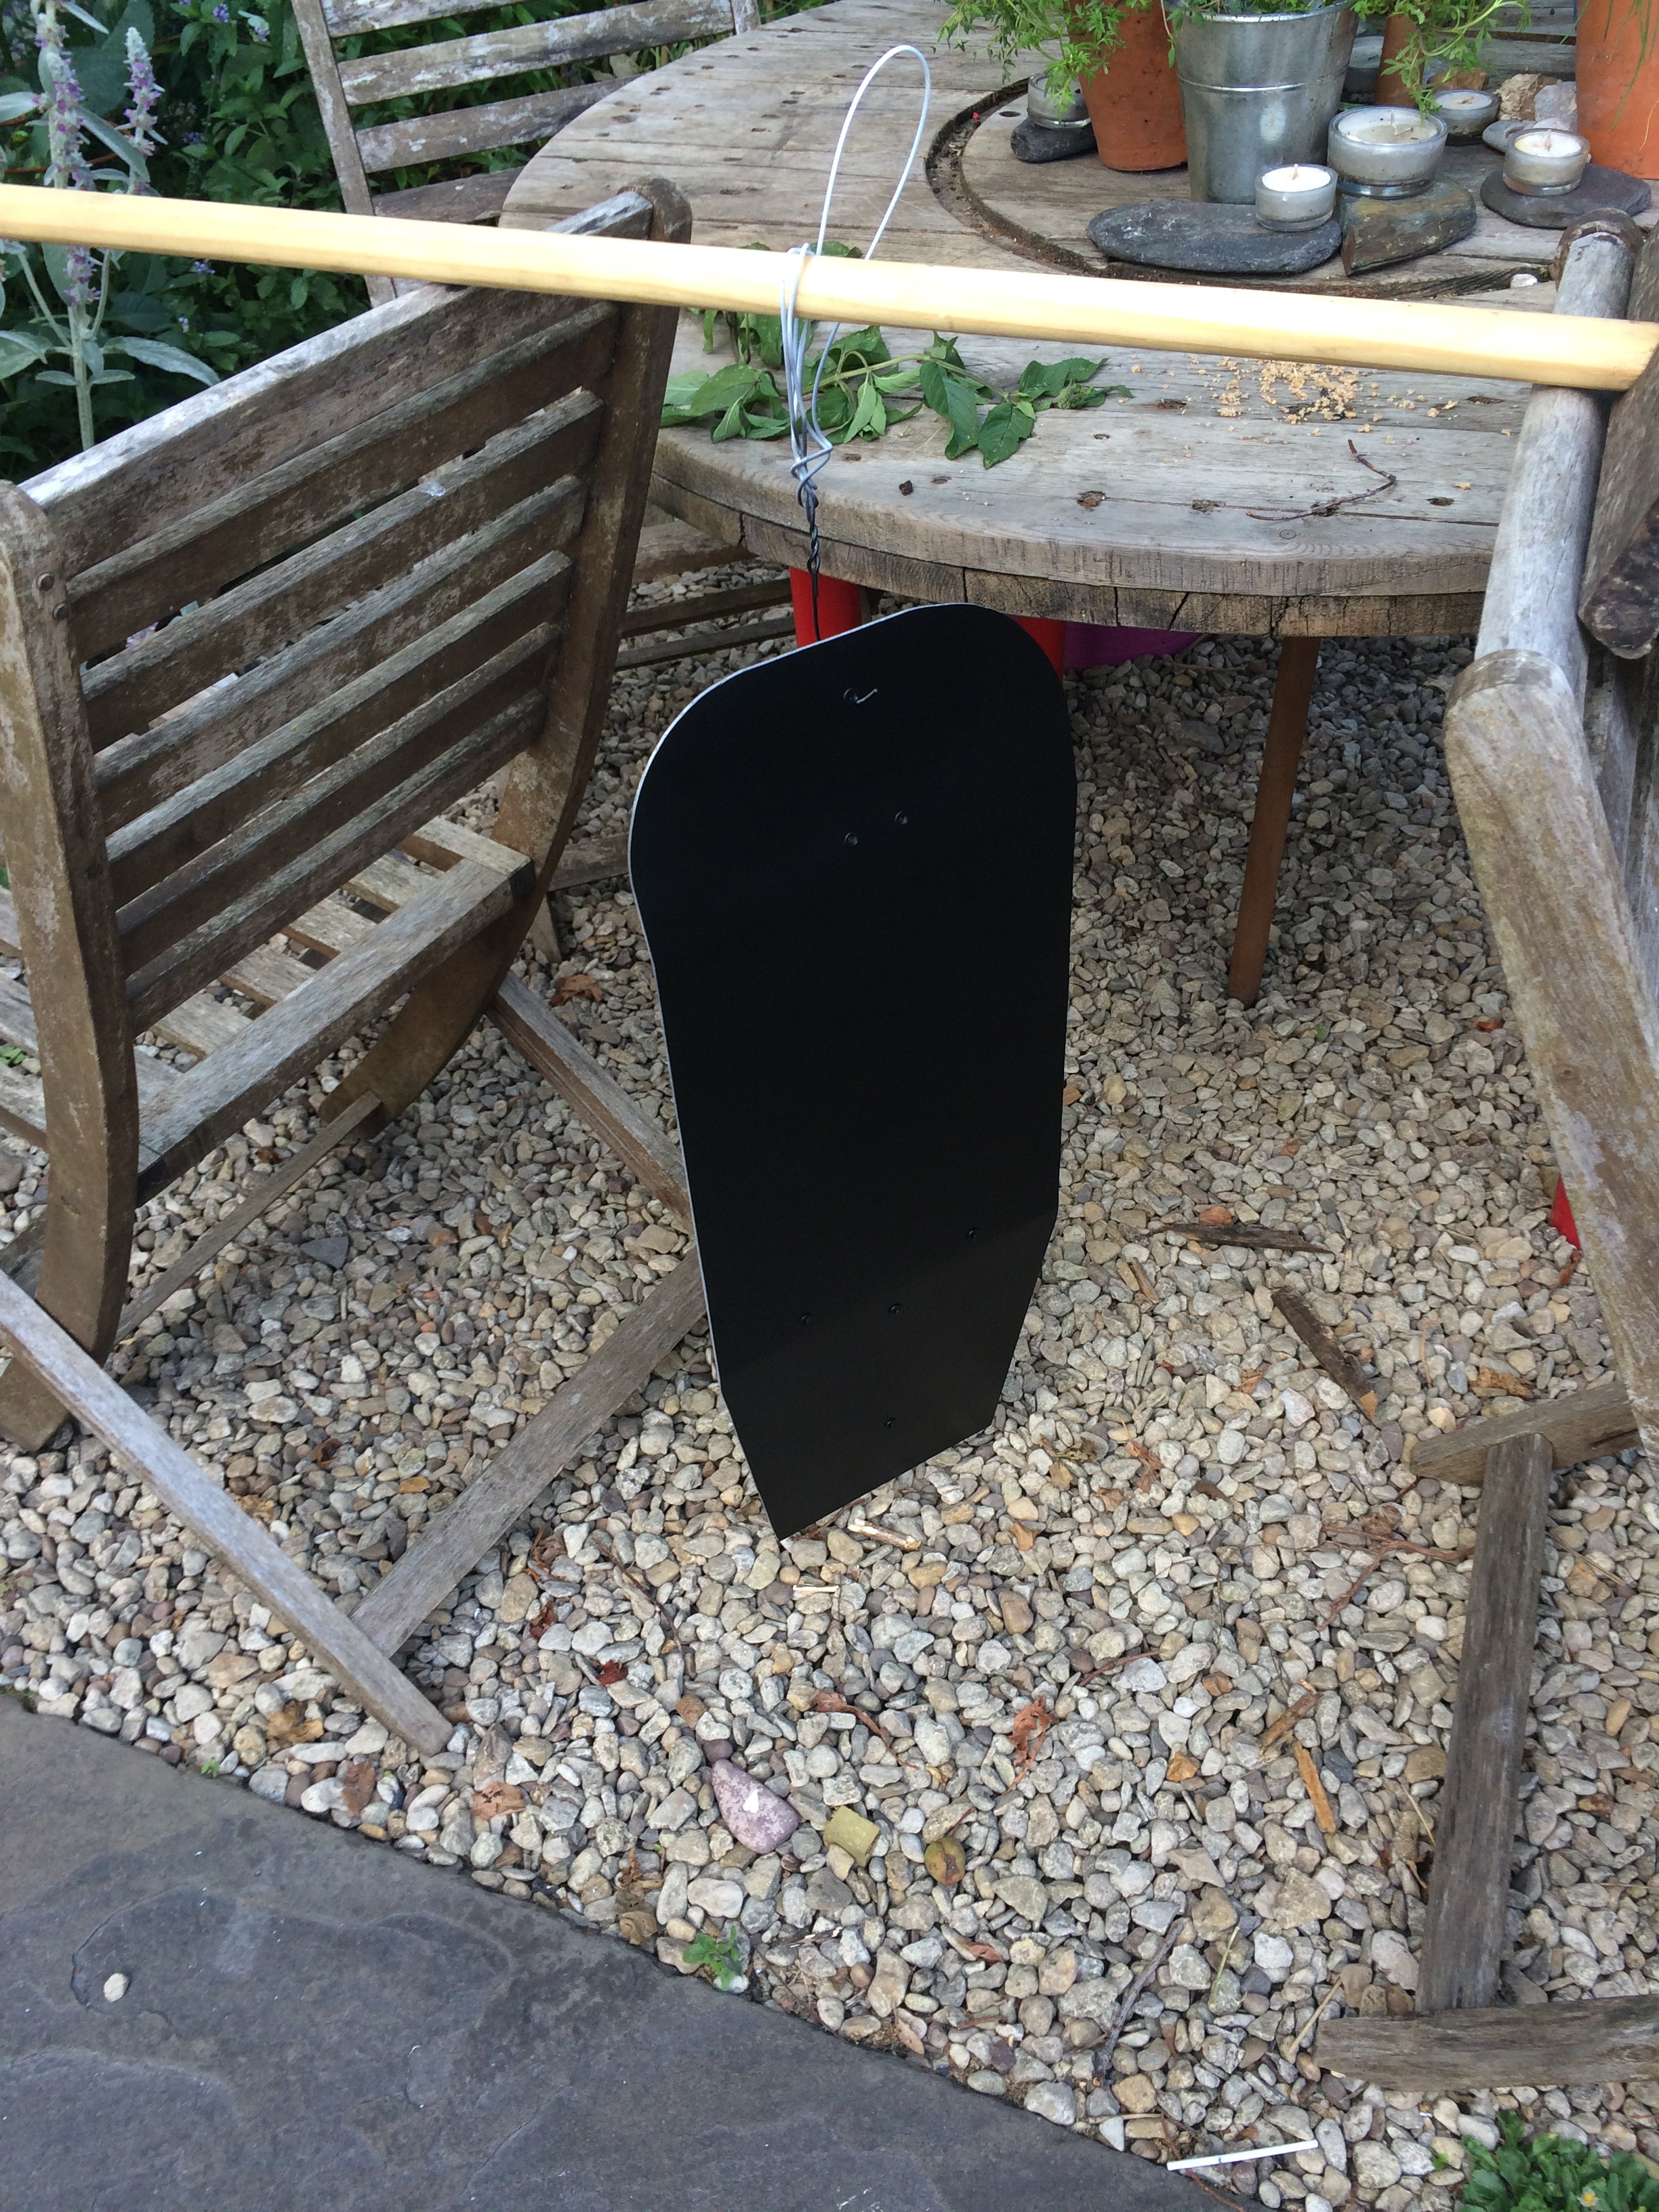
Next up I needed to create a bracket to mount the new speedo in place.
Here it is as it sits now, it needs painting and preparing, but I’m very happy with it.
The other major job ticked off the list is the seat. With the superb skills of my wife the seat is now fully in place. It was a pig to fit, but I’m really happy with how it looks.
Seat being fitted
The seat is in place.
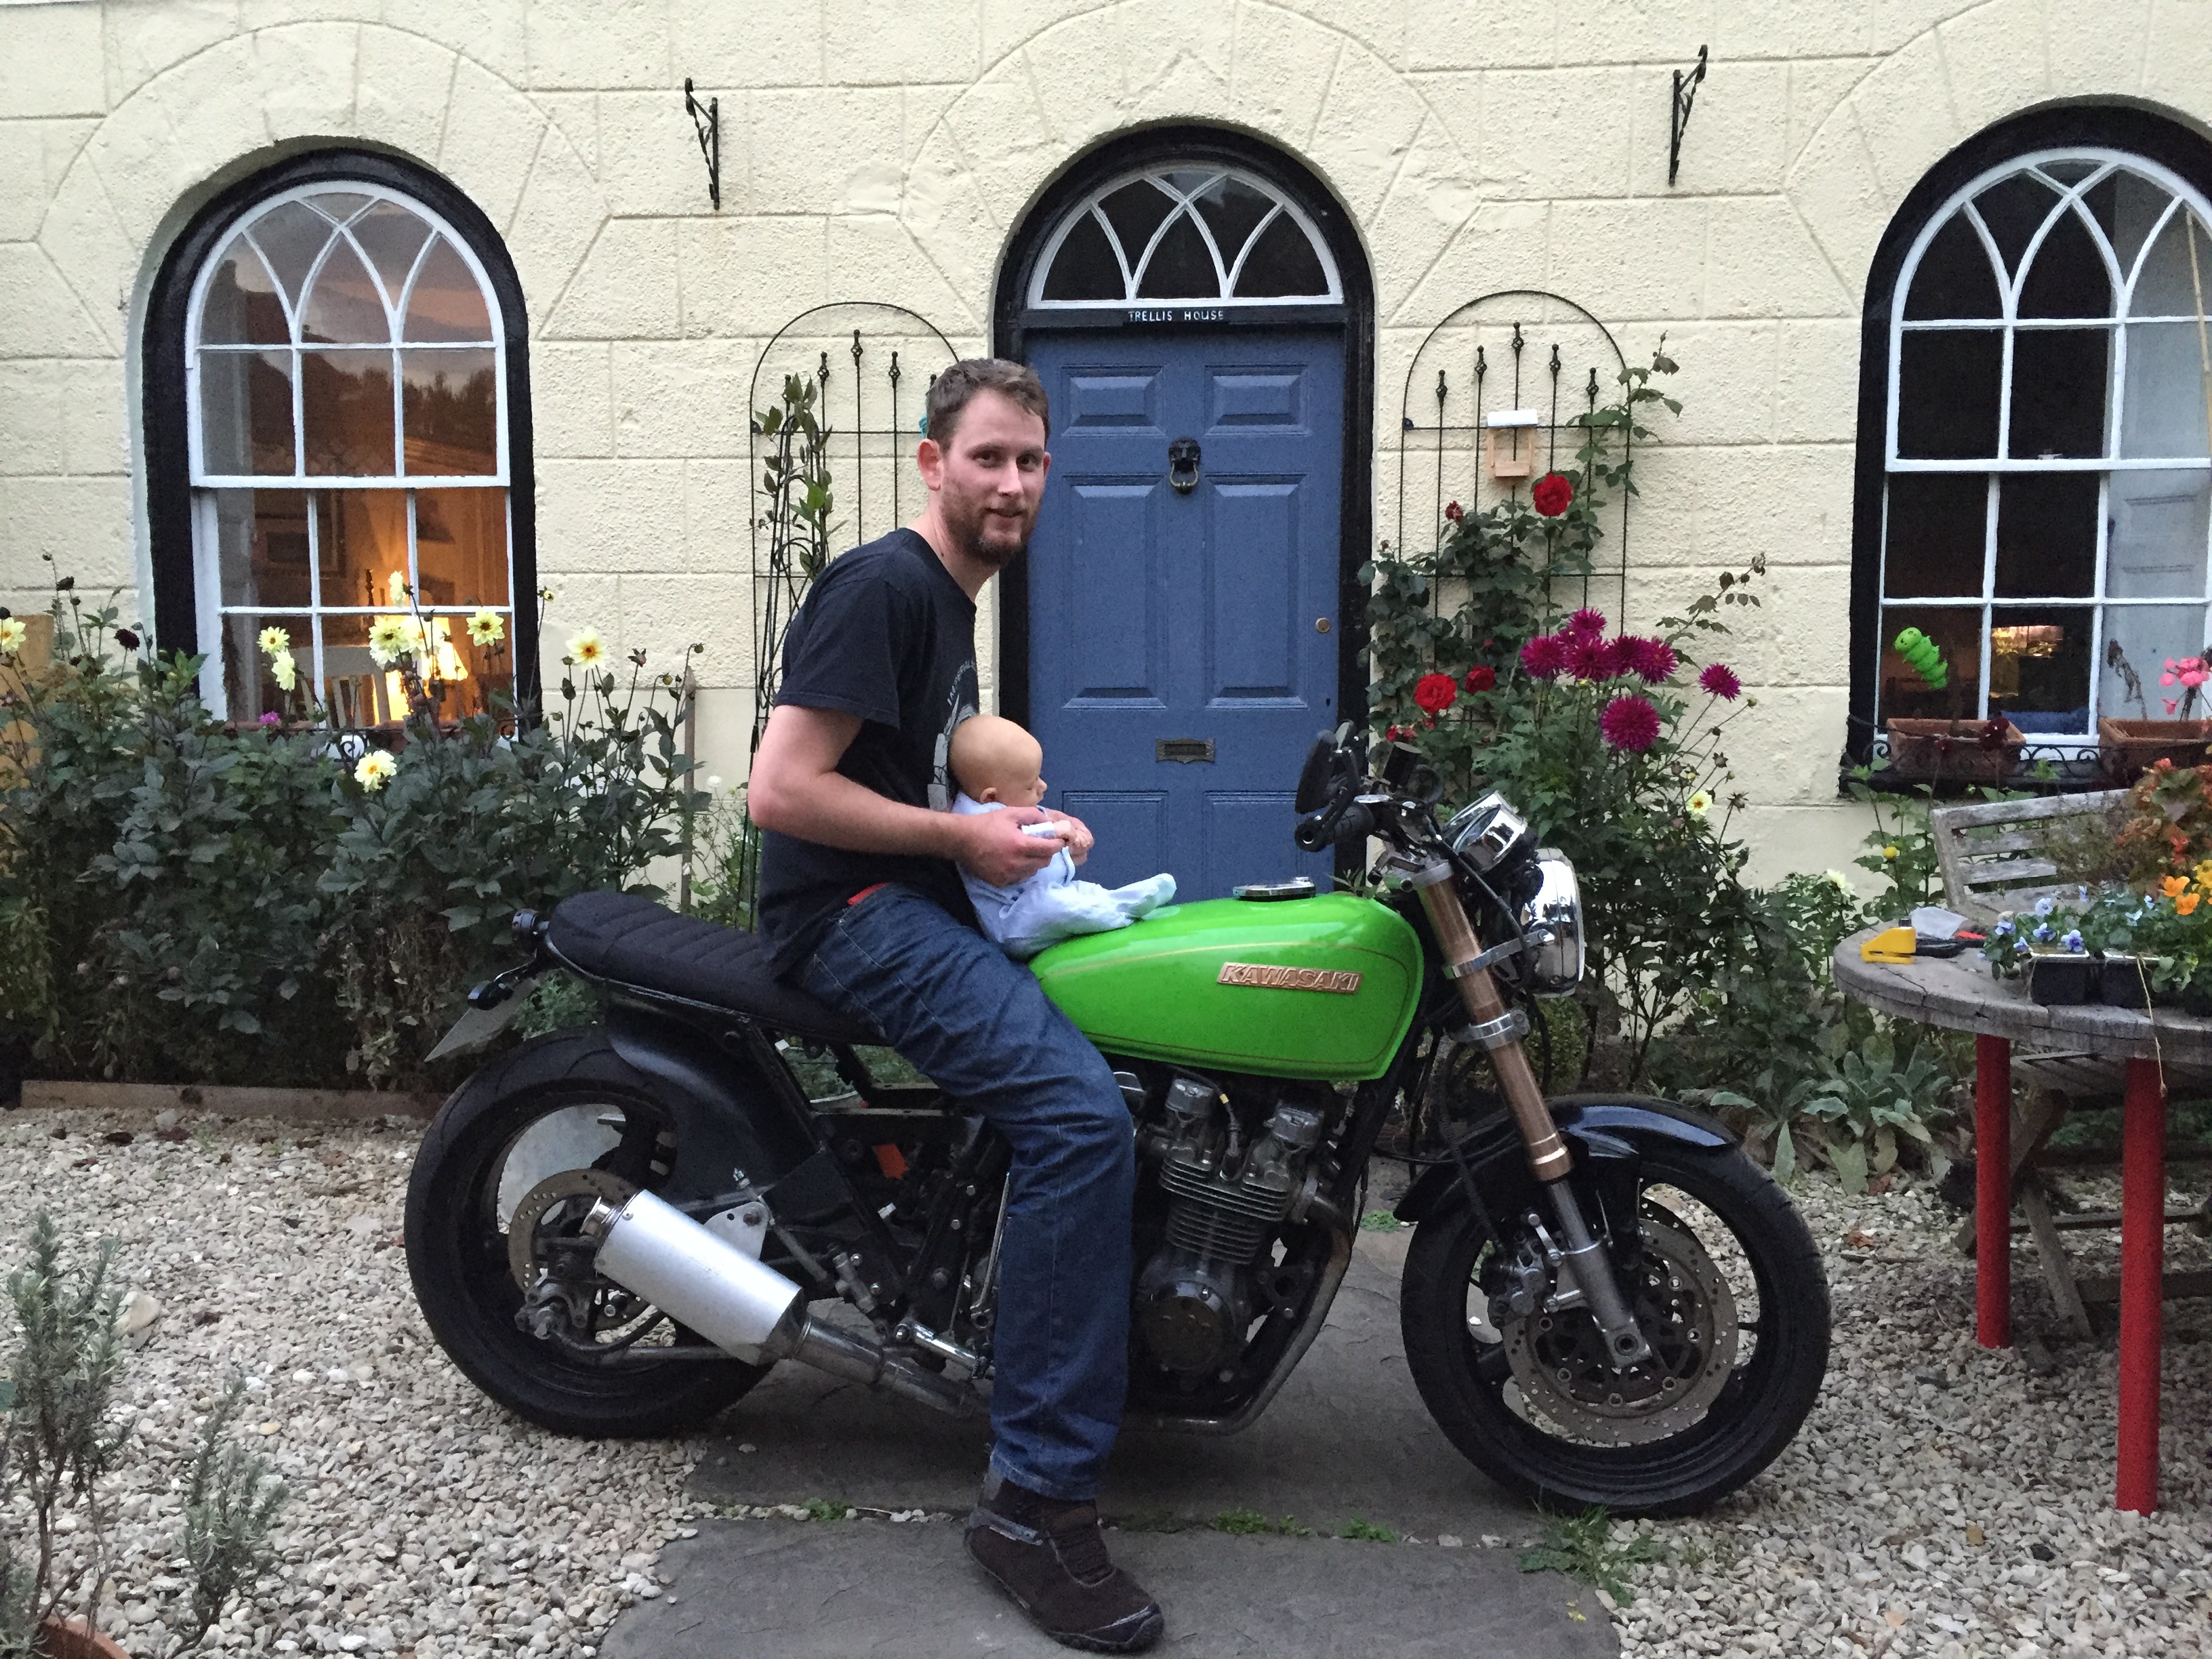
Got to make sure to start the little un on bikes as young as possible!
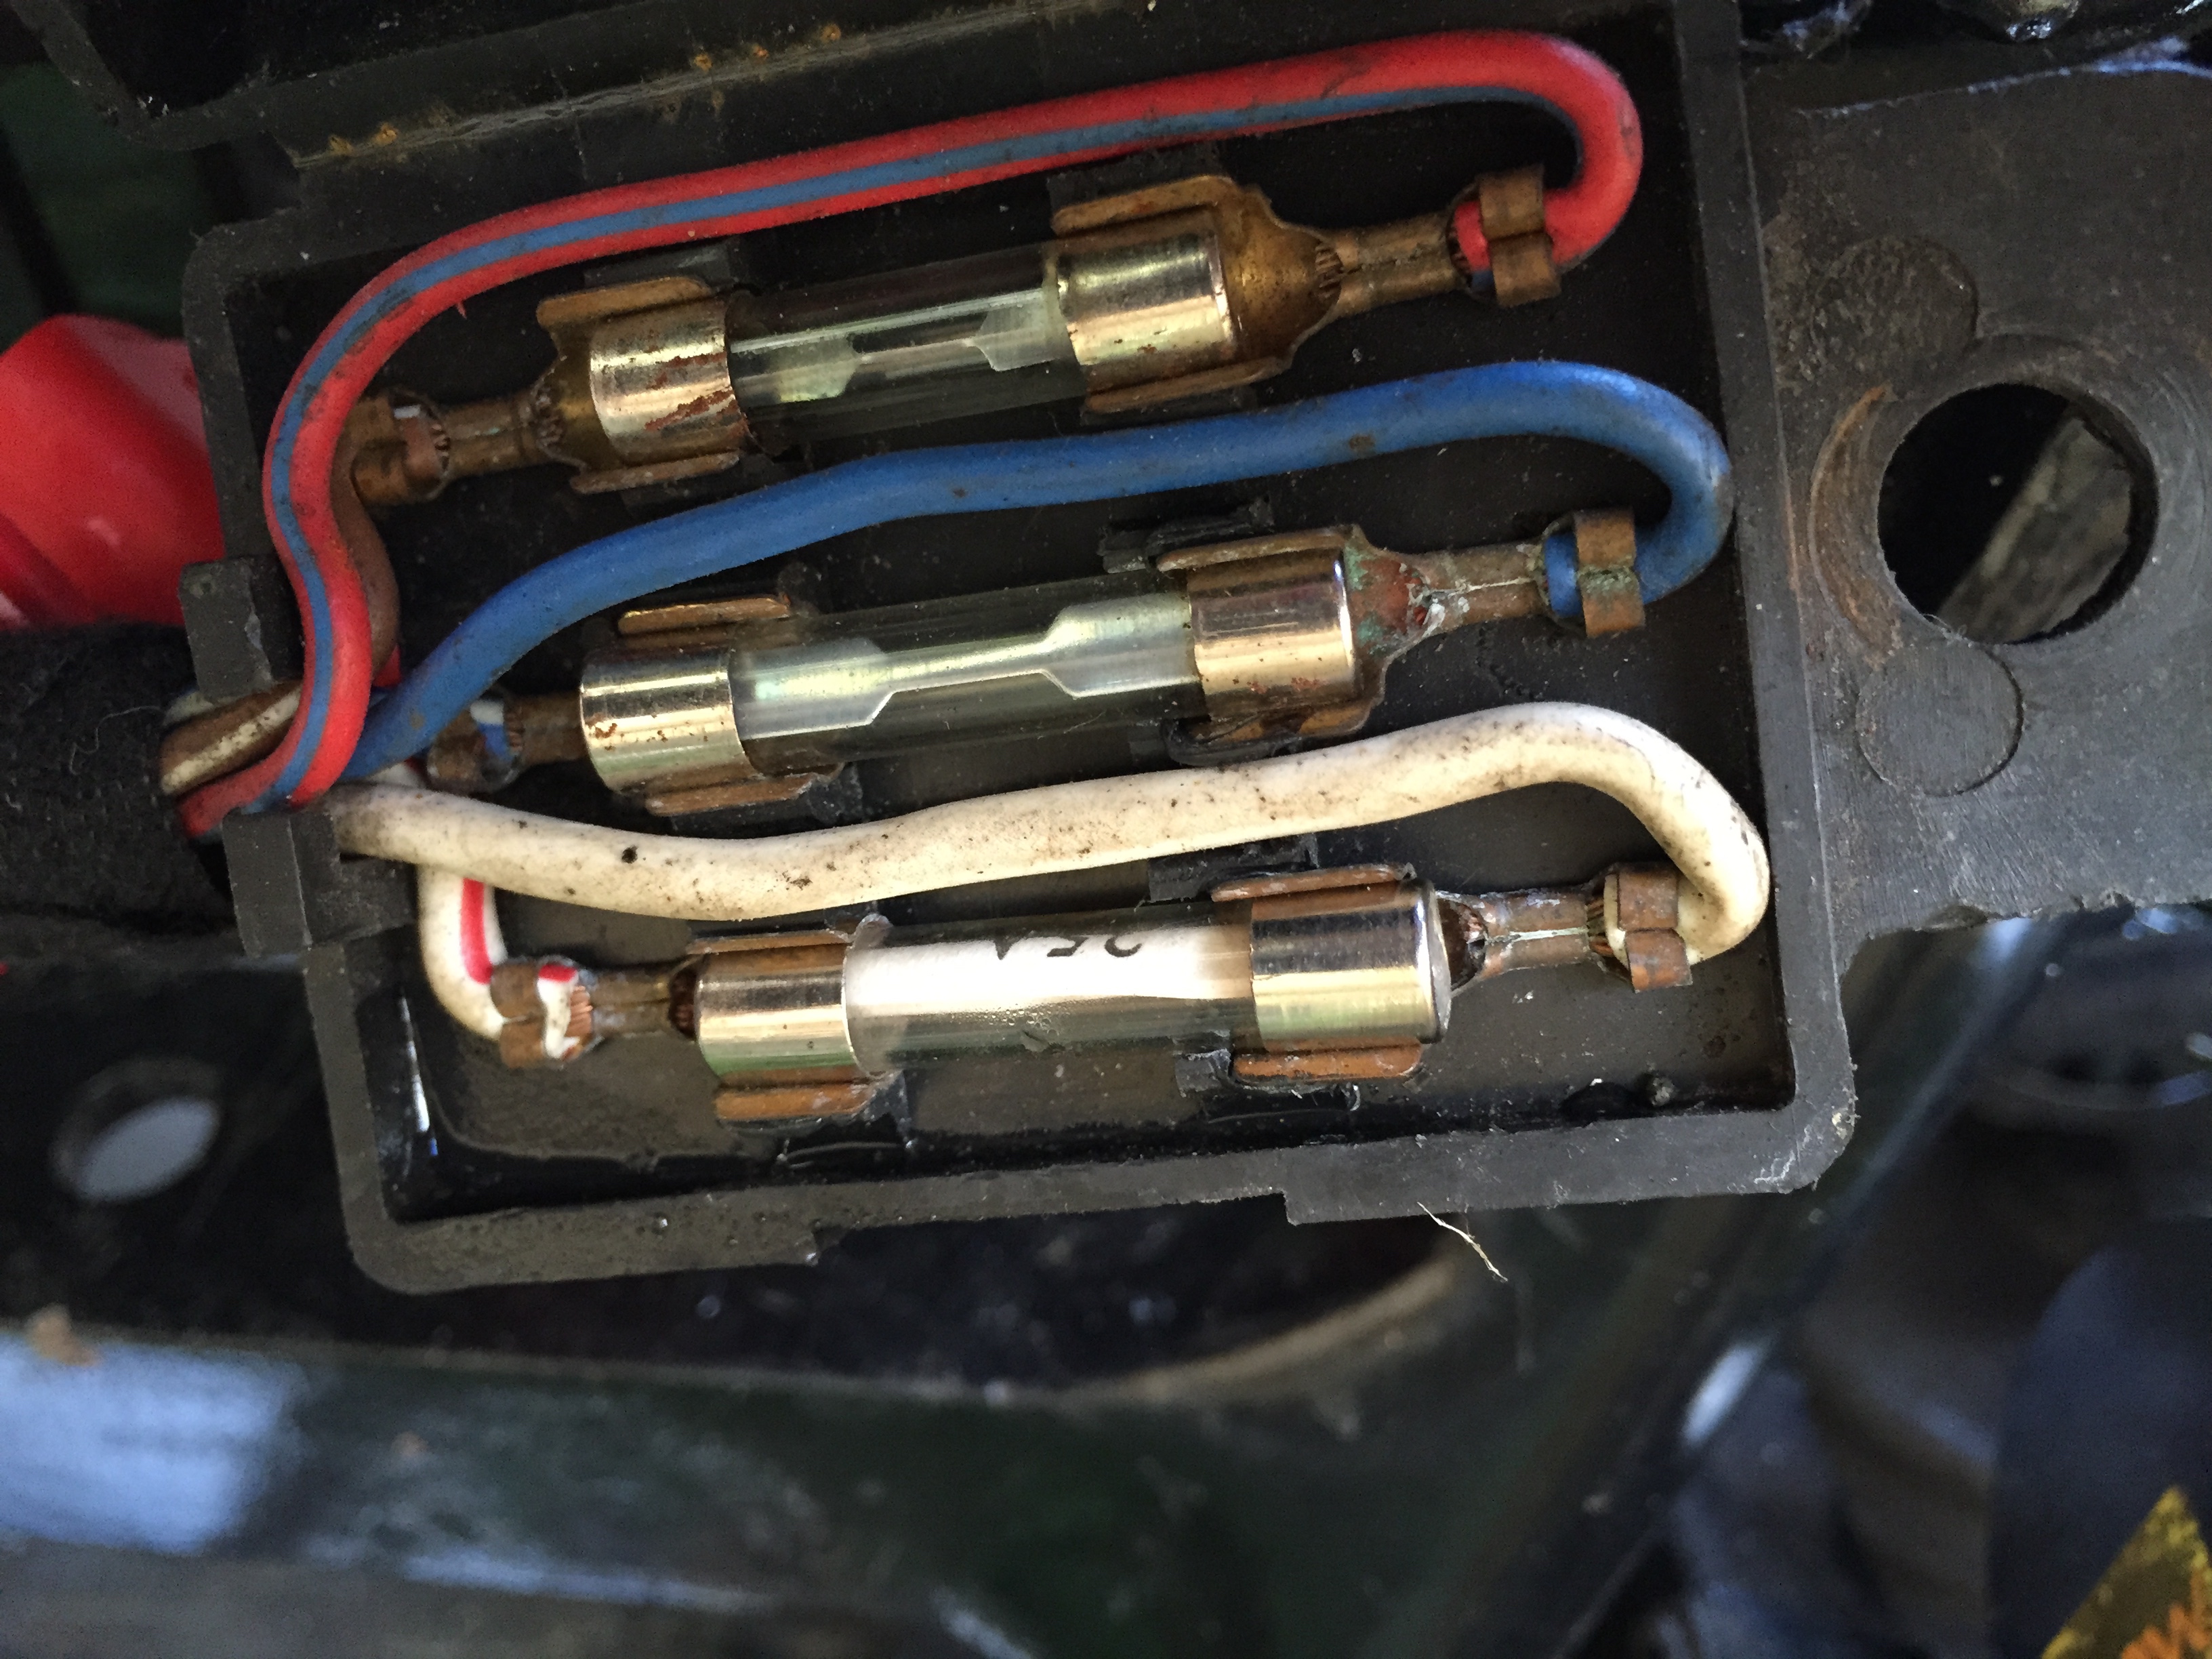
The next week or two is time for me to do some other wiring jobs. I need to wire up the new speedo and get that working. I also need to replace the current fuse box as it’s in terrible shape.
I’ve picked up this blade style fuse box to replace it with
That and the other wiring I’ve done will fix the headlamp issues I’ve been having. I’ve managed to fit a relay that fixes my led indicators which was one more job done.
Well, I’ve not had a chance to do very much on the bike, as we’ve had a more important addition to the family
He’s taken a bit of focus away from the bike for some reason 😀
What I have been doing is fighting the mirrors wiring. The mirrors are supposed to be attached inside the bars, but they just don’t work very well. They come loose all the time. I tried various mirrors, but in the end realised the best method was to attach them around the bars and shift everything else inward. This leaves a hole in the bar end which I picked up some Hope Bar Doctors from the cycle shop. They were a nightmare to fit due to the bars, but I have one side in okish.
The other side will wait until I fit the new throttle.
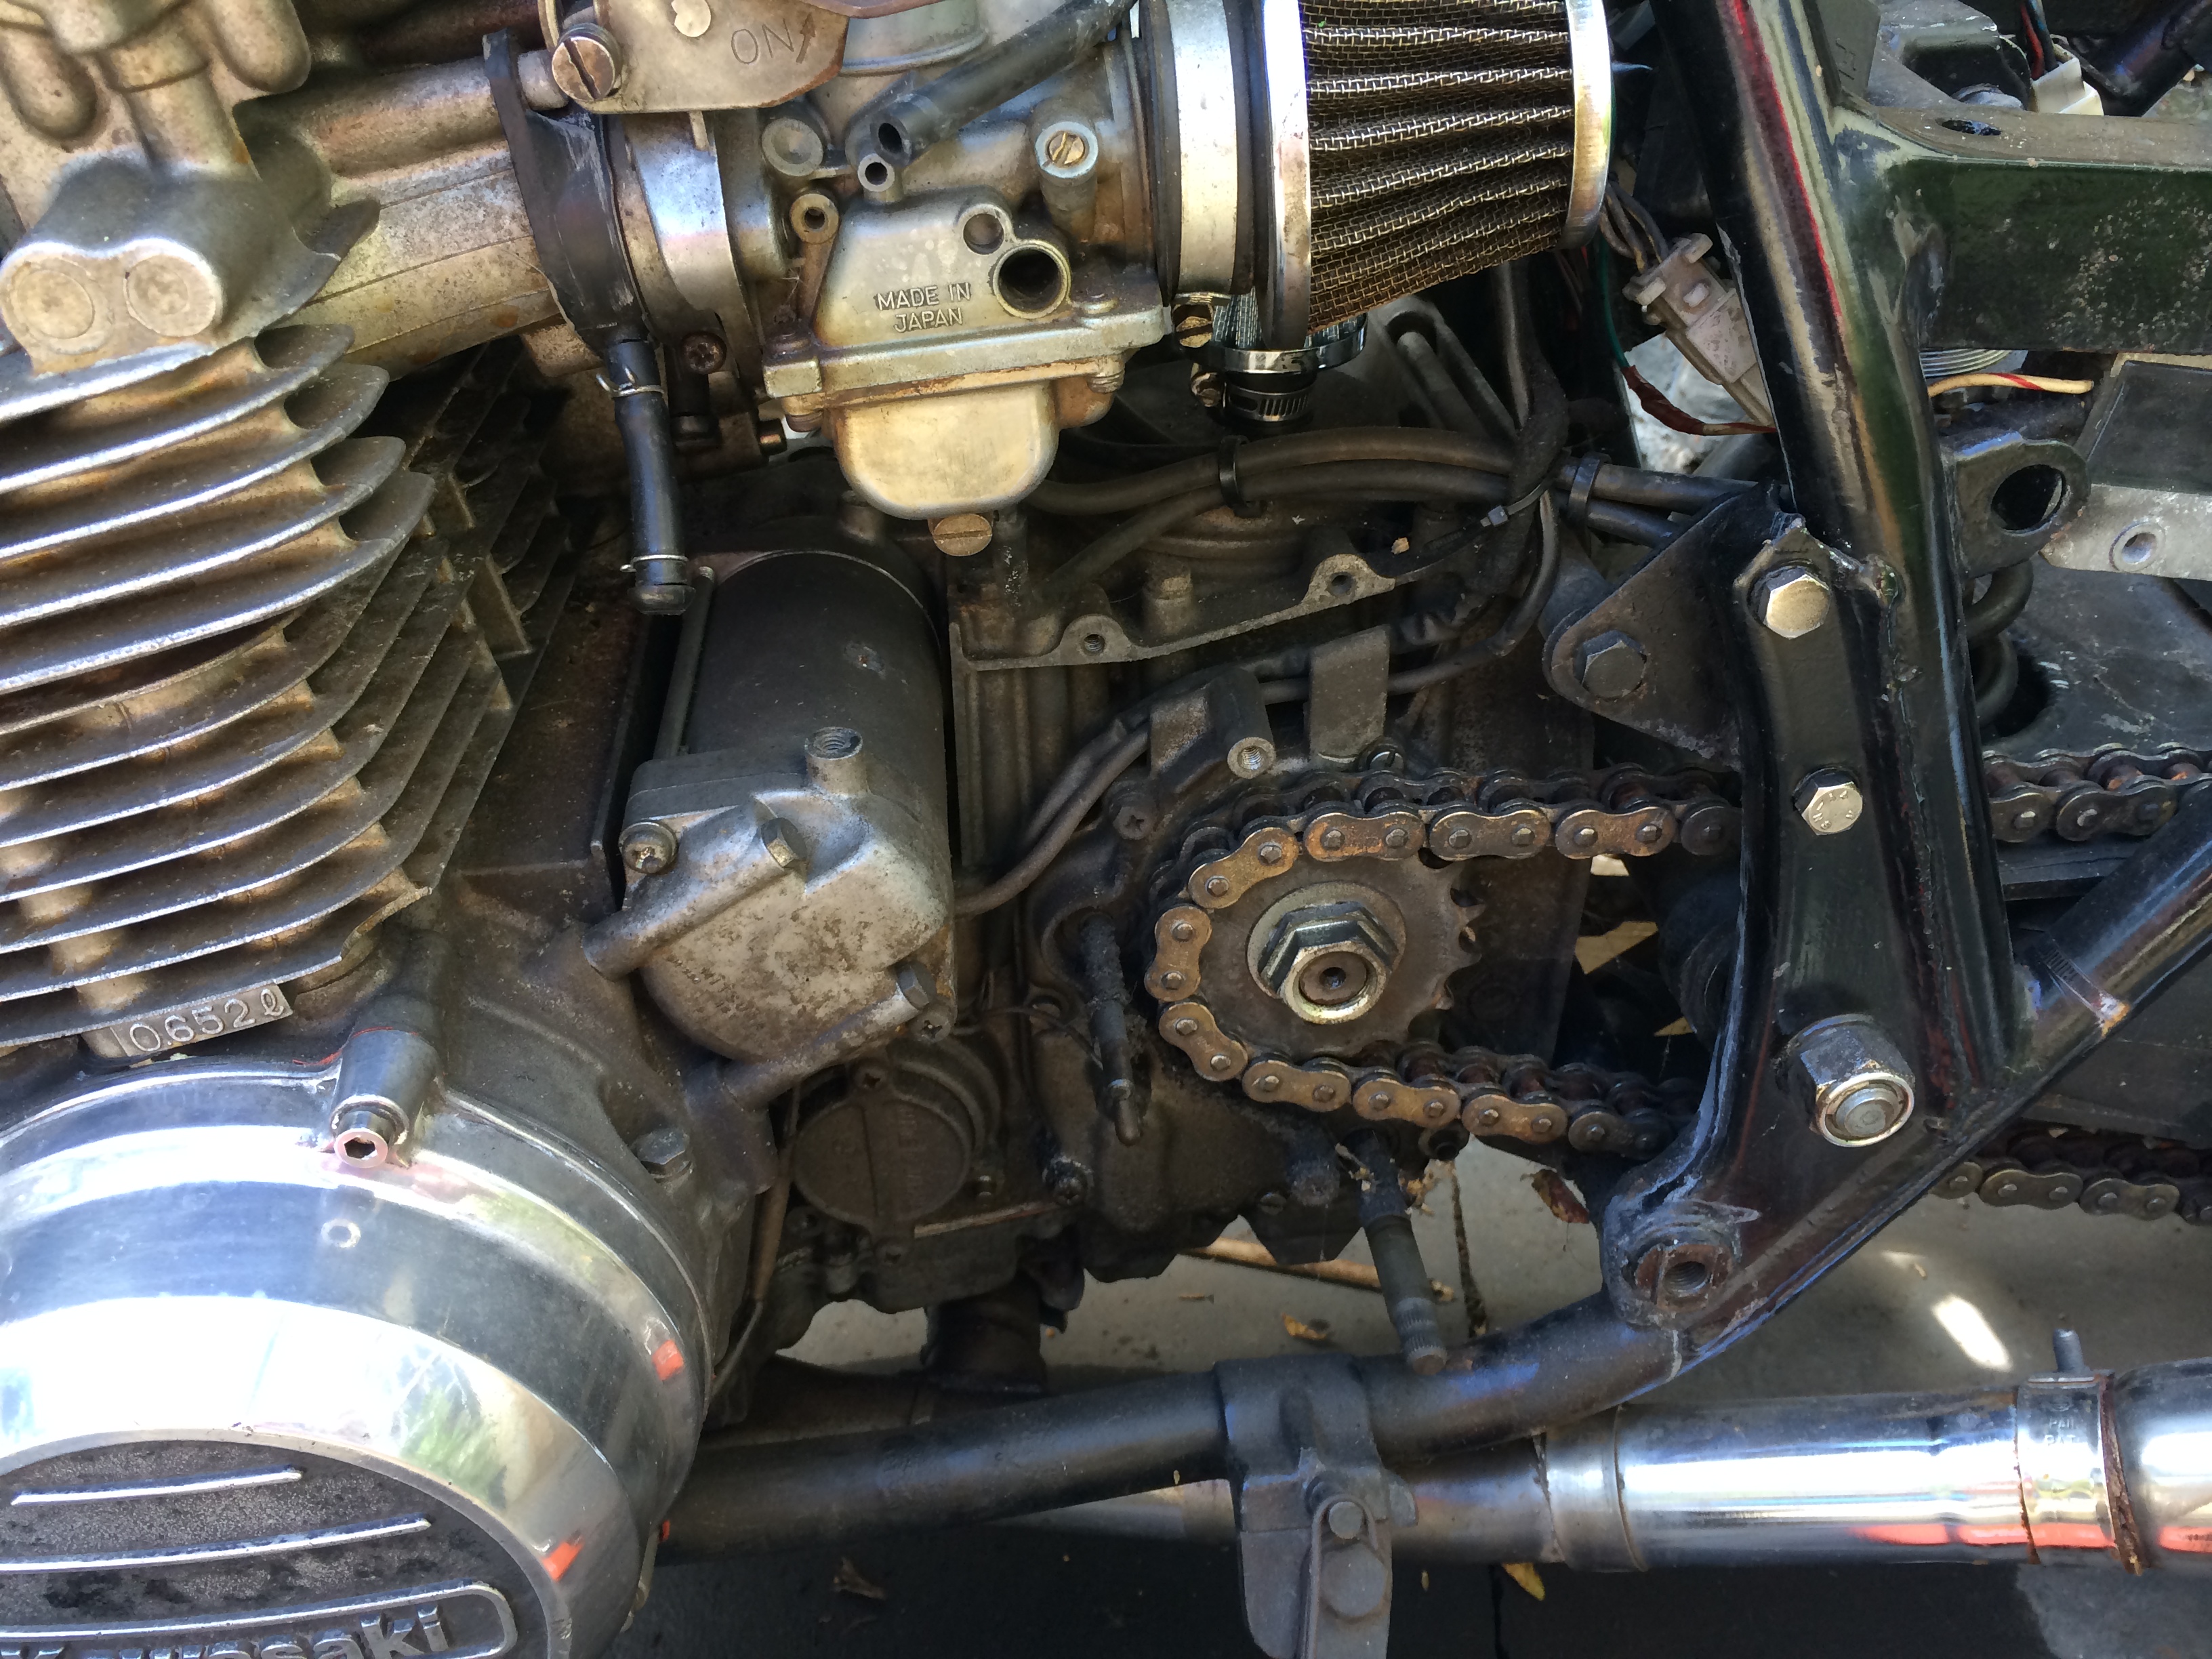
Next up I’ve been wanting to fit a replacement clutch cable as the original one was far too long and frankly dangerous. After reading a tip on here that the z1 was a good fit, I swapped them over. Getting the sprocket cover off was a little bit tricky, but I got it done in the end.
I’ve been wiring up the rear lights and indicators which I think I’m on the third different way of doing it now. I was going to use waterproof connectors, but these just end up looking messy. So I’m just going to solder and sheath them all instead.
Next target is to get the wiring done and tested, then to try to find a time with my wife and the baby so that I can finish my seat cover.
Well, I’ve had an interesting couple of weeks, but I’ve made more progress on the bike. Not nearly as much as I hoped for but at least it’s moving forwards.
The indicators I ordered to go with the headlight brackets have arrived and I think they are going to look ace.
I’ve been making up a bracket for the rear lights and indicators along with the number plate. I’ve also after ordering four sets of indicators found some that didn’t look cheap and nasty. They are cnd’d and look good. I need to sort the wiring out for them though.
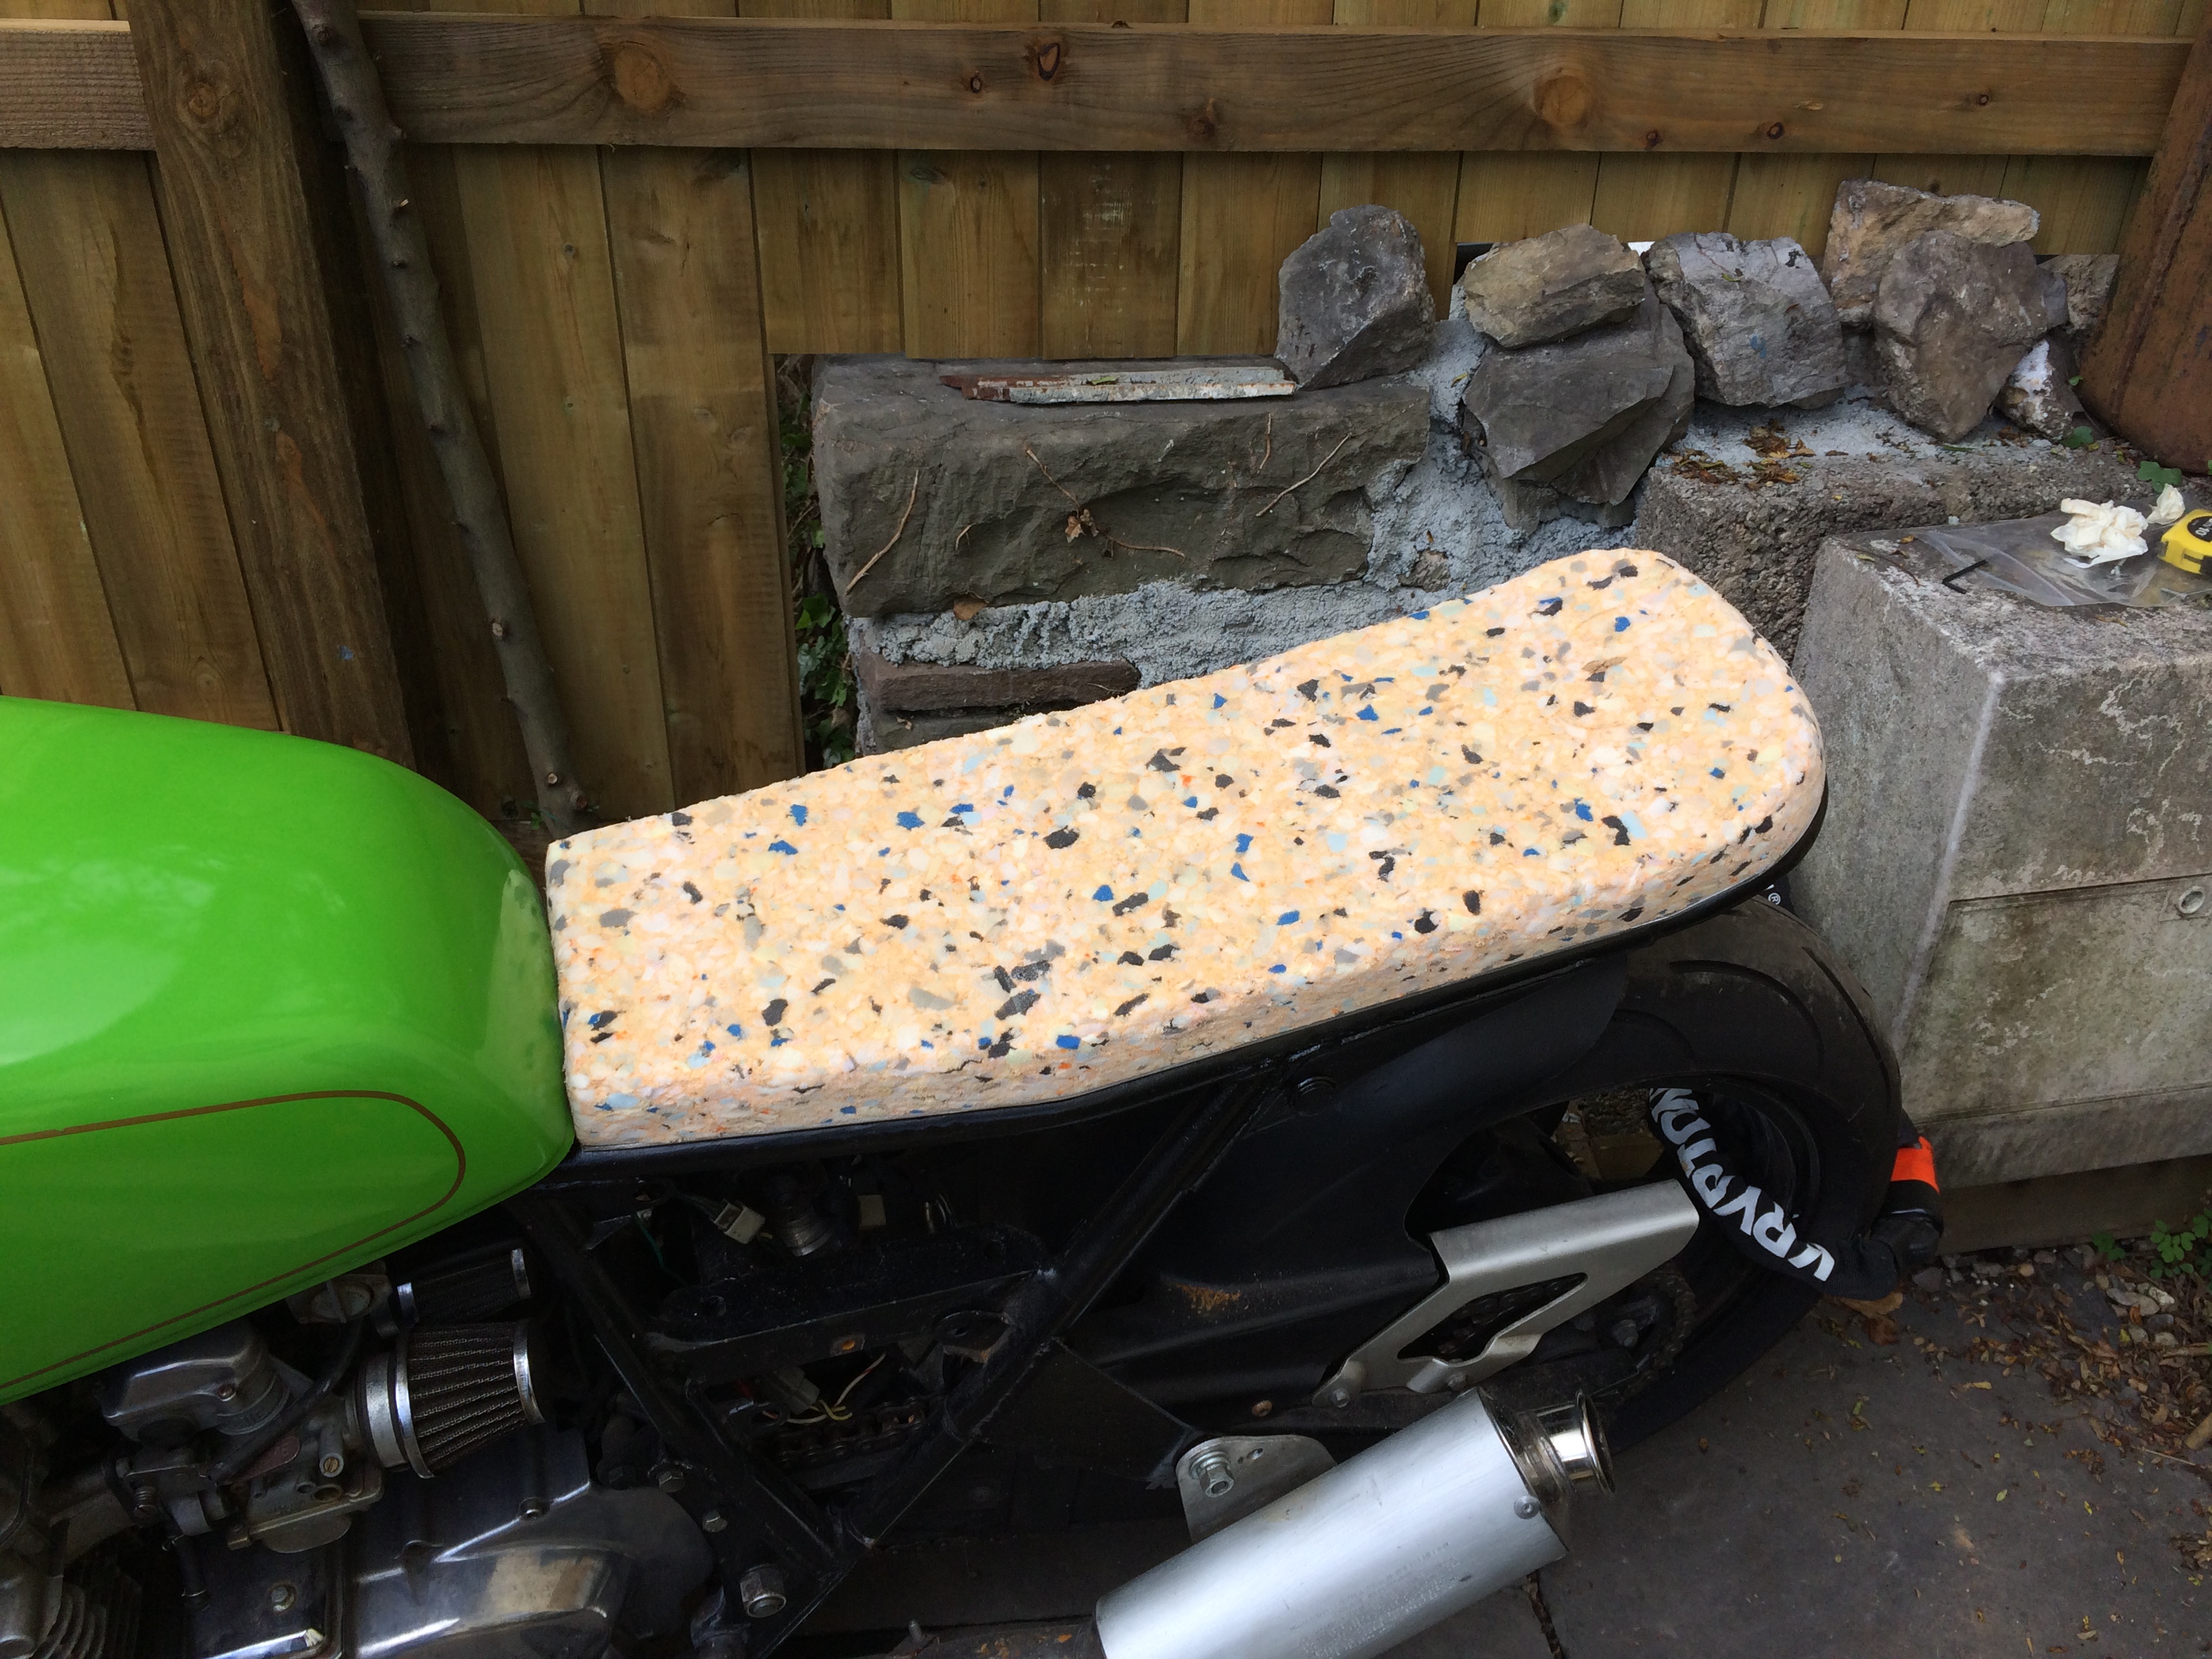
After this I have continued work on the seat. First order of business was to paint the seat base. It will be mostly be hidden from view, but I wanted to make it black like the other parts.
I then glued the seat foam into position using spray on contact adhesive. I used tape to hold the foam in place whilst it dried. I was worried that the glue wouldn’t work to well but it was great.
I then took an angle grinder with sanding disc to shape the foam. I thought this would be a nightmare, but it wasn’t too bad. I have quite chuffed with the results.
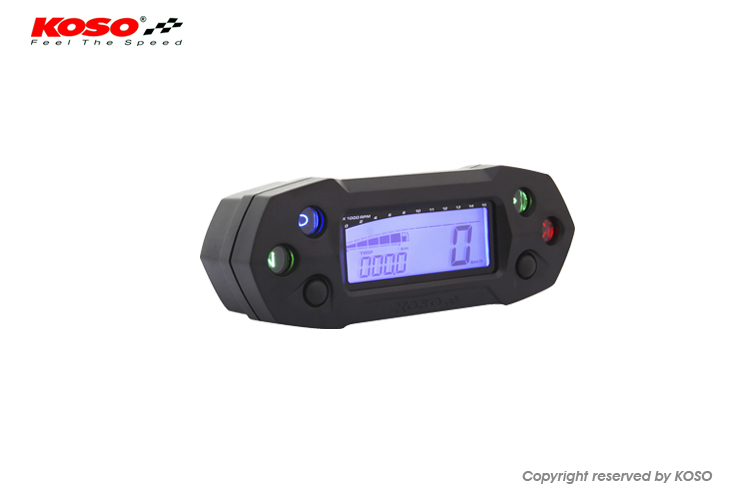
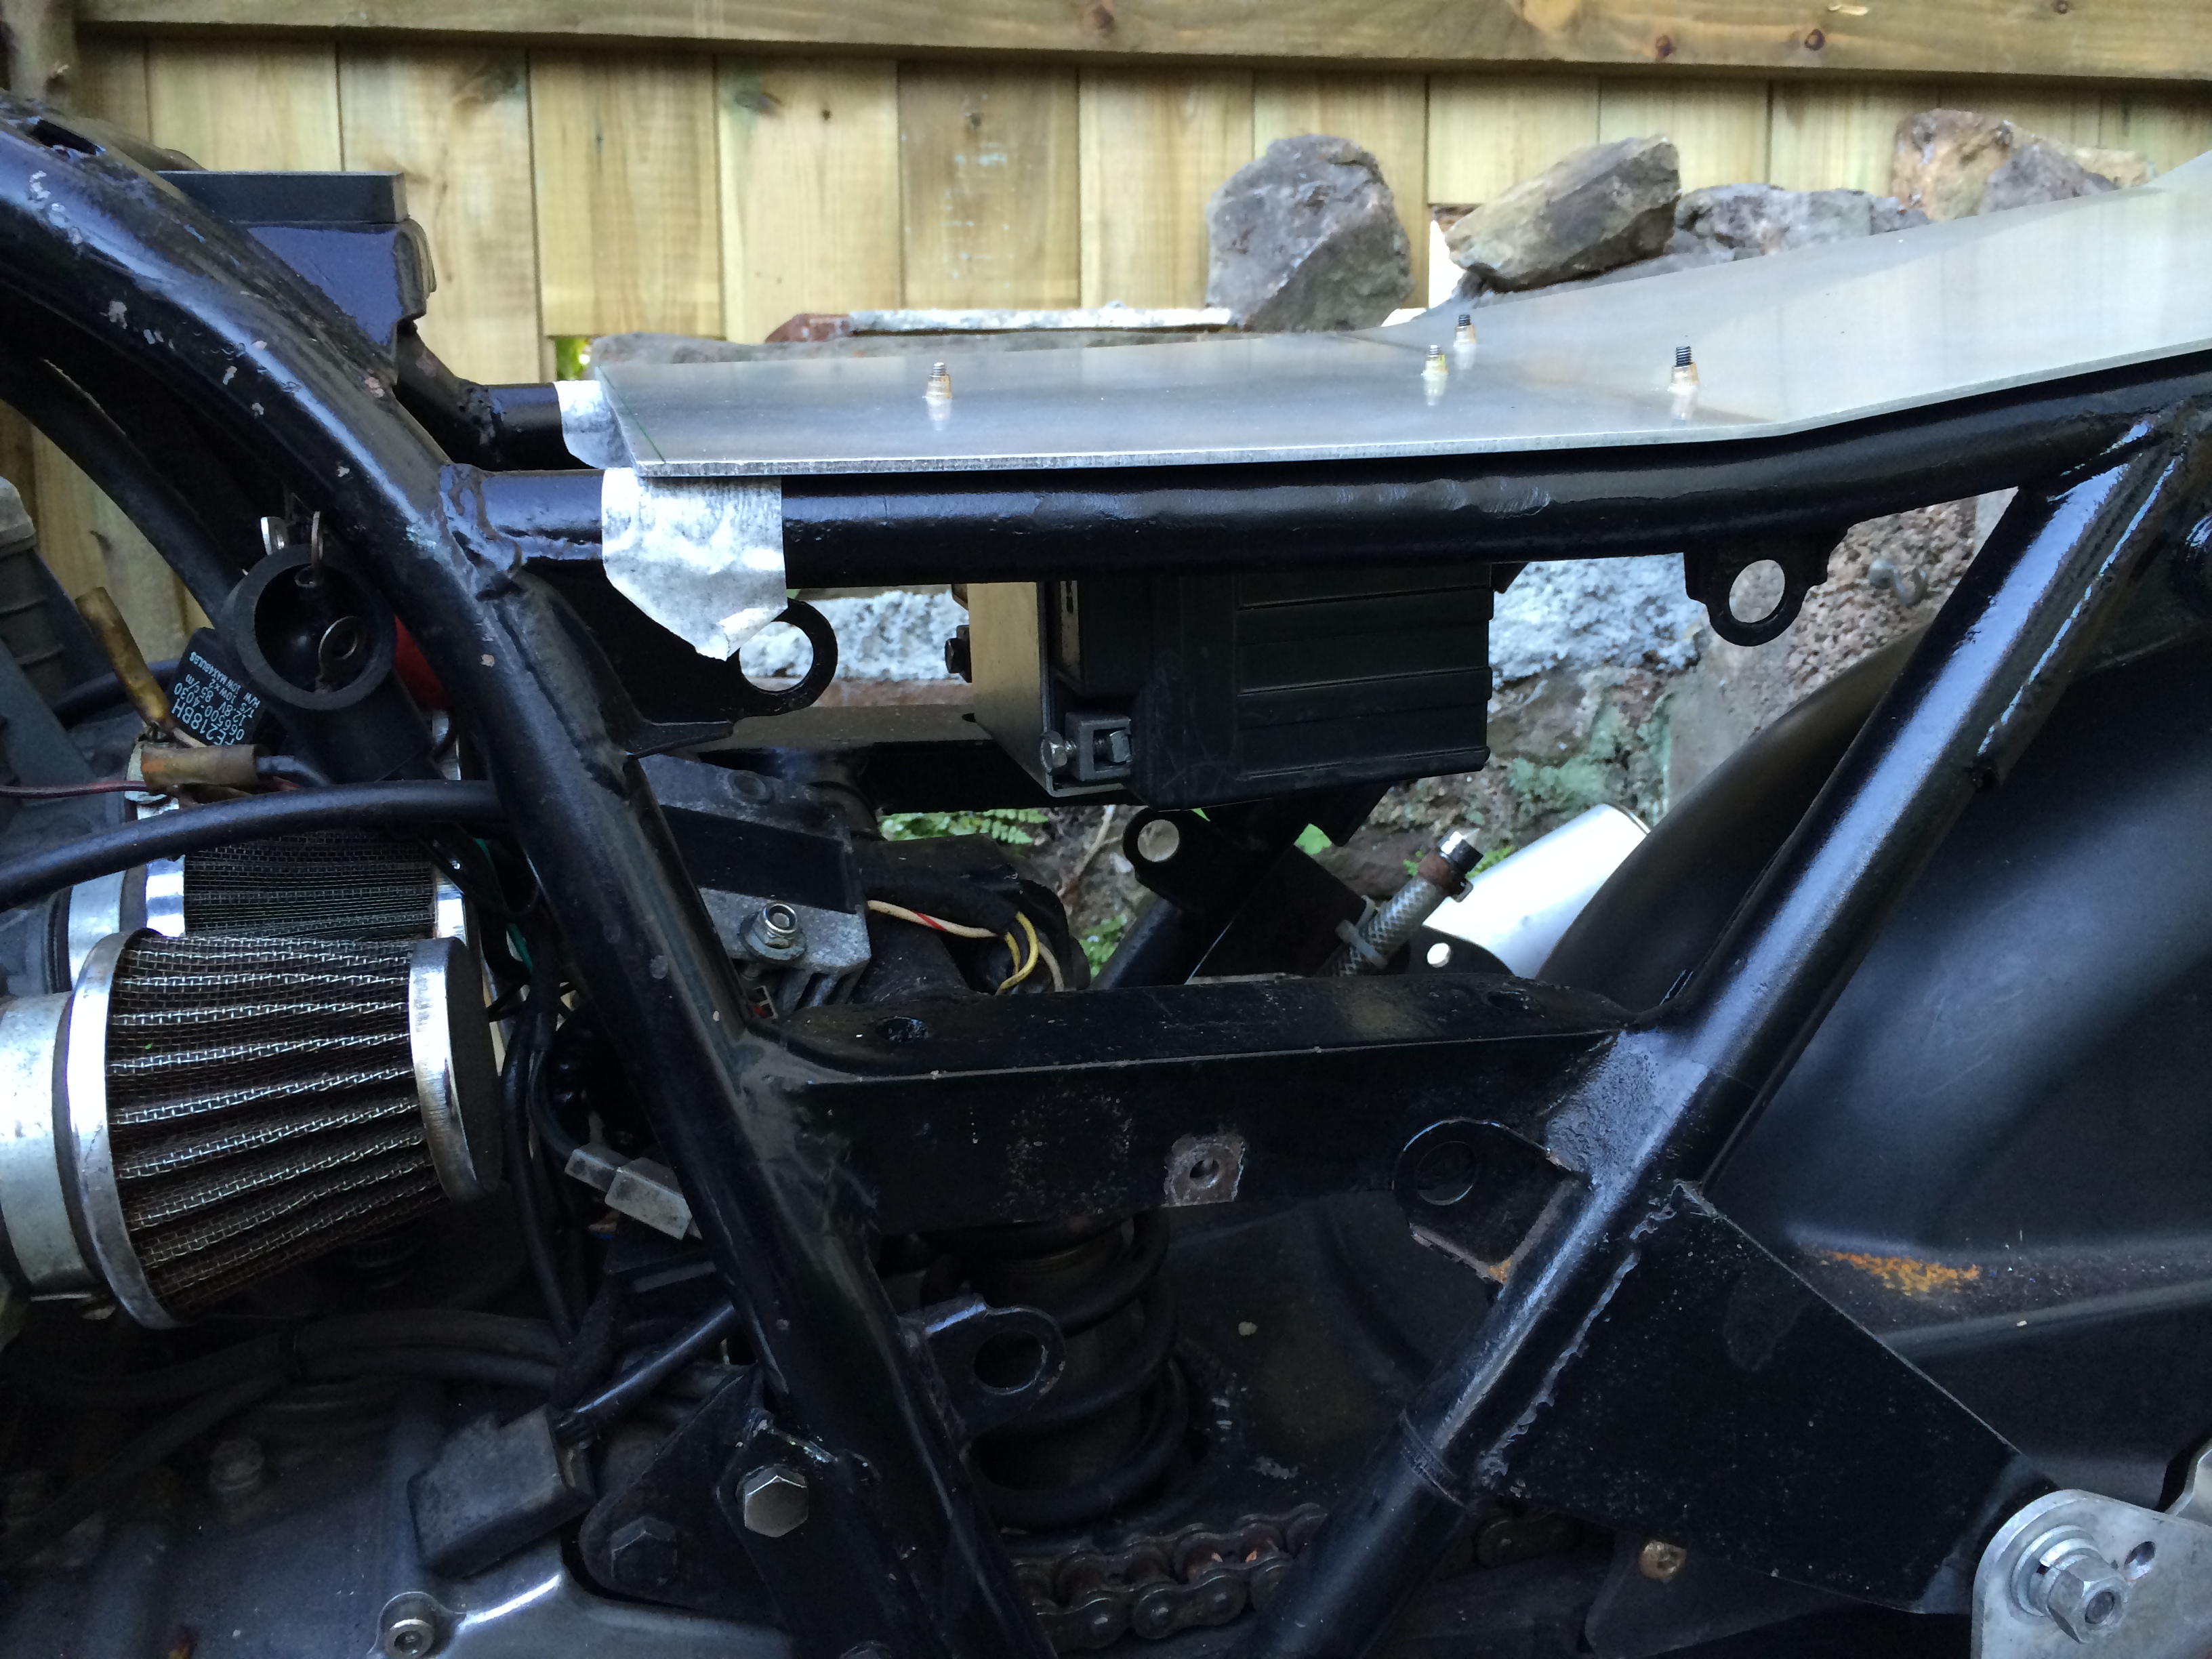
The other item I’ve been working on is getting a replacement set of gauges. As I would like to clean up the front a lot more. I was looking at Motogadget ones, but they are a little bit too expensive. Also the ones I liked didn’t have both a rev and speedometer. So in the end I went for a Koso DB-01R which ticked most of the boxes for me. Of being small, but having all the features.
It came with a mount to attached to the handlebars, but on my bars it isn’t going to work as you can probably tell from these pictures. Where the cable needs to go is right where the brackets are. So I will have to create some kind of mount so that I can attach it. I will wait until I remove the original gauges to decide where best to mount it.
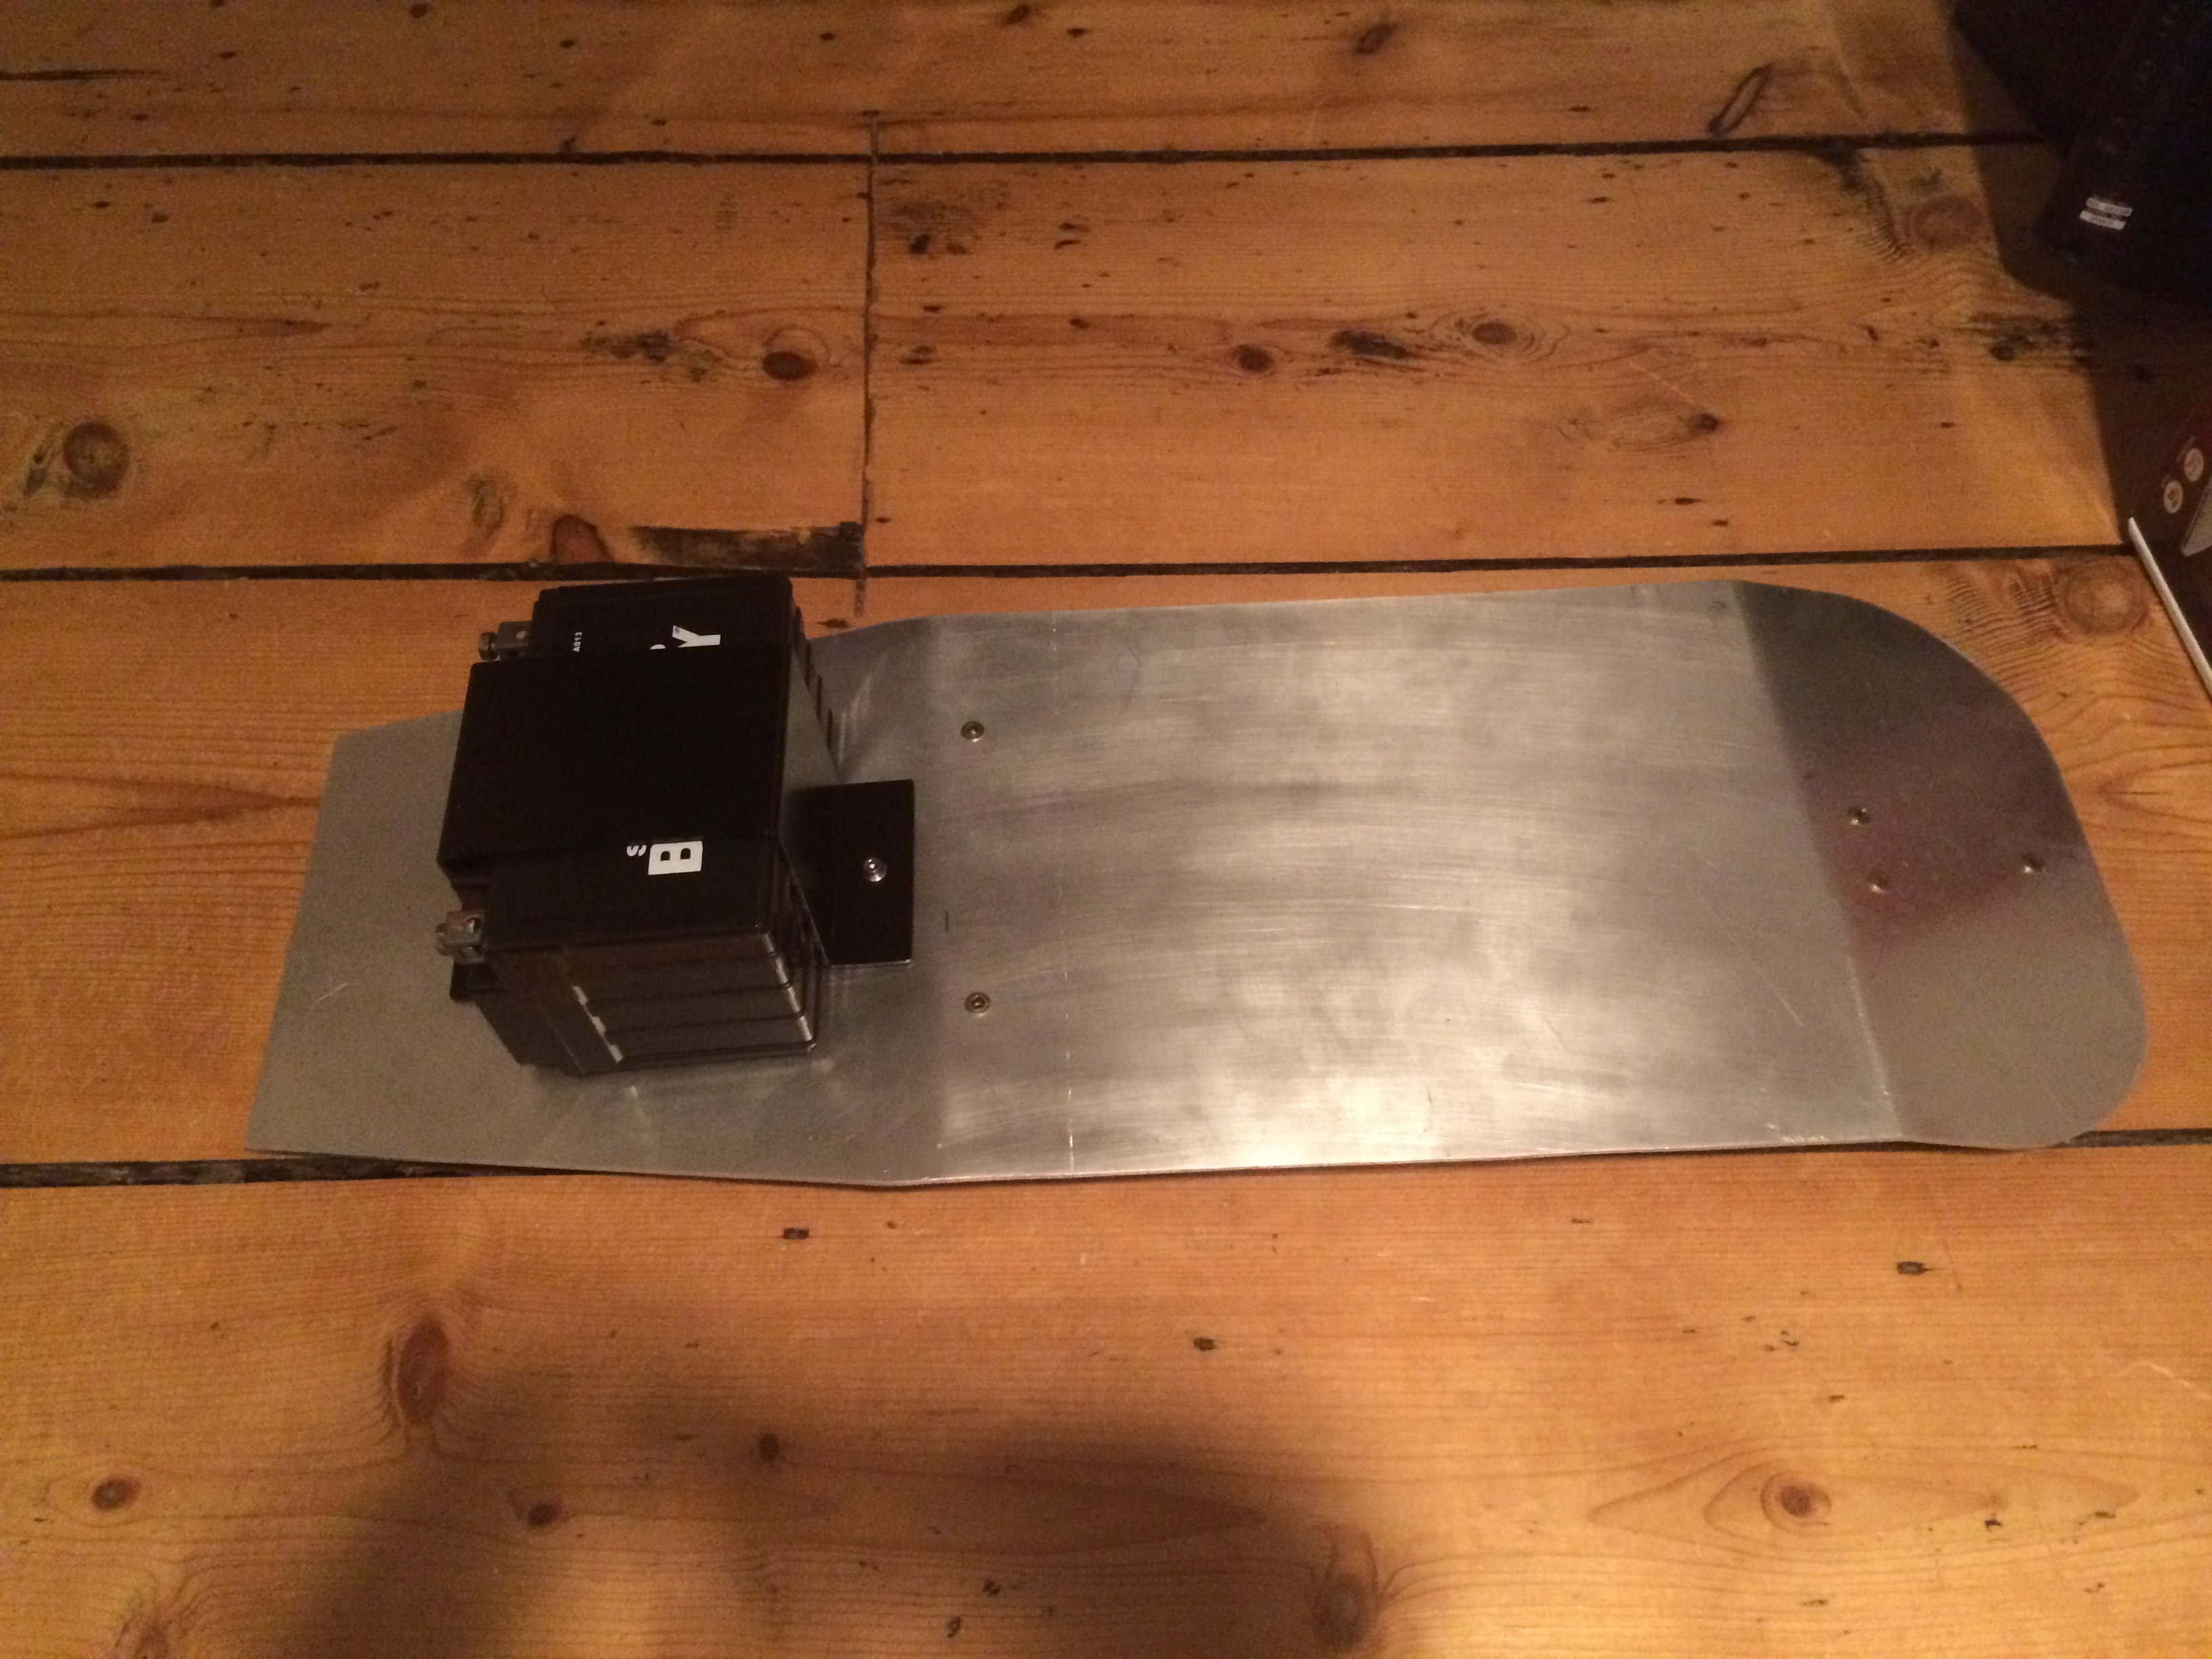
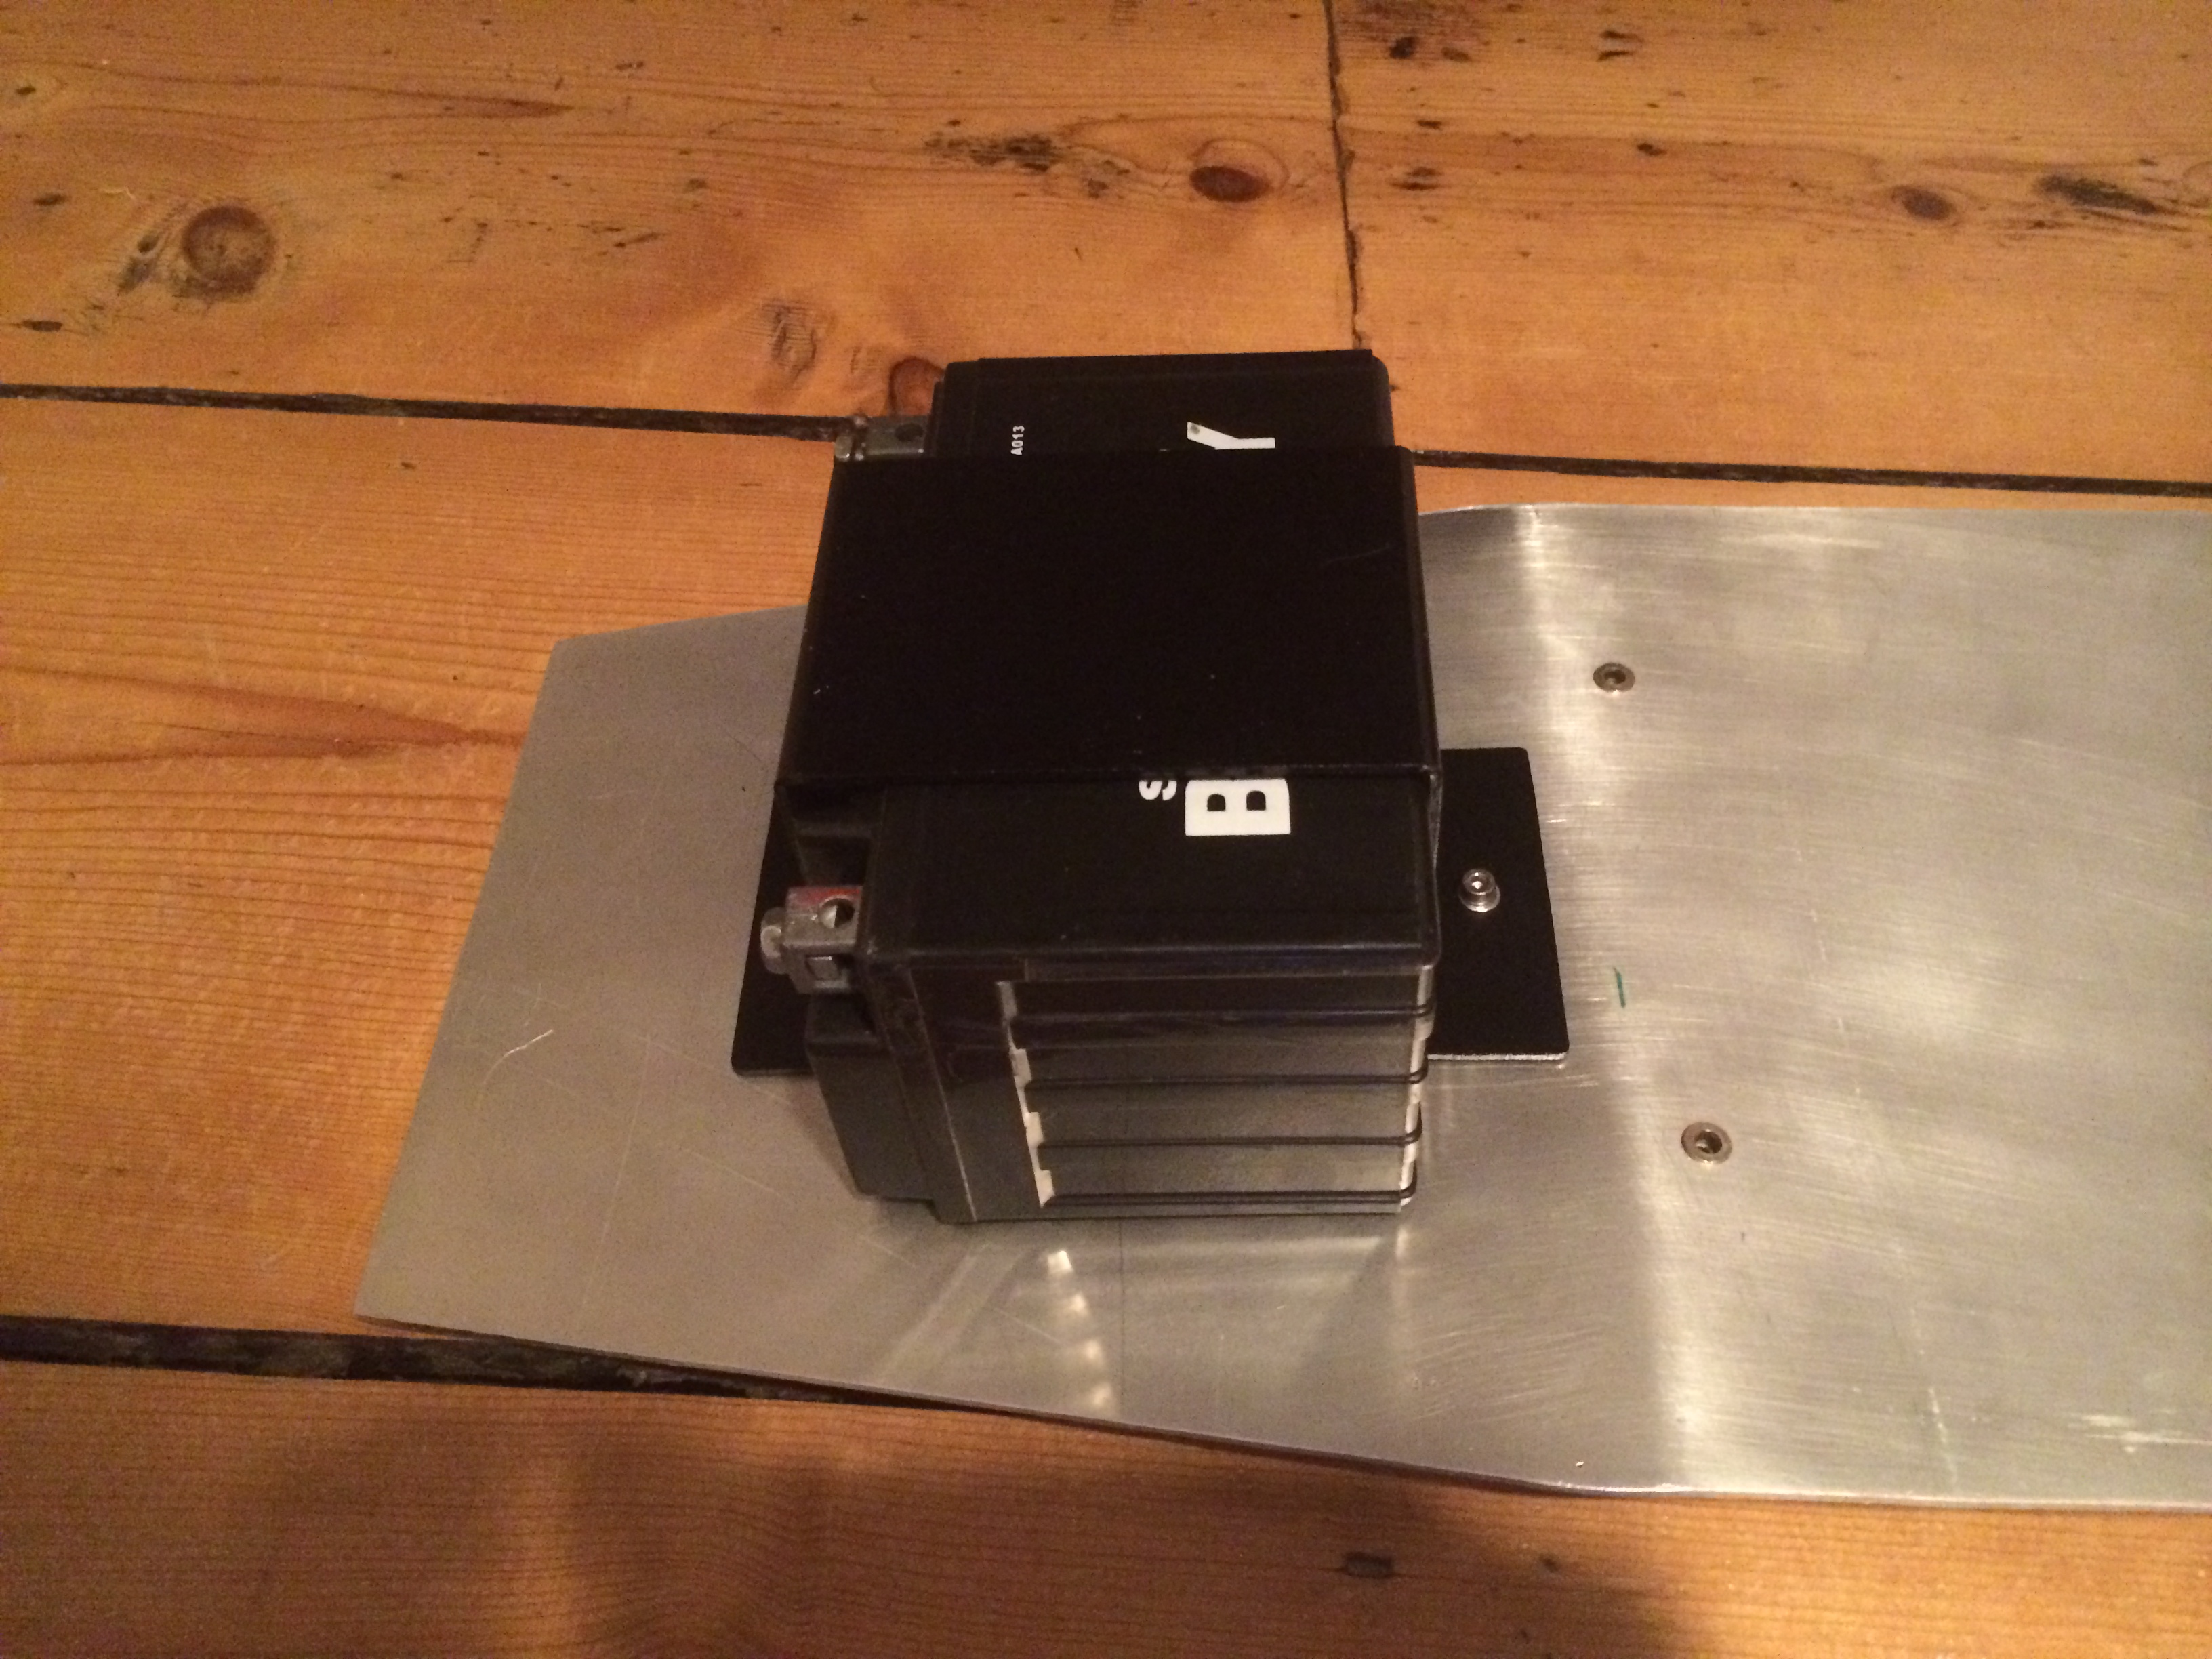
Another job that I have completed is the battery bracket. It is now painted black and has a rubber base to keep the battery