Project Summary:
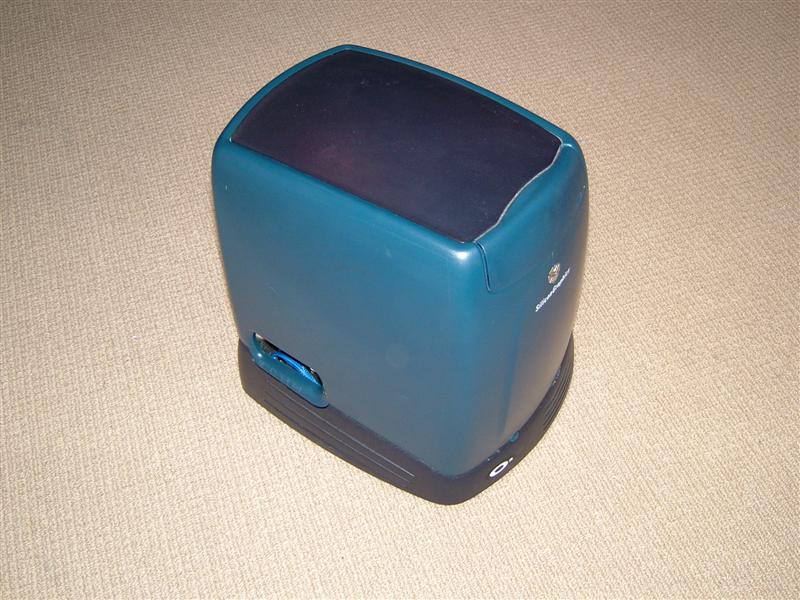
Having owned almost a dozen shuttles including the very first model, I’ve always been a fan of them, but I’ve never really done a full blown mod project based around one. This project will change that, having sourced a bare g2 style case I have set to work creating something that is a class above the normal shuttle.
Previous page | Next page
Page 1 | Page 2 | Page 3 | Page 4 | Page 5
Project Little Devil: Woooot parcel not lost
2004-12-21
Well things just got wierd!
Had a knock at the door earlier and I assumed it was the courier coming to deliver my bits ordered for my new project. It was a courier box he was carrying a box I recognised!
And lo it was the box I sent off to the USA many moons ago, the reason its been returned was stated as ” Not deliverable as addressed, Unable to forward”
God knows what happened I will have to speak to the people at the other end and double check the address.
At least I dont have to redo everything!
Project Little Devil: (Major Update)
2005-04-25
Ok its time for a major update after the long delays, I’m hideously over my hosting limit by 2gig whoops but what the hey hehe.
I’ve got back to work on this project over the last week spray painting certain parts of the project, I had originally intended to get the parts airbrushed in the USA at smooth creations but after a long round trip the parts ended up back in the uk without any paint one them. I could face resending them so decided to do the painting myself and to not do the airbrushing that I originally intended.
First to get the painting was the case cover, its had 3 coats of primer and 3 of black, its not finished yet but here are the pics of it being modded. I’m not 100% sure how and what I’m going to do with it after the black. I’ve a few ideas that myself and my girlfriend are going to have a ideas session with to see what would look best
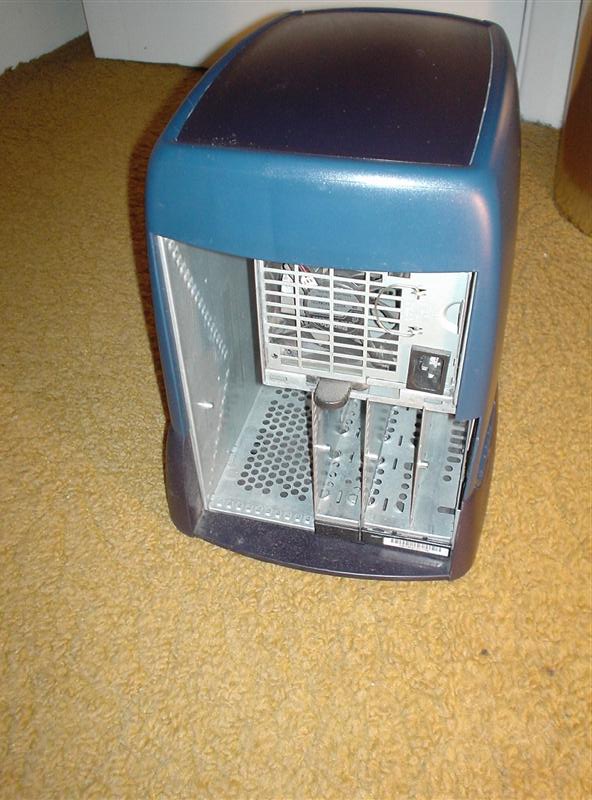
While I was looking at the psu I decided it was quite scratched from being moved so much and painting it black would be a good idea. So I took the electrics out of the casing and gave the casing the same treatment as the case cover. Its come out quiet nicely.
Next on the list of jobs was to spray the front panels, this took a fair while as it had three seperate parts to paint.
I then set about attaching the front panels into place.
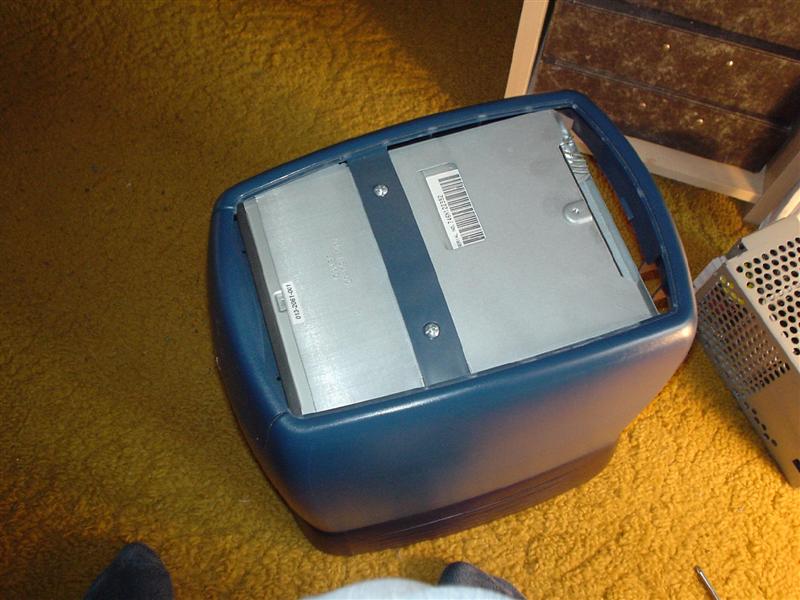
I then put the drive cover/lcd holder in place to see how it would look in the end.
I hope to finish the case cover over the next week when I make my mind up hehe. I’ve got to design and build the fan control/led circuit as the originals I wasn’t happy with. I have a small aluminium box that will hold the circuits.
Quick update
2005-05-21
I’ve not had a chance to do much modding over the last few weeks and my new powerbook has taken up a lot of my playing time hehe. What I have done on the project has been a disaster.
First off I masked off the shell to do some colouring and when I pulled of the tape it took some of the black with it in certain places. I tried sanding down and starting again but I wasnt happy with the results and the same thing happened again 🙁
You can see the damage round the front in this image.
So I decided to cut my losses and get hold of a meshed cover instead as I have one on my main rig and they look excellent. It will show off more of the insides of the case as well.
It looks far better than painting would and matches the paint work on the rest of the outside. I’ve also redone the front pieces to get a better finish and to stop some of the chipping. I’m not happy with them yet so no pics but they are on the way to being done.
The plastic surround is another problem area I cant get it done to my satisfaction yet, and I may get a black surround if I can find one at a sensible price. That way there won’t be any chipping on that as it will get the most of the abuse when carrying it around.
Project Little Devil: Nearing Completion
2005-07-09
Ok I’m on the homeward leg now of this project. It should be up and running in the next couple of days and complete very soon.
Since I last updated the log , I’ve redone the fan control and led power circuit board. I’ve made it into a single small board and mounted it into a small aluminium box. I’ve made up a wiring loom for all the power requirements. Its made in matching blue cable as used elsewhere in the mod. I seemed to have misplaced the pictures of these items I will add them later if I can find them.
Over the last couple of days I’ve been gradually been building the machine back up. I’ve put the motherboard back in and fixed the controller circuit and cold cathode inverter into the spare hdd bay. I’ve reattached the modded power supply and attached the new wiring loom. I’ve fixed the rheostat into its position at the back of the case.
I’ve sleeved a new pair of 4in cathodes for the project to match the blue theme:
Here’s some pics of it being built up:
I will be transferring the components over from my main rig to complete the system, its going to be the following spec
Pentium 4 2.26ghz (To be replaced soon with a 3ghz chip)
2x 512mb Corsair XMS PC3200 DDR RAM
200GB Seagate barracuda hdd
Sony DVD Writer (SATA connected via convertor board)
Sapphire X800 XT Graphics Card
Shuttle SB61G2 motherboard with a zalman northbridge heatsink
It’s replacing my current AMD 64 rig so needs to be fairly quick.
Project Little Devil: Nearing the end
2005-08-17
Oh what a nightmare the last two days have been and its too hot for stress, its about 35degrees in my home office thanks to all the pcs. Little devil has been raising the temperature through other means though.
I will start with the good news; which is I’m using Little Devil to type this post so its now up and running. Its not complete yet, I need a new rheostat knob to match the black theme and the lcd isn’t in place yet due to problems I will describe below.
Onto the bad news; Getting Little Devil has been a complete nightmare, it took an entire day to get it up and running at the cost of one 200gb hard disc and the onboard sound it seems.
I started off by doing a test boot with just ram/cpu/mobo and it worked fine, I gradually built up to the full system and it just wouldnt boot up , I thought at first that it was a dead power swithc but it was my nice 200gb hard disc 🙁 Whenever it was plugged in the system wouldn’t boot. I replaced it temporarily with a 160gb drive from a client’s new server I was building and that sorted the problem with the system not booting but obviously I lost my hard disc. I’ve ordered another one now but it was a cost I could really have done without at the moment.
I then reinstalled windows to find that for some reason the working sound card onboard has stopped working, its fine in bios and in the control panel but won’t output any sound , I’ve tried lots of different drivers and checked all the settings but I’ve had no luck sorting it. I’ve therefore had to order a pci sound card to get sound which means the usb card I had in before will have to be removed. This leads to an issue with the cabling for the lcd, I was intending to use the internal usb port on the pci card but I can’t now. I will have to create a special cable instead. I’ve not had a chance to do that yet.
Another job yet to do is to mount the cathodes as I haven’t decided where they would best fit yet.
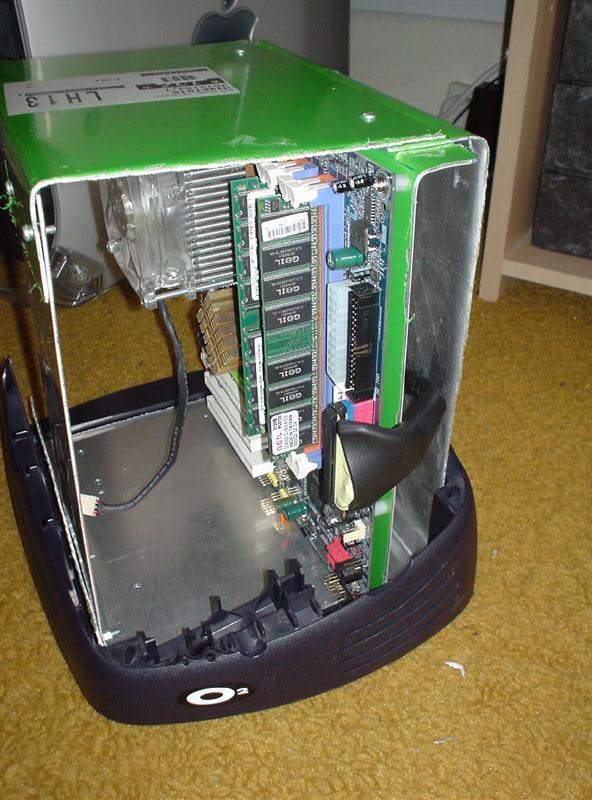
I took some pictures of the build and testing process along with some shots to give you an idea of the current setup. The blue front fans behind the grills are a great success as are the led feet, though for some reason the front right one is slightly dimmer for some reason.
Onto the pictures, first half build but powered up for the first time.
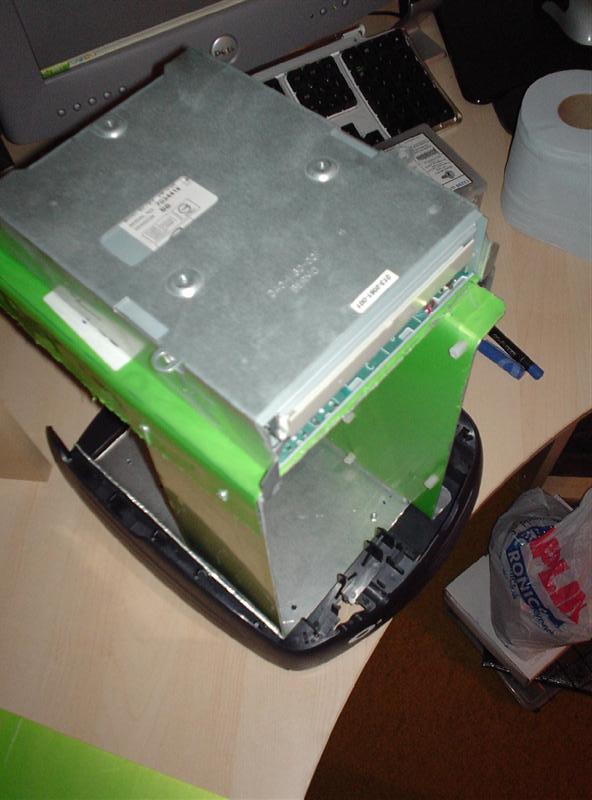
I then put the gfx and optical drives in, the wiring is a bit messy at the moment as I was just getting everything working first.
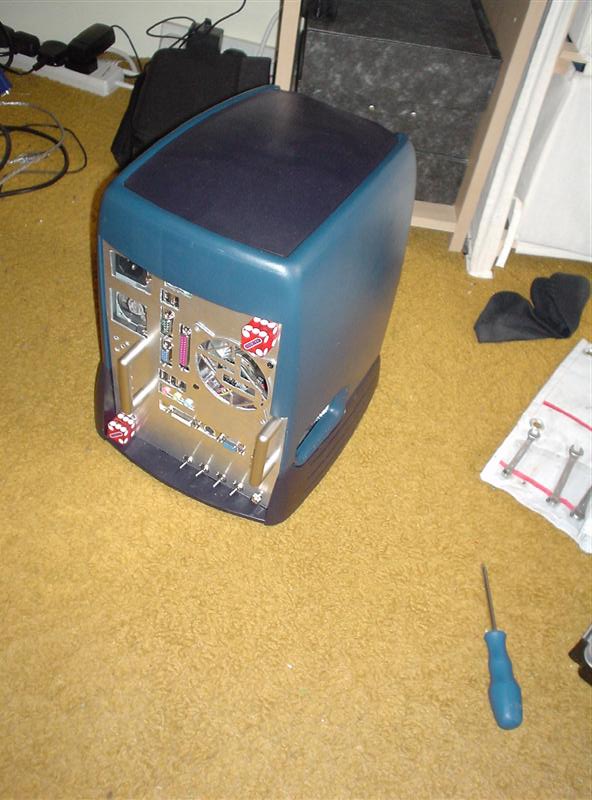
Then some other shots to give you a taster of the final look.
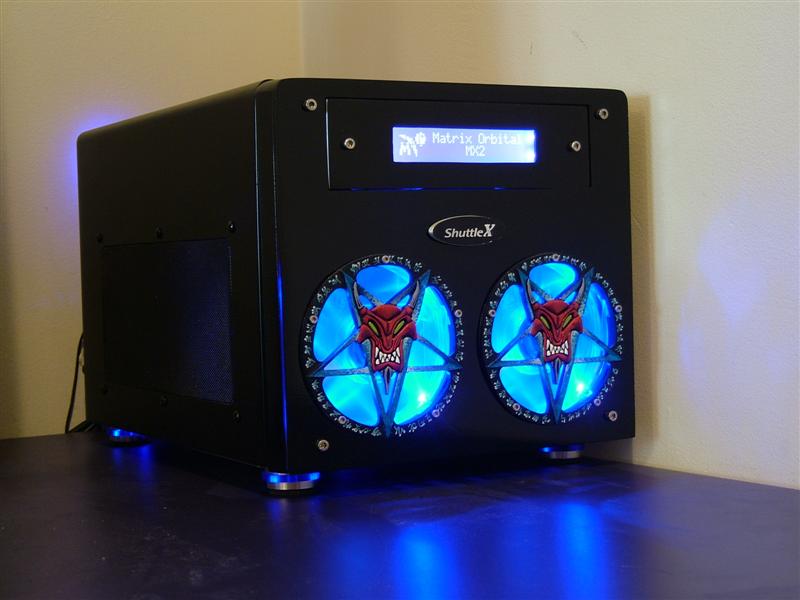
Project Little Devil: Complete
2005-08-19
Ok I’ve finally found time after finishing Project Mac Cube to finsh this project. There wasnt much left to do the main issue was the mounting of the lcd to the optical drive. I also had to replace the cpu and ram (God damn bf2 is resource hungry hehe).
I went from the following: Pentium 4 2.26ghz (Oc’d 2.54ghz), 2x 512mb Corsair XMS DDR, Seagate barracuda 250gb sata drive, Sony Dual Layer DVD Writer, ATI X800XT (oc’d beyond PE levels).
To the following: I went from the following: Pentium 4 3.0ghz (Oc’d 3.5ghz), 2x 1GB Corsair XMS DDR, Seagate barracuda 250gb sata drive, Sony Dual Layer DVD Writer, ATI X800XT (oc’d beyond PE levels).
All because I was getting bad issues in bf2 , curse EA !
Anyway back to the modding, the main thing that was holding me back installing the LCD was the cabling. I wanted to use an internal cable with nothing sticking out the back. I was going to use the existing internal matrix orbital cable but the back plate I was using to mount the lcd blocked me from doing this. So I bought an normal USB , and frankenstien’d them together to get the cable I wanted.
After making the cable up and doing the upgrade I set about installing the lcd drive. It wasnt as easy as I wanted , and I had to change the design of the back plate but once I had done that it was plain sailing. The cable is firm enough that when the drive returns it forces the cable back in the case. It works great and I’m very happy with it. I’d forgotten just how good the combination of a matrix orbital lcd and LCDC is!
I’ve taken some shots and a couple of video’s of the final finished project for you all to look at.
Videos : I took three vids for you to have a look at they are of the lcd in action along with the ejecting cd drive. The led fans at the front are dimmed slightly to allow clearer view of the lcd in the pictures (Its not a problem in real life just my camera.)
Video 1 (2.3mb)
Video 2 (4.6mb)
Video 3 (2.3mb)
Previous page | Next page
1 | 2 | 3 | 4 | 5