Project Summary:
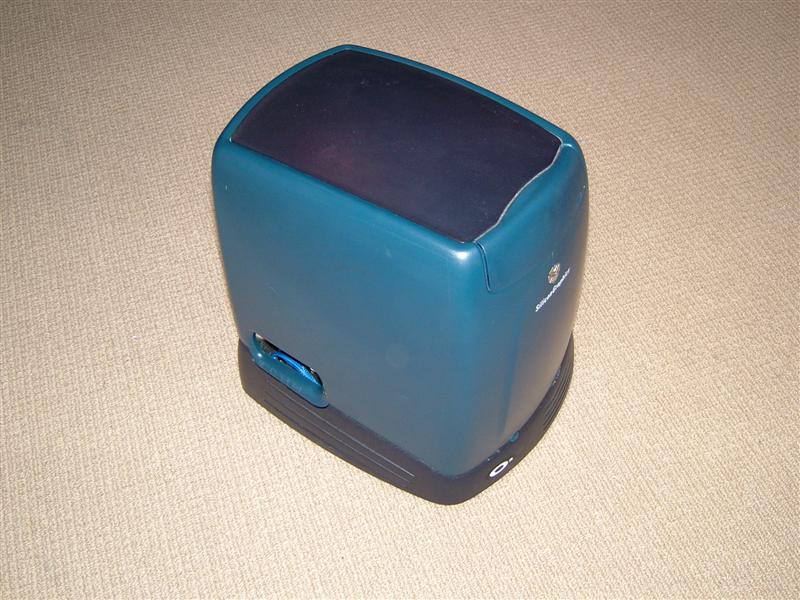
Inspired by Mashies conversion of a Silicon Graphics O2 case I sourced a similar case for a project of my own. These are very cool little cases but its a tight squeeze to fit a MATX sized motherboard inside. There have been three different versions of this project as I wasn’t happy with the first two. After nearly two years in the making its now finished. The specs of the final system is a Pentium IV 2.26ghz cpu, 512mb of Corsair Ram, 160GB Seagate HDD, Sony DVD writer and a Sapphire 9600XT Ultimate.
Previous Page | Next Page
Project Silicon: Version Number 3
2005-03-24
Ok here is a mega post bump hehe, I’ve finally found the time for modding. I’ve kept Project silicon on hold for ages now and it needs to be finished. So I’ve got my backside in gear and done some new work on this project.
I wasn’t happy with the previous riveted chassis now that I have a bending brake as I could make a new chassis that was much cleaner with one main sheet of aluminium. I will use my new nutsert tool to attach threads for attaching the other pieces together.
Here is the main section of the chassis I’ve cut and bent into shape.


The chassis is held in place with 4 screws on the bottom.
The motherboard just slides into the chassis and is held in with plastic standoffs as before.


With this new re jig I’ve decided to mount the hard disc on the bottom of the chassis this was where the psu went in the old design which blocked two pci slots, the hard disc just blocks one and I seeing as I dont need all three its no problem. I may change it to the top of the chassis at a later date though with moving the psu where I plan this would be possible.


For those interested in the nutset tool here is the kit/the nuts themselves and how they look in place.


I’ve just sleeved and redid the cold cathodes for this project with the help of my girlfriend I hate sleeving its quite useful to have a helping hand.


I’ve also taken a quick couple of shots of the heatsink, its a swiftech heatsink with a noiseblocker fan and a lovely laser cut fan grill.


I’ve sleeved the two noiseblocker fan, I’m using one 80mm on the heatsink and a 92mm for case cooling.


I’ve started work on the back panel. Its going to have a single 92mm fan mounted in place. After a bit of a scary moment with my holesaw I had a nice blow hole in the back panel.


I didnt get a chance to do much modding today but I managed to mount the rear fan. I’m using some nice allen key m4 bolts. I will also be mounting a “tenderfoot” on the back of the fan to give it a nice look. Just a couple of pictures for you all to see.


I’ve spent my time over the last few days working on the back panel. I’ve pretty much finished it now. I’ve also fitted the optical drive to the top of the chassis.
The first pictures are of the optical drive in place.


And these pics are of the back panel being built and in place.


Another daily update, this time its the power supply that has got sleeved. I’ve changed the connectors for black of blue versions and used the same sleeveing used elsewhere in the project.
I hate sleeving things and this took ages but I’m very happy with the results. The white connector is for the power plug loom so I know which it is and don’t blow the thing up hehe. I’ve also brushed the psu and clear coated it.


The sata connector is right pain to fit I broke one in the process of fitting it.

A quick update from today, I’ve done a few little jobs but the main two were sleeving the power cable for the psu and mounting the psu onto the supporting strut.


I’m coming to the end of the project now, I’ve one drill hole left to do and then its onto the installations of all the parts.
Over the last few days I have installed the cpu and heatsink into the motherboard to get it ready for installation.

I’ve also installed the switches and leds, I used them in the projects last iteration and they are still good so I slung them into place.

I have also brushed the outside of all the panels to give a good final look, its a bit hard to shoot the brushing, these pics are poor it looks much better in the flesh.


Finally I wired up a rheostat to control the two fan’s speed and again sleeved it in the blue sleeving.

Well almost two years in the making Project Silicon is finally finish for the the 3rd and FINAL time hehe.
I encountered a few problems on the way to the final installation but I have over come those problems now.
One of the last few jobs was to install the rheostat into the rear panel, I’ve used a blue aluminium knob on the rheobus to complete the blue theme.


I then started to install all the parts into the chassis, a few problems cropped up first off the power cable to the sata hard drive wouldn’t fit so I had to redo the loom for that connector. Second the power connector for the optical drive was wired incorrectly so I sorted that problem out. I had a problem with the ide cable , it was for two devices so I just cut off the extra one to tidy things up. It was all downhill from there thankfully. One problem I also encountered is that I over estimated how much cable I really needed so many of the cables are a wee bit too long which is a bit annoying but can be worked around.
I decided to leave the side bit open to allow airflow to the psu it makes sure the system doesn’t overheat.
A quick couple of pics mid installation:


Well here is the final "glamour" shots of the complete project silicon.


Thats just the case on its own, I’ve tied it up with a hercules 17in tft and microsoft bluetooth keyboard and mouse setup to finish it off. Its going to be my girlfriends rig and she likes it very much.
Here’s some more shots with everything turn on and hooked up, you can see the twin cathodes giving off a nice bloo glow.


Previous Page | Next Page
Leave a Reply
You must be logged in to post a comment.