I need to keep working at it until it’s done. However here it is at the moment.
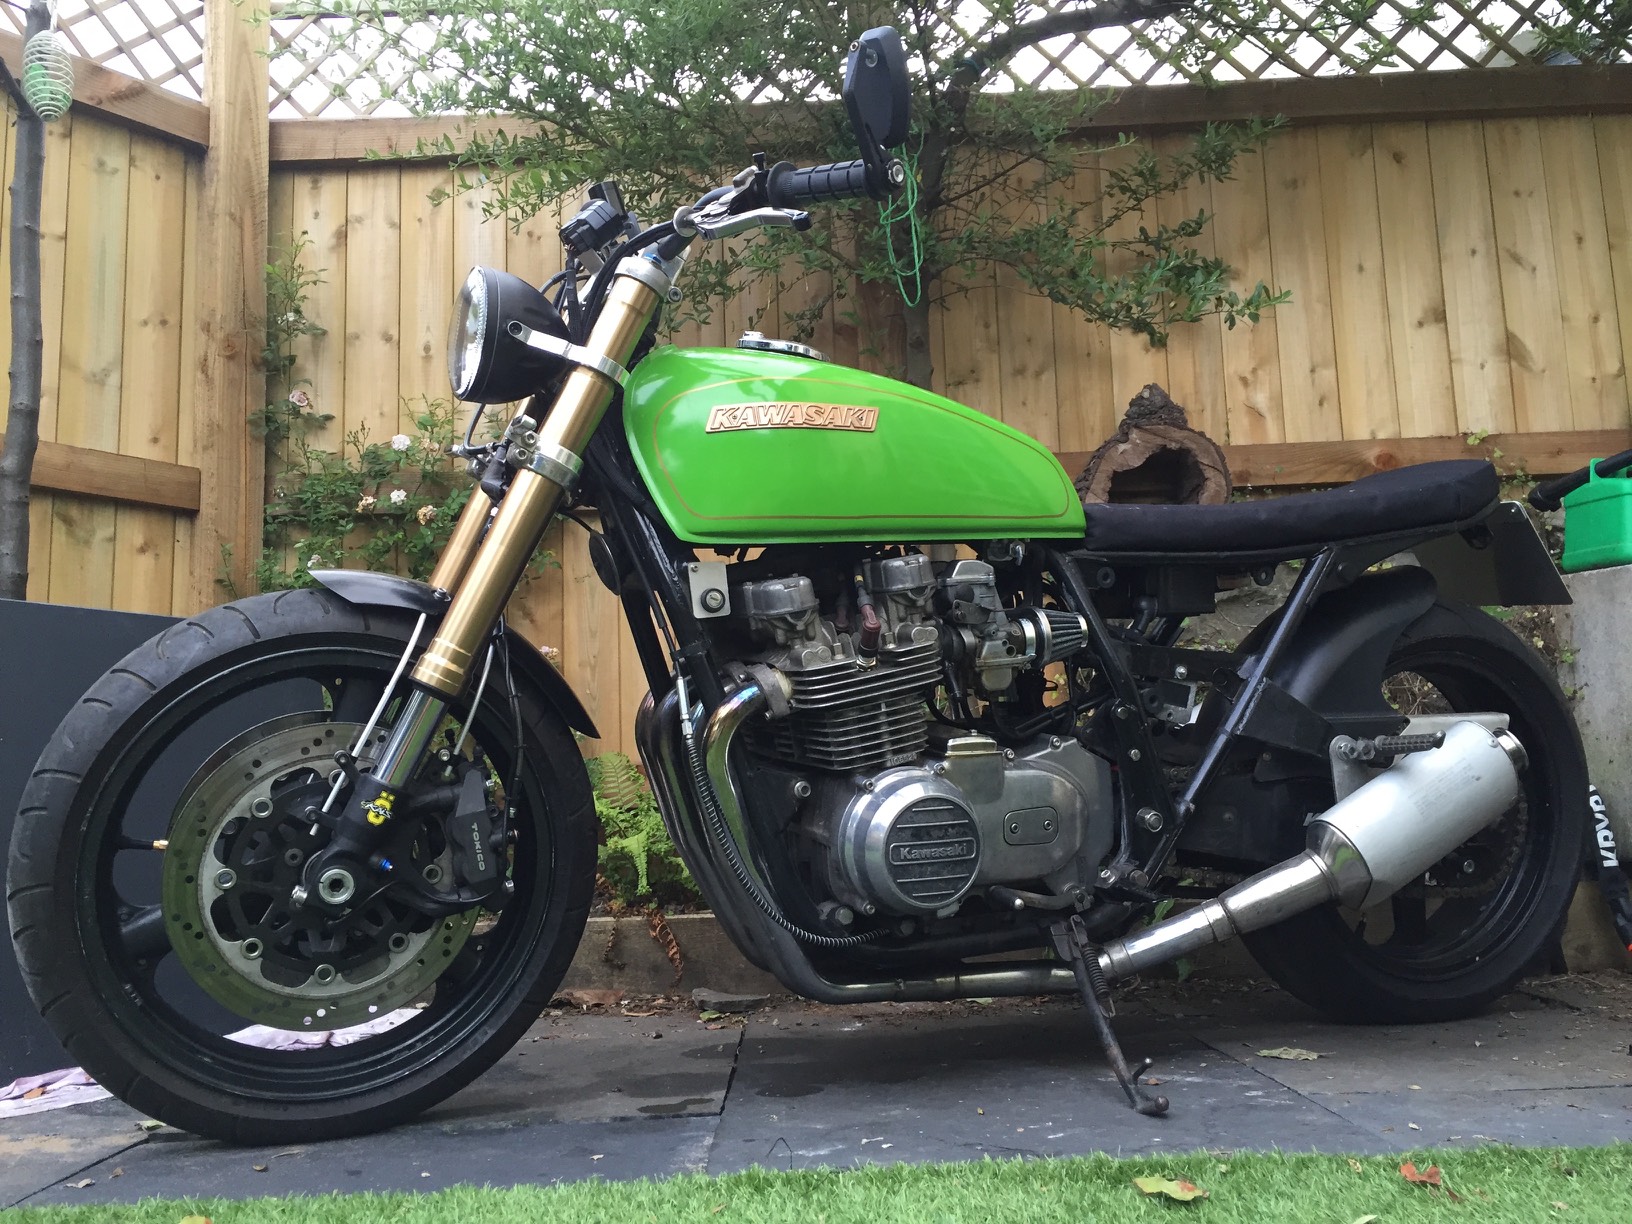

I need to keep working at it until it’s done. However here it is at the moment.
So I promised an update. Well Tim worked his magic on the carbs and timing. He got it so the bike stopped surging at mid revs and re-jetted so that the power was actually smooth line as the revs increased. Test riding it round the lanes and it was transformed into an amazing ride.
However as with this whole project my luck sucks, I rode in the center of town feeling very happy however on my trip the bike completely cut out with no warning. I managed to get it restarted, but the same thing happened three more times in less than a mile. I managed to get to my destination, but I was pissed off. Interestingly when I started the bike to go home it worked fine all the way home.
Once home I checked things through and with discussions with Tim, I think there is a dodgy connection to the coils. I will be checking the wiring through and changing old dodgy connectors.
I took a couple of pics of the shop
My bike hiding amongst many others. So many spares in this corner.

Some drag bikes

Another job I did before the trip to Tim’s was to sort two things on the rear of the bike.
1. A slow puncture
2. Replace the rear disc.
I managed to do both of these at the same time.

Old disc

New Disc

New disc and wheel back on

Now I’m back from holiday I can attack the wiring. I saw a camo Z650 when I was in the Lake District too.

So an update on progress which has been up and down.
I didn’t fancy trying to fit the shock and new linkage myself so I booked it in at the local motorbike shop 100m away. They fitted it and it went well apart from the top linkage bolt size. The bolt is too small for the shock and due to the way the frame is braced they couldn’t just make a bigger hole. It looks ace in place though!


I went to an amazing local engineering shop to get them to make up a reducer for me. It was pure old school engineering no cnc stuff that I could see.

I then put the bike through another MOT which is failed again. ARRRGH! This time it was the front shocks which were misting slightly before are now leaking badly. Also the rear lights were an issue as the number plate light was too bright and caused problems.
So I started taking the front end apart to remove the shocks


Which is where I got stuck as I don’t have the correct tool to remove the front axle. I’ve got one side but not the other. I’ve ordered the tool which should be here this week.
I decided this was a good opportunity to move the key location so that I can tidy up the speedo area. I created a bracket to mount the key under the tank. Which I thought came out nice in the end.


Next I wanted to remove the old key hole to allow me to make a new speedo bracket.


It all is much tidier now and closer to my face.
Next up on the jobs I could do before tools arrive was to clean up the front brakes. As fork oil had leaked onto the pads and discs. I thought about cleaning the pads off, but decided it was far safer to replace them.


Finally I realised that the number plate light is not a legal requirement in the uk so it could go. This meant I could redo the rear bracket and make it simpler.

So I’m stuck waiting for tools before I can finally get it on the road. Fingers crossed the forks will be sorted this week.
Well after the disaster of the MOT test I had lots to deal with. Most of it was minor, but some required thought and planning. The key issues are as follows:
1. The Rear shock linkage is terrible and needs doing correctly
2. The shock itself is old and knackered
3. The front mudguard is not one for this bike and isn’t secured correctly.
4. The rear light is playing up.
5. The brake torque arm is attached by a bolt not giving it movement
6. Footrest are insecure.
Just a few jobs then. I’ve got to work on these in turn.
1. The shock linkage was replaced at some point with sheet metal instead of the correct dogbones. I’ve got a second hand shock linkage from eBay which will need fitting. You can see the issue below. I didn’t catch it as I didn’t look under the bike right there. It’s passed mot’s before which is worrying!

2. The shock is very old now and finding a better alternative was the best plan. I’ve search around to find a suitable second hand alternative, without decent success. So I bit the bullet and ordered a new shock. Its a YSS one and was well priced. They are making it for me now. Once it’s arrived I can fit it and the dogbones.

3. The mudguard was easy. It can pass the mot without one. So I removed it. I’ve ordered a replacement from Skidmarx. That will arrive in a couple of weeks. In the meantime it looks much cooler without the mudguard!

4. The rear light was an odd one, I swore it was working, but I was wrong. It’s not lighting up properly. I tried loads of things, but I worked out in the end that the light had broken. Very annoying. I thought about getting a replacement, but my faith in that lasting wasn’t good. So I looked for alternatives. In the end I found a combined indicators/brake/rear light system that is in a tiny cnc strip.

The seller was in Australia and it arrived in less than a week! I was amazed. I started testing it to make sure it worked.

As this light sticks to the number plate I also needed a number plate light. I found a tiny cnc number plate light on ebay and had to have it.

With both of these changes I had to remake the number plate bracket. I’ve spent the last couple of days knocking this up, It needs the light mounting to the number plate, but it’s close to being done.

5. The bolt was a right bodge job and needed me to source the proper torque bushing. I managed to find a new one which was good. I need to fit it tomorrow.
6. The footrests were using too small a bolt as the eyes of my cnc footpegs were smaller than the originals. I drilled out the the holes and fixed a larger bolt in place. You can also see the new oil cap I found going cheap on ebay.

I’ve started work on the cable spaghetti, it’s not pleasant work, but who said it would be all fun!.
First job of the week so far was to sleeve the two indicators so that the cables would be less obvious. I also did the same to the new headlamp.
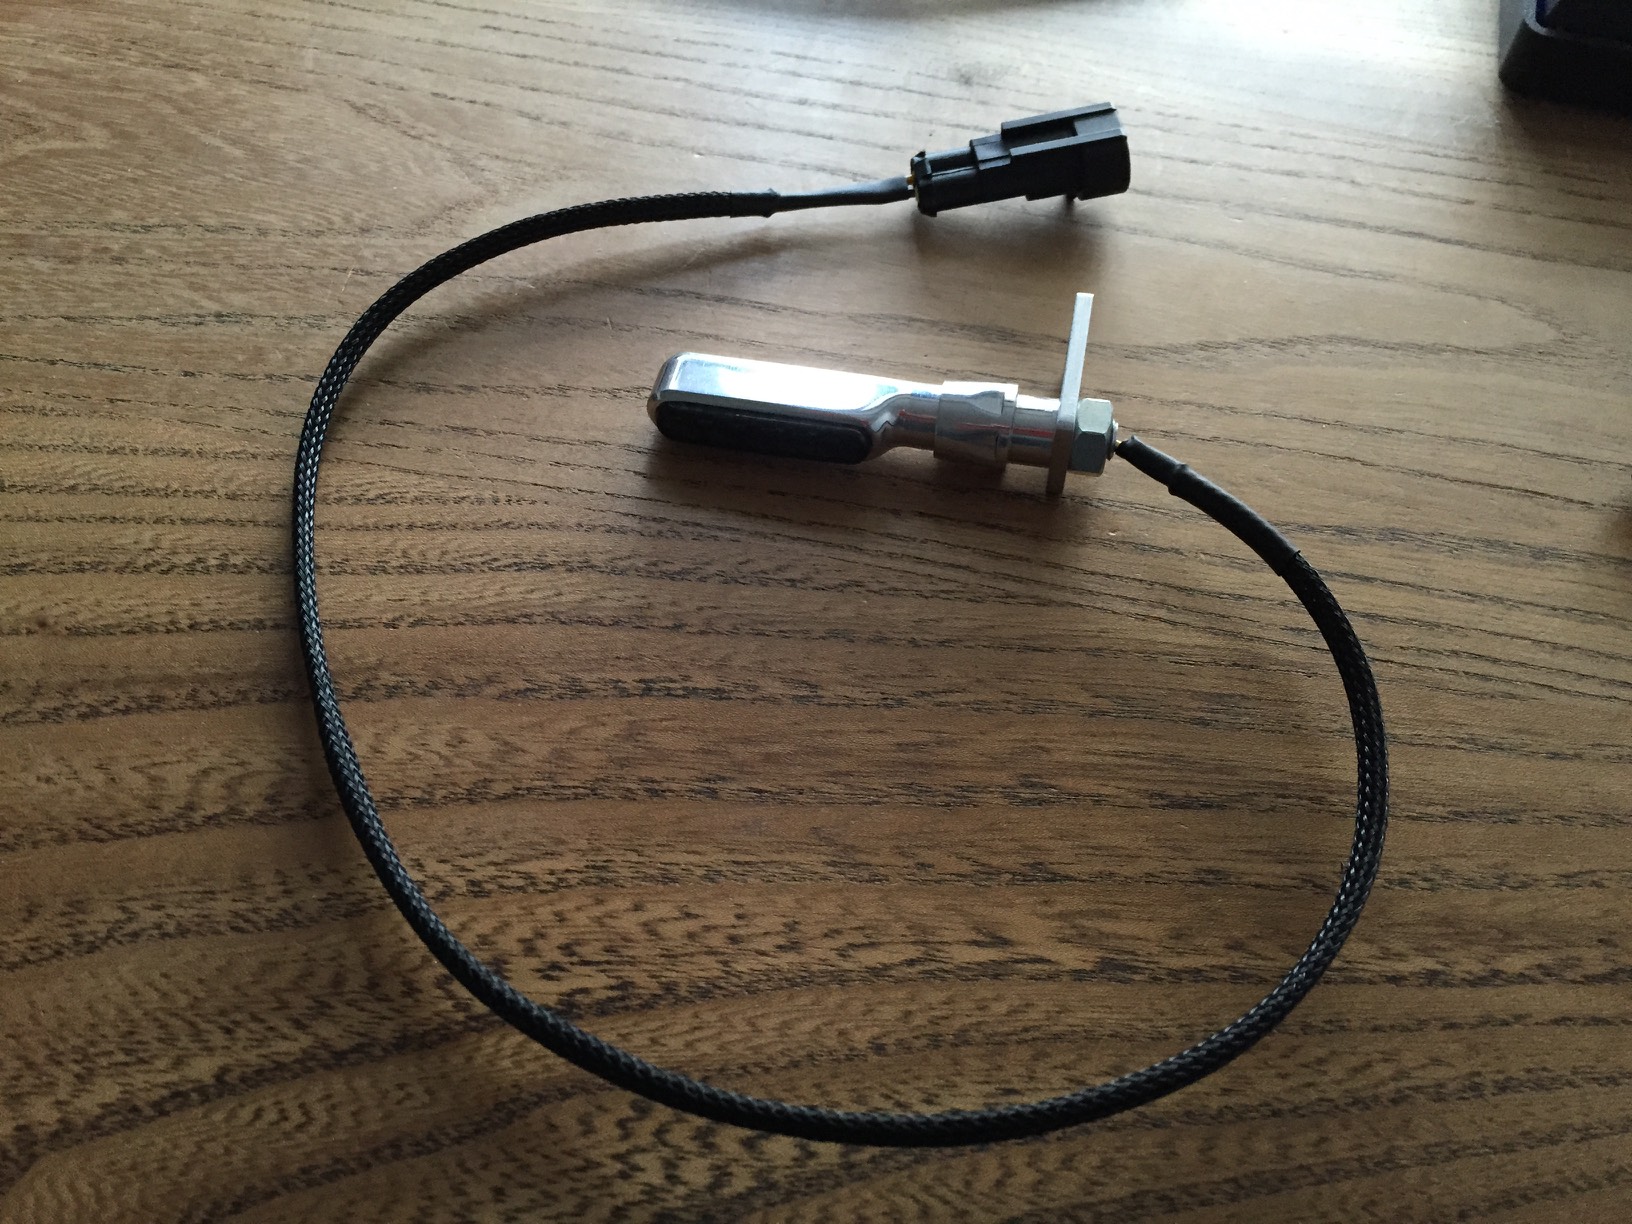
Next up I fitted them back on the bike. I was originally going to reuse the bolts from before, but in the end I decided to get some new ones so that I could use an allen key instead of a socket wrench. It makes fitting the indicators much easier. I also moved them to the bottom bolt so that the cable runs underneath and is more hidden.
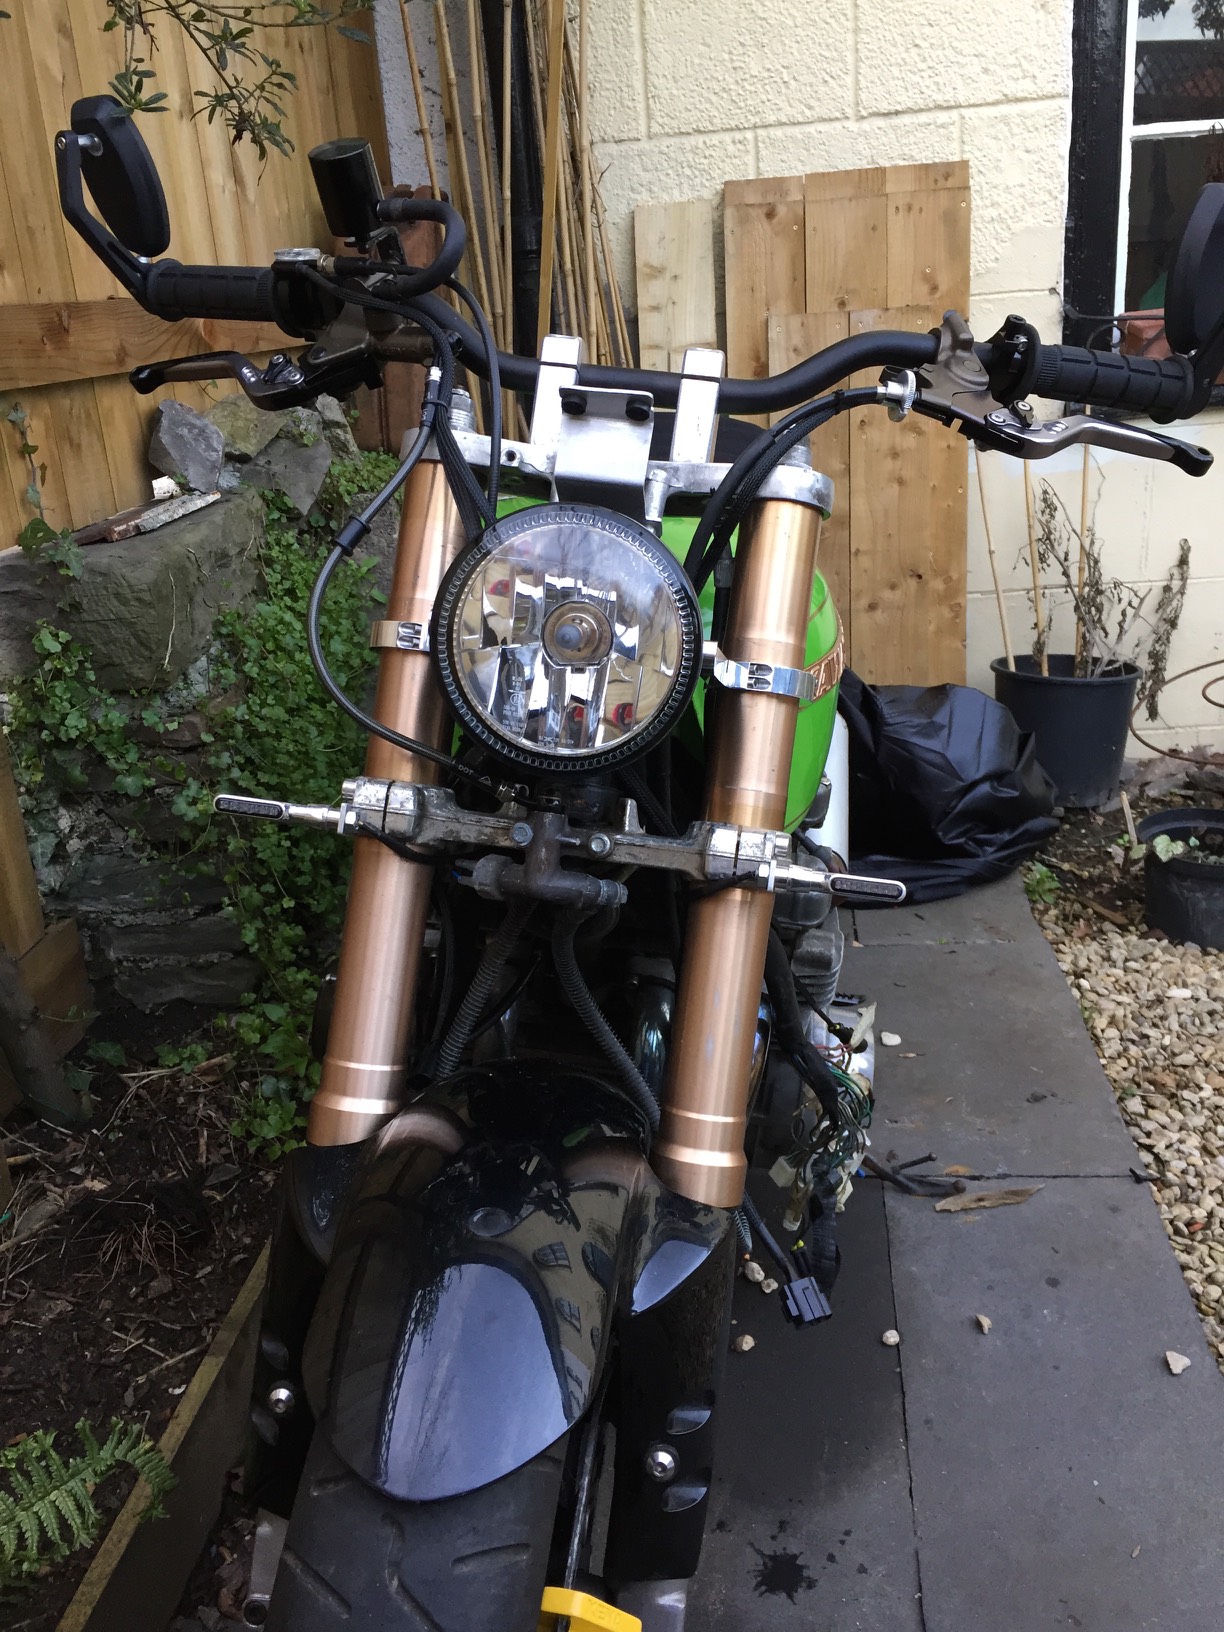
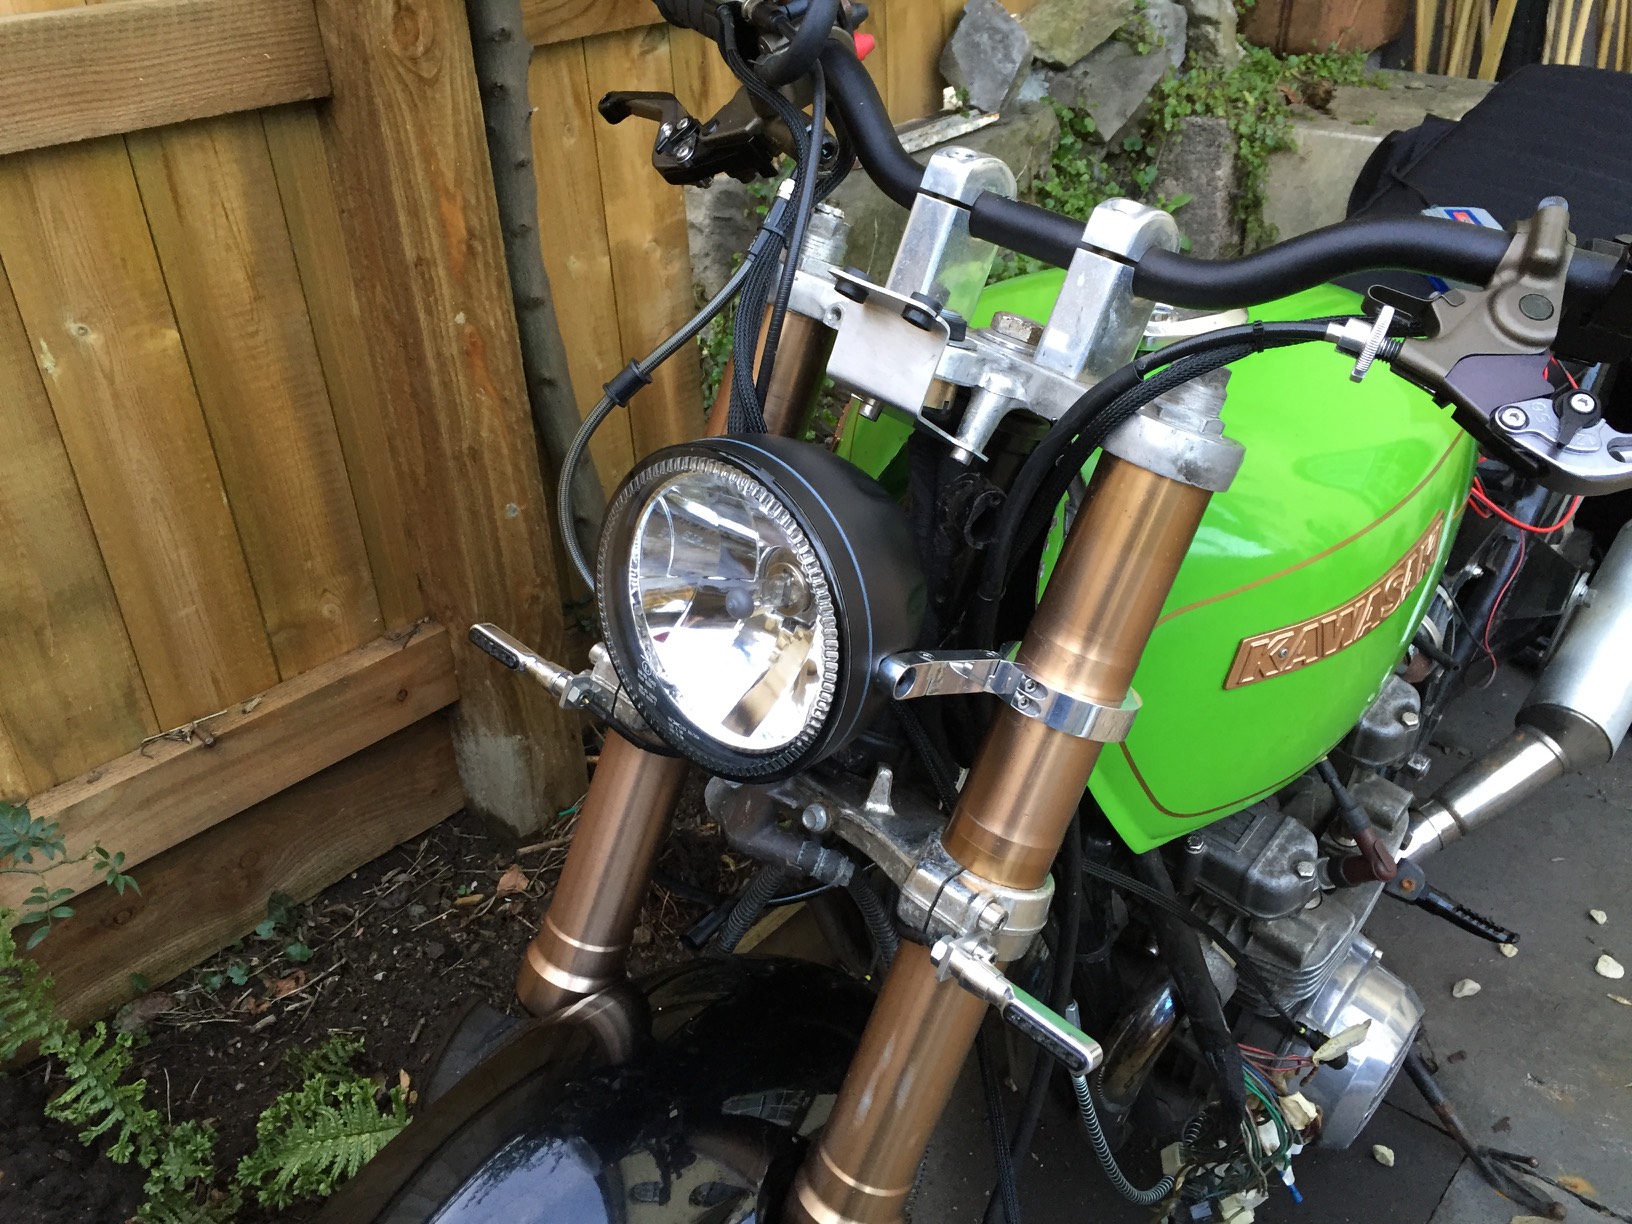
Next I stripped back the loom so that I could see what is going on and if I can make any improvements.

There were a few iffy connections which I am working through. If I get good weather this weekend I will try to finish the wiring loom changes.
Well the first hurdle is over. I’ve found a new mounting point for the indicators. I actually prefer them here instead of attached to the headlamp brackets. All I did was remove one of the fork bolts and make a bracket for the indicators on each side, using the bolt to attach them directly to the fork. I will need to dress the wiring and make that as hidden for each indicator next.
1: Remove the existing headlight and all wiring

2. Mock up some little brackets
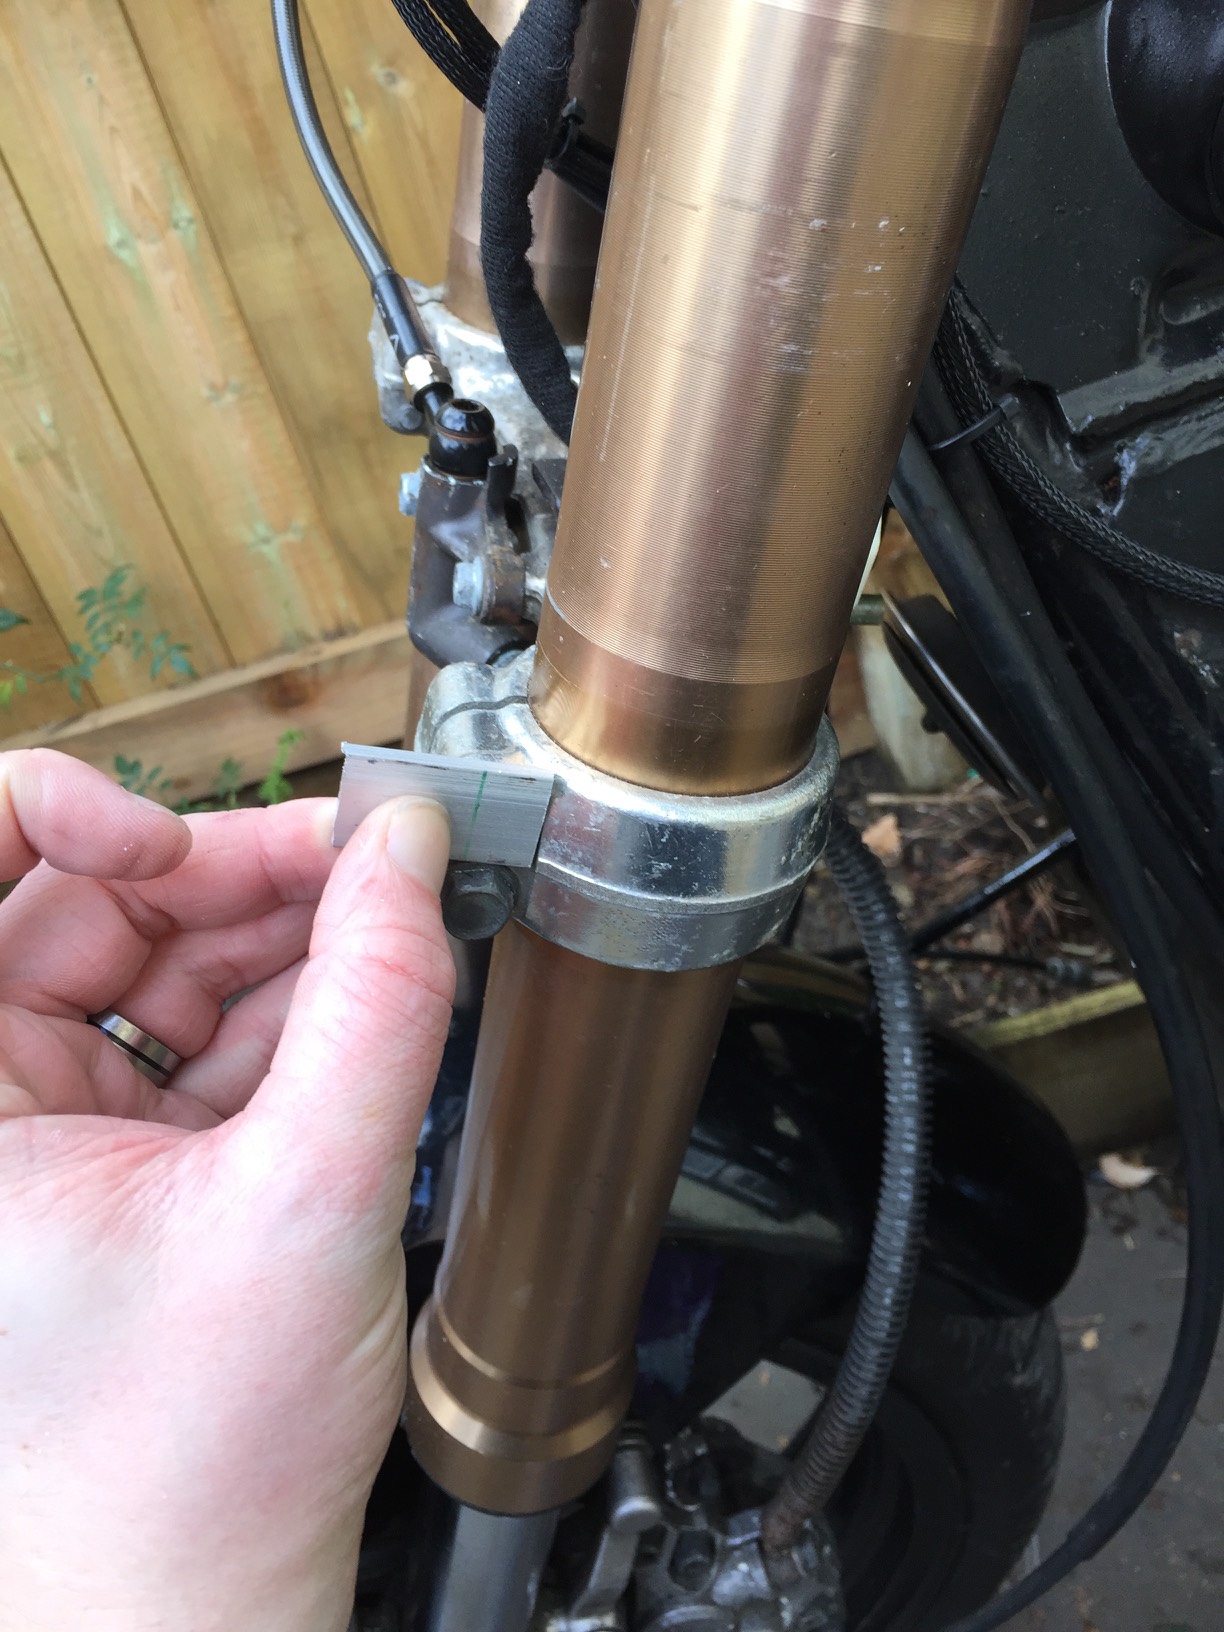
3. Brackets done and in place
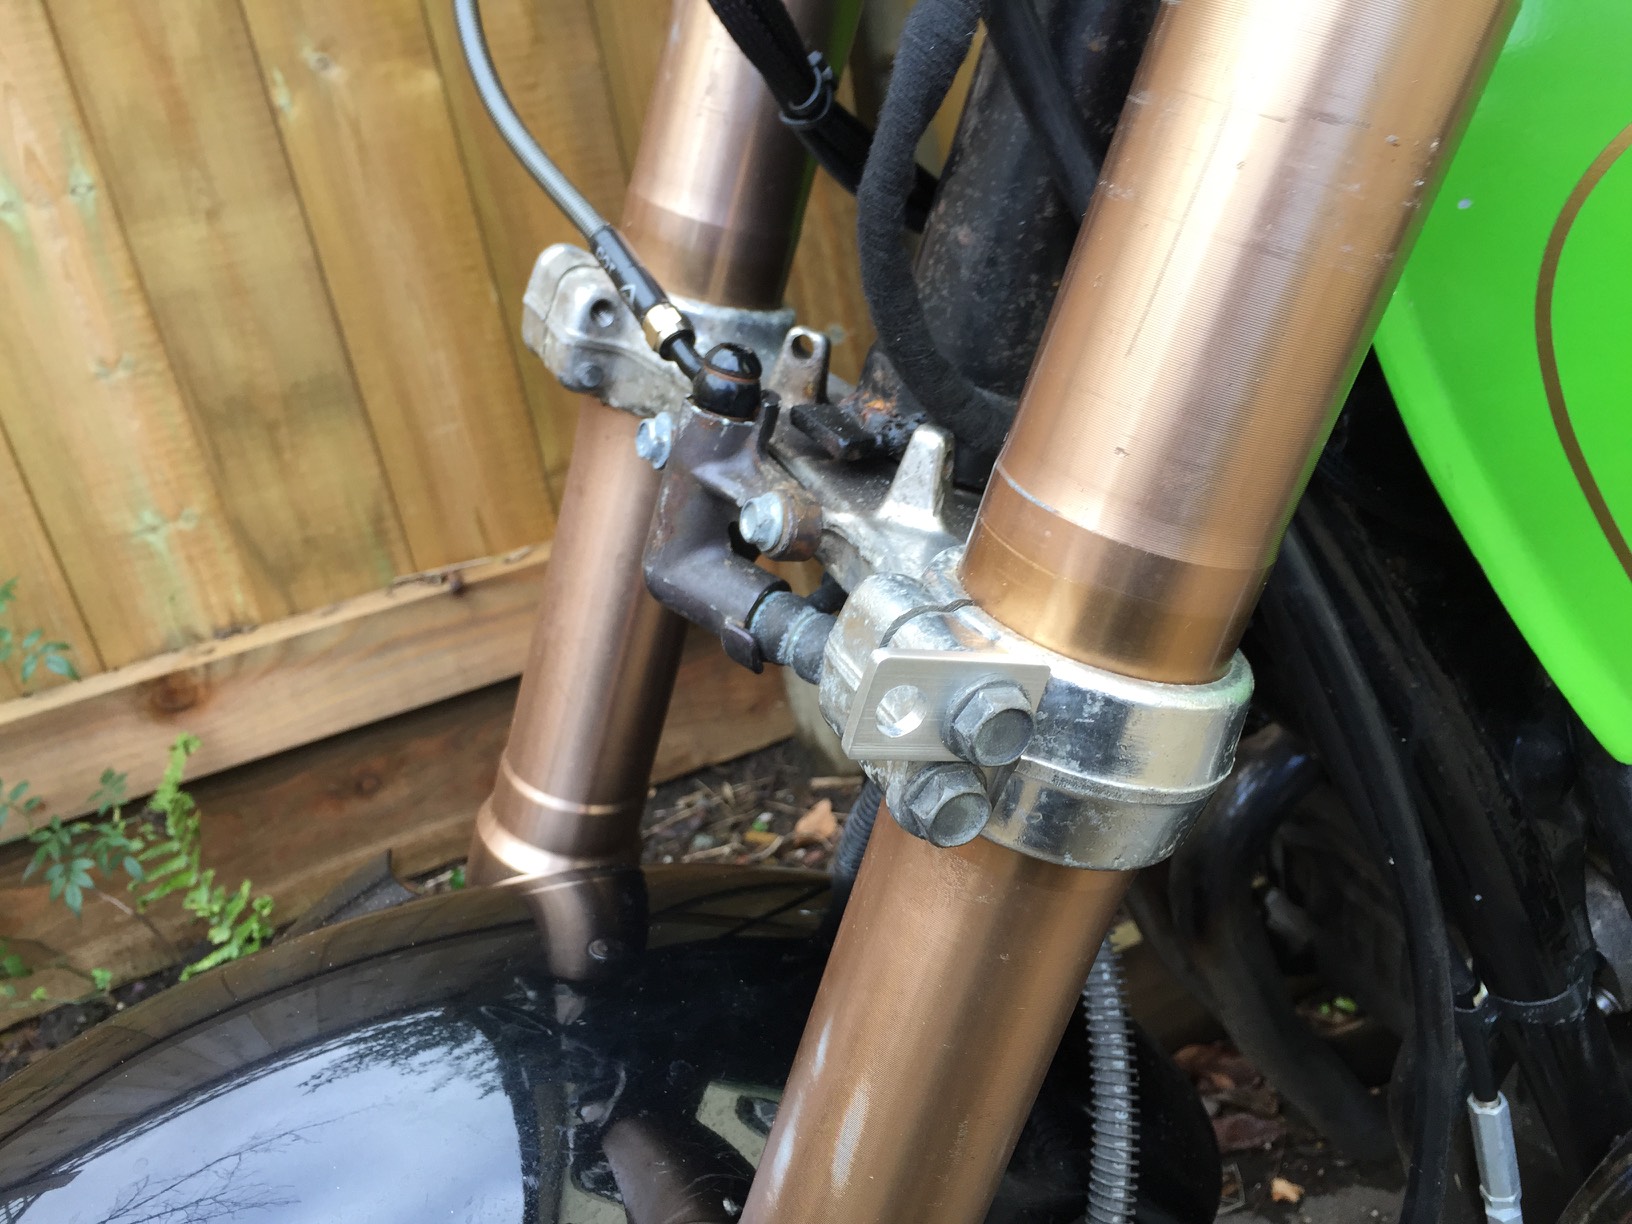
4. Fit the indicators and see how it looks.
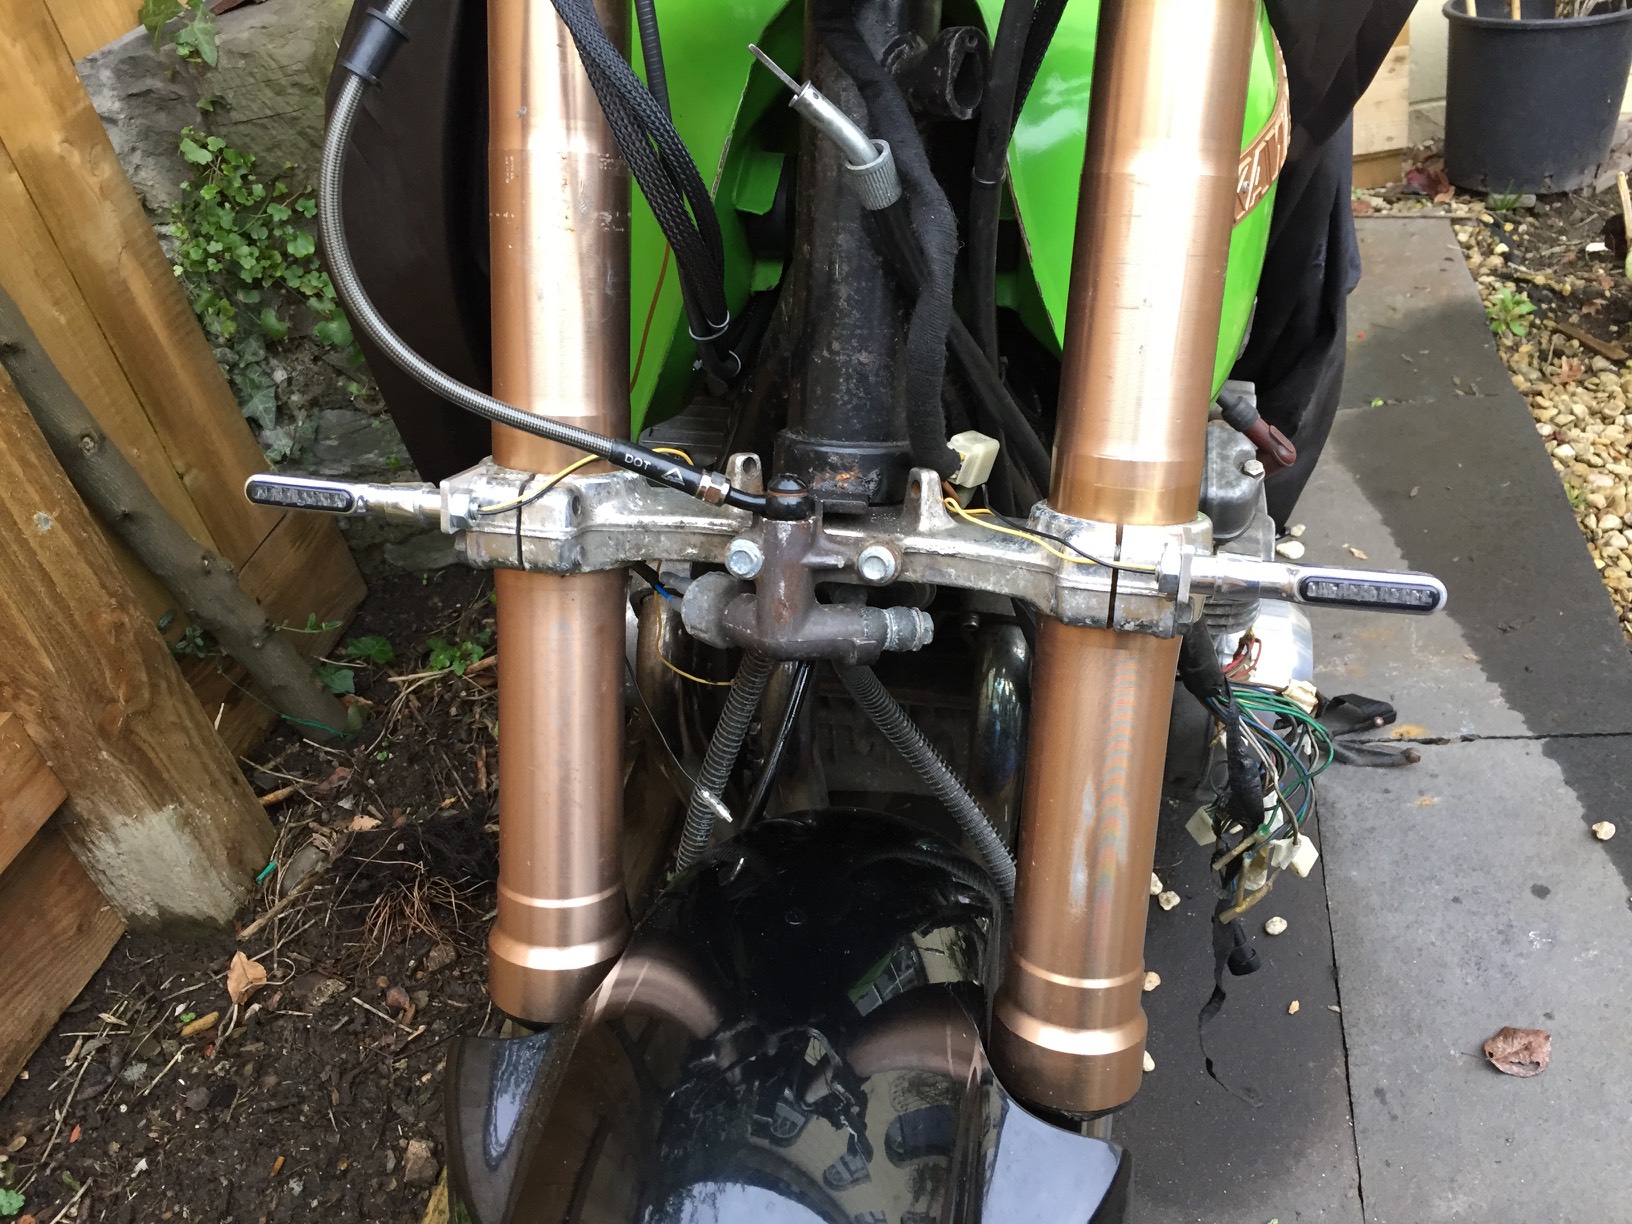

I also held the new headlamp in place to see how it looks on the bike.


The weather has now turned, so I’m not sure if I can get anything else done this weekend. I’d like to see to some of the wiring spaghetti if I can.
Well it’s been a bit slow round here. I’ve got a few fun projects to add to the site over the next few weeks. First up though is my first motorbike. I bought it last week and I’m very pleased with it.
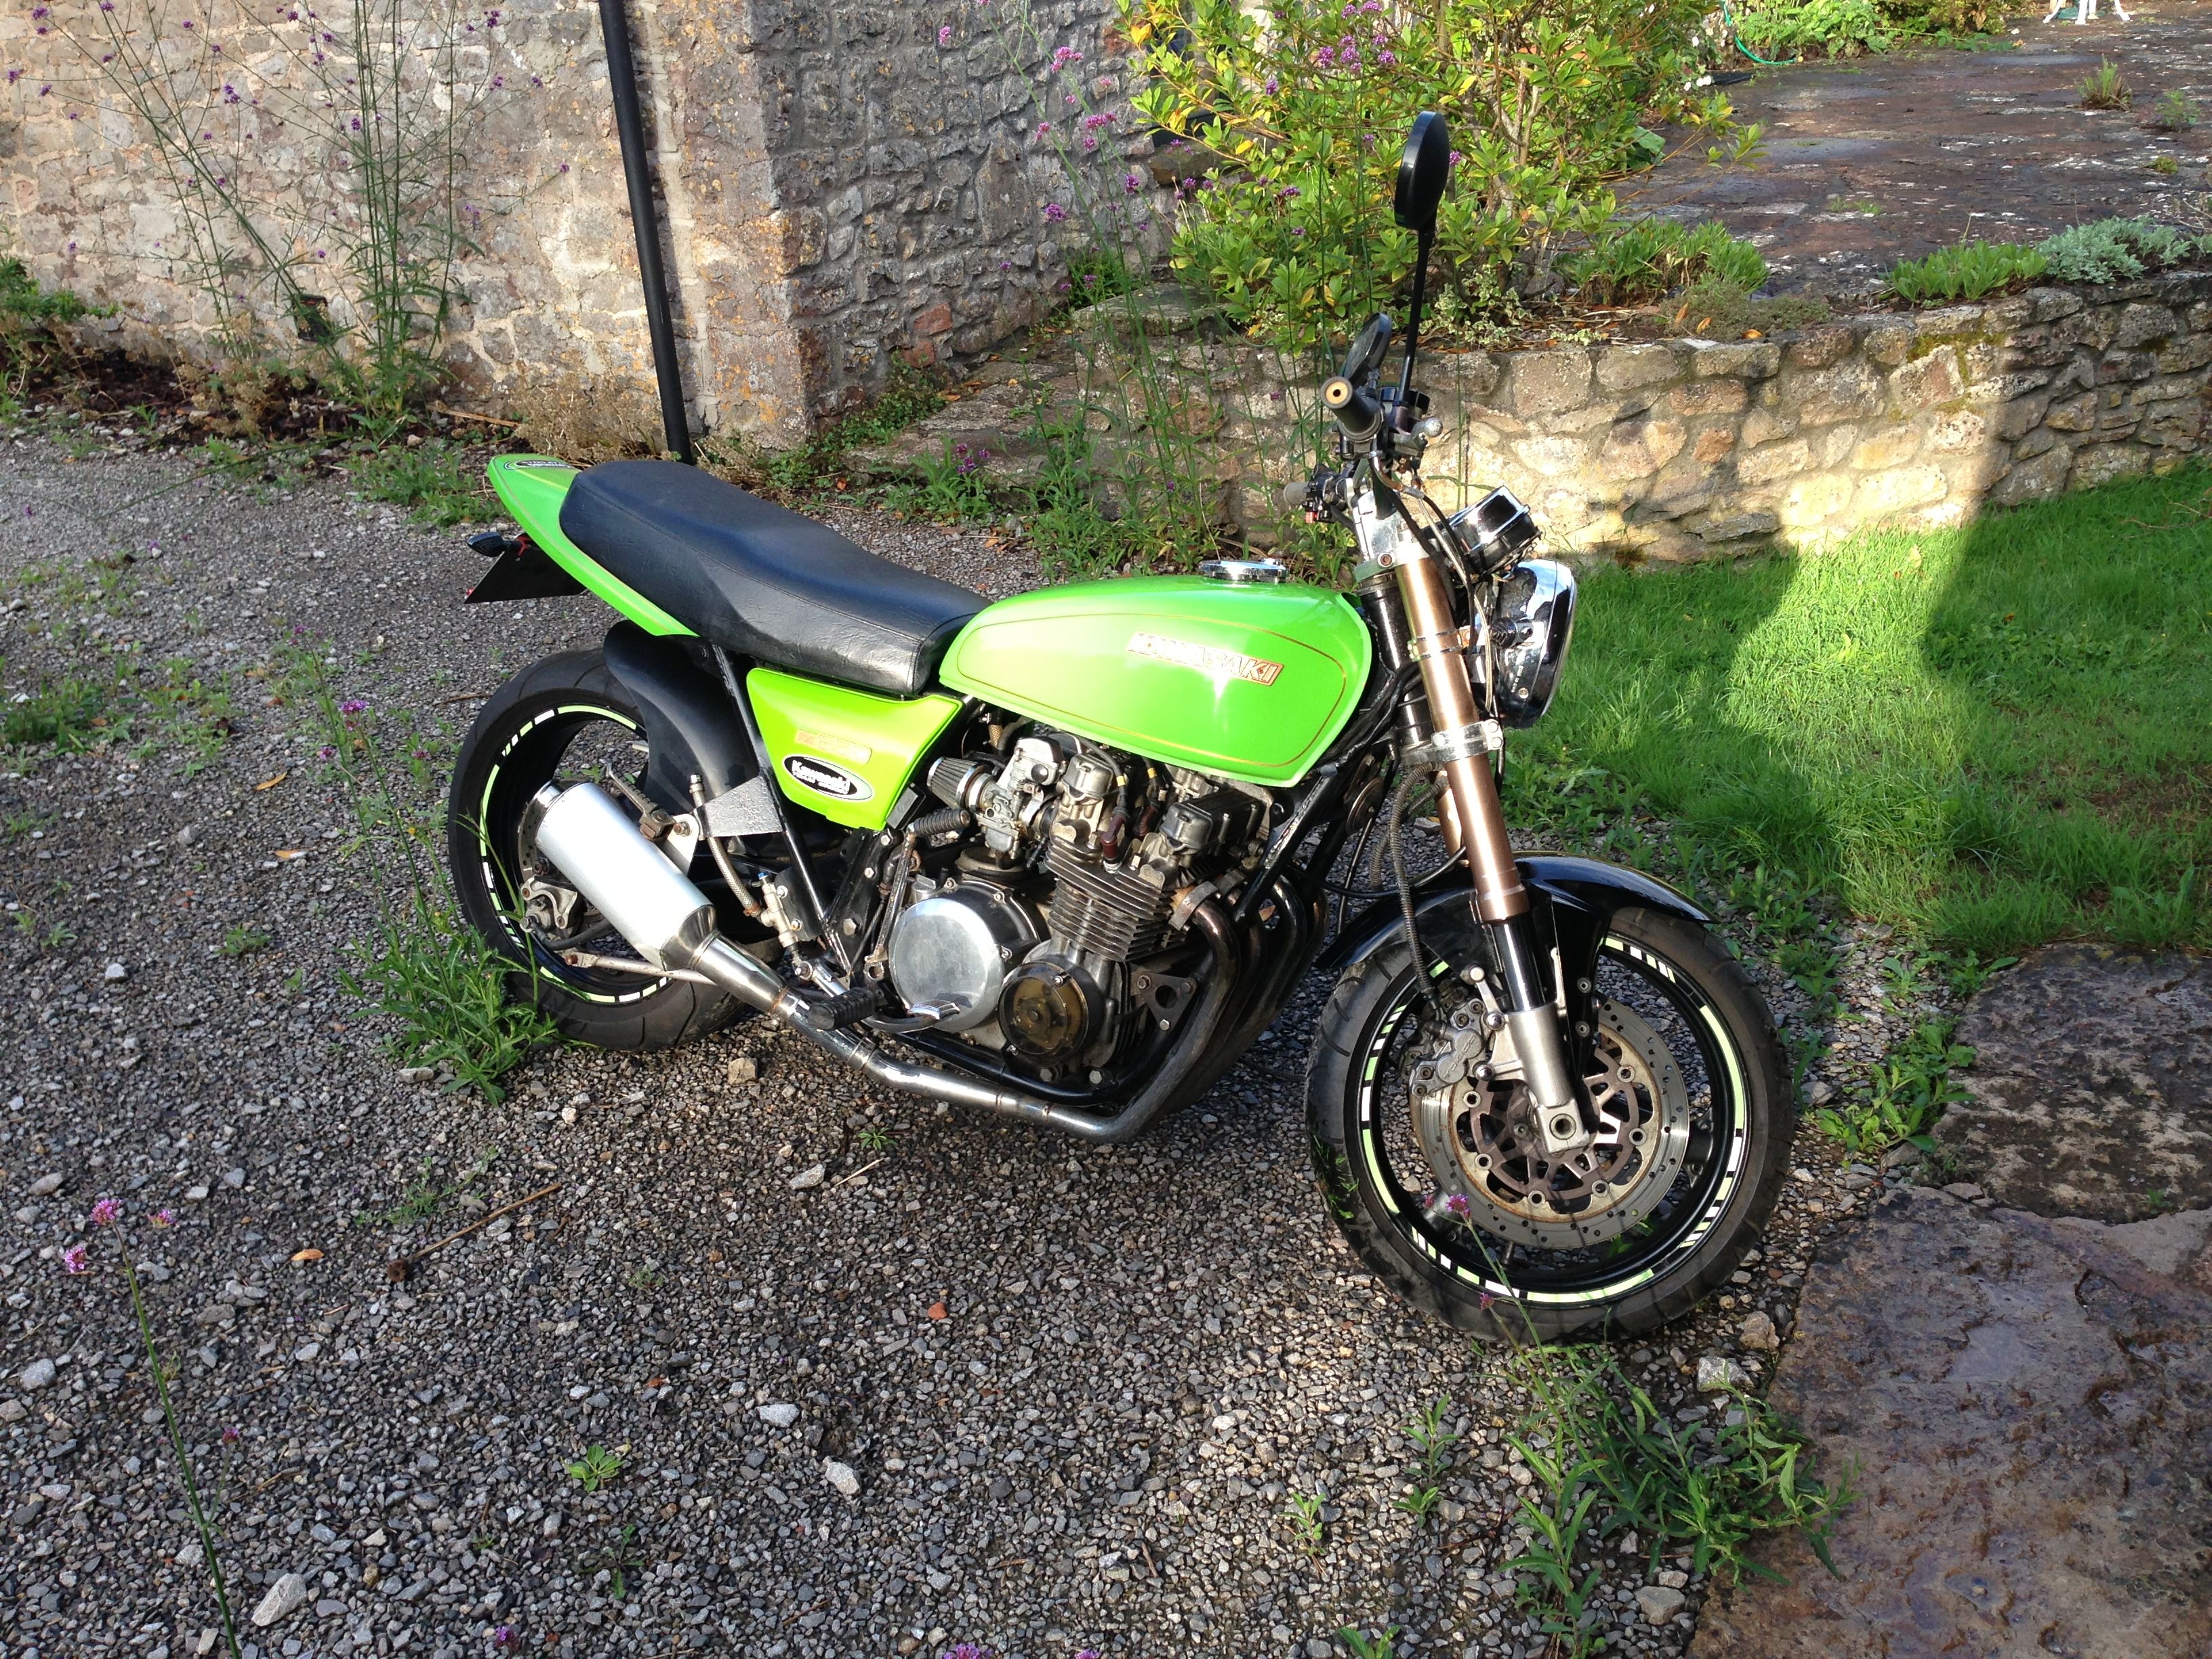
It’s a 1978 Kawasaki KZ650, though its far from standard. It’s had the front and rear of a ZXR400 added so has much better handling and braking. It’s also got Ducati monster exhausts for added sound.
I plan on modernising and simplifiying the bike, with the aim of making it more cafe racer styled and losing some of the bulk.
First off I’d like to clean up the bar area as it’s currently got lots on. I’ve a wish list of parts including the following

This will clean up the tired wiring and make the whole thing much more simple.
Next will be a new speedo

This is a tiny digital speedo, that will clean up the bars.

I think with these dream items I can clear the bars up a ton and clean up the current wiring a fair bit.