


Project Little Devil
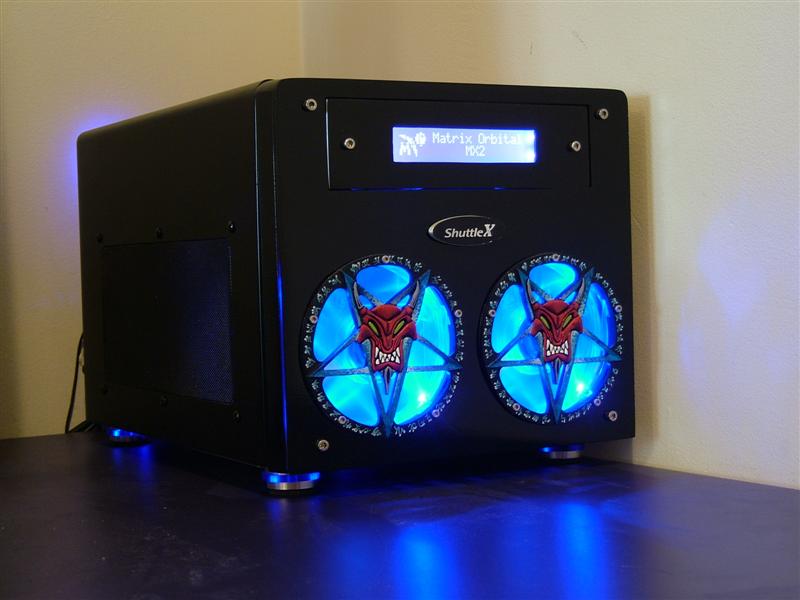
Project Summary:
Having owned almost a dozen shuttles including the very first model, I’ve always been a fan of them, but I’ve never really done a full blown mod project based around one. This project will change that, having sourced a bare g2 style case I have set to work creating something that is a class above the normal shuttle.
Previous Page | Next Page
Page 1 | Page 2 | Page 3 | Page 4 | Page 5
Project Little Devil: First Update
2004-03-01
Its time for yet another Gordy modding project.
I’ve been a shuttle fan for some time now but I’ve yet to do a major modding job on one as I’ve not had the time or the inspiration till now. Having seen some amazing projects entered in a german shuttle modding contest I was very much enlightened on just how much was possible.
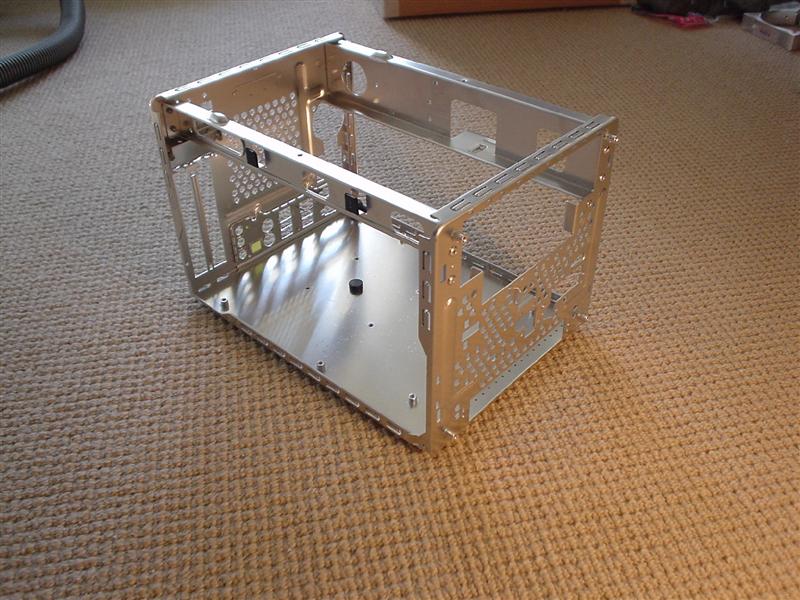
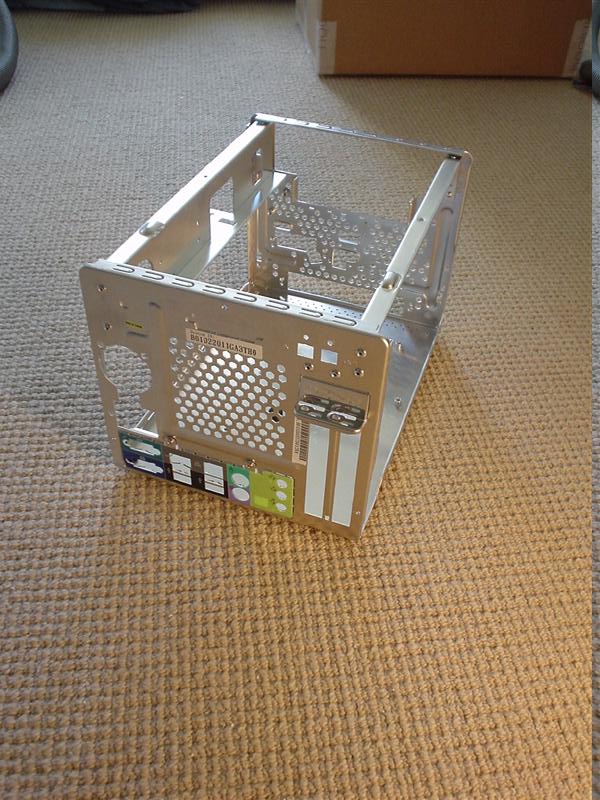
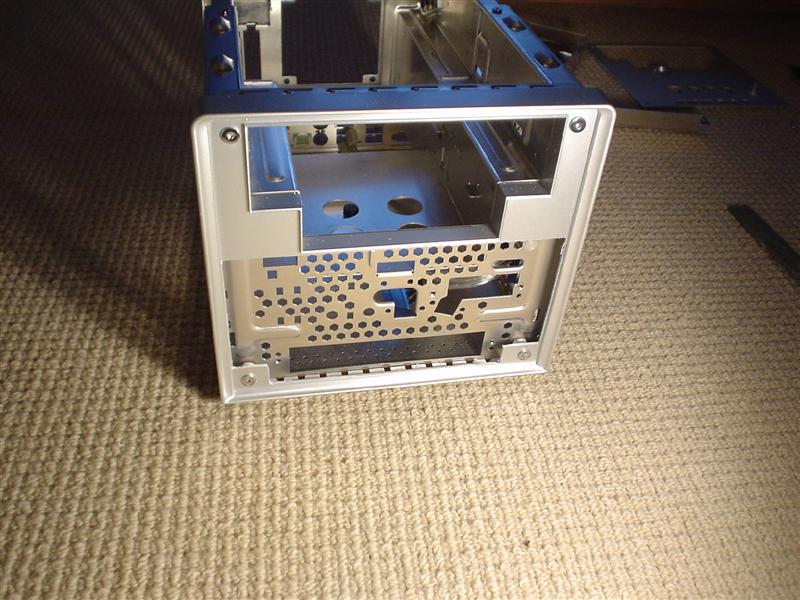
Anyway onto the project itself. I found a store that sells Shuttle SB61G2 cases with no motherboard inside. They come to around £45 delivered, they don’t pack them very well at all so I won’t recommend the store. The heat pipe was just left loose inside the case, needless to say the inside of the case was scratched and the heatpipe bent slightly. I wasn’t impressed.
I took some pictures of the case when it arrived :


I also ordered one of the new Silent X shuttle psu’s as I had only heard good things about them.
Its slightly larger than the stock 200watt PSU but fits in most shuttles along with being a 250watt psu


While I was doing my last project I found that I really needed a tool to allow me to remove the pins from an atx connector for a psu. This is just a tool, unfortunately it costs a massive £25 !!

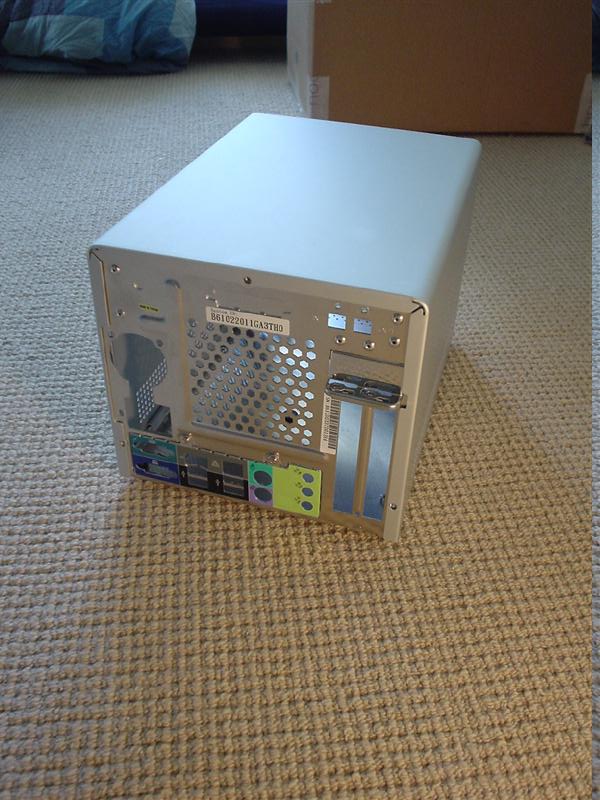
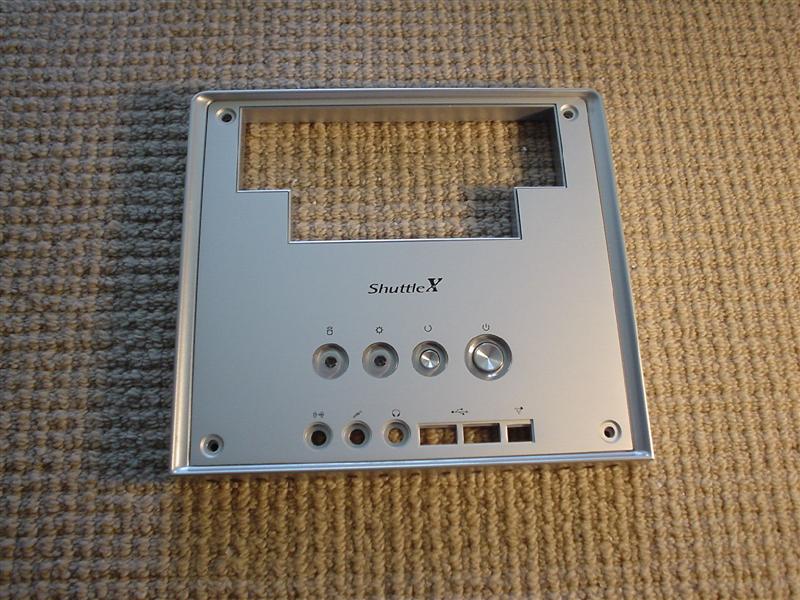
I took some nicer shots of the front of the case here


The first thing to do was to removed the nasty grill for the main case fan as it only blocks the air and creates extra noise. I used a dremel to remove the grill, tidying with a set of files.


Project Liquid Bloo: Making Some Progress
2004-03-05
I don’t want to reveal too much of my plans for this mod early on as it will spoil the fun. However you should be able to see something of what I have planned from this update. I’ve cut up a small section of aluminium so that I can mount a couple of 80mm fans. This was just a test piece to see what it looked like and how easy it was to make.


I also got some of the metal supplies I will be using in this project, this is 13swg aluminium sheet and a solid aluminium bar…

Project Liquid Bloo: Cutting cutting and more cutting
2004-03-13
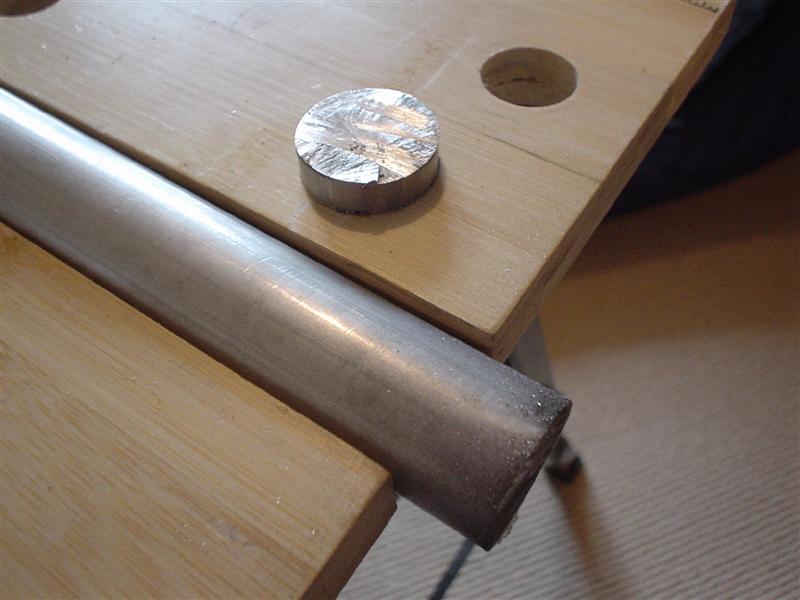
Its been a lot of hard work over the last couple of days to get some work done on this project.
I’ve got blisters and nightmare hands after spending bloomin ages cutting 8 discs of the aluminium bar. For what these are for I will leave you to guess for now 😉 . They need a lot more work as they are only rough cuts and need filing down to size. I have some new files on their way as my existing ones are going blunt and I need very sharp ones for all this work.
On to the pictures


I’ve also got some small parts that I needed, first are some small hinges these are going to be too big, but I needed some for measuring up. If anyone knows a source of minuture hinges let me know. The other part are some small felt pads, no clues as to why I will need them yet.

Project Liquid Bloo: Wiring parts arrive
2004-03-30
Some of my parts have arrived from Kustom Pcs these are the bits for my psu wiring loom and some fan insulators to reduce the noise of fans. All the molex’s arrived along with some UV cable but I wasn’t happy with the colouring so I will be using some different wiring as I wont have any uv lighting sources within the case. I will swap the UV molexs for the stock bloo ones as they are a better match for the p4 and atx connectors. Big shout out to graeme from Kustom Pcs for helping me sort all this out.


Project Liquid Bloo: Power Supply Modding
2004-04-03
Its been a terrible couple of days, I had a massive flood in my flat due to a burst pipe. Its set me back a fair bit but I may get a workshop out of it so its not all bad .
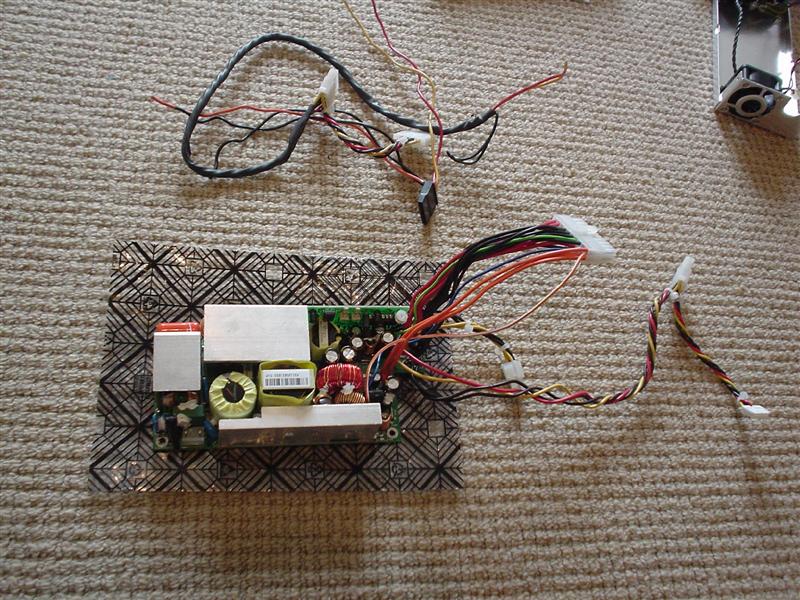
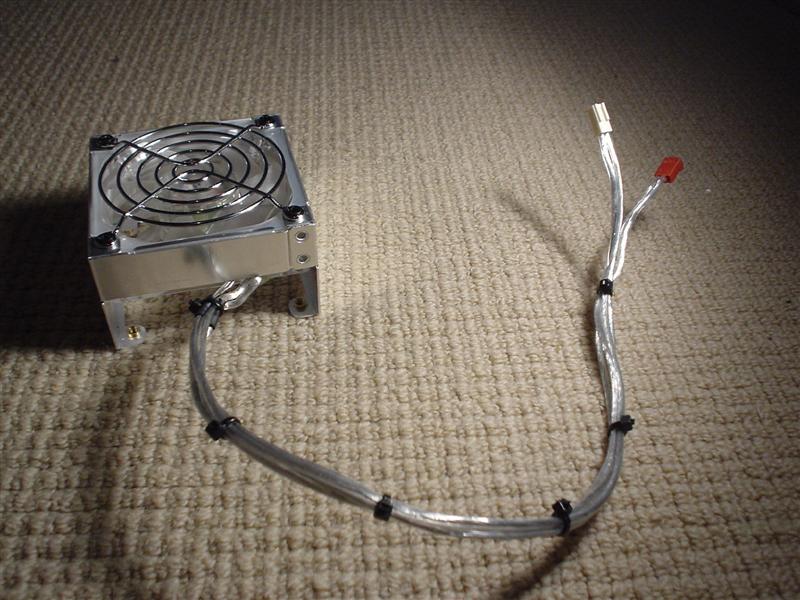
The work I’ve done is to completely rewire my shuttle silentX power supply. I’ve removed all the connectors and replaced them with three bloo connectors.
1 ATX (mobo)
1 P4
1 molex
You’re probably thinking I’m mad how am I going to use just one molex. Well I’m not. I’m going to have a single removable wiring loom coming off this connector.
For the wiring I used this lovely silver speaker cabling which looks spangly.
I need to remove one last sticker off the power supply to get it clean. It has some small scratches that will need polishing out at some stage.
Thats for another day tho.
Onto the pictures:


The final atx pin was nearly the end of my finger. It put a cut down my nail and the top of my finger. Blasted thing grrr.

Project Liquid Bloo: Big load of updates for the Project
2004-04-11
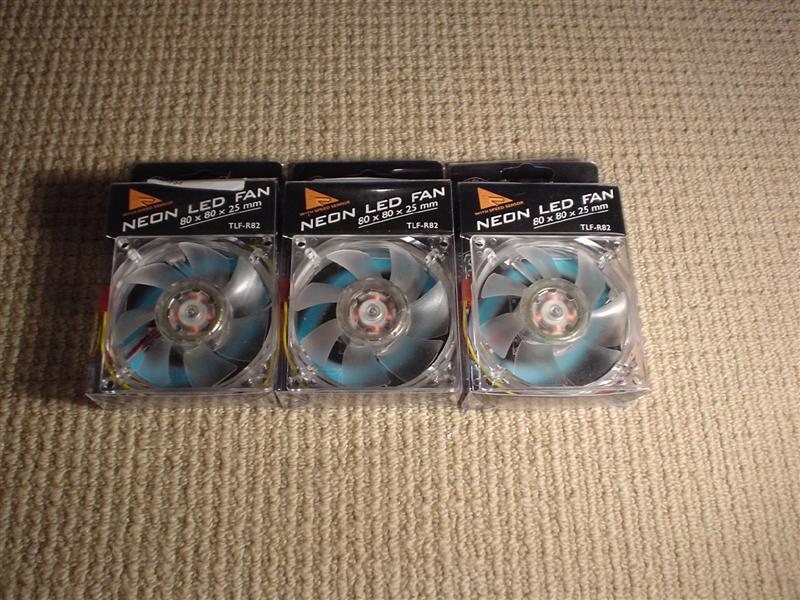
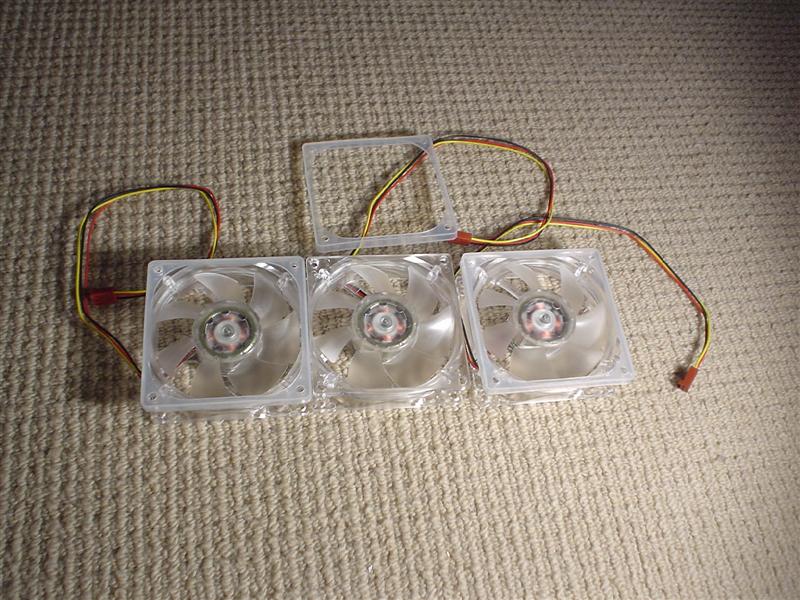
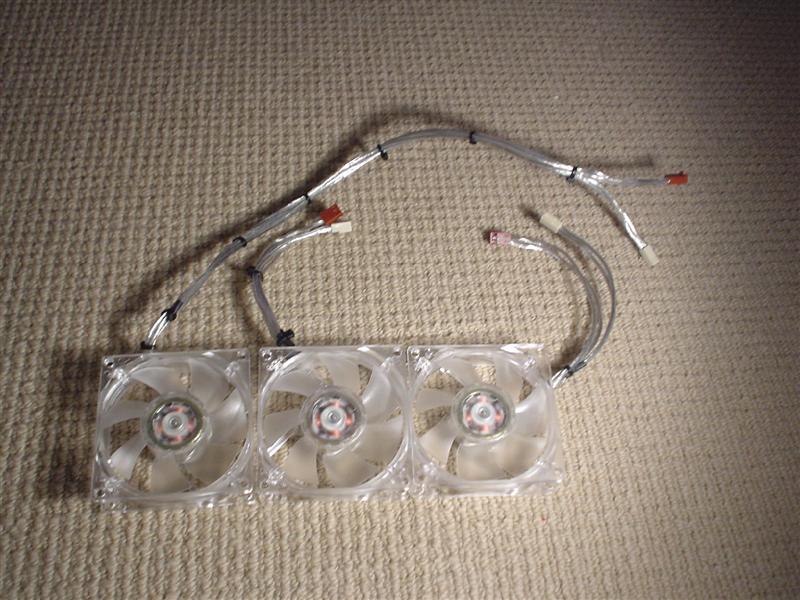
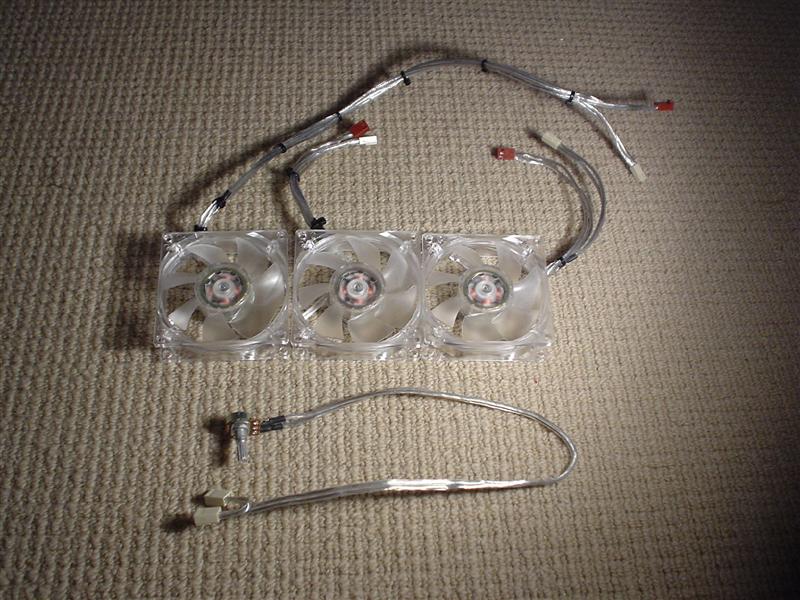
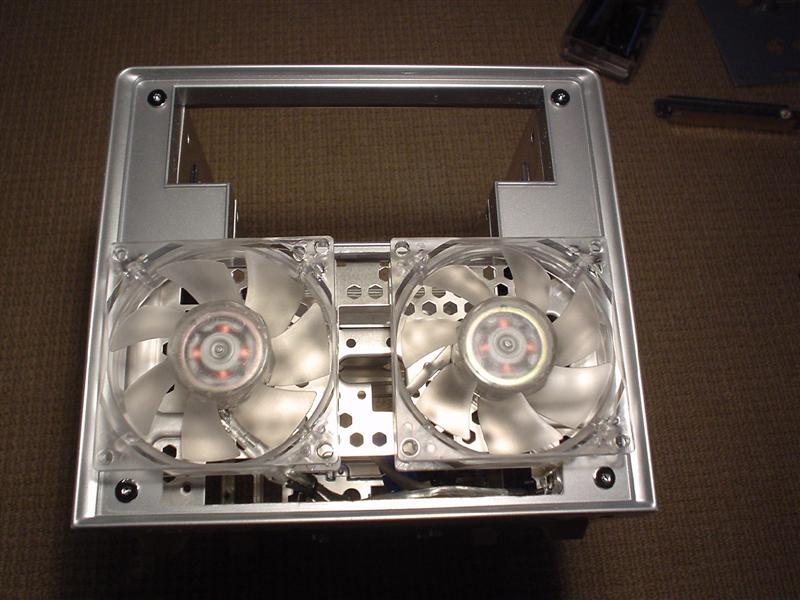
Hi Folks, Another update. I’ve been working on lots of different parts of the project. First off I have received the Coolermaster Neon Fans in blue that I want to use for the project. I set upon them to re wire them so the cables were the same silver cabling used on the psu. I also rewired the circuit so that the led and fan circuit are separate.
This means that I can run the fans at any voltage without any problems.
Onto the pictures:


I also setup the rheostat and mounted into the shuttle case where the wireless network arial would go.


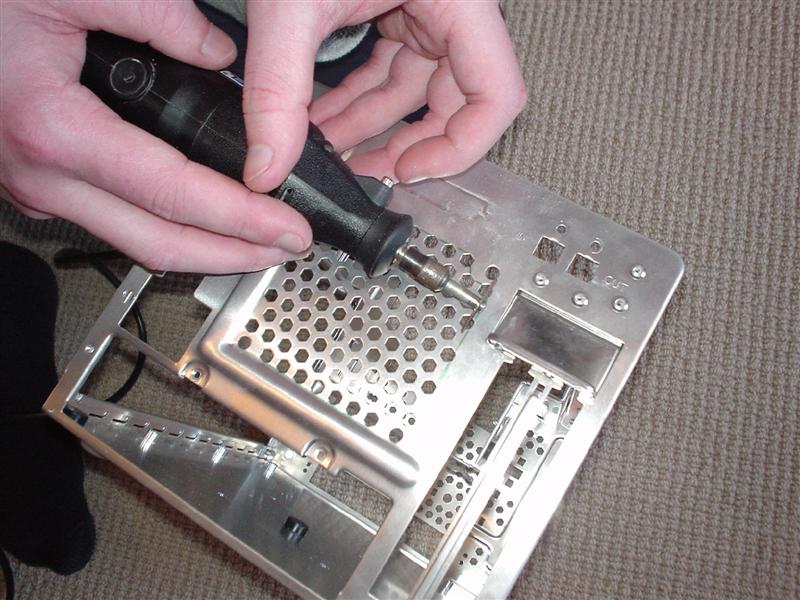
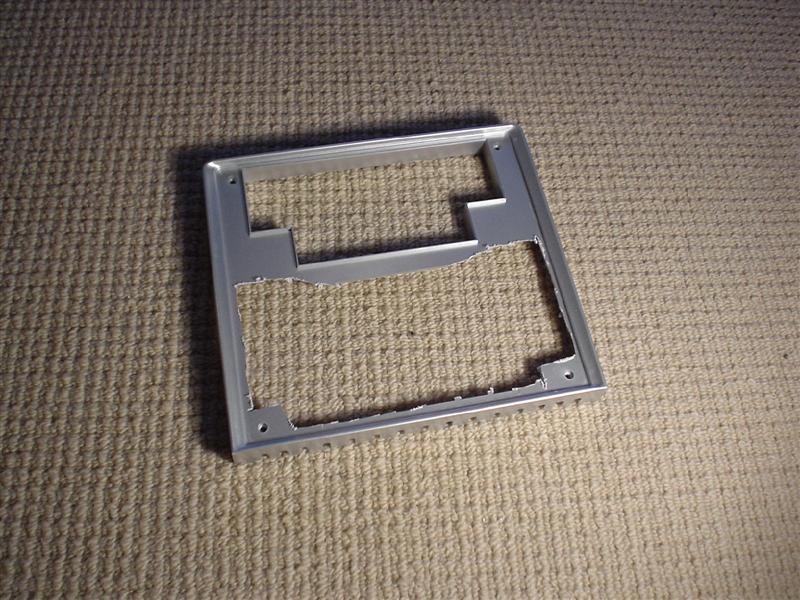
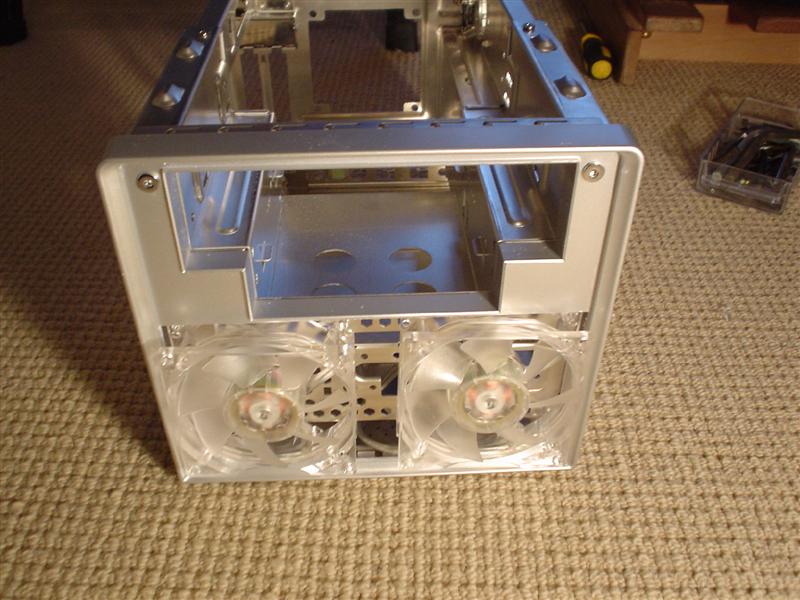
Next up I attacked the front panel so that the fans can be placed in the front panel.
This was done with a dremmel, onto the pictures:


Project Liquid Bloo: Front Panel work
2004-04-14
I’ve received some more supplies for the mod, mainly two huge sheets of blue plexi.
I set to work on the front panel modding, I’ve already cut a sheet of thick aluminium to size. I then cut a sheet of the plexi to size as well. Here’s some pictures of the work.


A quick picture of the cold cathodes I’m using for the project as well.

Previous Page | Next Page
