Skip to content

Posts from the ‘Motorcycle’ Category

14
Aug

Carbs fixed but now something new

So I promised an update. Well Tim worked his magic on the carbs and timing. He got it so the bike stopped surging at mid revs and re-jetted so that the power was actually smooth line as the revs increased. Test riding it round the lanes and it was transformed into an amazing ride.

However as with this whole project my luck sucks, I rode in the center of town feeling very happy however on my trip the bike completely cut out with no warning. I managed to get it restarted, but the same thing happened three more times in less than a mile. I managed to get to my destination, but I was pissed off. Interestingly when I started the bike to go home it worked fine all the way home.

Once home I checked things through and with discussions with Tim, I think there is a dodgy connection to the coils. I will be checking the wiring through and changing old dodgy connectors.

I took a couple of pics of the shop
My bike hiding amongst many others. So many spares in this corner.
IMG_6929

Some drag bikes
IMG_6928
Another job I did before the trip to Tim’s was to sort two things on the rear of the bike.

1. A slow puncture
2. Replace the rear disc.

I managed to do both of these at the same time.

IMG_6850

Old disc
IMG_6848

New Disc
IMG_6847

New disc and wheel back on
IMG_6911

Now I’m back from holiday I can attack the wiring. I saw a camo Z650 when I was in the Lake District too.
IMG_6968


29
Jun

Mudguard fitted & carb woes

Quick pre MOT update and mudguard pics.

I managed to create a mount for the triumph mudguard using aluminium pipe bent to shape and attached with P-clips. I had no idea whether it would work or not when I started. First I used the rear tire as a bending guide as it’s about the width that I needed. This gave me the front bracket which I attached to the mudguard as a test.
IMG_6541

IMG_6542

That worked really well so I set about making the second bracket for the rear.

IMG_6543

What I had failed to think about was how to get the brackets and mudguard into place. I had hoped to leave the brackets attached to the mudguard and slide them on, but that was never going to work. So i had a very fiddly time trying to mount the brackets to the mudguard once they were in place. With a lot of swearing and dropping nuts I got there.

IMG_6546

IMG_6548

IMG_6549

I am so delighted in how it turned out. I never expected it to work so well.

Next it was time to refuel the tank and fire it up. This is where the headache started. The bike started ok, but sounded odd, I realised that it was pissing fuel out from somewhere. Not good. I also realised that one of the exhaust headers was cold not hot. Also not good.

I rapidly realised that there was probably a carb issue. I’ve avoided touching these so far as I don’t want to cause more issues than I fix, but needs must. I took them off the bike which was much easier than I was expecting. Thankfully I didn’t need to remove the tank either.

IMG_6574

IMG_6575

I found some blockages in the carb that I thought was the problem and managed to clean them out. I’ve just put them back in and it seems to have sorted the issue out. Certainly it sounds better and is no longer pissing out fuel which is nice!

A job for this winter is a proper carb clean inside and out.

25
Jun

Brakes and other jobs

I’m so close the end of this….

I’ve made a chunk of progress though it doesn’t all show. The main jobs left to do from last time was sorting the wheel placement and fitment. I then also need to fit the brake calipers.

1. Front axle
I had the axle machined down to the correct length. This meant I could finally test fit the wheel and get the correct spacings

IMG_6476

IMG_6478

2. Front axle spacers.
The local engineering shop also made up two more spacers for me, once I had worked out what size wheel spacers I needed. I got them to machine down the existing spacer as it was quicker for them. They then created the second one.

IMG_6496

3. I picked up some new caliper bolts as the calipers didn’t come with any. This allowed me to fit the calipers and see if it would even work!

IMG_6468

IMG_6473

4. The original petcock was on it’s way out so I tried to find a suitable replacement. After much research it appeared a Suzuki GS450 one would work, so I ordered one. It turns out it will fit the tank perfectly, but you cannot get it the tank back on the bike! In then end I just put the petcock in with the tank in place. This creates future headaches when removing the tank, but it will have to do.

IMG_6490

5. Disc spacers.
With the axle and wheel spacers in place I could finally work out what to do with the discs. As they were touching one side of the brake pads on each caliper. It was around 1.5mm out. I tried to find some suitable disc spacers, but couldn’t find any. In the end I just made my own. In the end they worked perfectly and didn’t take me too long to make.

IMG_6504

IMG_6505

IMG_6506

6. Brake hoses
With the fitment of the brakes I could finally get the brake caliper hoses ordered. I went with some nice Venhill ones like I had used before.
IMG_6511

IMG_6512

IMG_6513

7. Mudguard mounts
I’ve not finished this yet, but after various attempts I think I’ve got the design sorted. It uses some round 6mm aluminium, I bent it to shape around the rear tire to get the perfect bend. I tried to hammer out mountings, but found it far to hard to be perfect. So now I am using some little brackets that I’m waiting to arrive. The pics give you an idea where it’s heading.

IMG_6518

IMG_6517

IMG_6516

8. Speed sensor
The final job I’ve done was to find a place to mount the new magnetic speed sensor. In the end I’ve used a longer cinch bolt on the bottom or the forks. On the extra end section I’ve mounted the Koso speed sensor using the p clip to get it in the perfect place, I then routed the cable using the brake hose as a path for neatness.

IMG_6540

IMG_6539

9
Jun

GSXR 600 Forks fitted

Well more forward progress towards the getting it back on the road. I had both the bottom yokes and front axle machined to fit the new GSXR 600 forks. They also made up a spacer to fit the larger axle hole in the forks.

IMG_6435

IMG_6437

IMG_6436

I could then try my first test fit of the forks to see if they would work

IMG_6440

I then tried to fit the brakes and wheel and hit a major issue. The brakes wouldn’t go on! After 10mins of panic I realised I got the forks on back to front! What a bloody idiot. Anyway I swap the forks round.

IMG_6443

The axle is correct in the diameter, but too long, but the wheel fits in place and the axle works! I have taken it back to the machinist to get it down to the correct length.

I have a few more issues to now over come.

1. The original speed sensor will not fit so that has to go.
2. I will need axle spacers or the correct size to make sure the wheel stays in place.
3. Both front discs touch one side of the pads

These are relatively easy to over come.

1. The Koso DB-01R I have has a magnet sensor option which I can pick up locally tomorrow.
2. These will be hard to measure as the wheels are not identical either side, but once measured I can get some knocked up.
3. This is harder, my first reaction was to think about some washers behind the disc, but that seems like a terrible idea. So what I will do is make some spacers out of sheet alumnium that cover the whole of the contact patch. I’m waiting for the axle spacers and brake bolts to turn up before I start these. I’m thinking of something like the picture below.
39347

I have also broken two things when putting everything back in place. I broke the starter button cable which is very annoying. I also found the mounting bracket for the Koso speedo was snapped off. I’ve managed to glue that back in place.

I should have the axle back later this week so I can get some more work done this weekend.

31
May

Old forks new Forks

Well as seems to be the case with this project. It’s been two steps forward one step backwards. I’m losing the will with it at the moment.

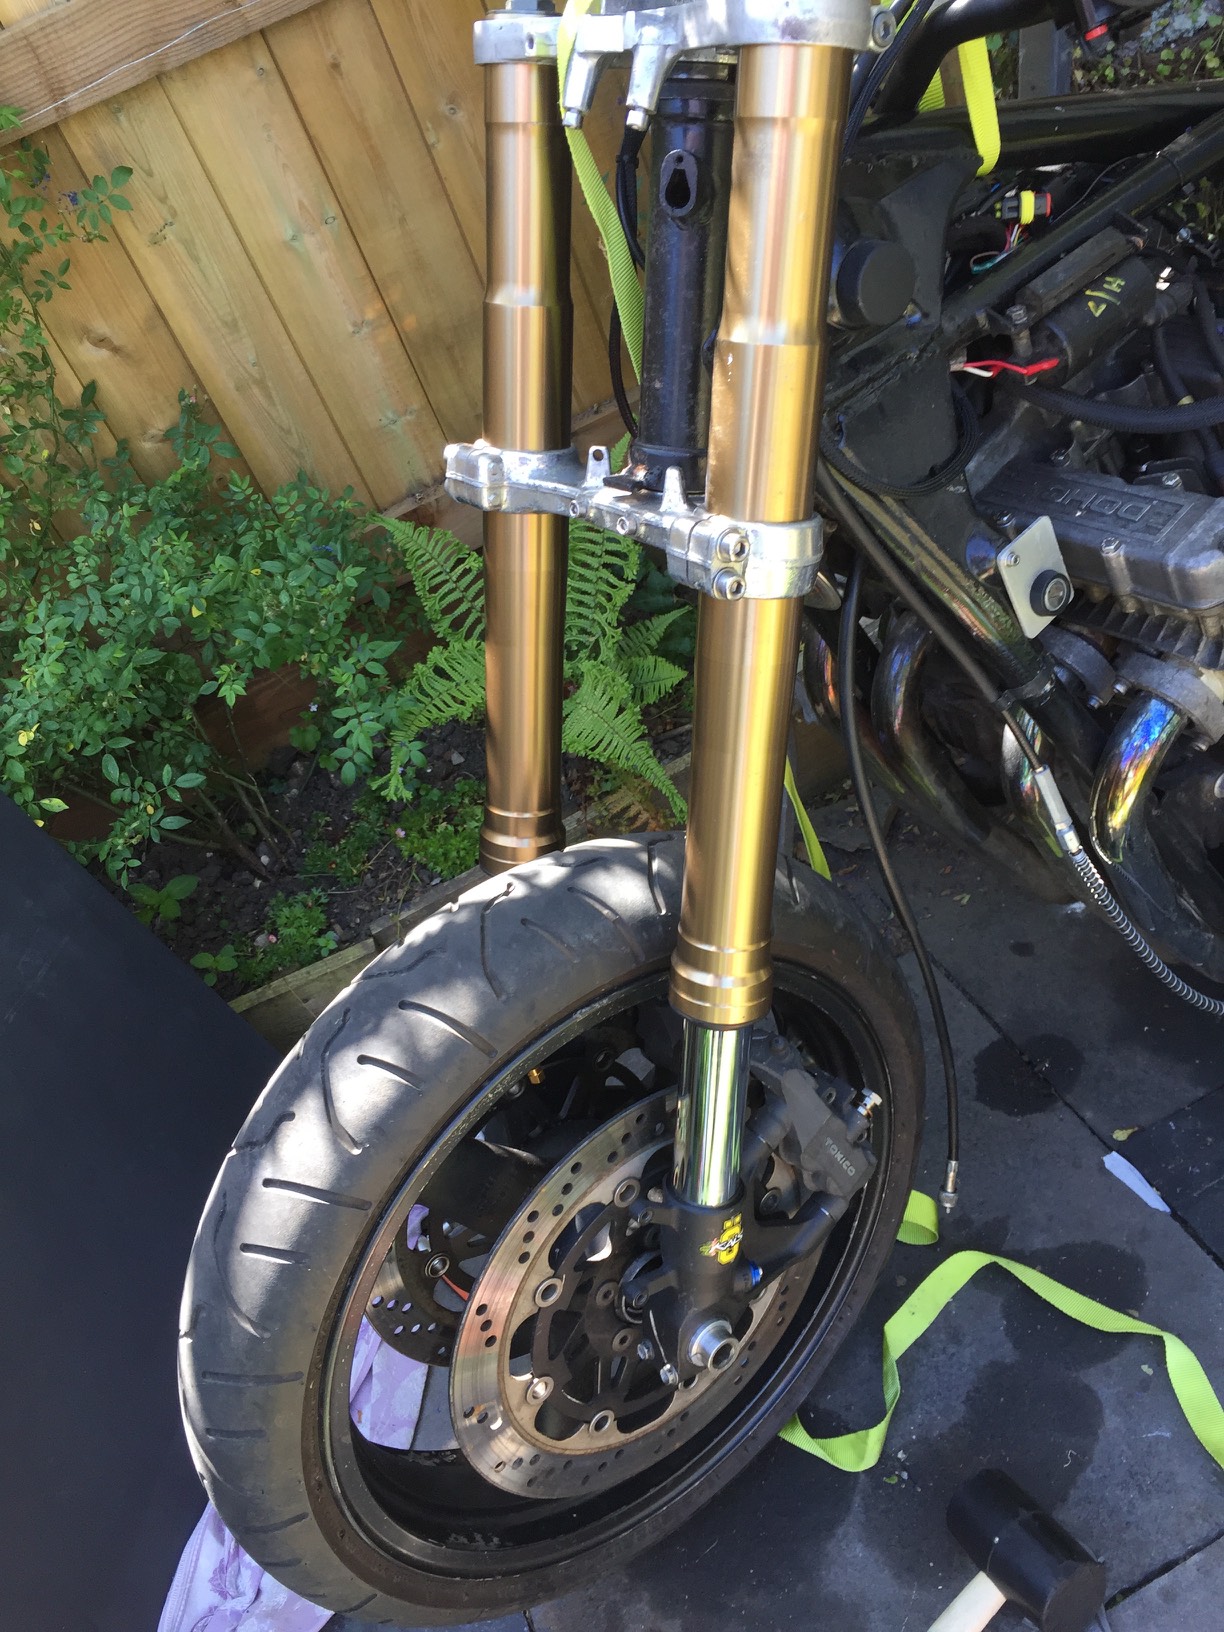
When last I did an update I was awaiting tools so that I could remove the front axle and therefore the front forks. I managed to do this in the end and took them into the garage to have the seals redone. However after discussing it with them, they noticed some rather bad pitting on the inside of the forks hidden from view. They recommended that they would need to be rechromed sometime soon. As a short term solution to get me on the road I asked them to replace the seals anyway and I would look at more long term solutions.

However they simply couldn’t get the forks to come apart, they tried everything they could including using a blow torch to heat them up. So we had to abandon them. I have to give the garage thumbs up as they must of spent hours on them, but didn’t charge me a single penny.

That gave me a big headache, I saw little point in spending a fortune on similar ZXR400 forks as they would also be nearly 20years old and need work soon. I headed to the web to see if I could find a suitable alternative option.

What I was hoping for was some forks of the same diameter as the ZXR400’s but newer and more modern. This proved to be fruitless. I could just do a whole front end swap, but I wanted to not spend a small fortune on this! Eventually I settled on some forks that I think will work, I had to do a ton of research and all kinds of bikes to find out what would be best. I even had to use a spreadsheet :sick:

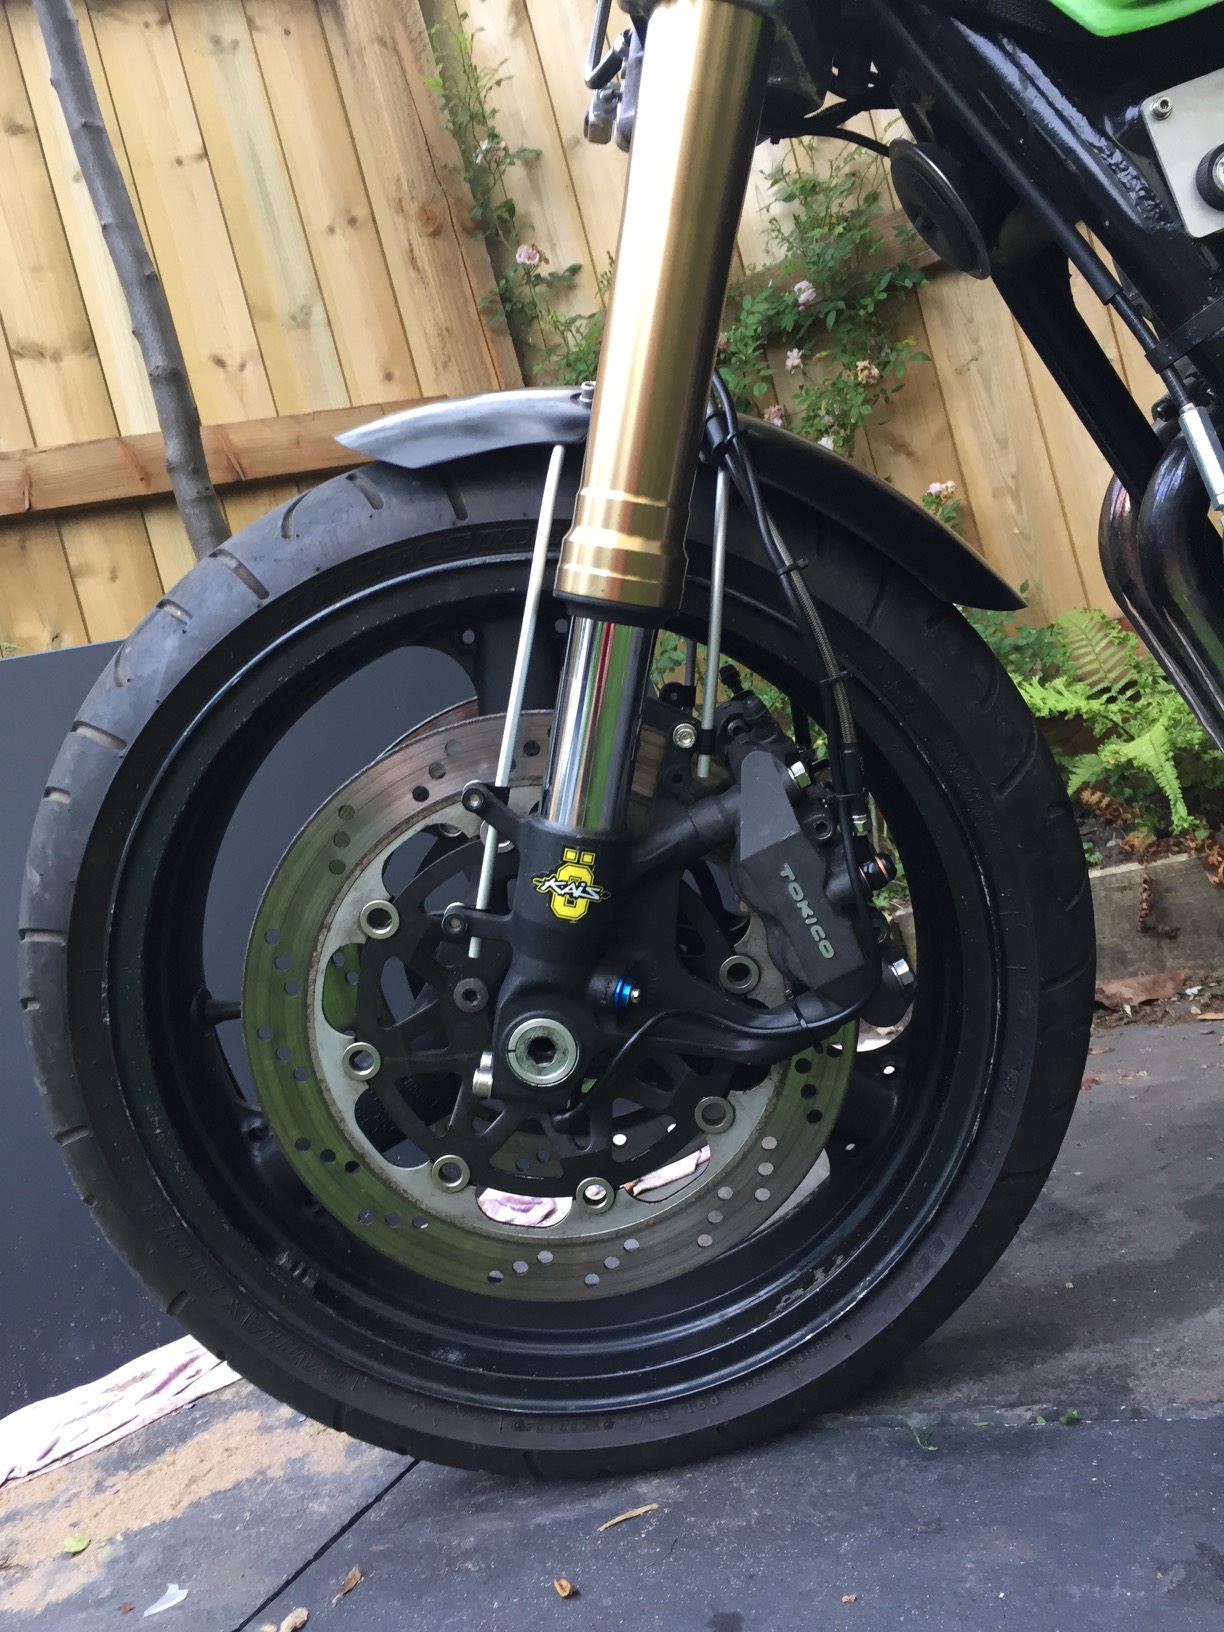
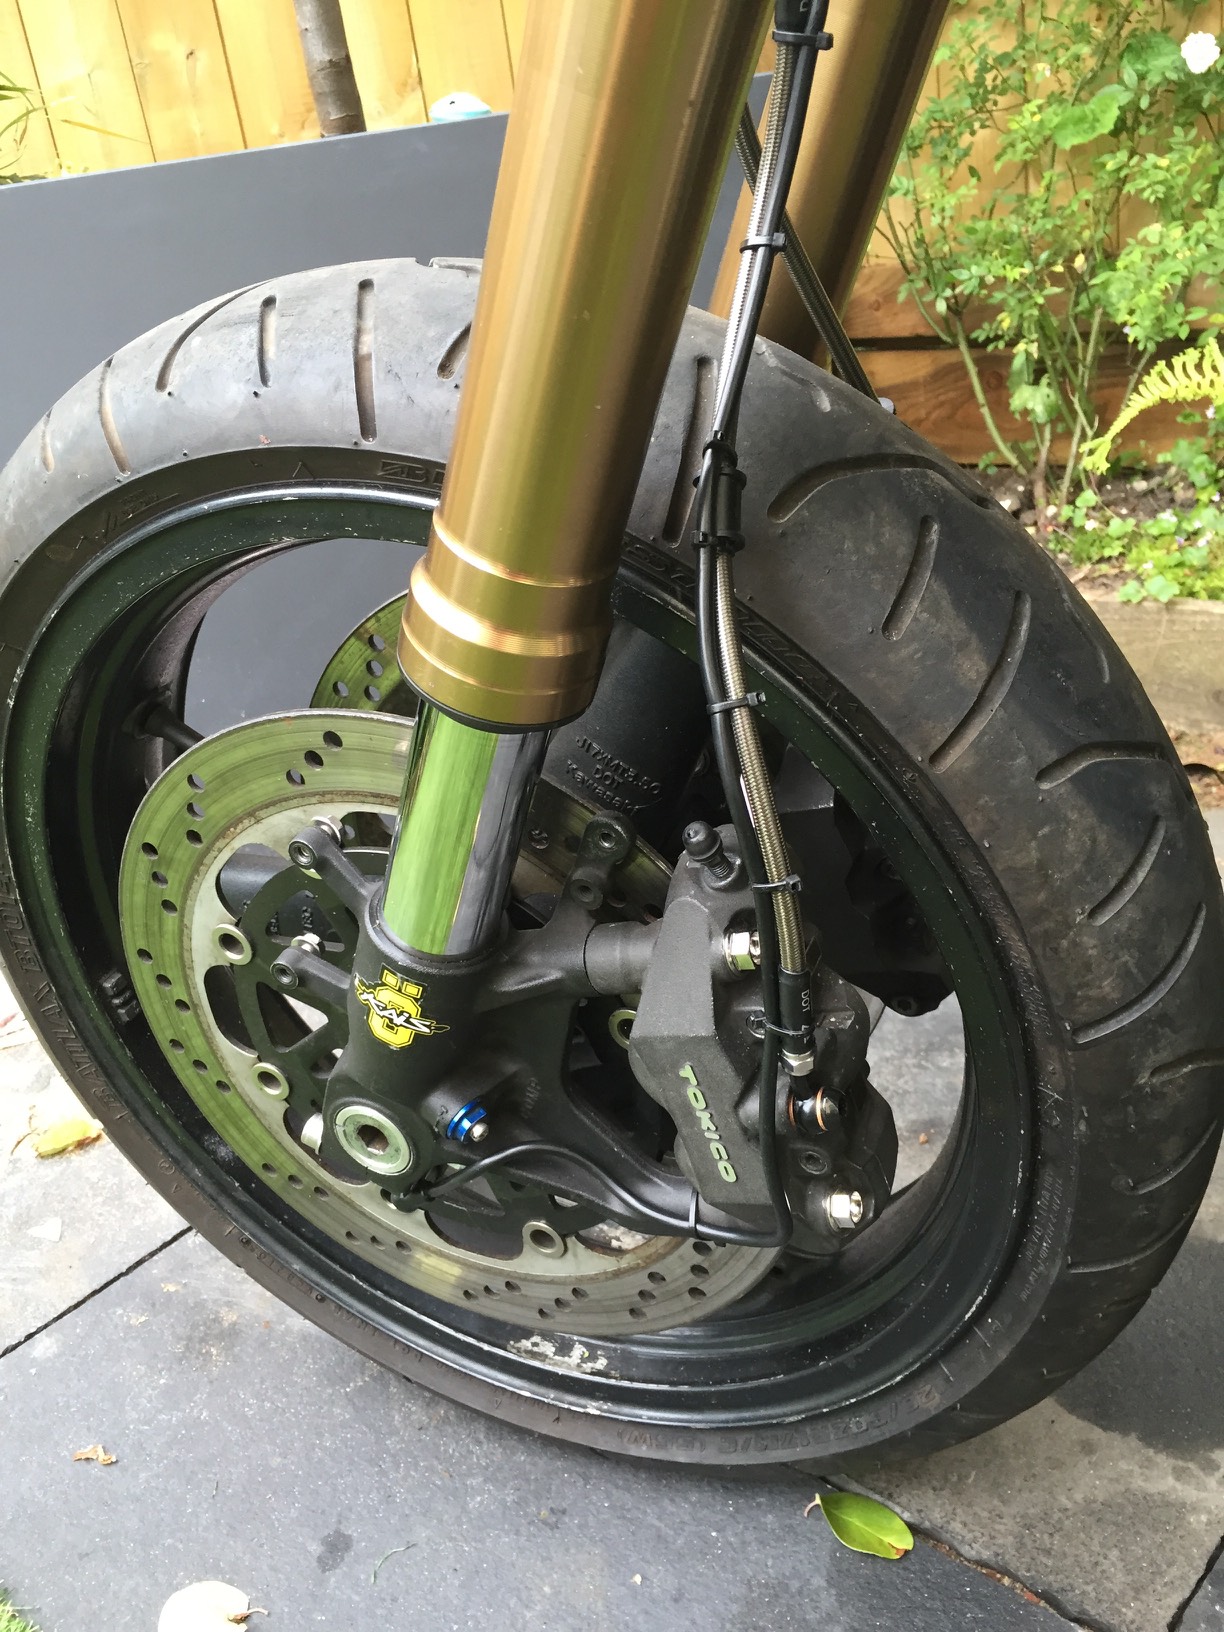
The ZXR400 forks are the following dimensions
Length 745mm
Top Yoke Diameter 50mm
Bottom Yoke Diameter 52mm
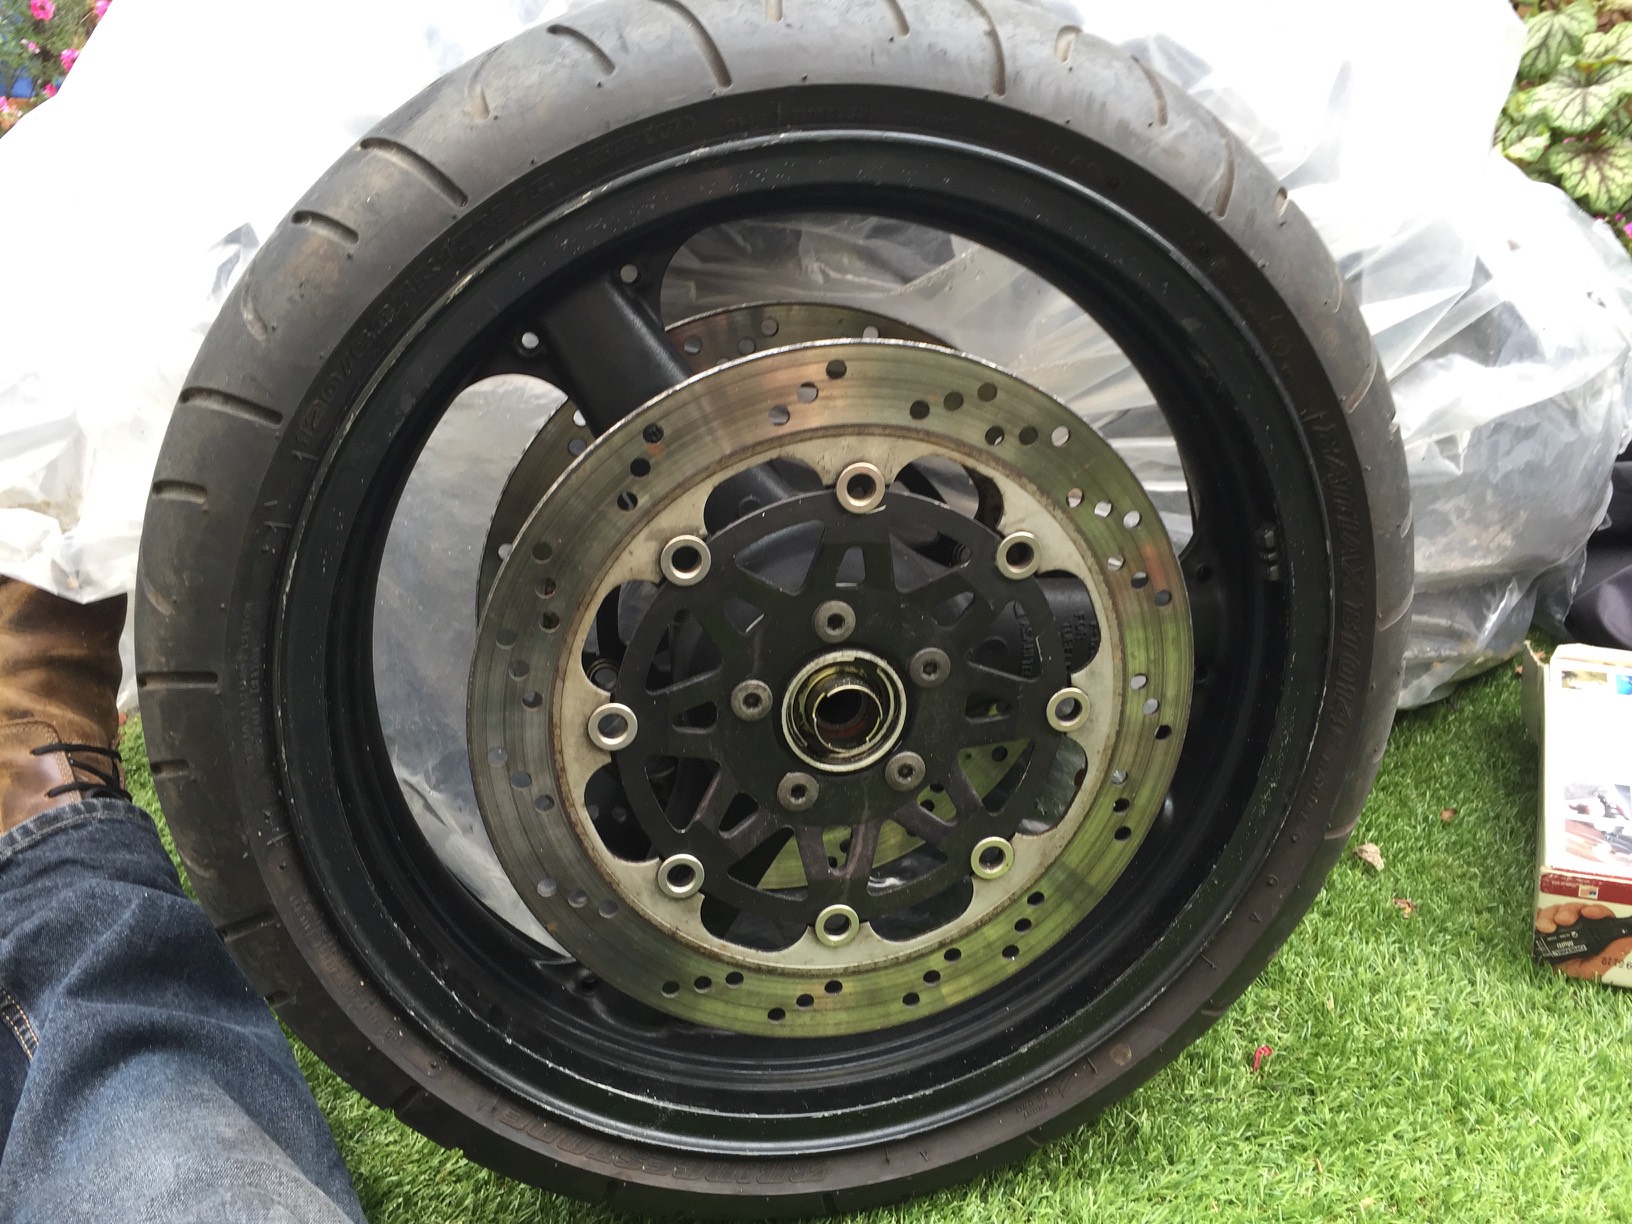
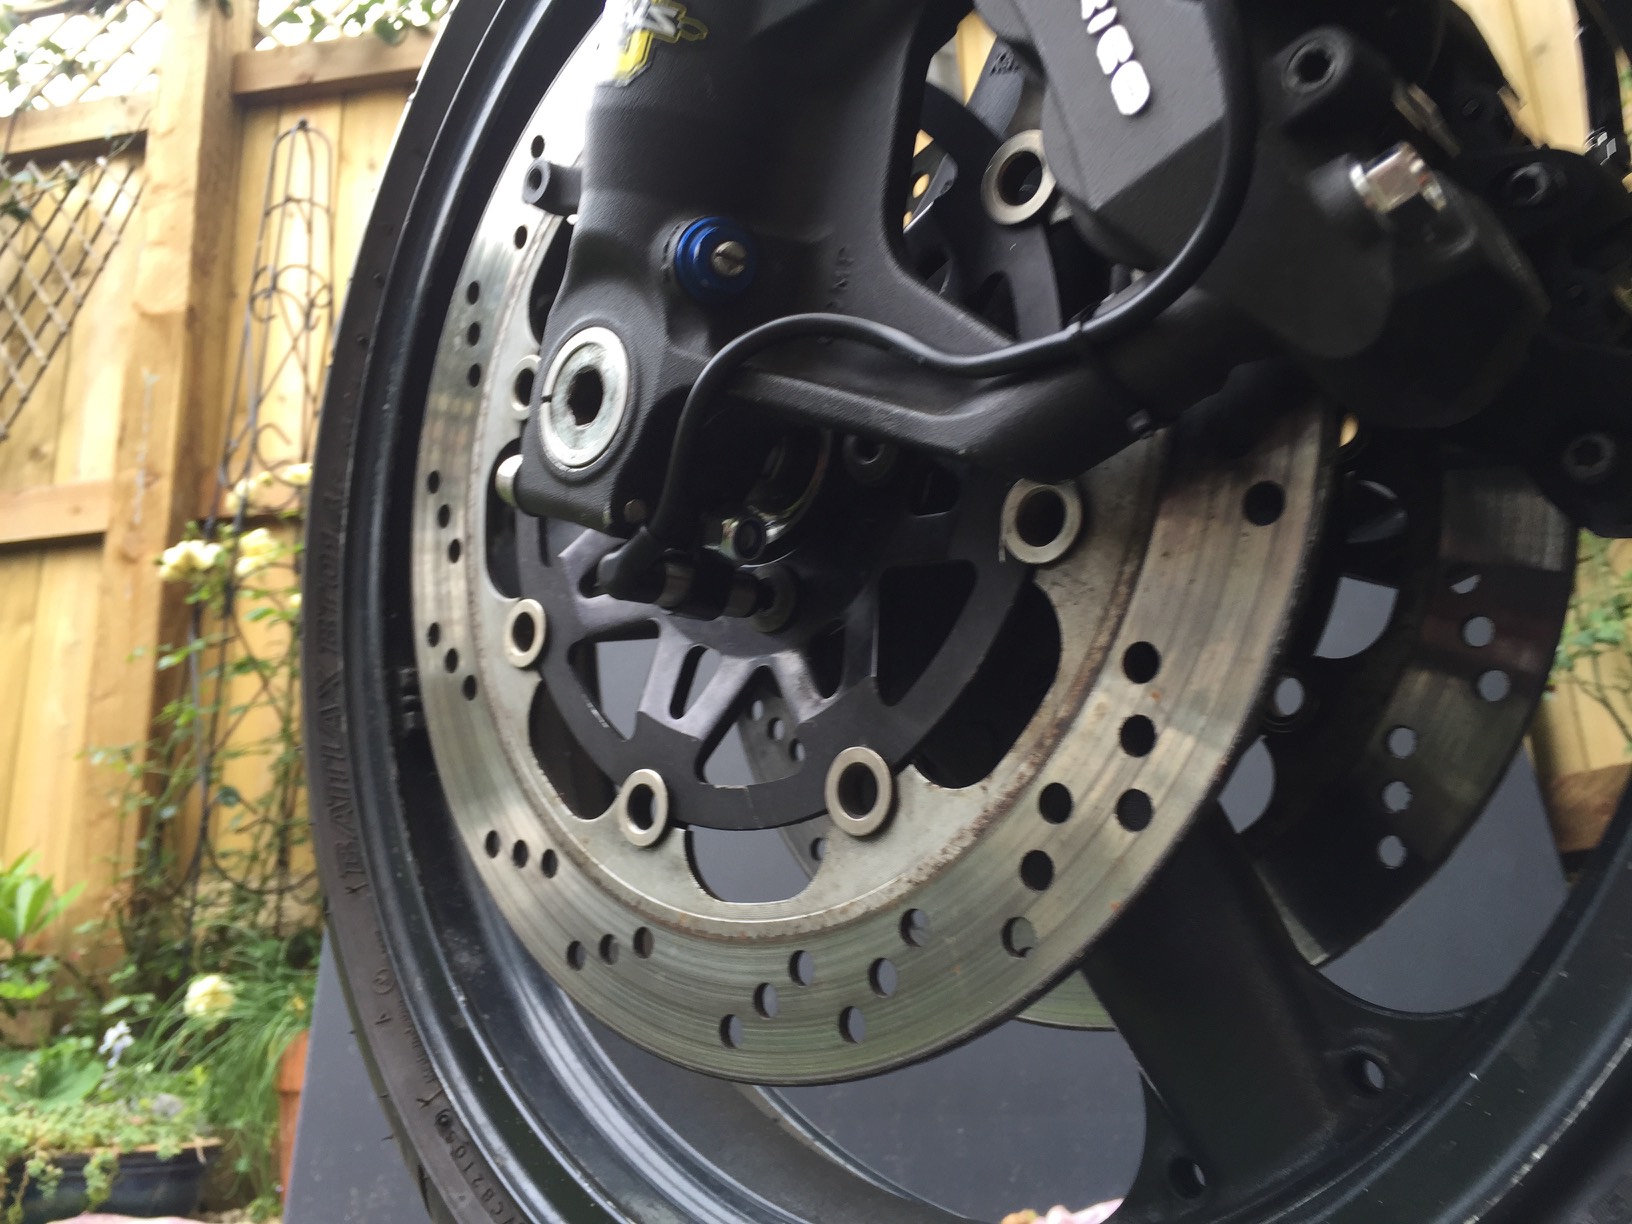
Standard calipers
310mm Discs

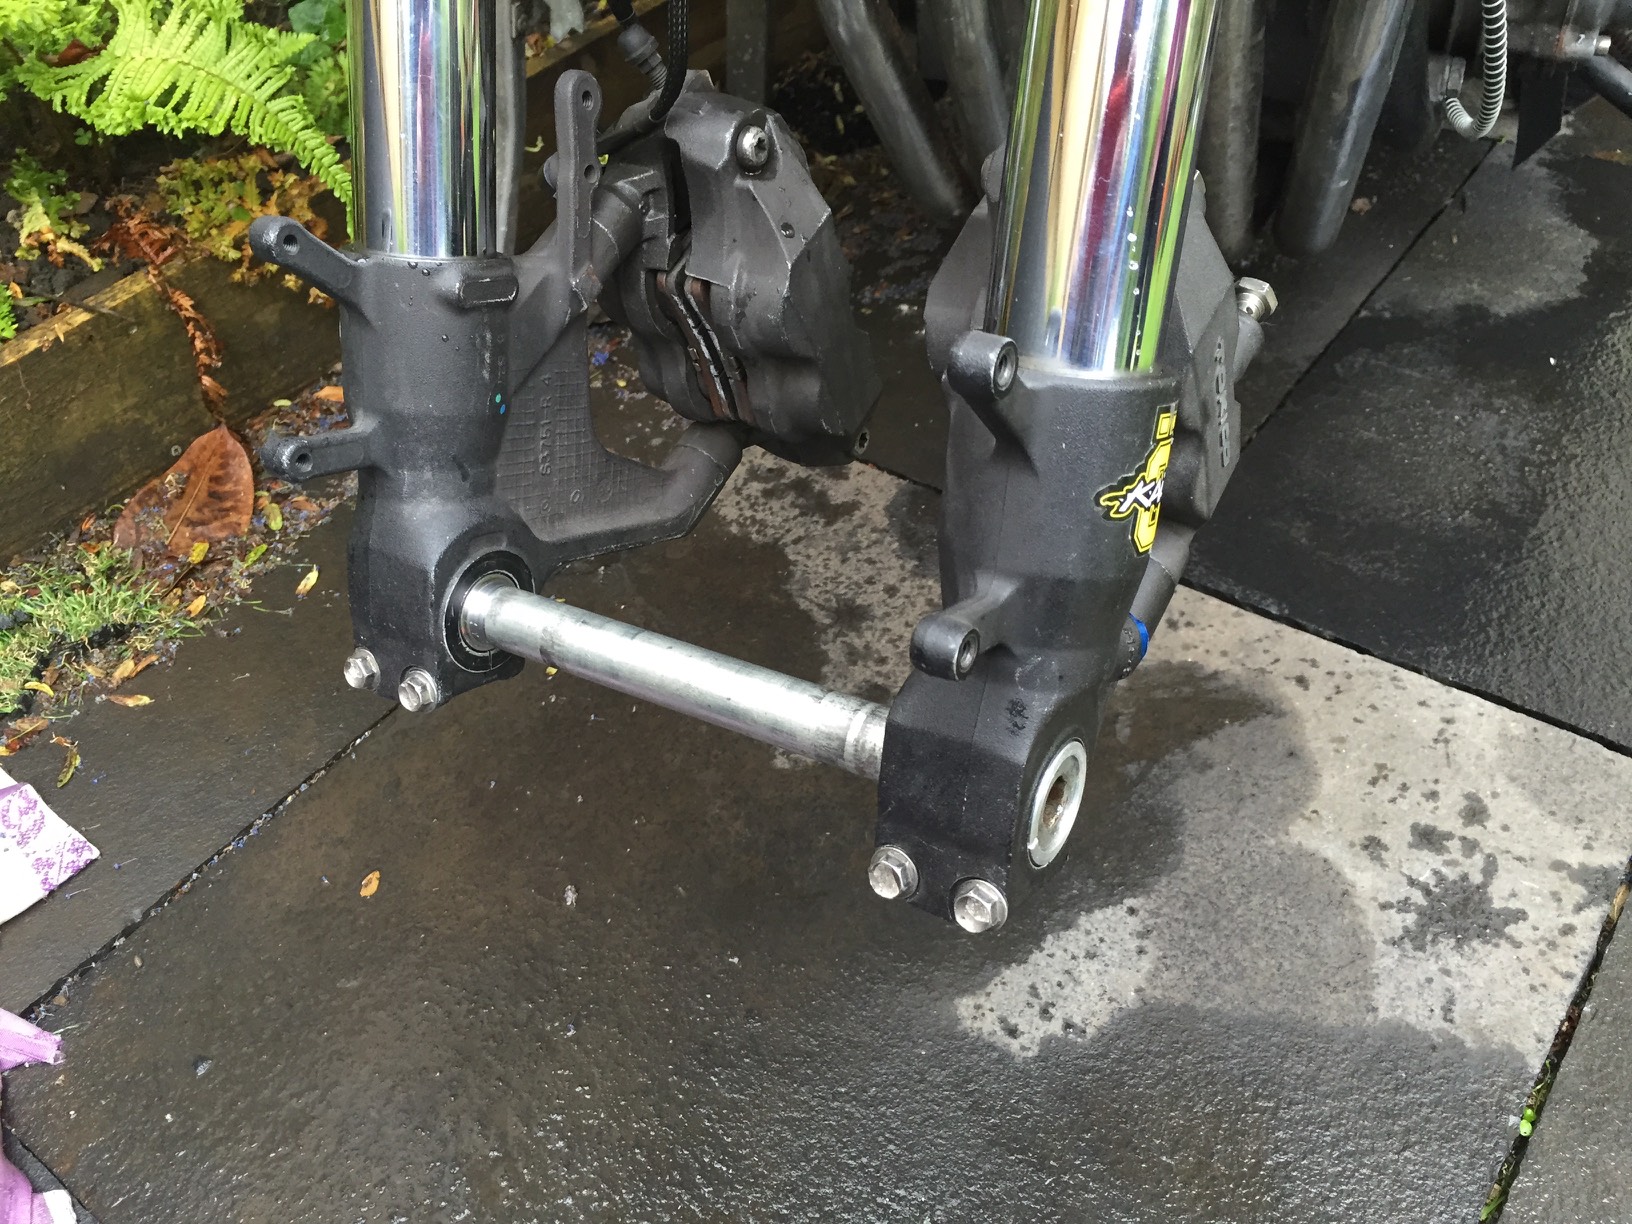
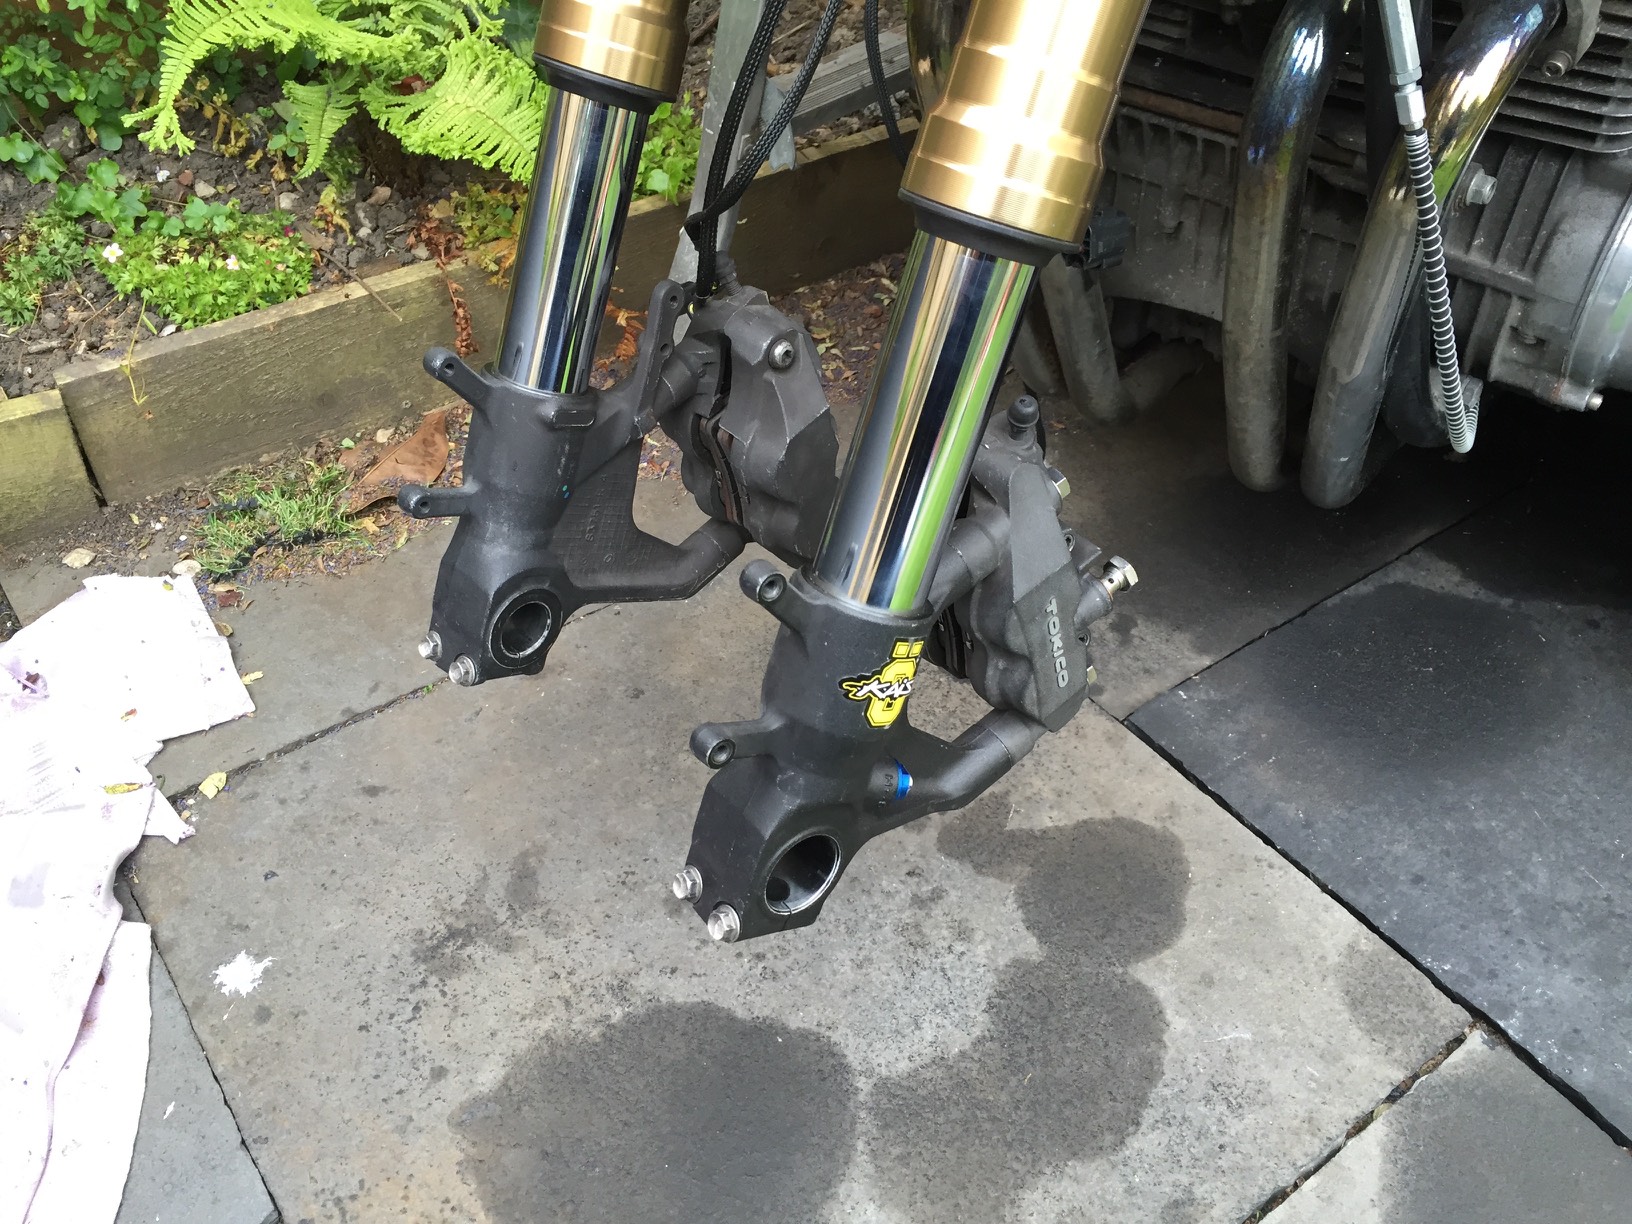
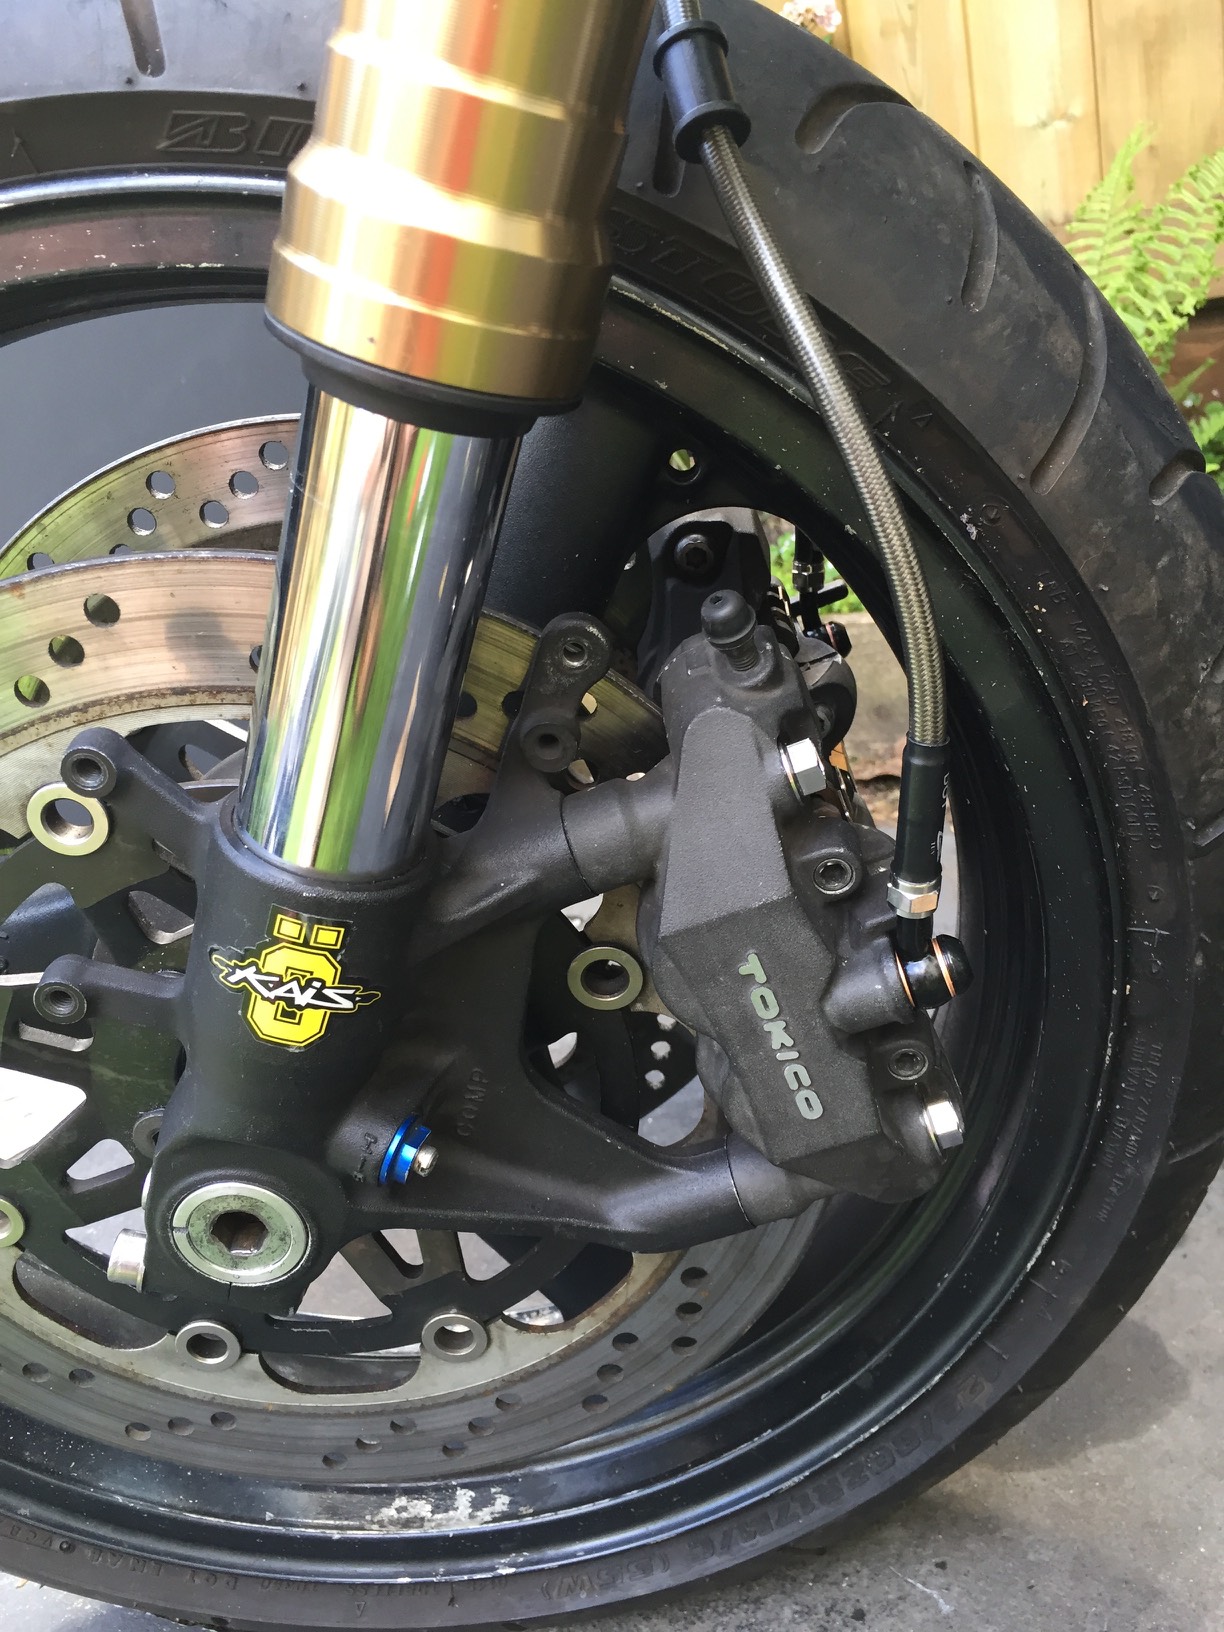
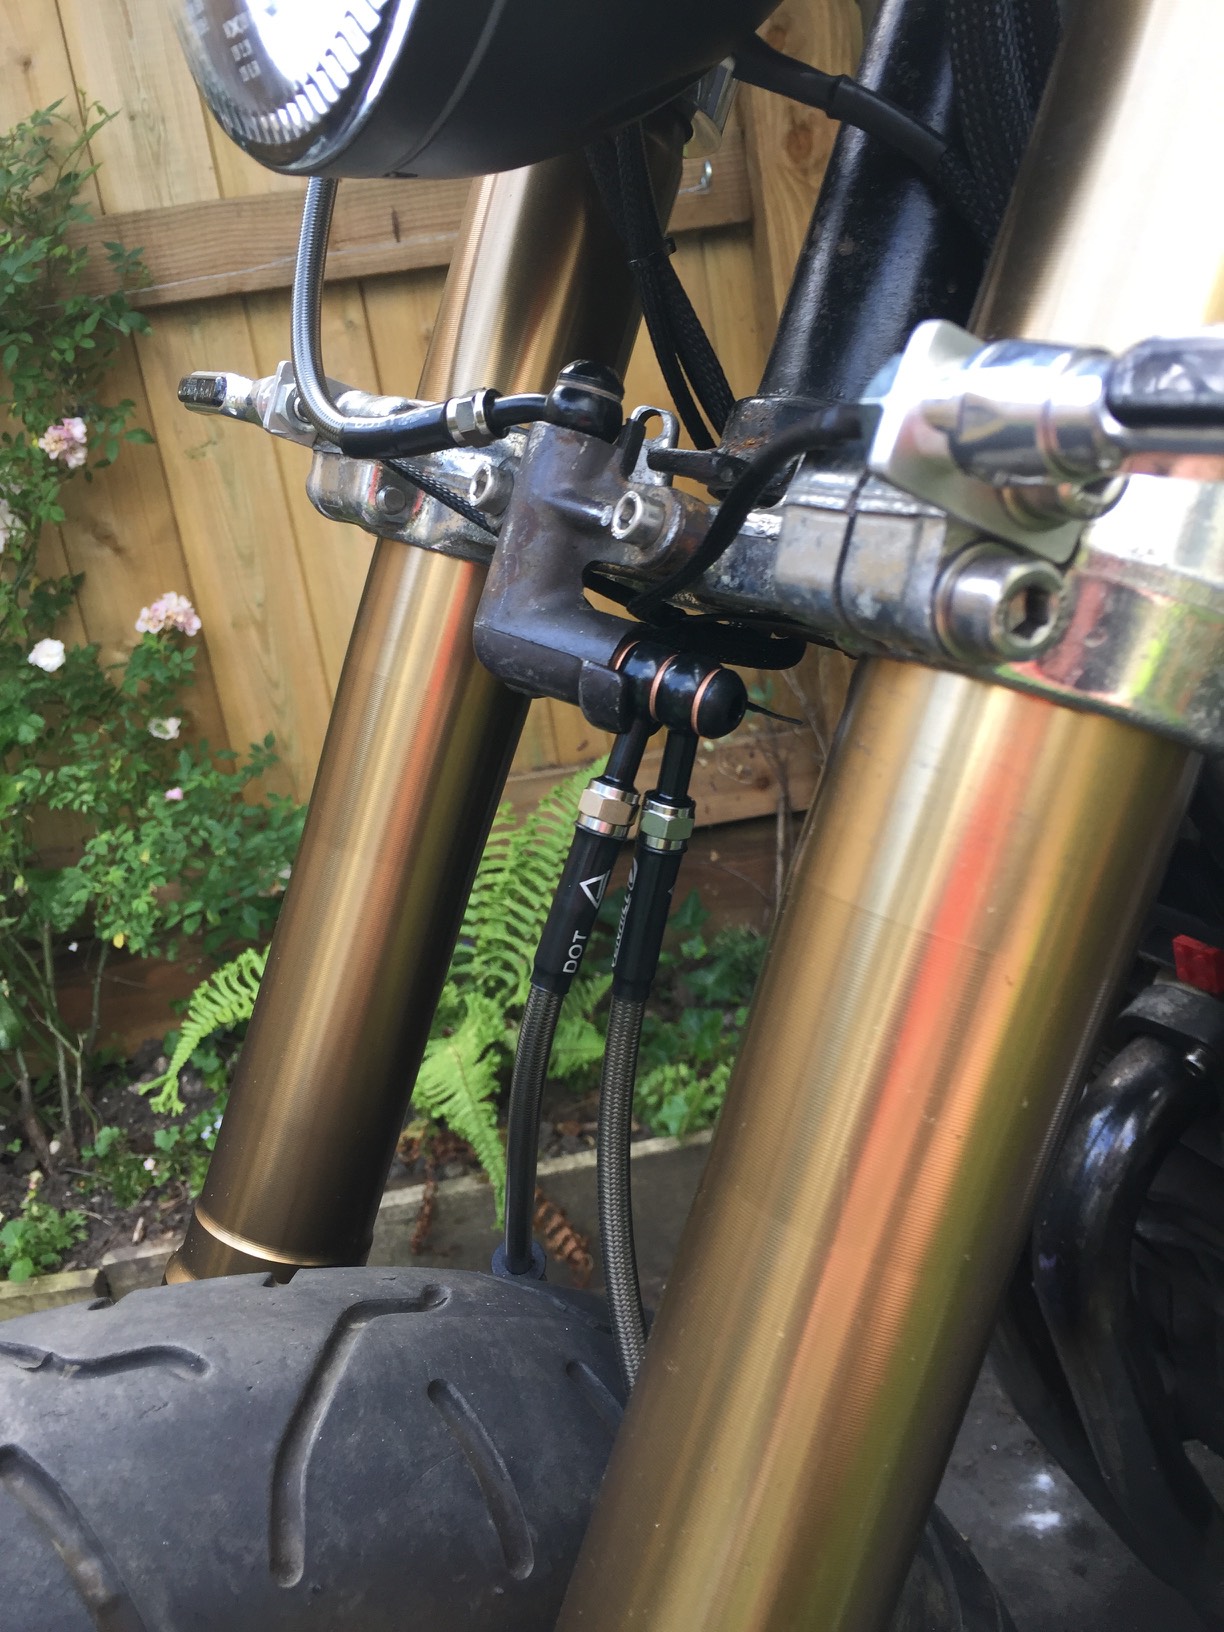
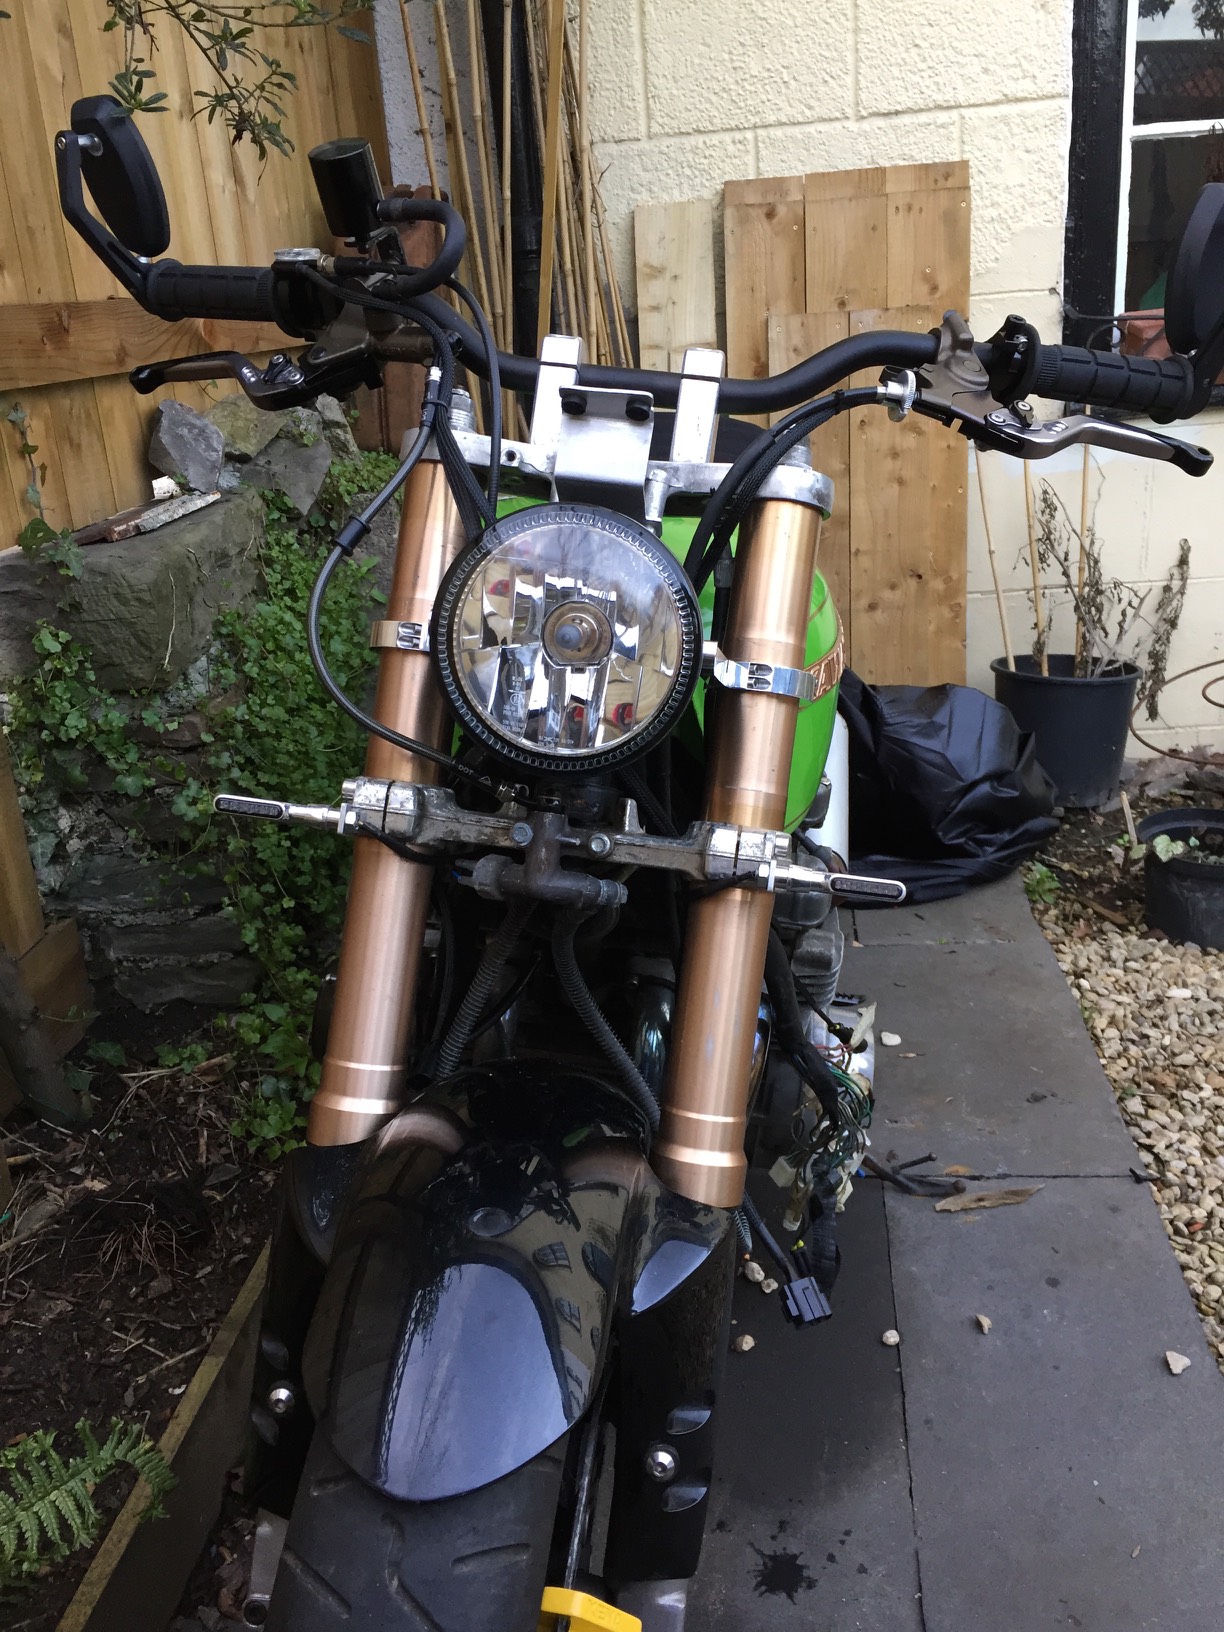
The closest match I could find we GSXR 600 K6 forks, they match for everything apart from the brakes, bottom yoke, mudguard and axle….. Groan :sick:

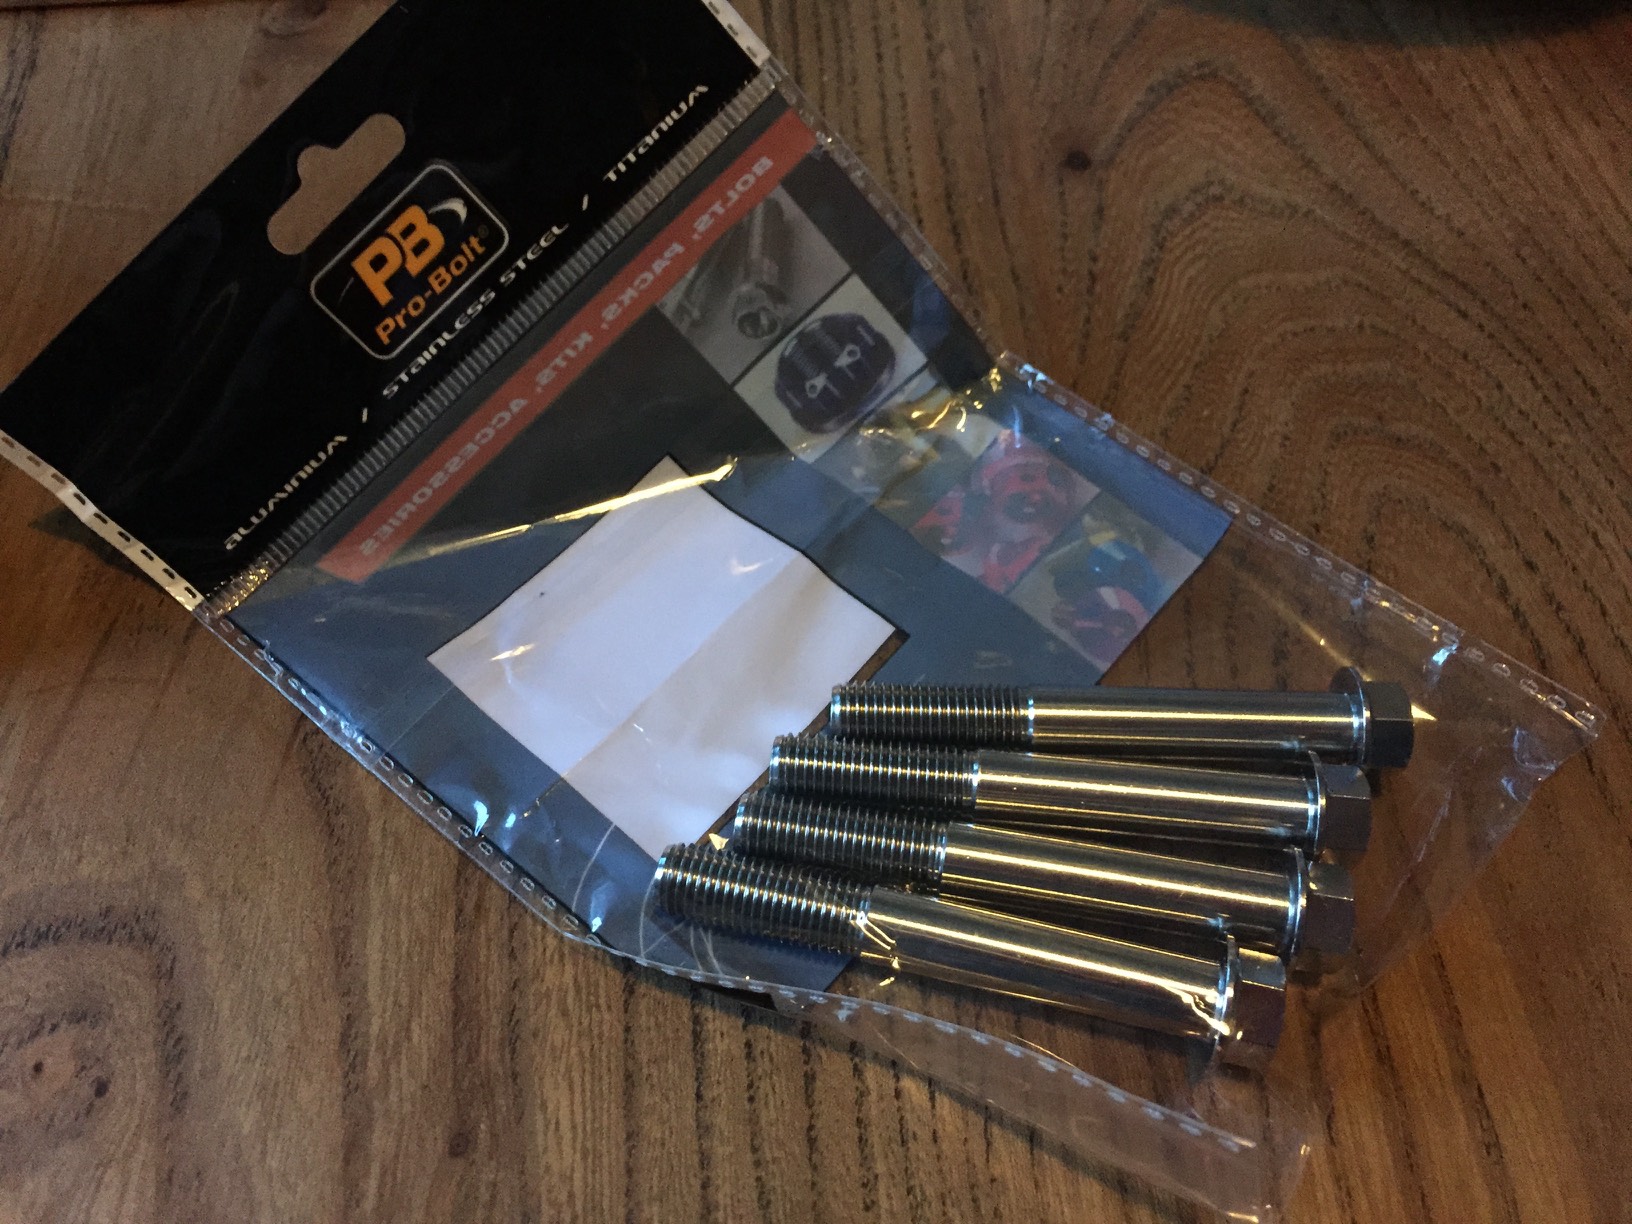
Queue some expensive ebaying
IMG_6387

IMG_6388

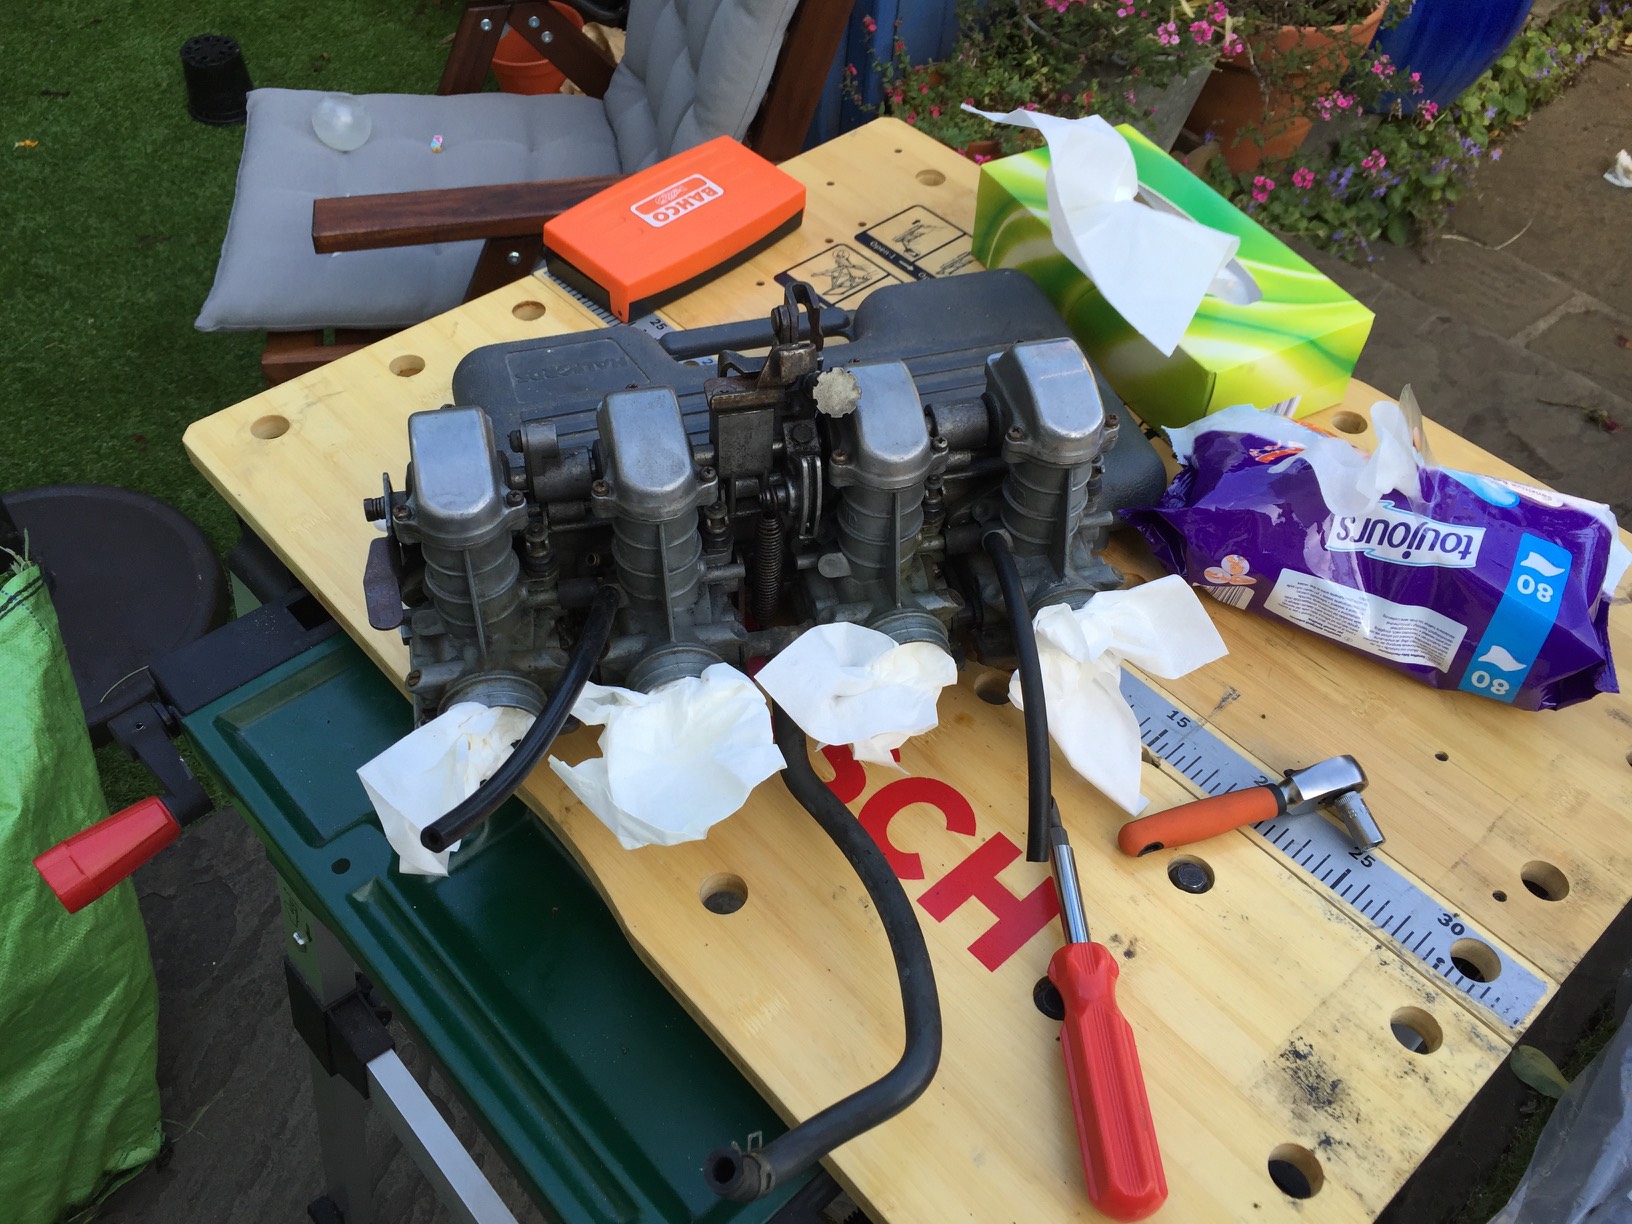
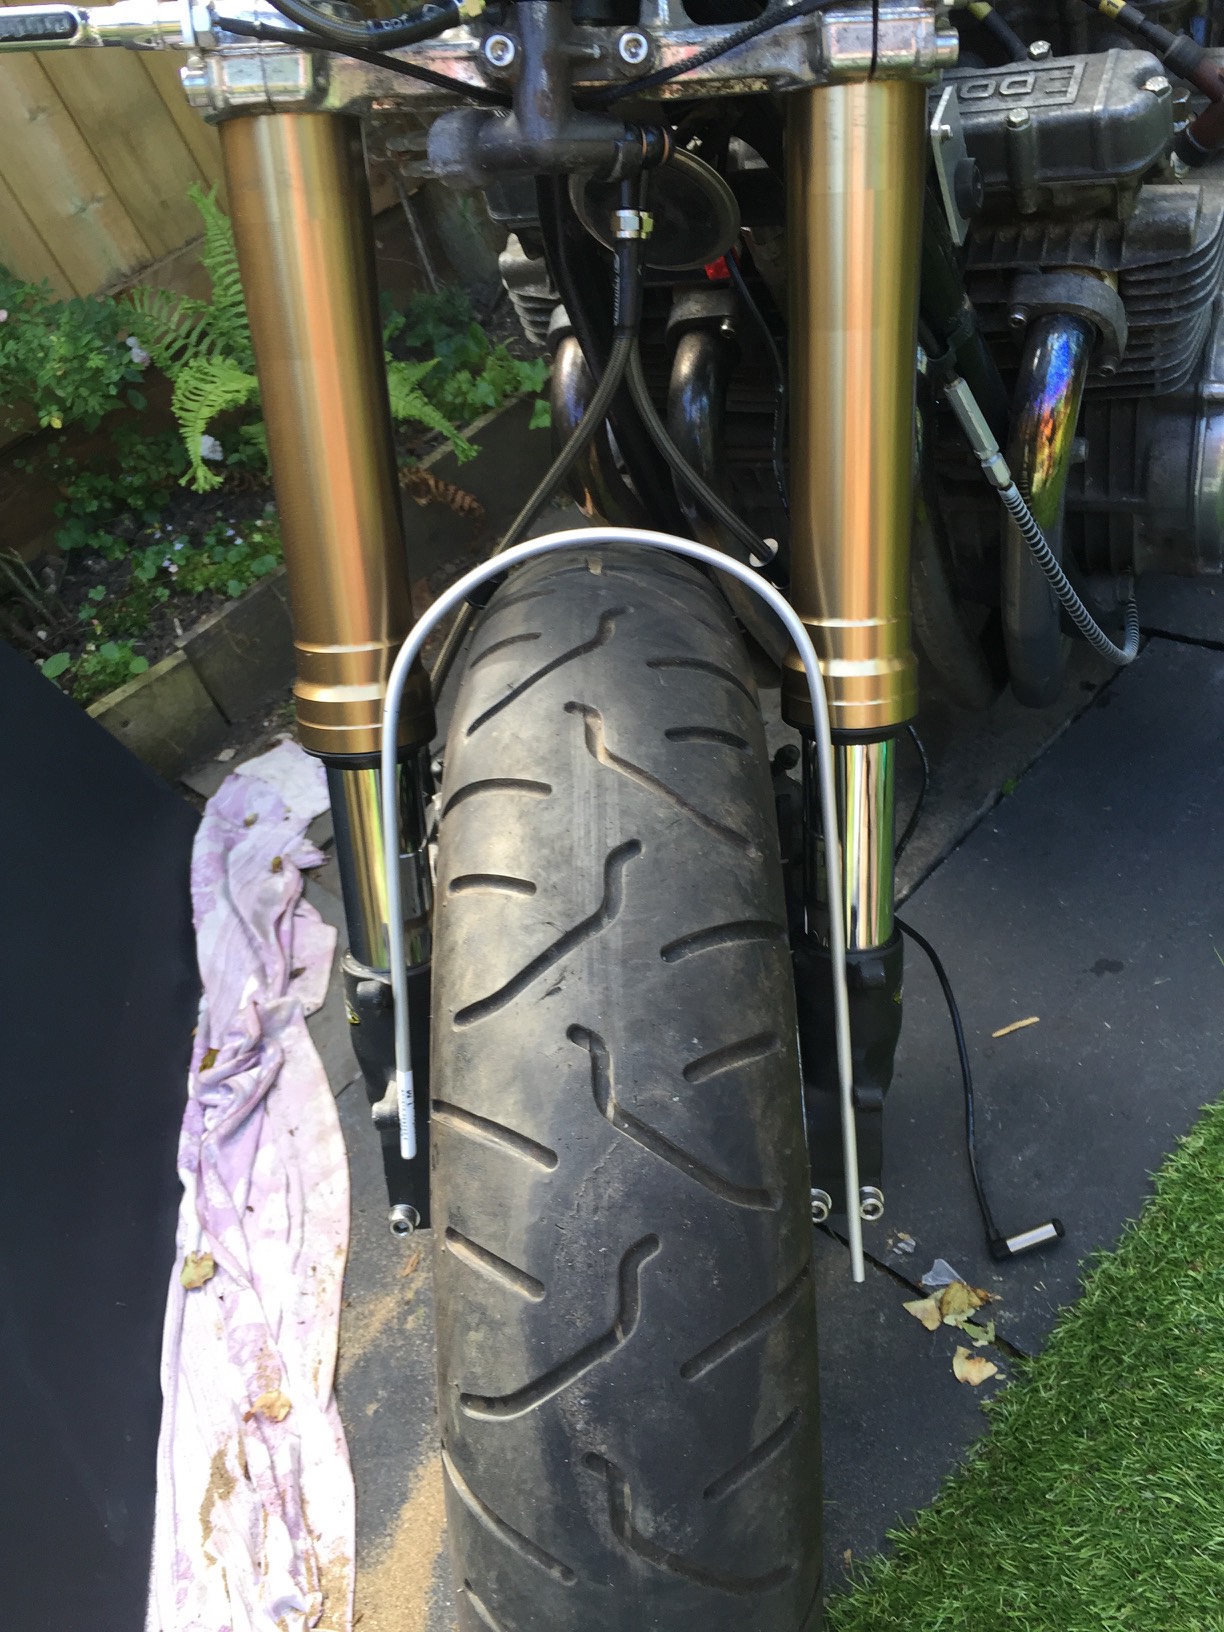
Next I have to get the old forks back of the bike as I put them back on so I could use the ladder!

IMG_6289

I then set about removing the yokes as well. I thought it would be a nightmare, but it wasn’t too bad

IMG_6413

IMG_6414

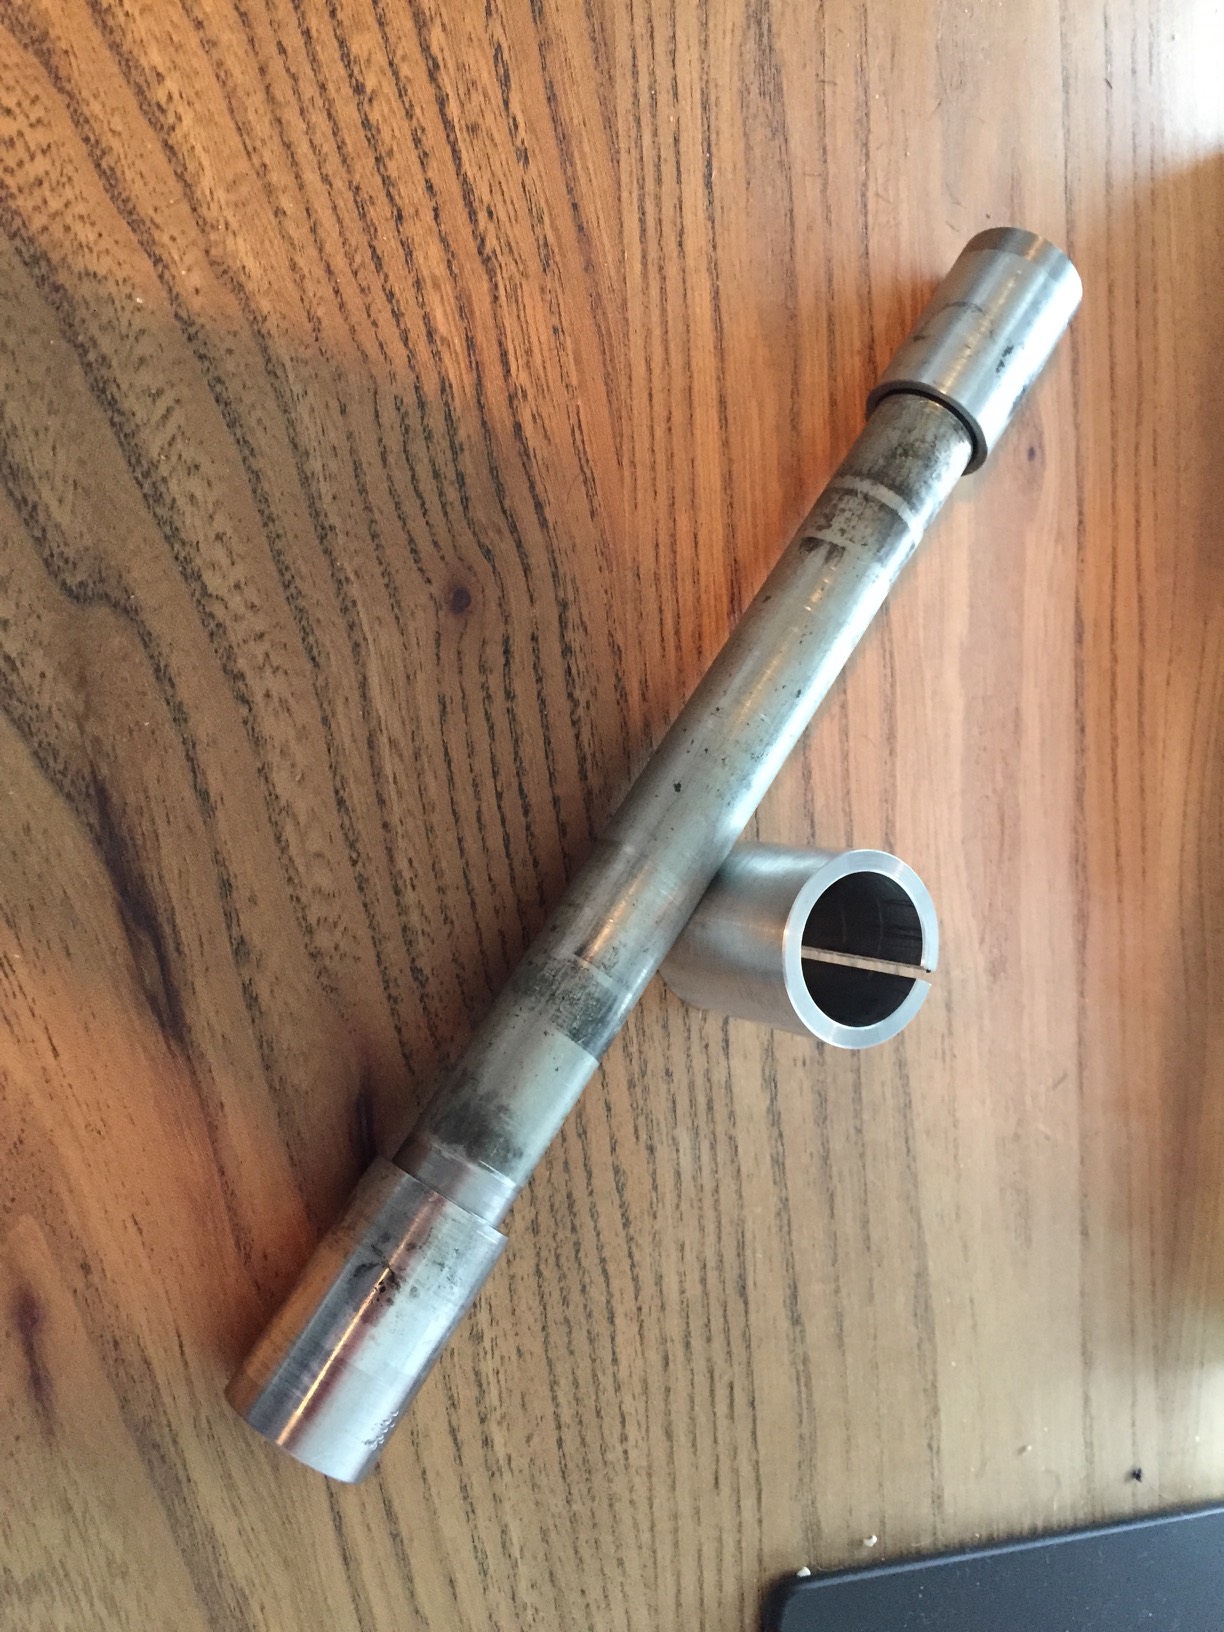
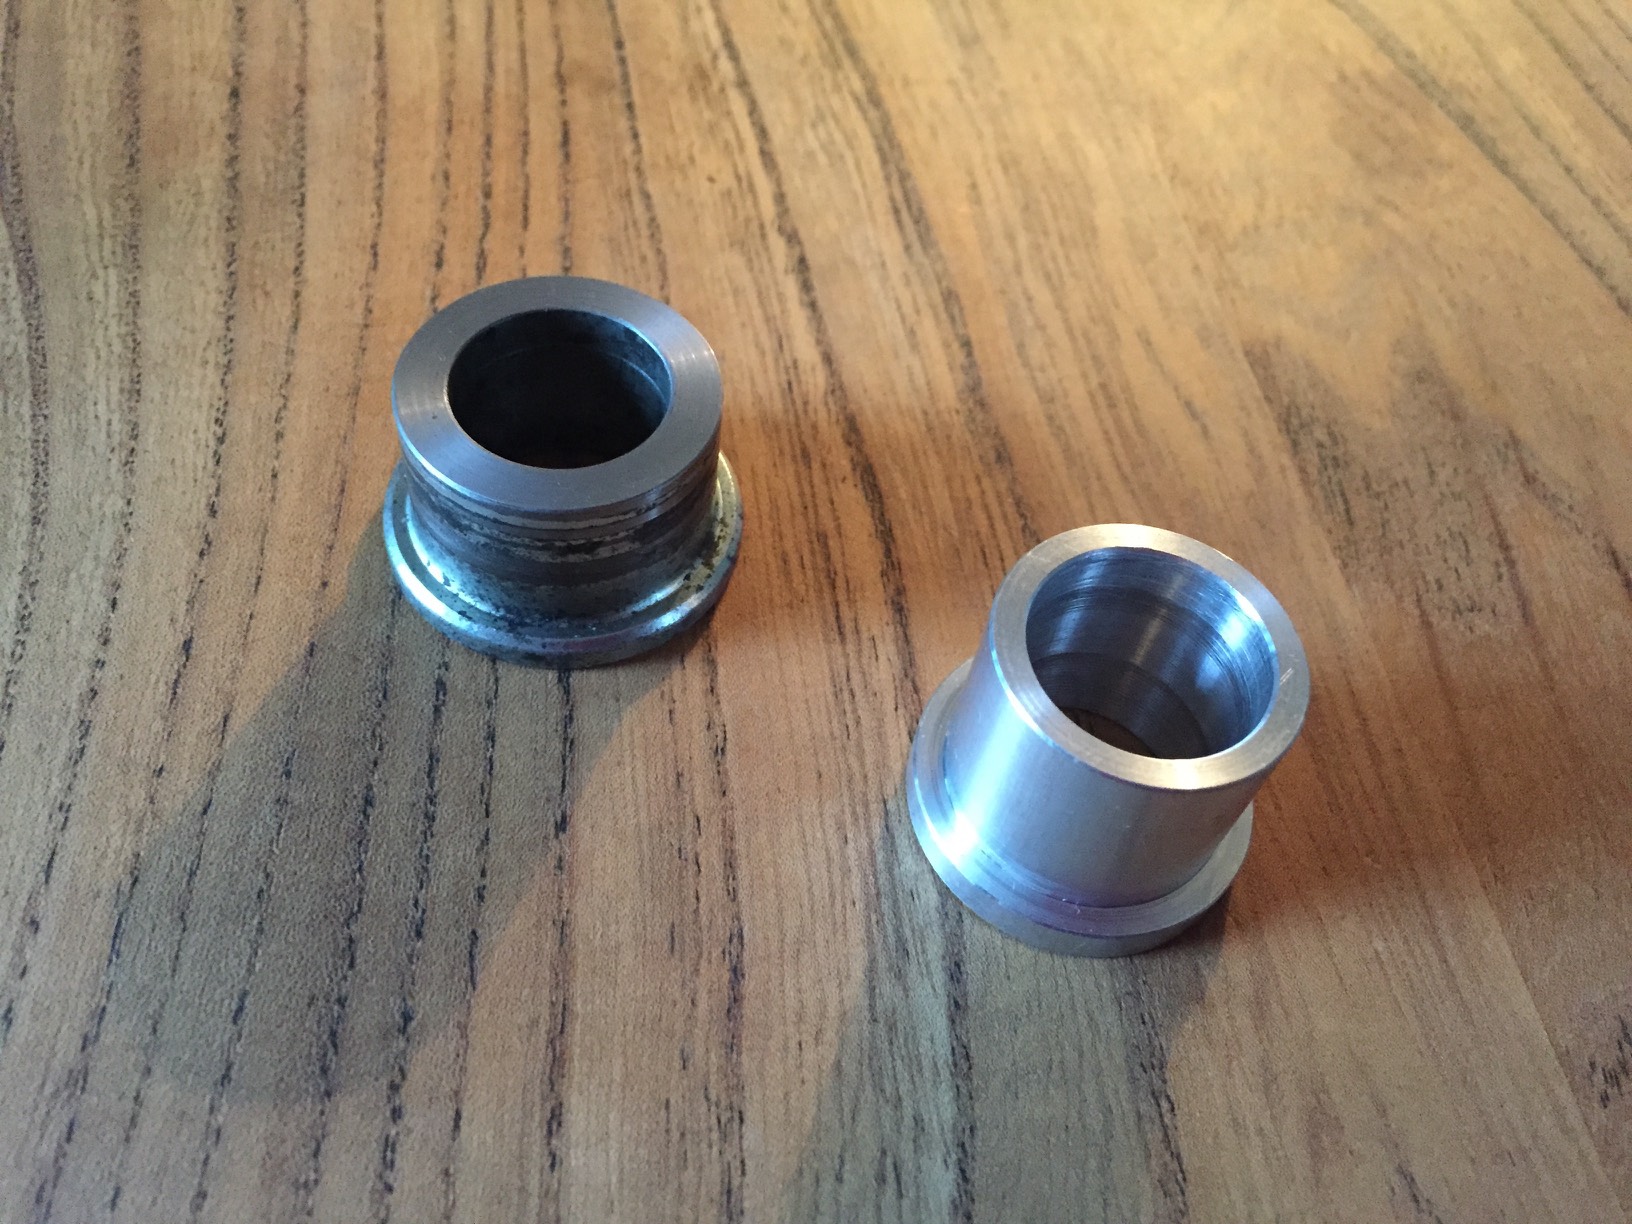
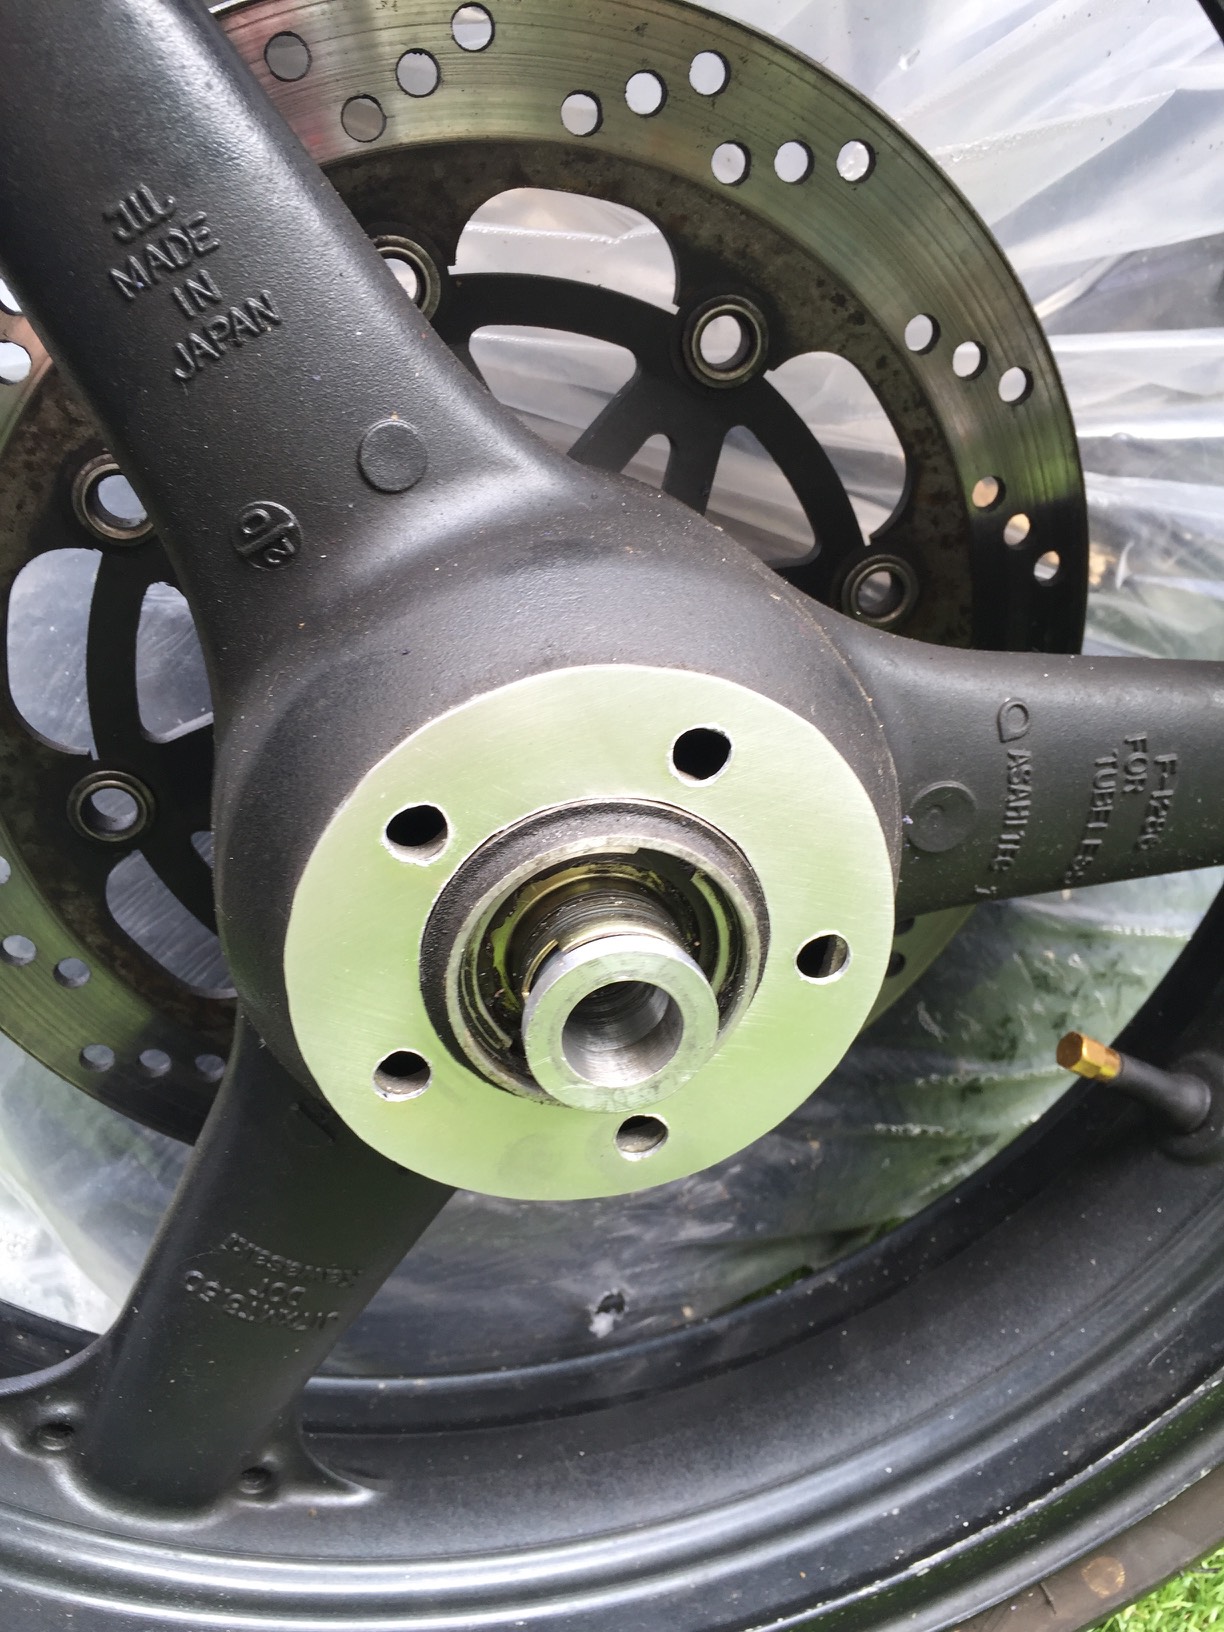
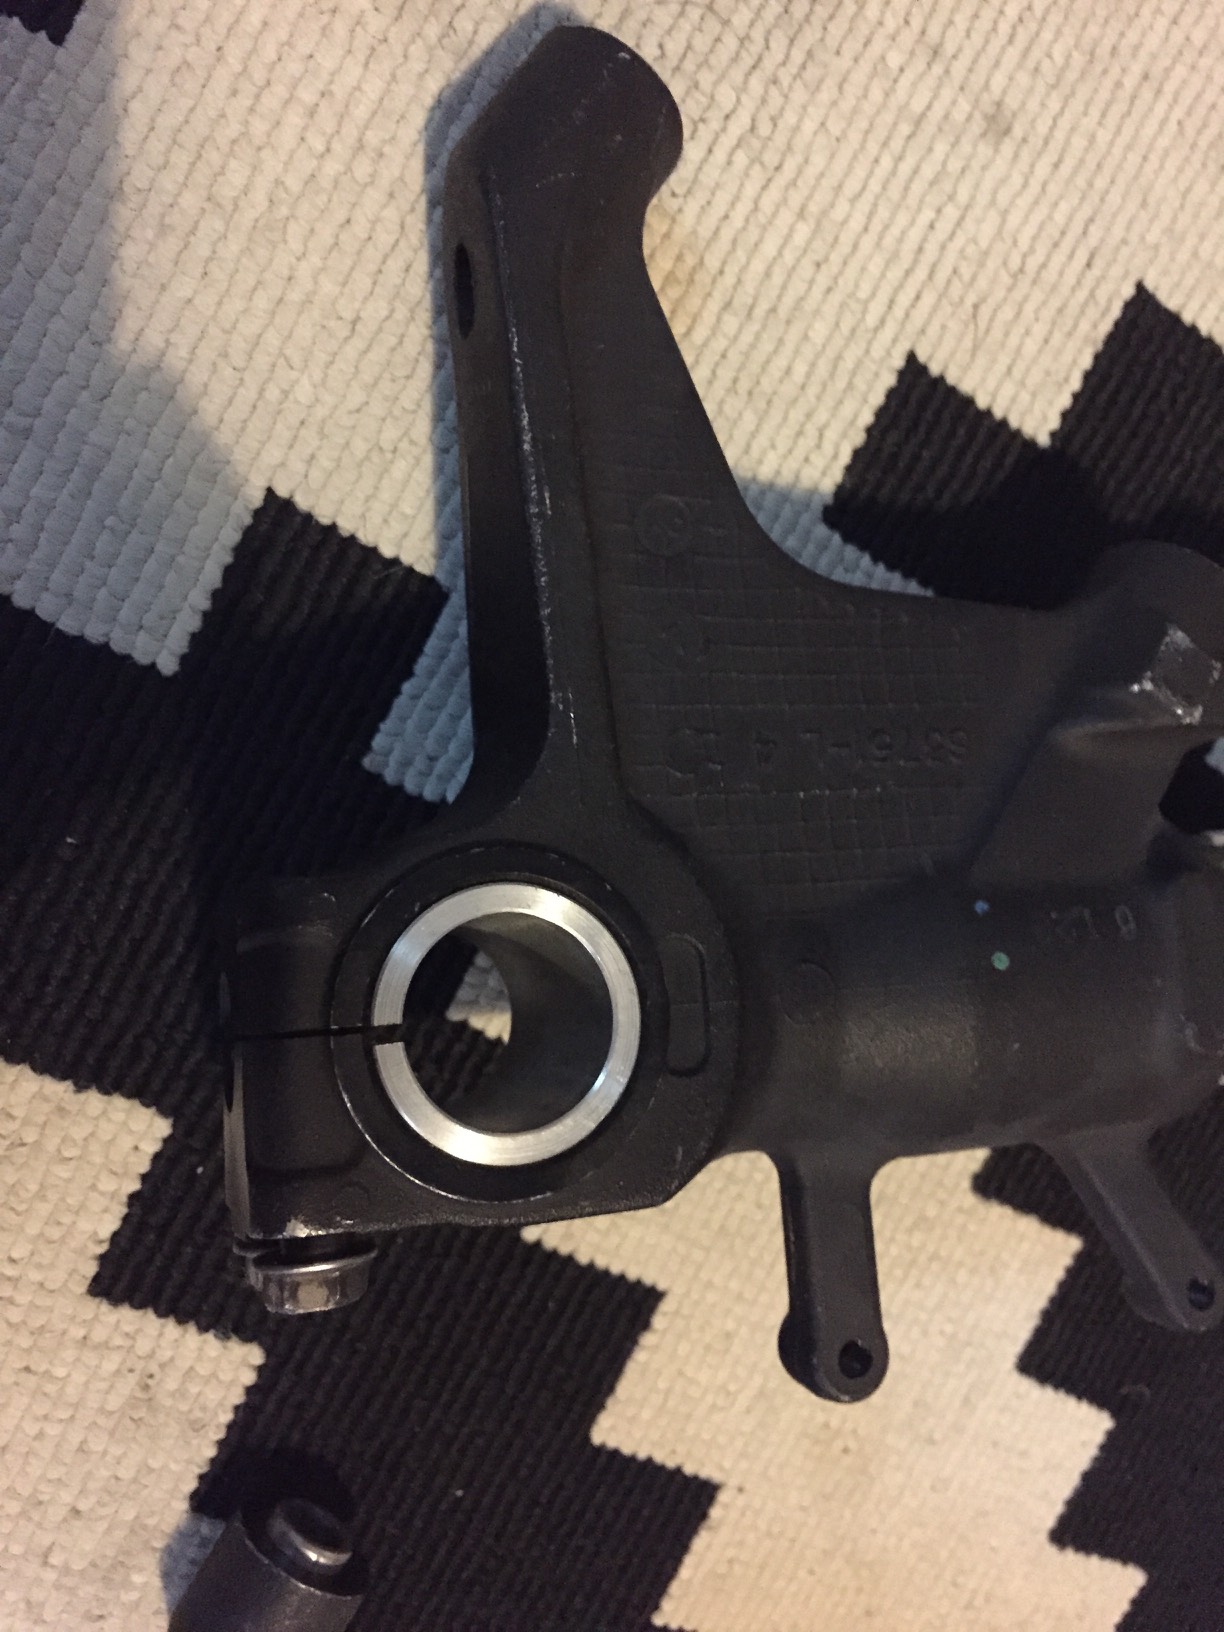
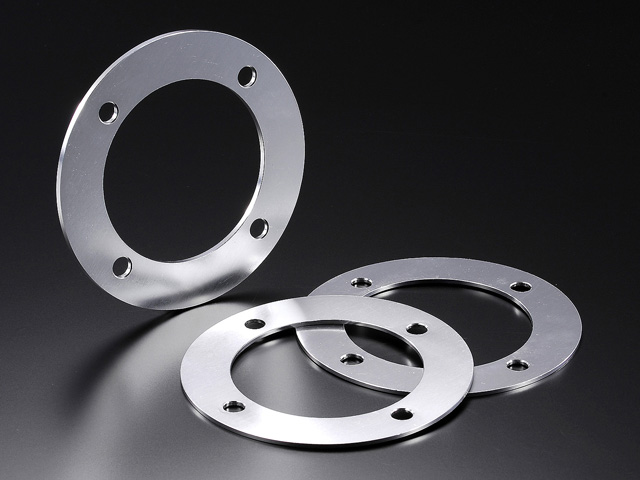
Next week I will be taking the axle in to be machined and a spacer created. As it’s a pretty close match. The yokes will be machined out from 52mm to 53mm. The light brackets will also need to be changed, but I’ve already sorted them out with some small rubber pieces to act as spacers.

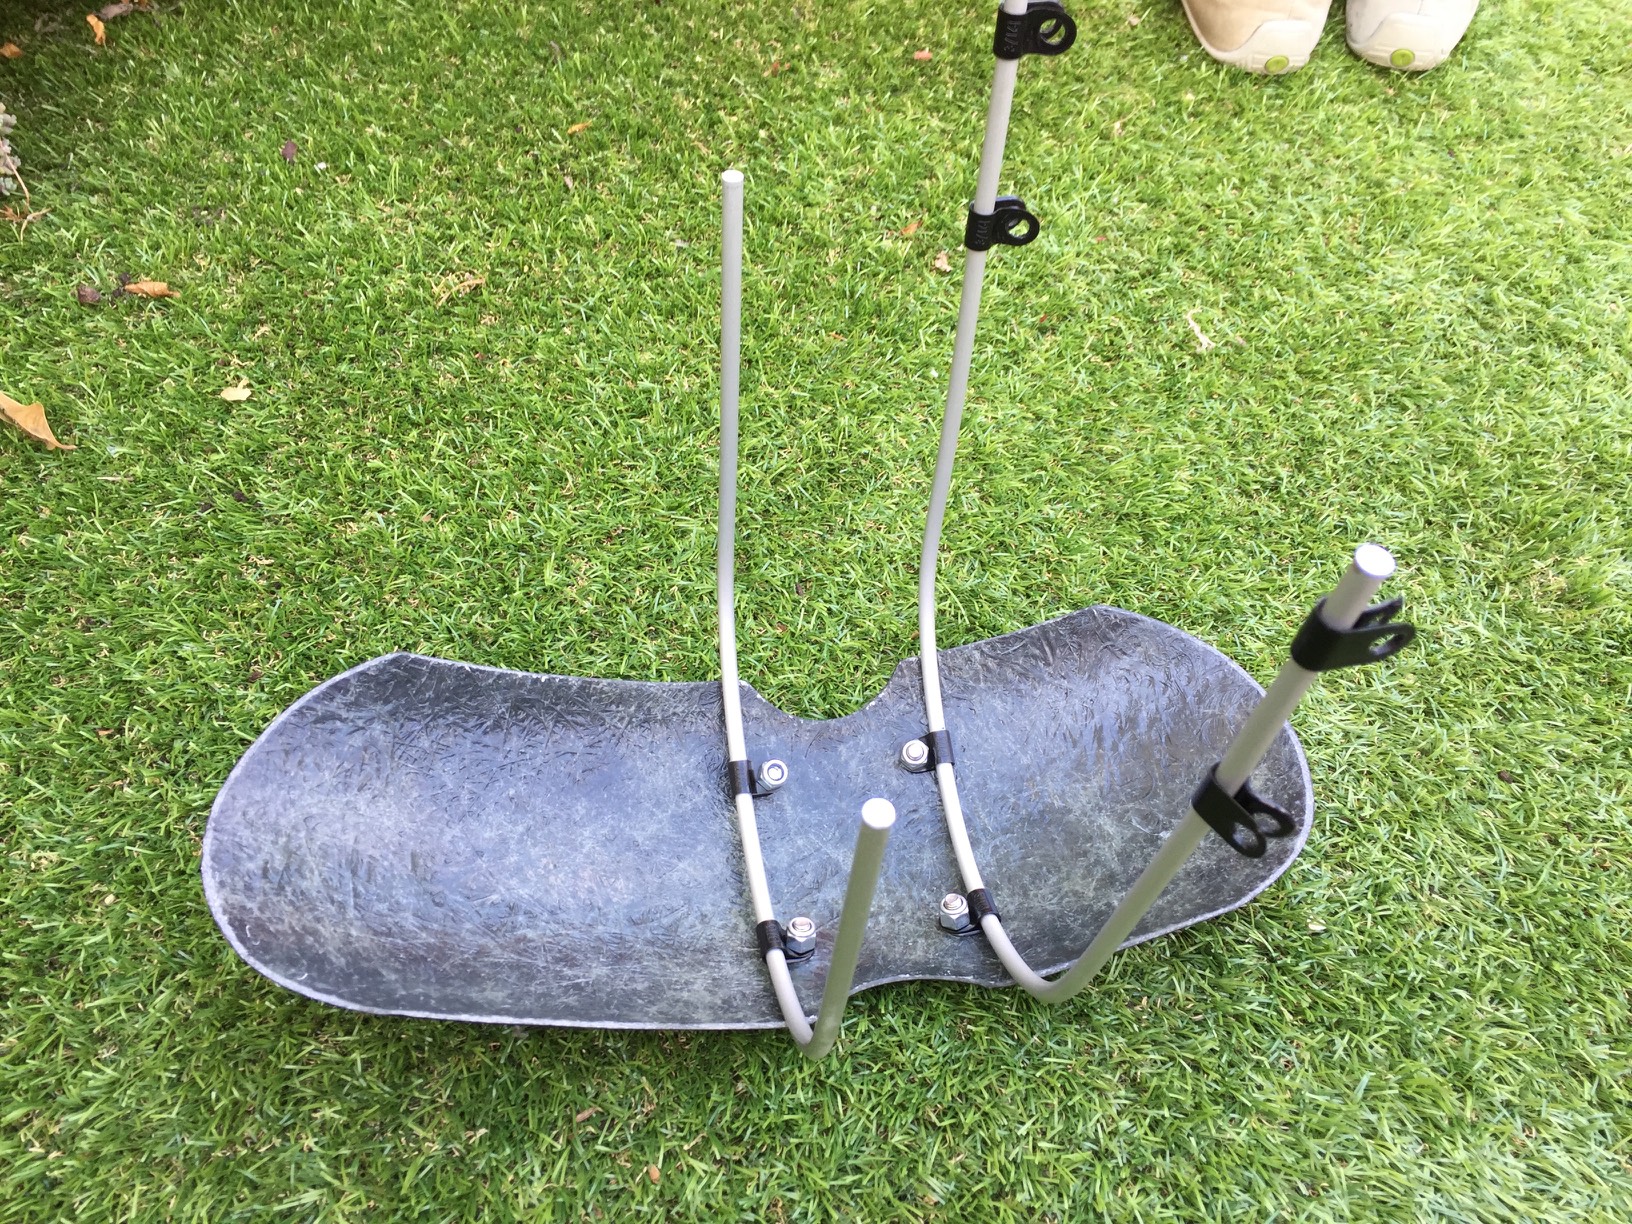
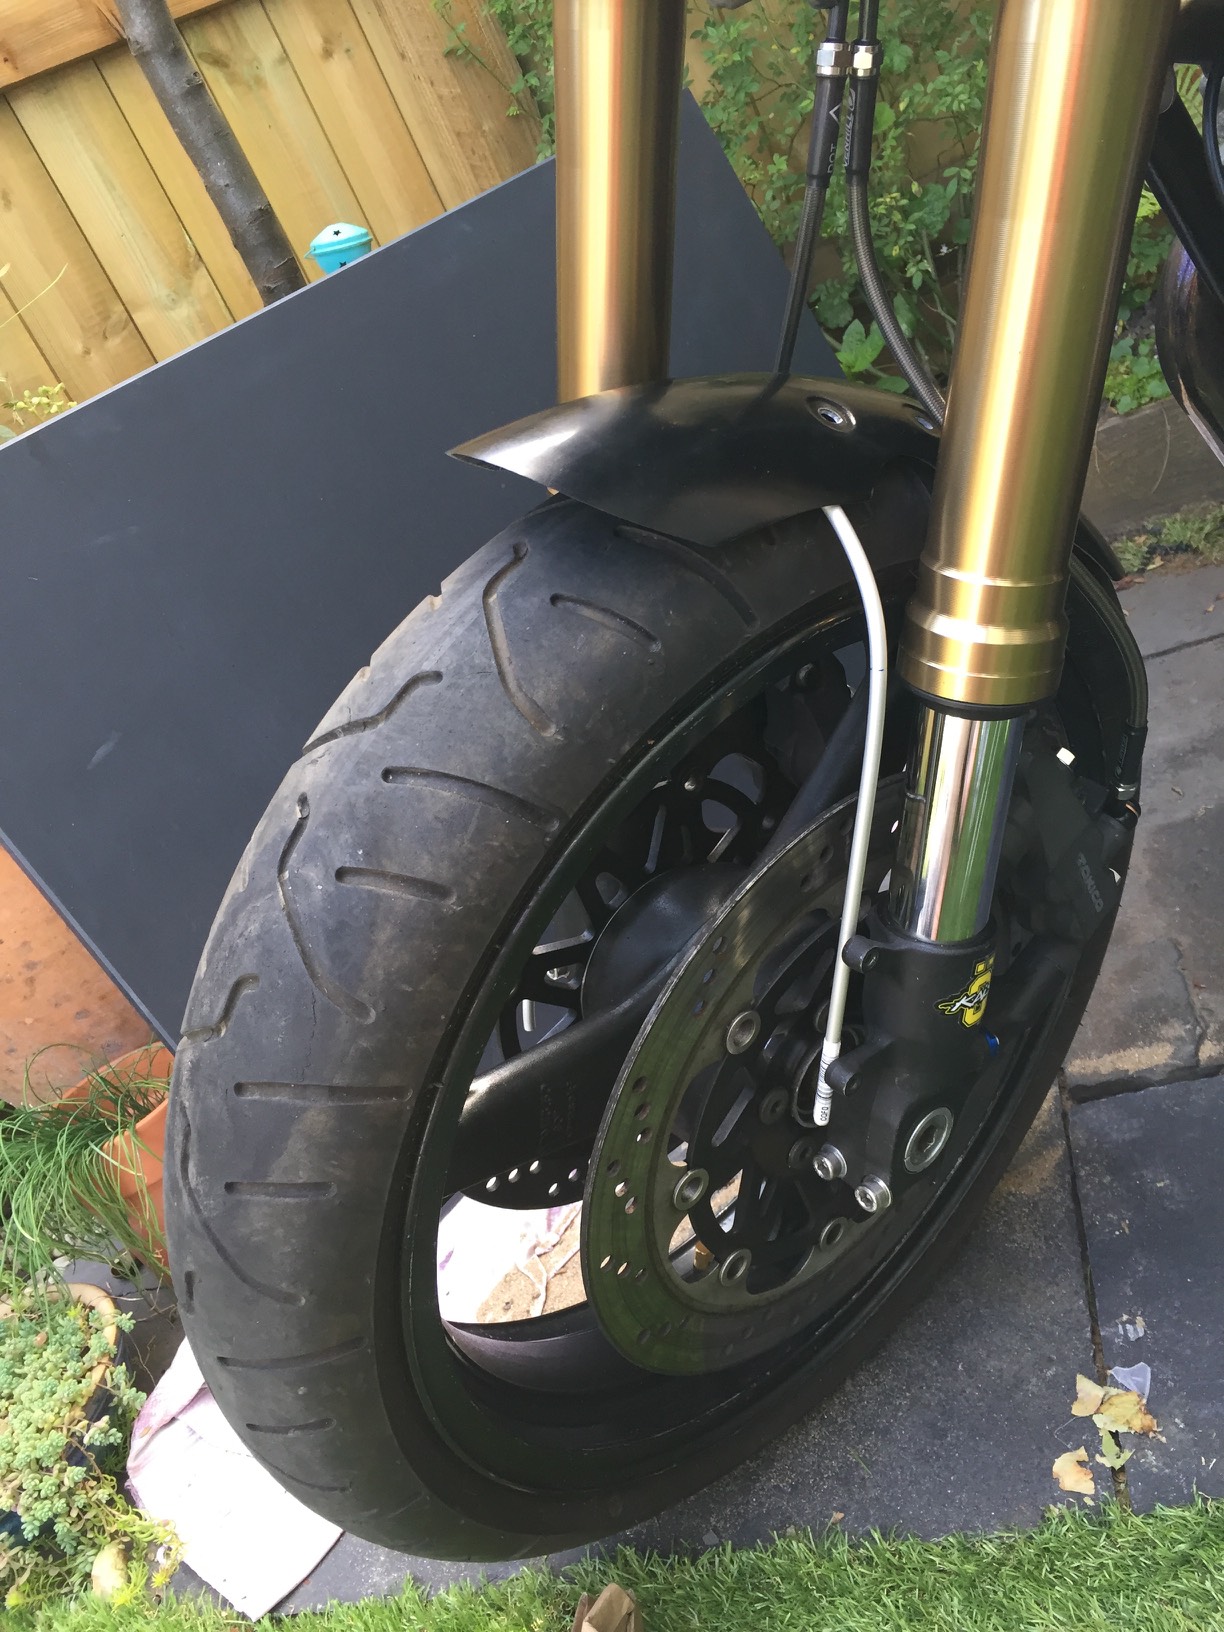
I also had to find a new mudguard which was particular annoying as I’ve only just had this one made for me! I wanted something more similar to this bikes one

cx500-cafe-racer-1

I managed to find a small triumph mudguard. I will need to make a custom mount for it

IMG_6412

So there we go, another depressing update, but I can see some blue sky in the future at least now.

12
May

More progress on the Z650

So an update on progress which has been up and down.

I didn’t fancy trying to fit the shock and new linkage myself so I booked it in at the local motorbike shop 100m away. They fitted it and it went well apart from the top linkage bolt size. The bolt is too small for the shock and due to the way the frame is braced they couldn’t just make a bigger hole. It looks ace in place though!

IMG_6222
IMG_6225

I went to an amazing local engineering shop to get them to make up a reducer for me. It was pure old school engineering no cnc stuff that I could see.

IMG_6227

I then put the bike through another MOT which is failed again. ARRRGH! This time it was the front shocks which were misting slightly before are now leaking badly. Also the rear lights were an issue as the number plate light was too bright and caused problems.

So I started taking the front end apart to remove the shocks

IMG_6258

IMG_6262

Which is where I got stuck as I don’t have the correct tool to remove the front axle. I’ve got one side but not the other. I’ve ordered the tool which should be here this week.

I decided this was a good opportunity to move the key location so that I can tidy up the speedo area. I created a bracket to mount the key under the tank. Which I thought came out nice in the end.

IMG_6259

IMG_6261

Next I wanted to remove the old key hole to allow me to make a new speedo bracket.

IMG_6263

IMG_6264

IMG_6266

IMG_6268

IMG_6269

It all is much tidier now and closer to my face.

Next up on the jobs I could do before tools arrive was to clean up the front brakes. As fork oil had leaked onto the pads and discs. I thought about cleaning the pads off, but decided it was far safer to replace them.

IMG_6270

IMG_6271

Finally I realised that the number plate light is not a legal requirement in the uk so it could go. This meant I could redo the rear bracket and make it simpler.

IMG_6277

So I’m stuck waiting for tools before I can finally get it on the road. Fingers crossed the forks will be sorted this week.

28
Apr

The shock and mudguard arrive

Ok so I’ve mainly been waiting for parts to arrive. The main ones are the rear shock and the front mudguard. They both had to be custom ordered and manufactured which took a few weeks.

While I was waiting I made a new bracket for the number plate and rear lights.

IMG_5937

IMG_5936

I then fitted it to the bike

IMG_5938

I was really happy with it. I may paint it in the future, but for the meantime I will leave it as bare aluminium.

Next I took delivery of the new mudguard. It’s from skidmarx and was reasonably priced. I tried finding one on ebay, but they were either the wrong colour or damaged.

IMG_6098

Fitting the mudguard was a little fiddly, but I got there in the end. Its a different style to the previous one and I like it. Though one day in the future I’d like to make a super low profile small one.

IMG_6101

I’m very happy with how it looks on the bike though.

Next up was waiting for the rear shock and shock linkage. The linkage I got from ebay and was a real pig to undo, but I managed it in the end. With flames and other heating!

IMG_5927
Today the YSS shock finally arrived.

YSS ZXR400 Rear shock

YSS ZXR400 Rear shock

Making sure it’s ok Daddy.

YSS ZXR400 Rear shock

YSS ZXR400 Rear shock

Mmmmmmh pretty!

YSS ZXR400 Rear shock

YSS ZXR400 Rear shock

I’m going to get it fitted asap as I can then get riding hopefully very soon!

28
Mar

Fixes and more fixes

Well after the disaster of the MOT test I had lots to deal with. Most of it was minor, but some required thought and planning. The key issues are as follows:

1. The Rear shock linkage is terrible and needs doing correctly
2. The shock itself is old and knackered
3. The front mudguard is not one for this bike and isn’t secured correctly.
4. The rear light is playing up.
5. The brake torque arm is attached by a bolt not giving it movement
6. Footrest are insecure.

Just a few jobs then. I’ve got to work on these in turn.

1. The shock linkage was replaced at some point with sheet metal instead of the correct dogbones. I’ve got a second hand shock linkage from eBay which will need fitting. You can see the issue below. I didn’t catch it as I didn’t look under the bike right there. It’s passed mot’s before which is worrying!

IMG_5860

2. The shock is very old now and finding a better alternative was the best plan. I’ve search around to find a suitable second hand alternative, without decent success. So I bit the bullet and ordered a new shock. Its a YSS one and was well priced. They are making it for me now. Once it’s arrived I can fit it and the dogbones.

monoshock-emulsion-c000c2182db957c8e1978bea58057406-pCrypt

3. The mudguard was easy. It can pass the mot without one. So I removed it. I’ve ordered a replacement from Skidmarx. That will arrive in a couple of weeks. In the meantime it looks much cooler without the mudguard!

IMG_5888

4. The rear light was an odd one, I swore it was working, but I was wrong. It’s not lighting up properly. I tried loads of things, but I worked out in the end that the light had broken. Very annoying. I thought about getting a replacement, but my faith in that lasting wasn’t good. So I looked for alternatives. In the end I found a combined indicators/brake/rear light system that is in a tiny cnc strip.

Gallery__89160__77840.1414467347.1280.1280

The seller was in Australia and it arrived in less than a week! I was amazed. I started testing it to make sure it worked.

IMG_5919

As this light sticks to the number plate I also needed a number plate light. I found a tiny cnc number plate light on ebay and had to have it.

$_57

With both of these changes I had to remake the number plate bracket. I’ve spent the last couple of days knocking this up, It needs the light mounting to the number plate, but it’s close to being done.
IMG_5926

5. The bolt was a right bodge job and needed me to source the proper torque bushing. I managed to find a new one which was good. I need to fit it tomorrow.

6. The footrests were using too small a bolt as the eyes of my cnc footpegs were smaller than the originals. I drilled out the the holes and fixed a larger bolt in place. You can also see the new oil cap I found going cheap on ebay.
IMG_5877

1
Mar

Rain rain stay away

Well the weather forecast was not good so I decided to take matters in to my own hands.

IMG_5796

It was a great idea as it allowed me to work on the wiring in the dry all day.

I spent several hours rewiring the loom and putting new connectors on. It was a real pain to do, but quite rewarding.
IMG_5800
There is still more sleeving to do, but I ran out of my loom harness tape. So it will need to be finished when the new order arrives.

I did get a chance to wire it all in and test things like the new speedo.

IMG_5798

I also tested the new headlamp, but discovered a problem. The side light ring was working, but not the main or dipped beam arggggh!!! I was hoping what I had done already would have fixed that, but no.

I started attacking the loom with a multimeter to try trace the issue back to it’s source. I ended up back at the fuse box and this seemed to be where the issue was. However the fuse was fine which confused me. It took me a moment to work out that the issue was actually the connectors being old and rusty.

So I decided to replace the fuse box and see if that solved the issues.

IMG_5803

IMG_5806

That would be a big fat yes!

IMG_5807

I was so relieved as I’ve been trying to sort that issue out for some time. I even considered getting someone else to look at it, but I was determined that I could find out the issue.

So there is not much more I need to do before getting it MOT’d and back on the road:
1. Finish the loom wiring
2. Setup the speedo and finish the wiring of that.
3. Get the tank back on and filled with fuel.
4. Get her started!

With some good weather and orders arriving swiftly I hope to get that done in the next week or two.

27
Feb

Wiring , headlamp and indicators

I’ve started work on the cable spaghetti, it’s not pleasant work, but who said it would be all fun!.

First job of the week so far was to sleeve the two indicators so that the cables would be less obvious. I also did the same to the new headlamp.

IMG_5776

Next up I fitted them back on the bike. I was originally going to reuse the bolts from before, but in the end I decided to get some new ones so that I could use an allen key instead of a socket wrench. It makes fitting the indicators much easier. I also moved them to the bottom bolt so that the cable runs underneath and is more hidden.

IMG_5790

IMG_5792

Next I stripped back the loom so that I could see what is going on and if I can make any improvements.

IMG_5793

There were a few iffy connections which I am working through. If I get good weather this weekend I will try to finish the wiring loom changes.