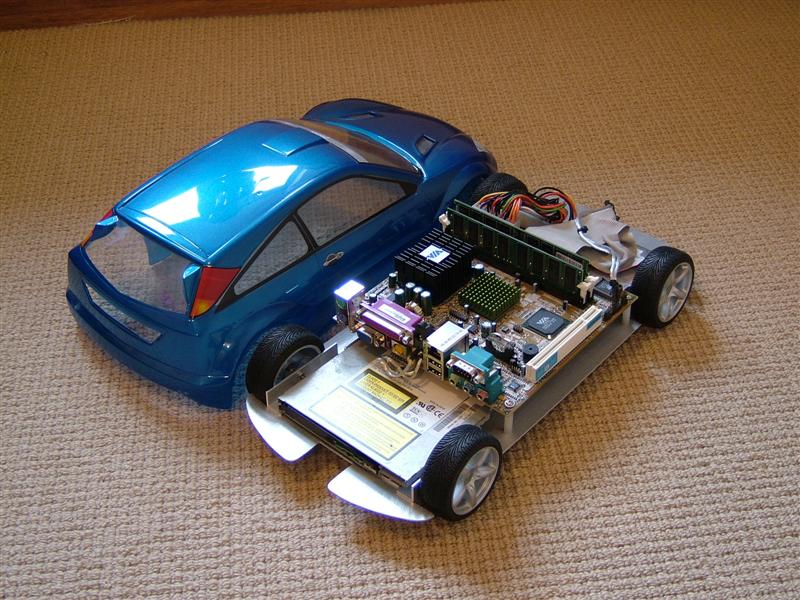
Project Summary:
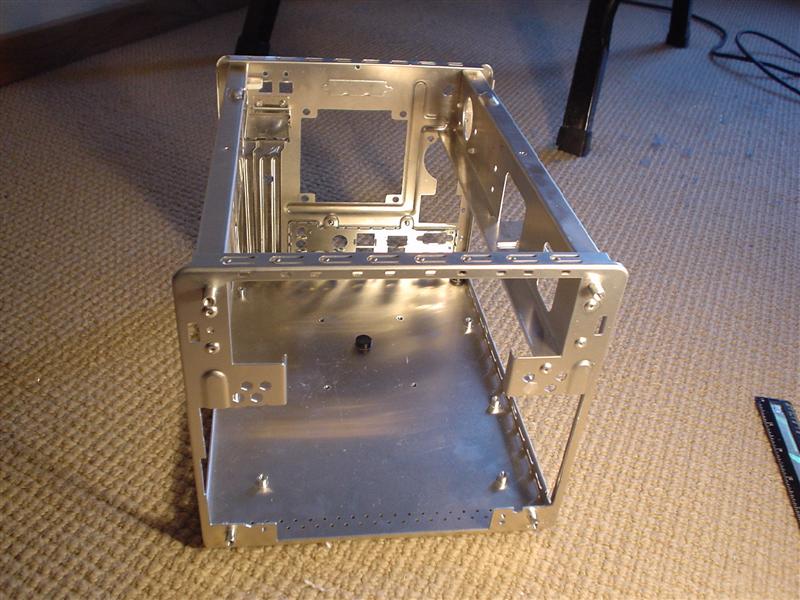
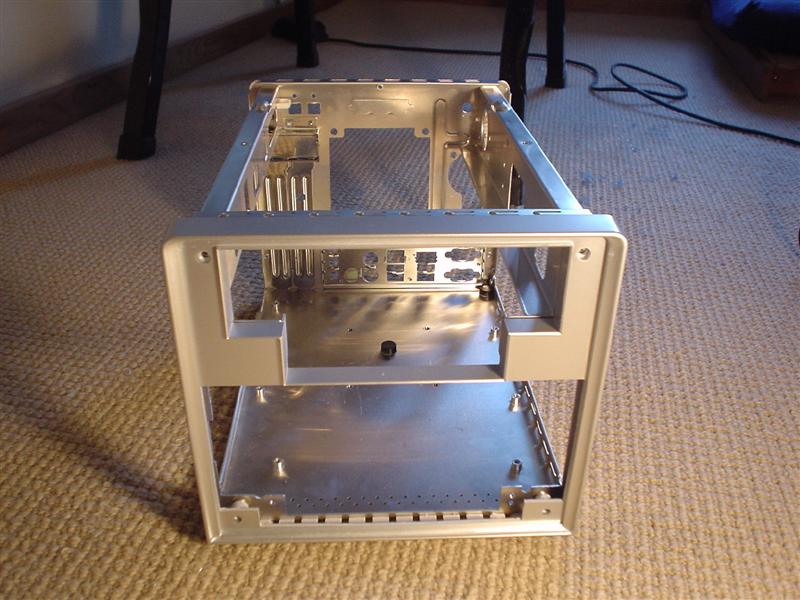
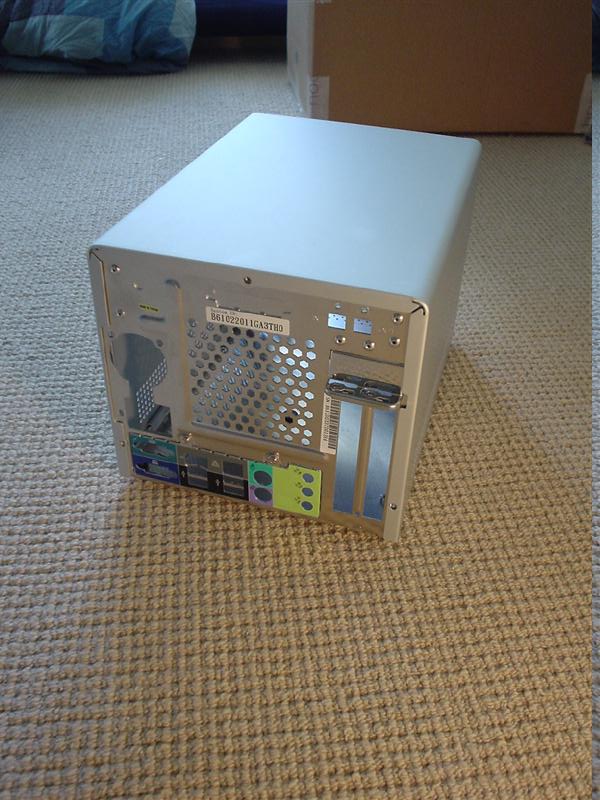
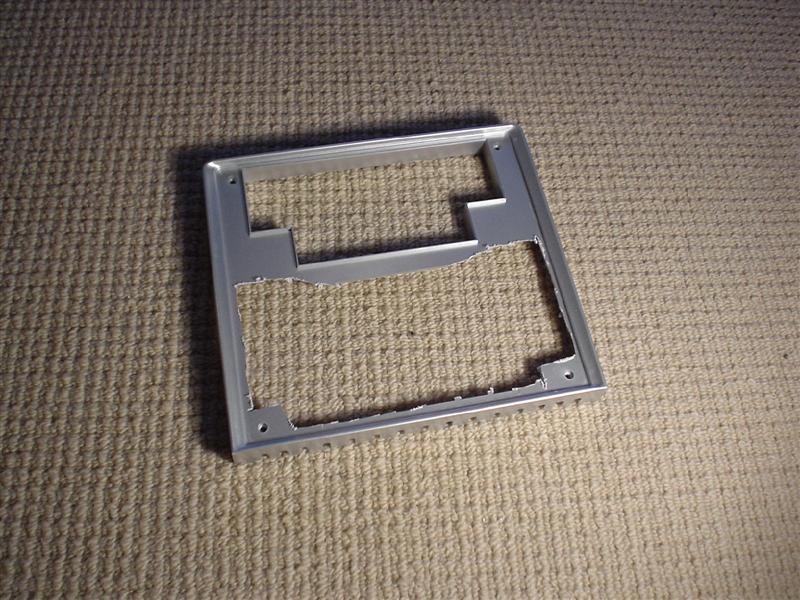
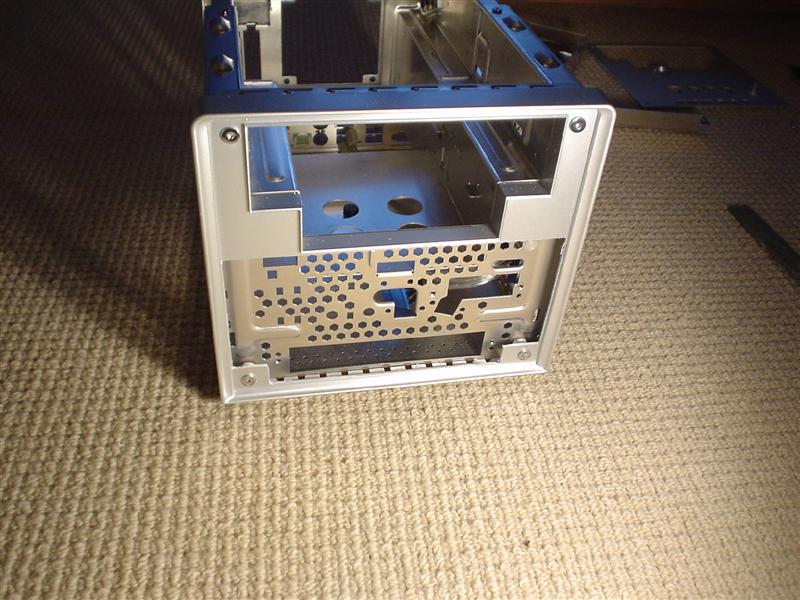
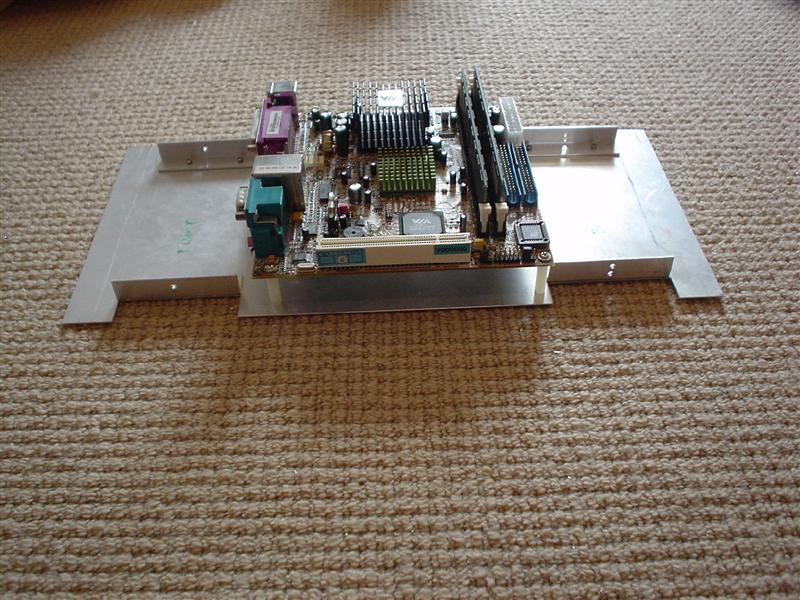
Having owned almost a dozen shuttles including the very first model, I’ve always been a fan of them, but I’ve never really done a full blown mod project based around one. This project will change that, having sourced a bare g2 style case I have set to work creating something that is a class above the normal shuttle.
Page 1 | Page 2 | Page 3 | Page 4 | Page 5
Project Liquid Bloo: Window modding
2004-05-15
I’ve had some time to do some more work on this mod, I’ve decided to make a few changes but that won’t happen for a bit , its due to a new feature I am adding to the front 😉
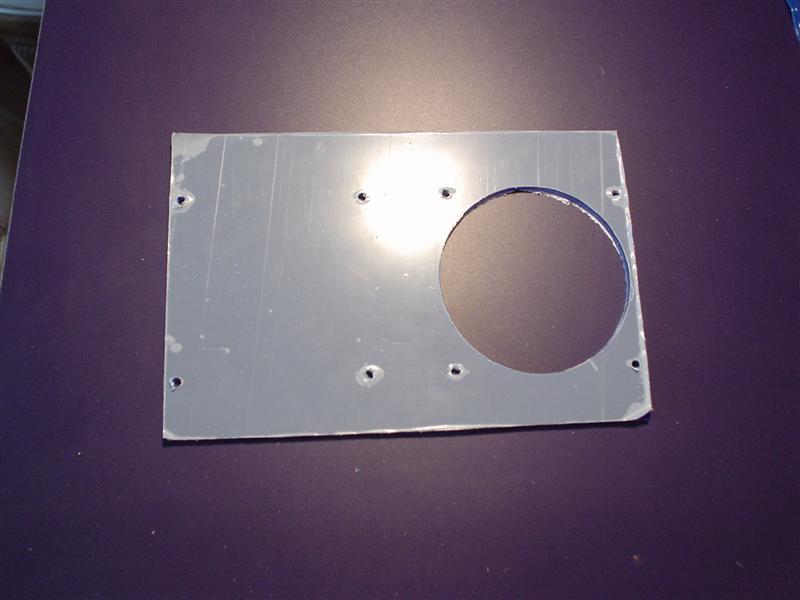
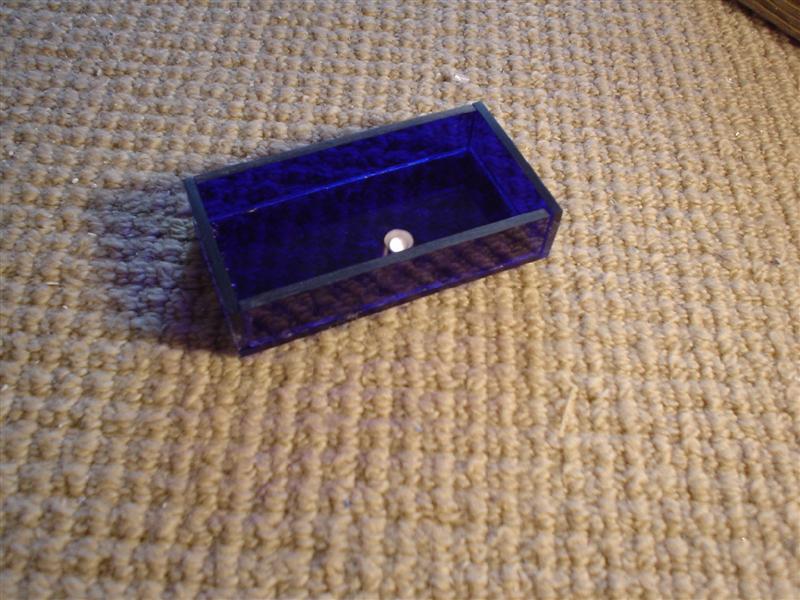
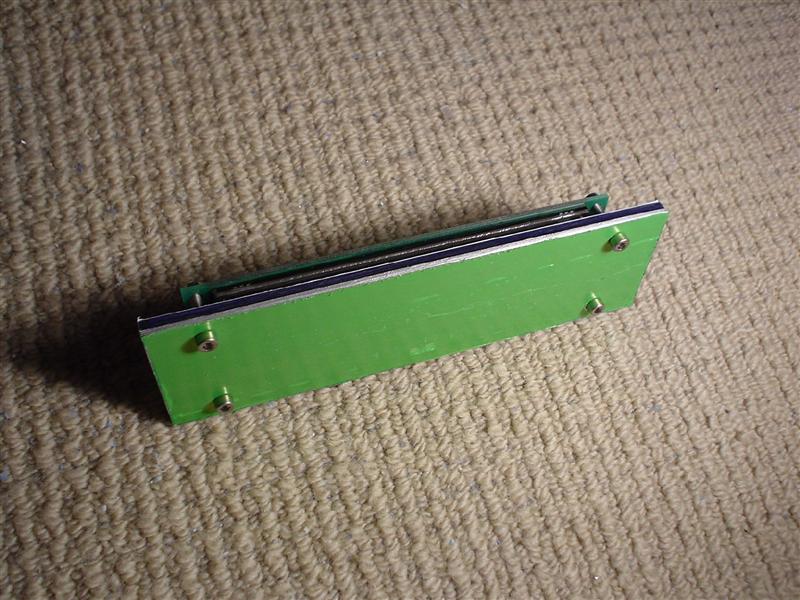
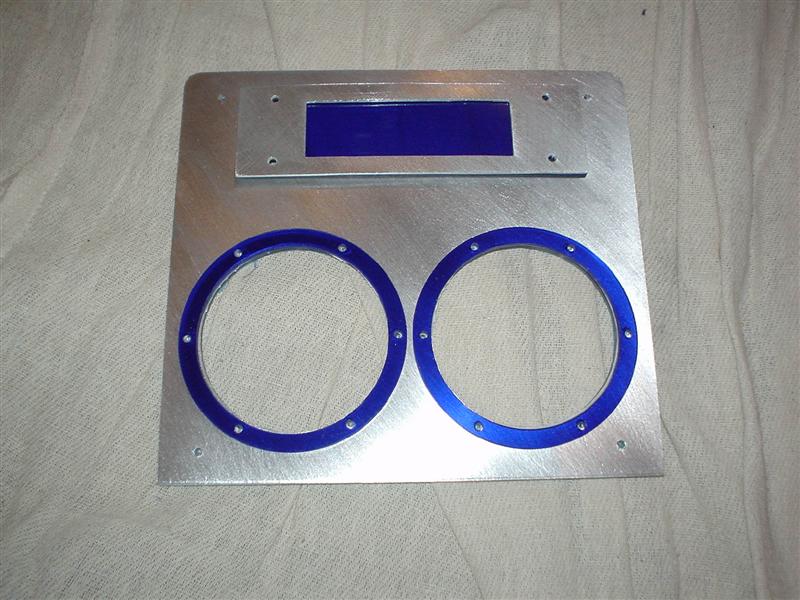
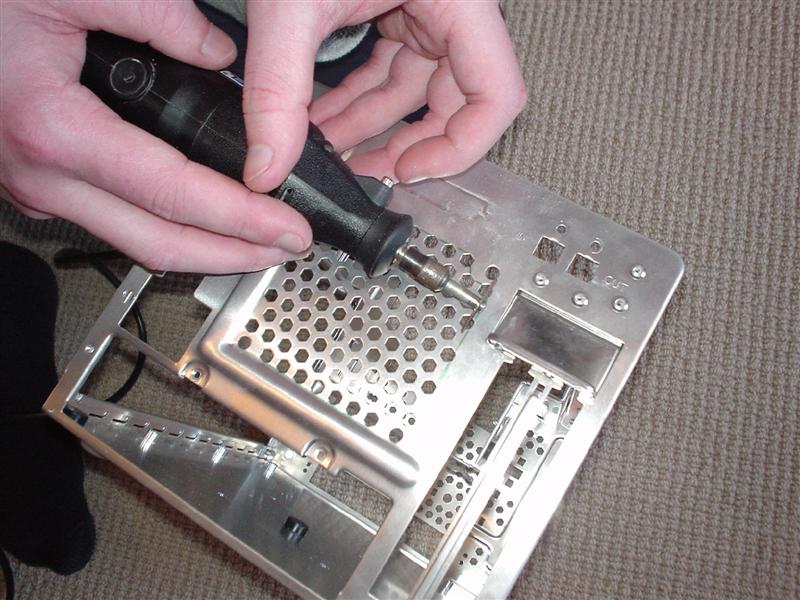
What I have done is cutout the window and cut the perspex to go into the window. It still has its protective sheet on but you get the idea. The perspex is held in place by four bolts which look quite nice.
As usual the pictures are clickable links to larger shots:


Project Liquid Bloo: Knobs and discs
2004-05-19
A quick update , I’ve not done a massive amount of work but I have sanded down some more of the discs. They are starting to look very nice indeed.
Also I received a new aluminium knob from maplins , the old one had a bit of glue on from a previous mod so i ordered a new one, maplins messed up and sent the wrong sized one to start off with , but they fixed the problem and sent out a new one telling me to keep the old one so thumbs up to maplins after sales support !
The piccies (Click on them for full sized shots):


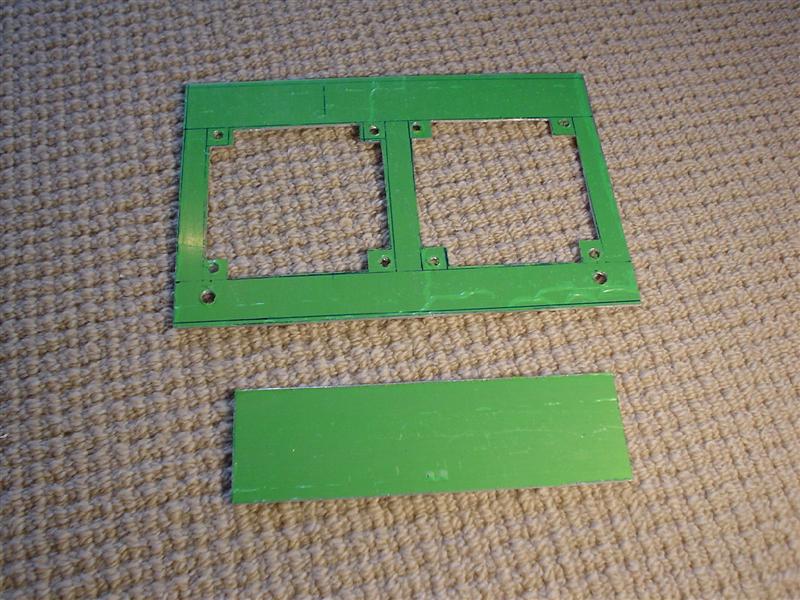
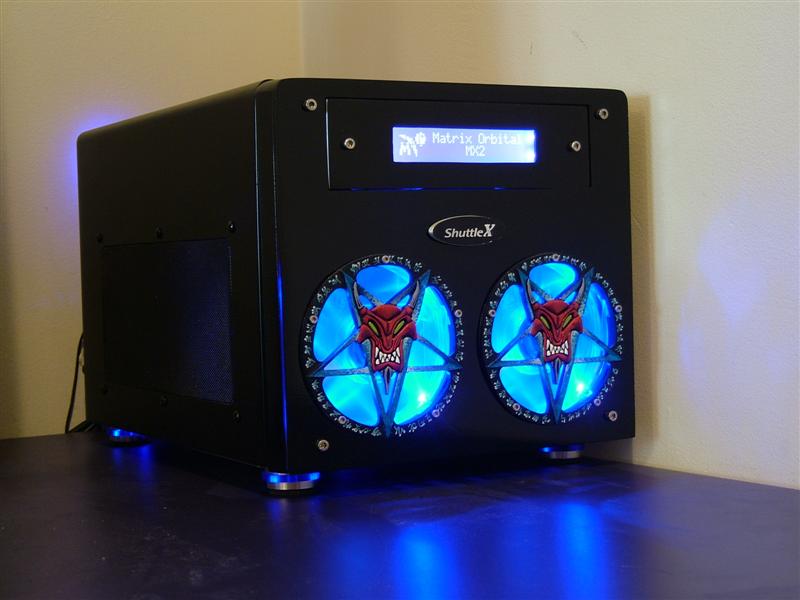
Project Liquid Bloo: Custom Grills
2004-05-10
I’ve not updated this log in a while as I haven’t had the time to do anymore work on this log for a wee while.
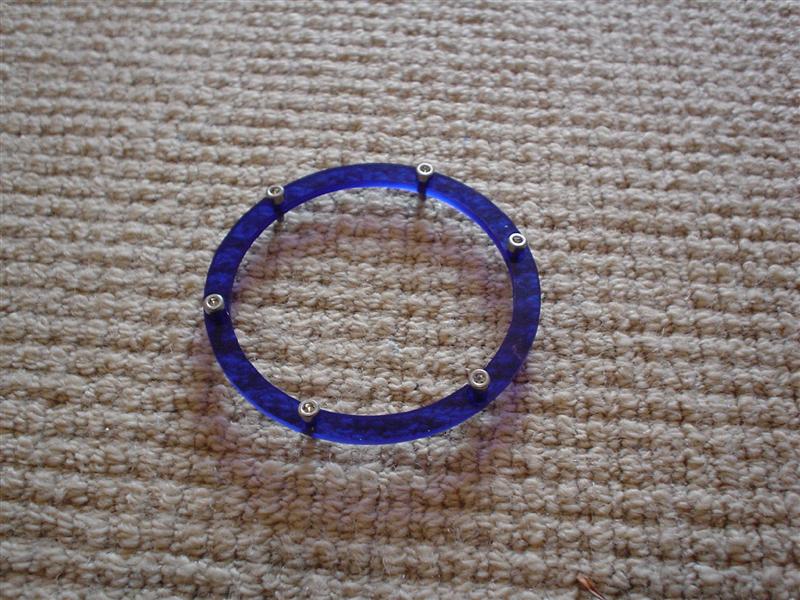
What I have been doing is to plan exactly what I want to do and order some parts. One of the main changes from the stuff I’ve done to date is the whole theme of the mod, I have ditched the blue rings from the front and back of the case in favour of some much nicer looking rings 😉
I need to change the name of the project as liquid bloo is no longer suitable.
Onto the grills:
The piccies (Click on them for full sized shots):


The grills are stunning , the pics dont even do them justice they rock!
Big shout out to bonzo who made these up for me.
www.bonzai-mods.com
I intend to get a few major tools over the next day or two to allow me to finish this mod to the standard I am looking for.
Project Liquid Bloo: Discs work
2004-06-16
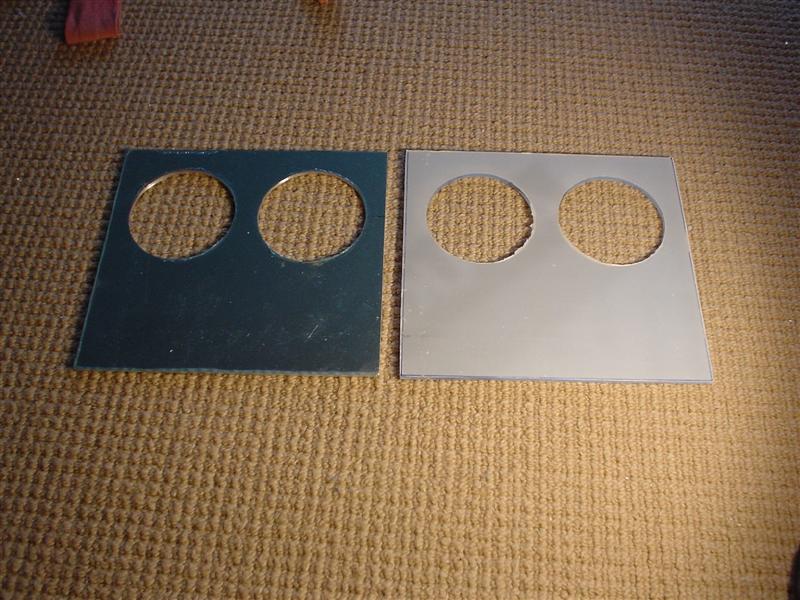
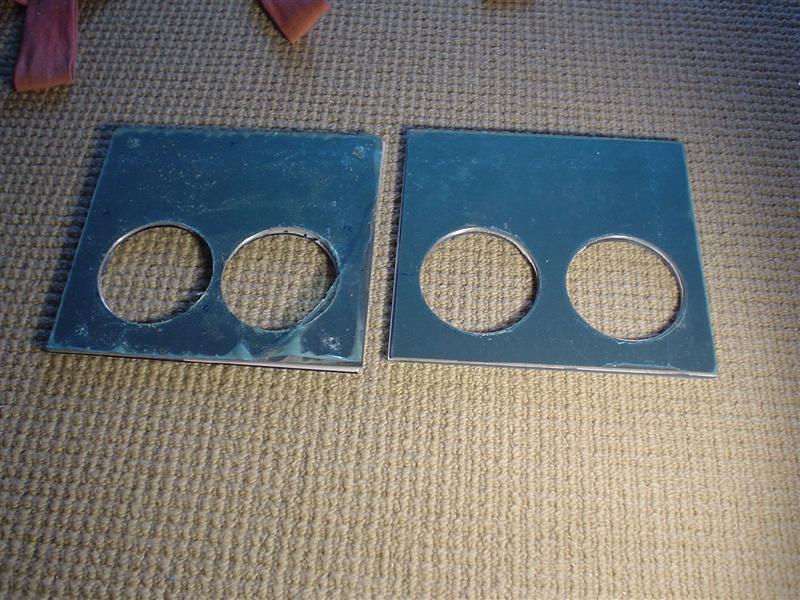
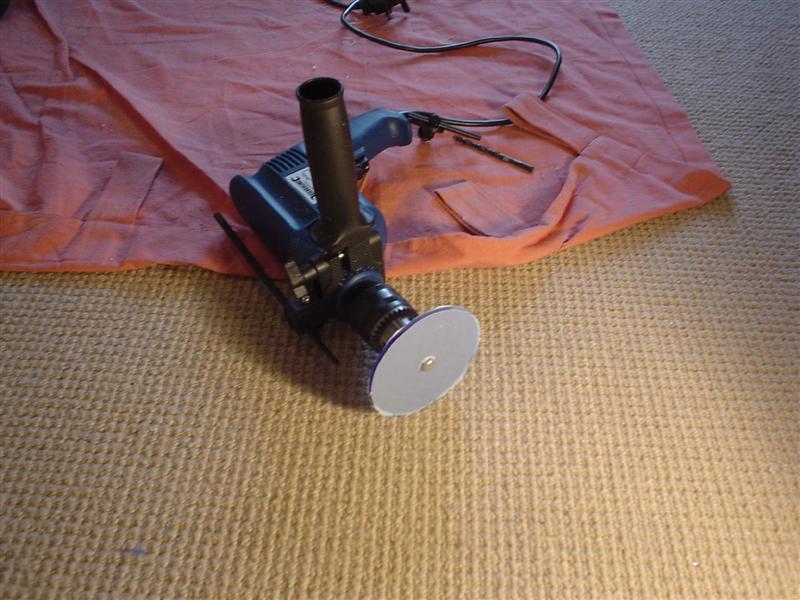
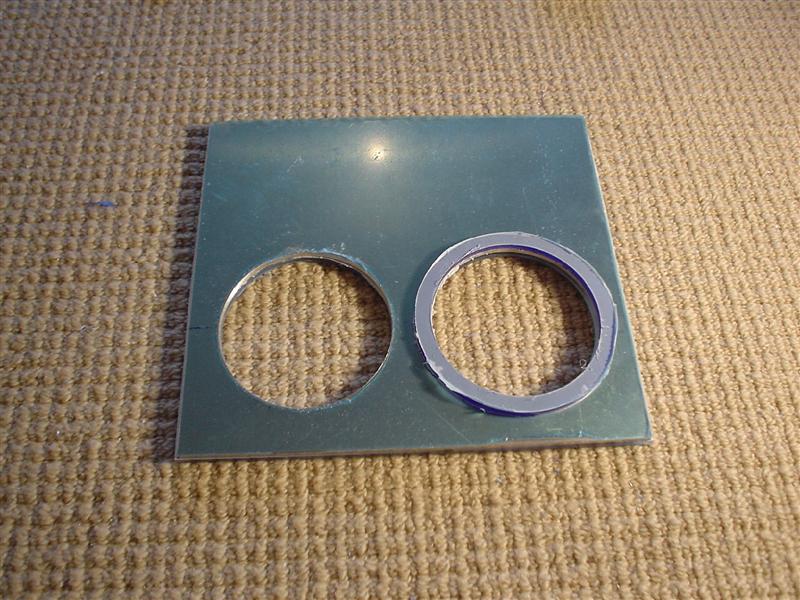
I’ve been redoing the aluminium and perspex discs that I did at the start of this project. I was never happy with the finish on them and with my new sander I was able to do a far better job.
They arent finished yet , I need to drill two holes for leds. I’ve been doing a test on a spare one I have made before to check it will look ok first. As you can see they are slightly different sizes , two of them will be for the back of the case and be smaller with the two bigger ones for the front.
Piccies


They are hard to photograph so the pics don’t do them justice.
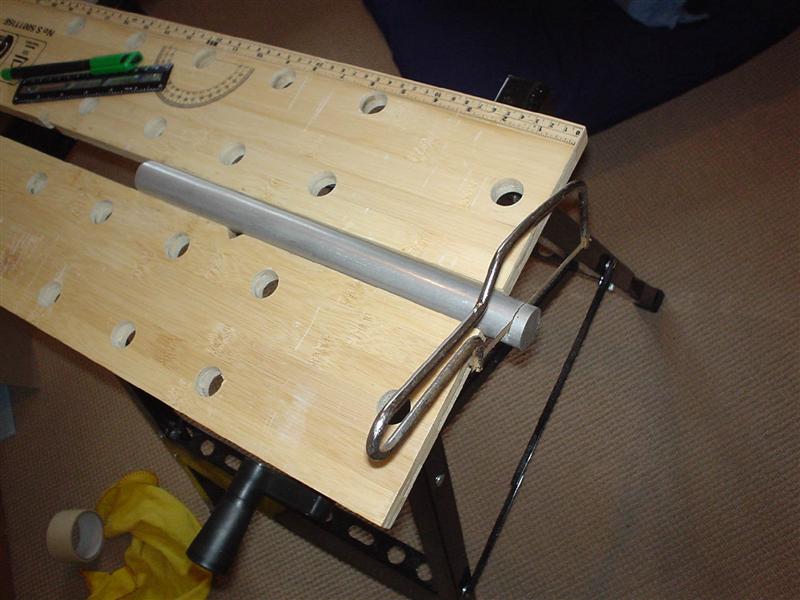
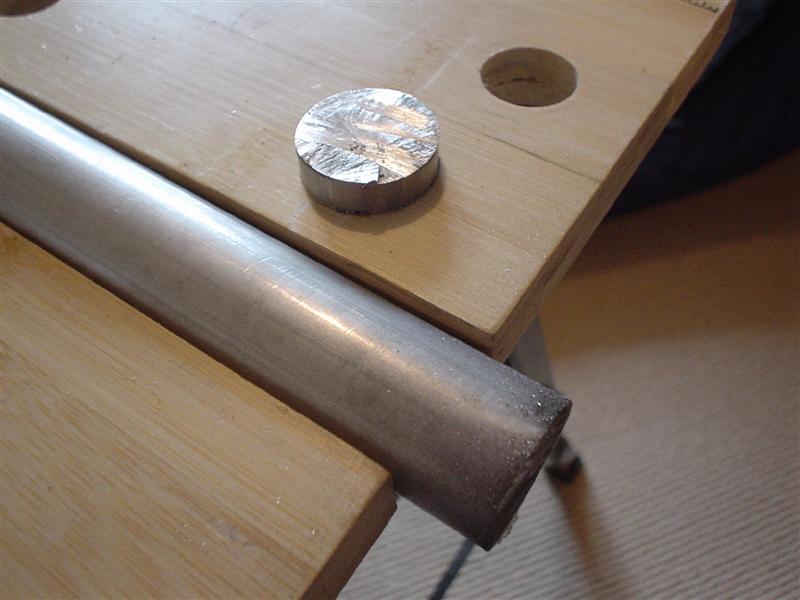
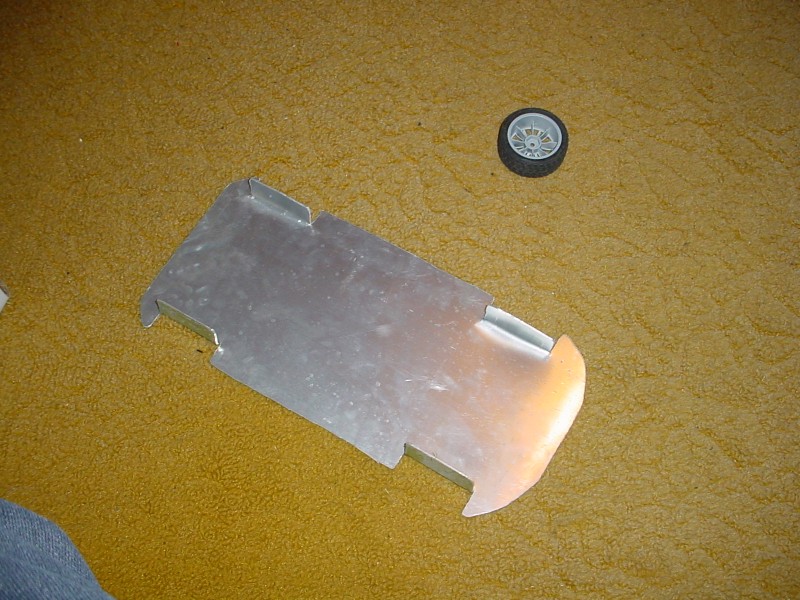
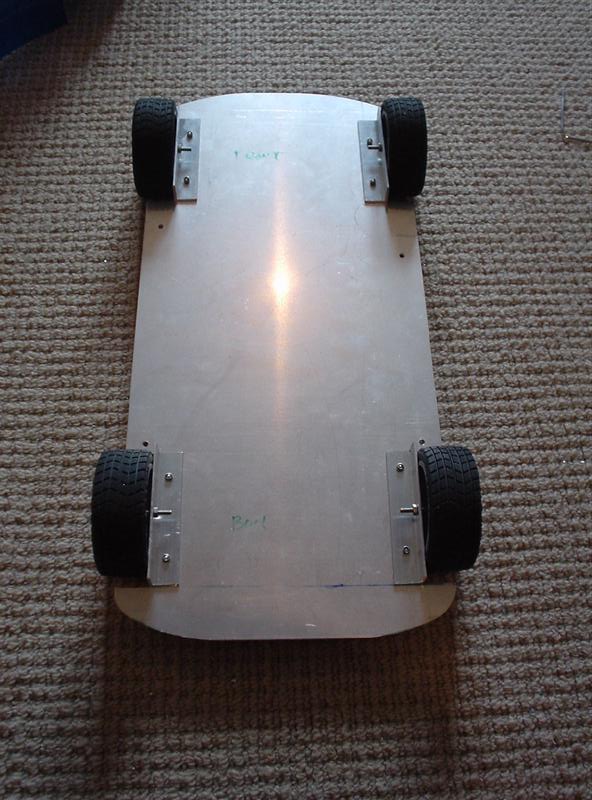
Project Liquid Bloo: Aluminium Case feet
2004-06-20
I’ve done some more work today on the project , and I have some cash at long last so I’ve ordered a few bits and bobs for the project, they should come in the next few days.
Today what I’ve been doing is more on the case feet. I drilled two new holes to allow me to mount LED’s into the blue plexi. These leds will light up the feet and hopefully should should look ace.
First thing I did which took 20secs is to ripoff the old plastic feet and bin them.

Then it was onto the feet, first thing I did was to countersink the main bolt hole so the screw will sit flush and so the case rests on the feet not the bolt. In the piccy the one on the right is the countersunk version

I then drilled two holes that go into the top disc (5mm dia) and into the blue plexi (3mm dia) . This allows the LED’s to pop out of the top of the disc and not short out on them.

I hooked up one of the led’s to my led tester cable to give you an idea of the final look will be like. Unfortunately my camera wont let me turn the flash off grrrrrrr so these pics are very hard to take , of the 20 I took these are the only vaguely usable ones. So my apologise for the quality.


I’m going to wire up the LED’s tonight which shouldn’t take too long , I’m not sure yet just how I will be powering them. I may make a circuit which controls them.
Hope you like the case feet so far 😉
Project Liquid Bloo: Aluminium Case feet fitting
2004-06-22
Today was supposed to be day of parts delivery but unfortunatly my door bell decided no it wasnt a good day for ringing so I missed the two couriers argggg!.
First off is a quick shot of the feet that have all now been drilled for the LED’s

I tried to do some more of the feet bits I have left which started off with me wiring up 8x 3mm Blue leds for the feet. I wanted to use my favourite silver wire but its too thick for the feet so I found some very thing blue wiring for the feet leds. I will wire the rest of the way to the led circuit with the silver wire.
Heres the LEDs with the feet


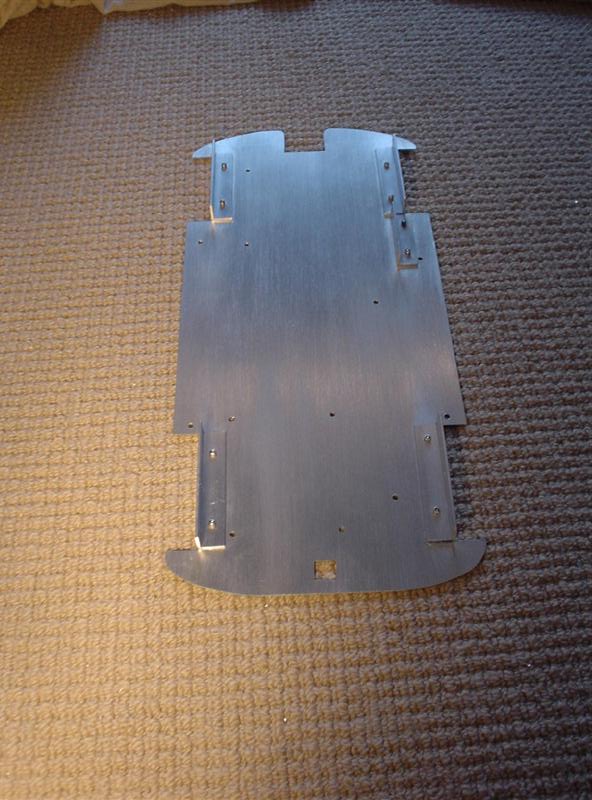
Next up was to drill the mounting points for the feet into the case chassis. I did a quick test fit of the feet to show you what they will look like. I also removed the remains of the sticker on the bottom of the case.


Thats all for today I need some more aluminium sheet to get any further and I’m waiting for my bulk order to arrive.
Project Liquid Bloo: Case feet Lighting
2004-07-22
I’ve been too busy for the last few weeks to work on this project or any of my other ones. I have now pretty much finished the other stuff so I can get back on with this project..
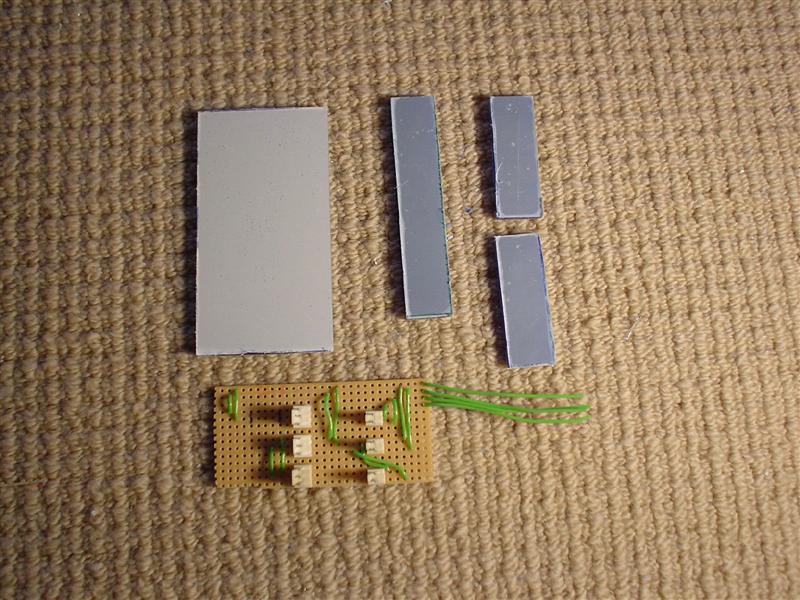
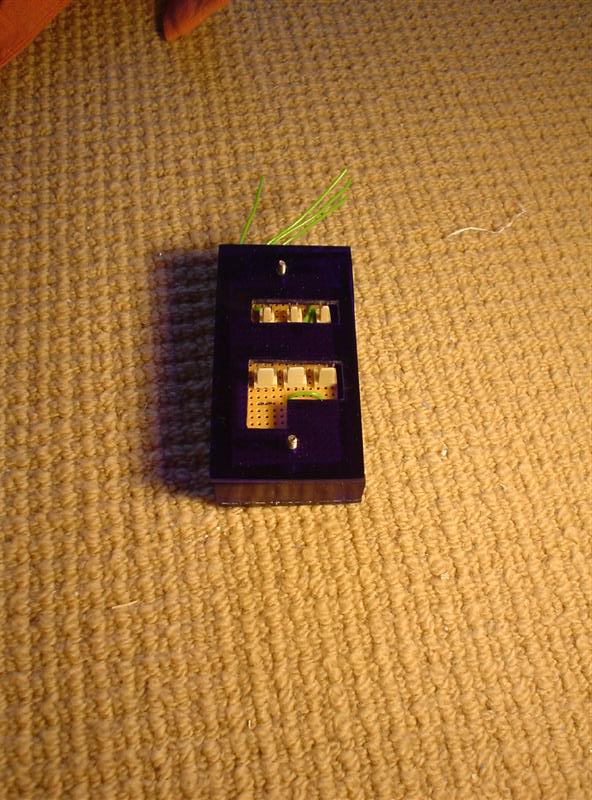
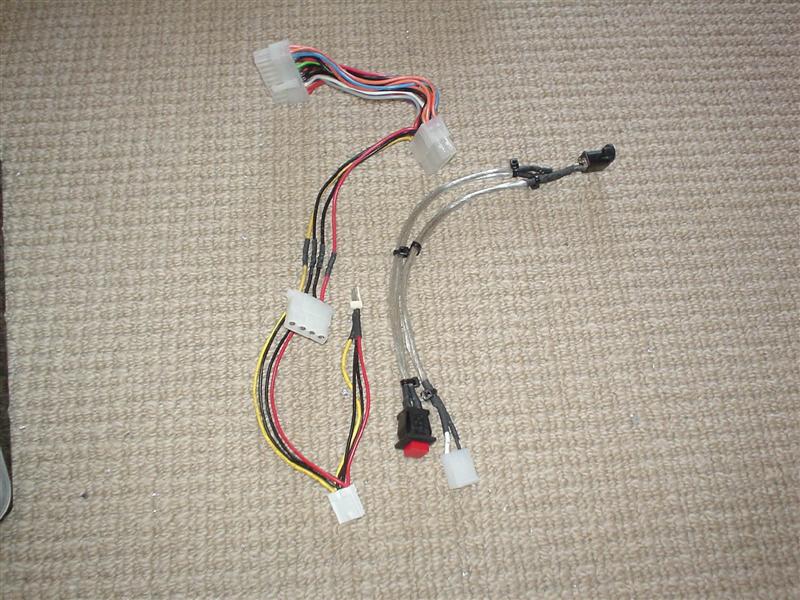
What I have done over the last few days is to look at the wiring for the case feet. I’ve rigged up 8 LED’s and made a small circuitboard to power them.
Click on the pictures for larger versions as normal:


The feet are hard to photograph due to the lights but you get the idea.
Project Liquid Bloo: Aluminium Case Feet Fitted
2004-07-25
Well I’ve spent the last few days , continuing with the work on the case feet.
I’ve finished the wiring and , glued the led’s into place. The led wiring required 2 extra holes for each foot, so I drilled the holes into the case bottom. I then installed them into the case and tested them out.
The look amazing in the flesh , but are a complete and utter nightmare to photograph so apologise for the quality of some of the pics. (Click on them for full sized shots)


I took some shots with the case cover on to give you an idea of the final look.


Project Little Devil: Name Change
2004-08-01
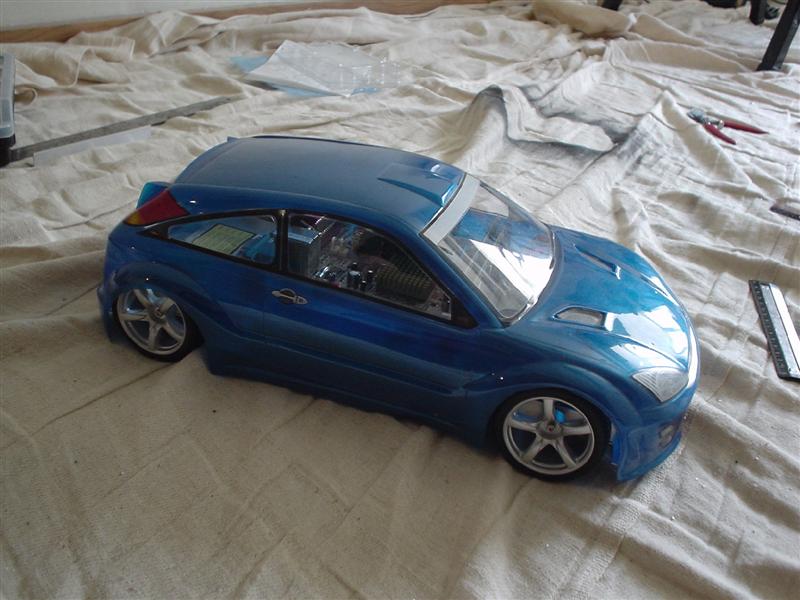
Ok first off a name , change as I’ve decided to go down a different route than I originally intend I feel the name no longer suits the project so from now on it will be called Project Little Devil. You’ve seen the grills so you get the idea 😉
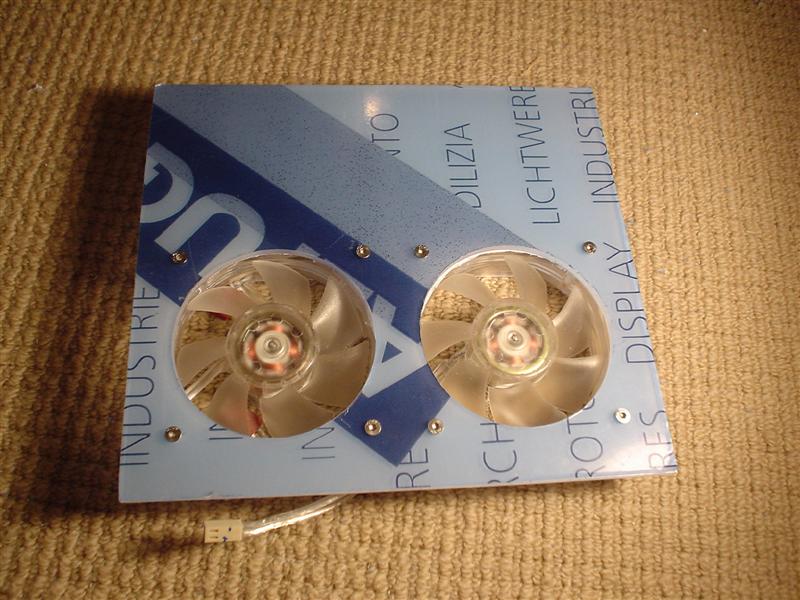
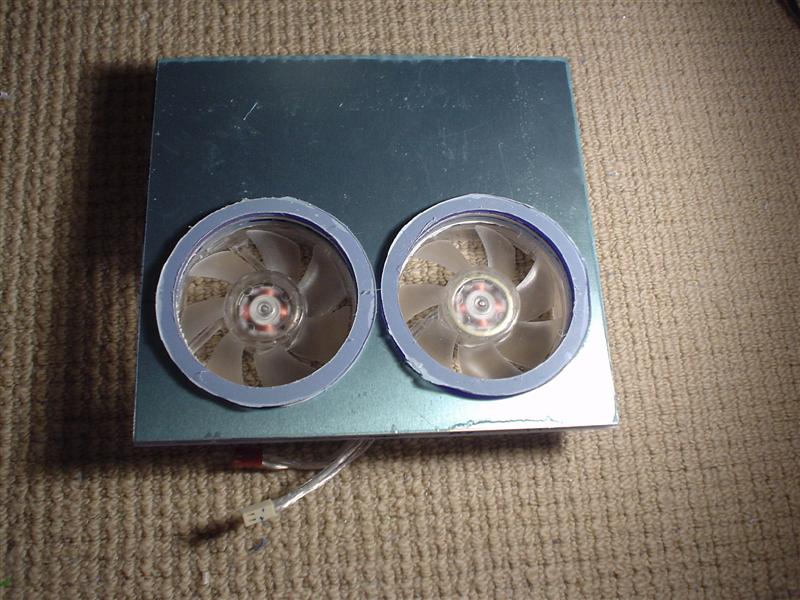
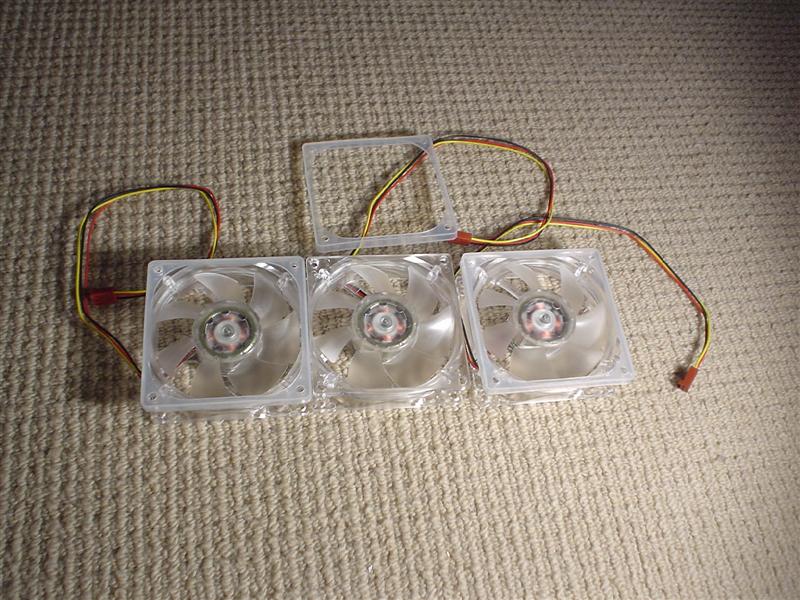
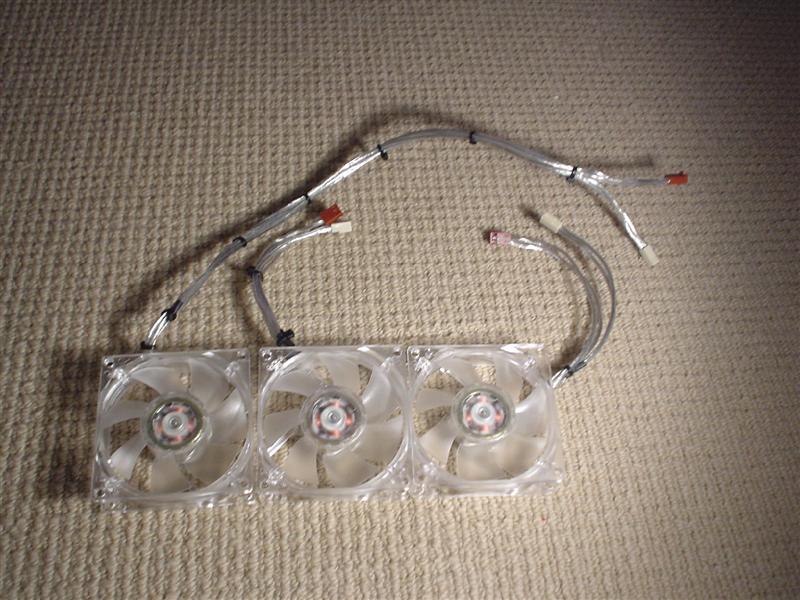
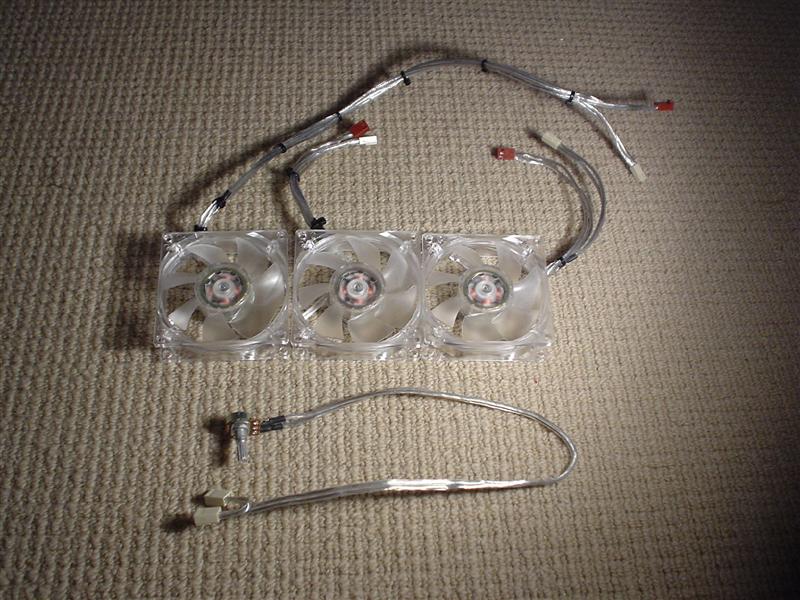
Over the last few days I’ve mainly been killing leds on fans and doing some front panel modifications.


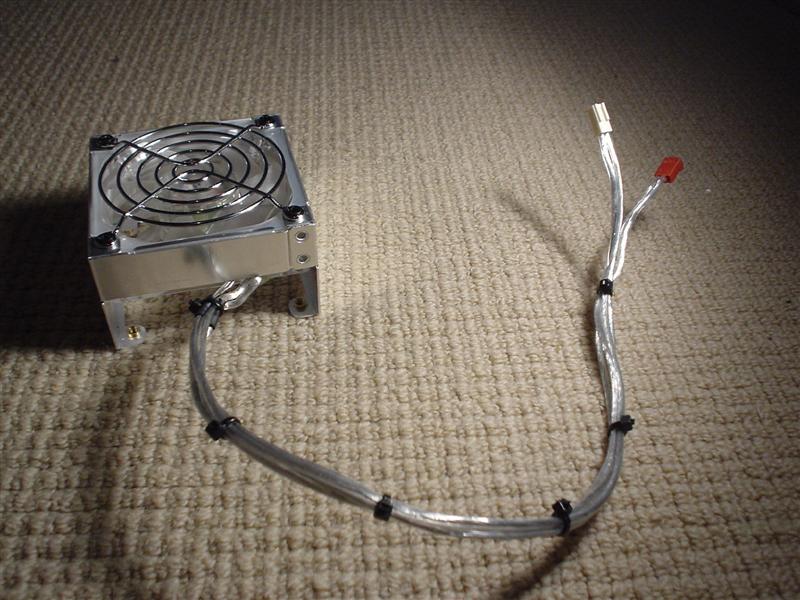
After that I built a fan control circuit which killed a couple of led fans in the process but I got it done in the end (new fans on order hehe)


Finally I took a few very dusty shots of the front panel in place to give you an idea of what the final layout will be


I hope to get a bit more done on this project this week.
Project Little Devil: Switches/LED’s fitted
2004-08-05
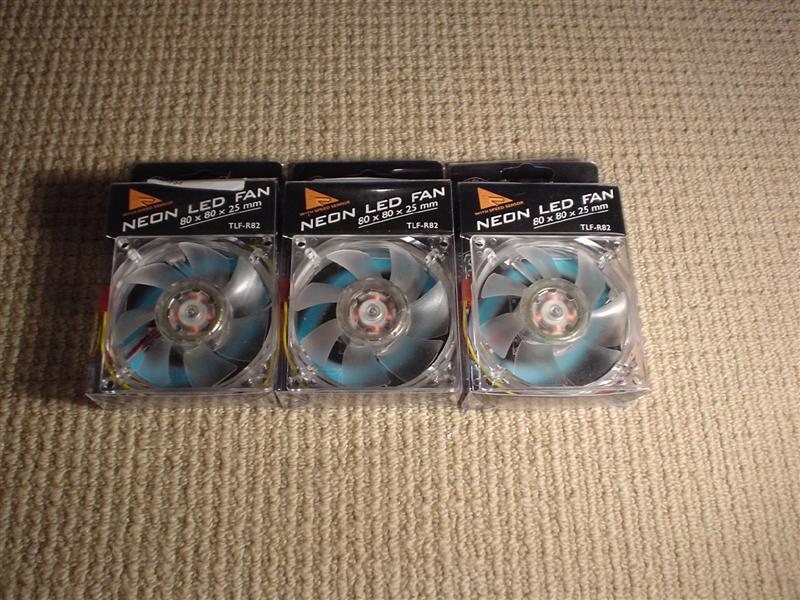
Some more parts have arrived to allow me to do some more on this project.
First off my replacement fans arrived to allow me to redo the fans. I’ve used the same blue wiring as the leds in feet as it matches.

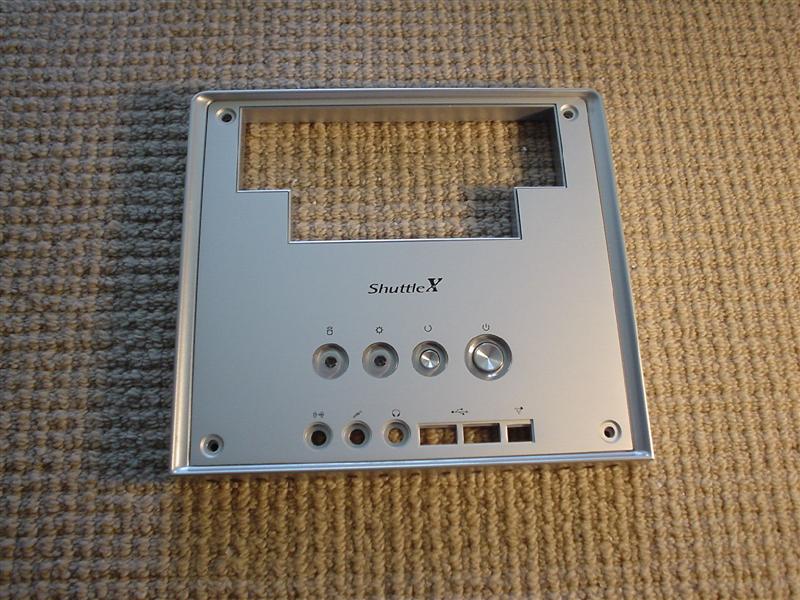
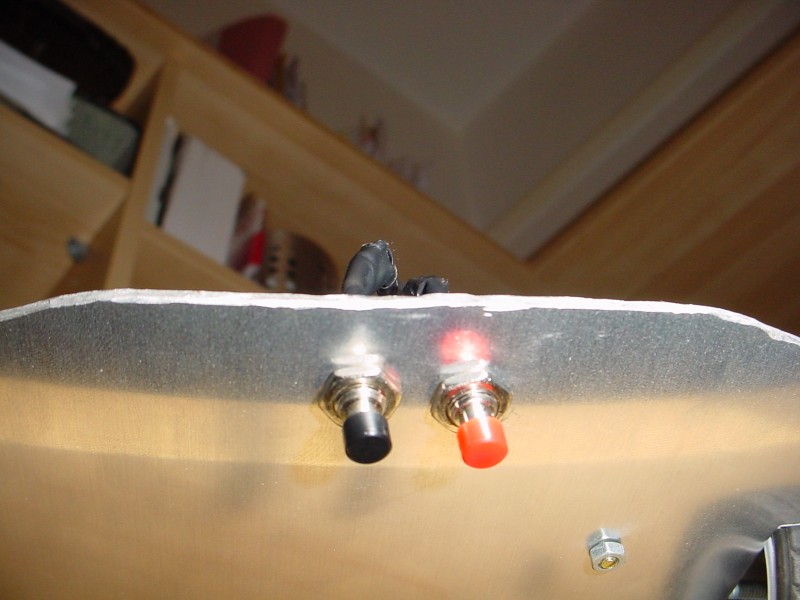
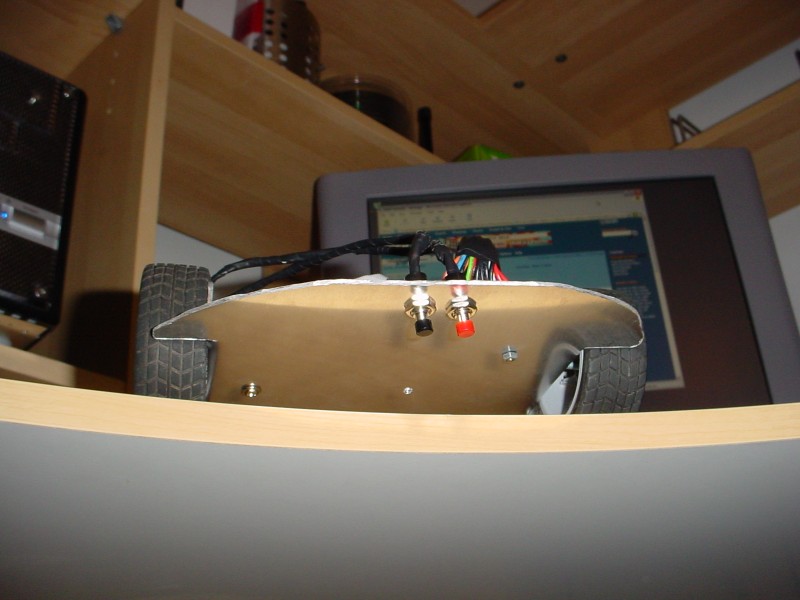
After that I attacked the switch setup. In the original case there was an optical in and out ports above the pci/agp slot , I don’t use these so removed them. This left me with 2 square holes and two small round holes. I needed somewhere to put the power/reset switches and pwr/hdd leds this was perfect. I got some cheap but nice square looking switches from maplins. The squares needed to be enlarged slightly but they fit perfectly into place.

Lastly I added the led’s in led holders in the two holes above the switches.

If you look in the second pic you can see a nasty looking hole where the hole for the inbuilt wireless ariel used to be . I was going to mount a bulgin led switch in there but decided it didn’t look right. I have a solution to the hole in progress 😉