


Nerf Stryfe Mods
Whilst it’s cold wet and miserable out there, it’s been hard to get any work done on the motorbike. I’ve instead taken to modding Nerf guns.
I picked up a Nerf Stryfe after xmas as it seemed to be a great blaster for modding. There are so many choices for things to do to them and lots. It started with this post on reddit: Merry Kriss-mas. It’s the Kriss vector kit for the Stryfe. It looked awesome. I discovered the joy/pain of Taobao and trying to purchase items from there.
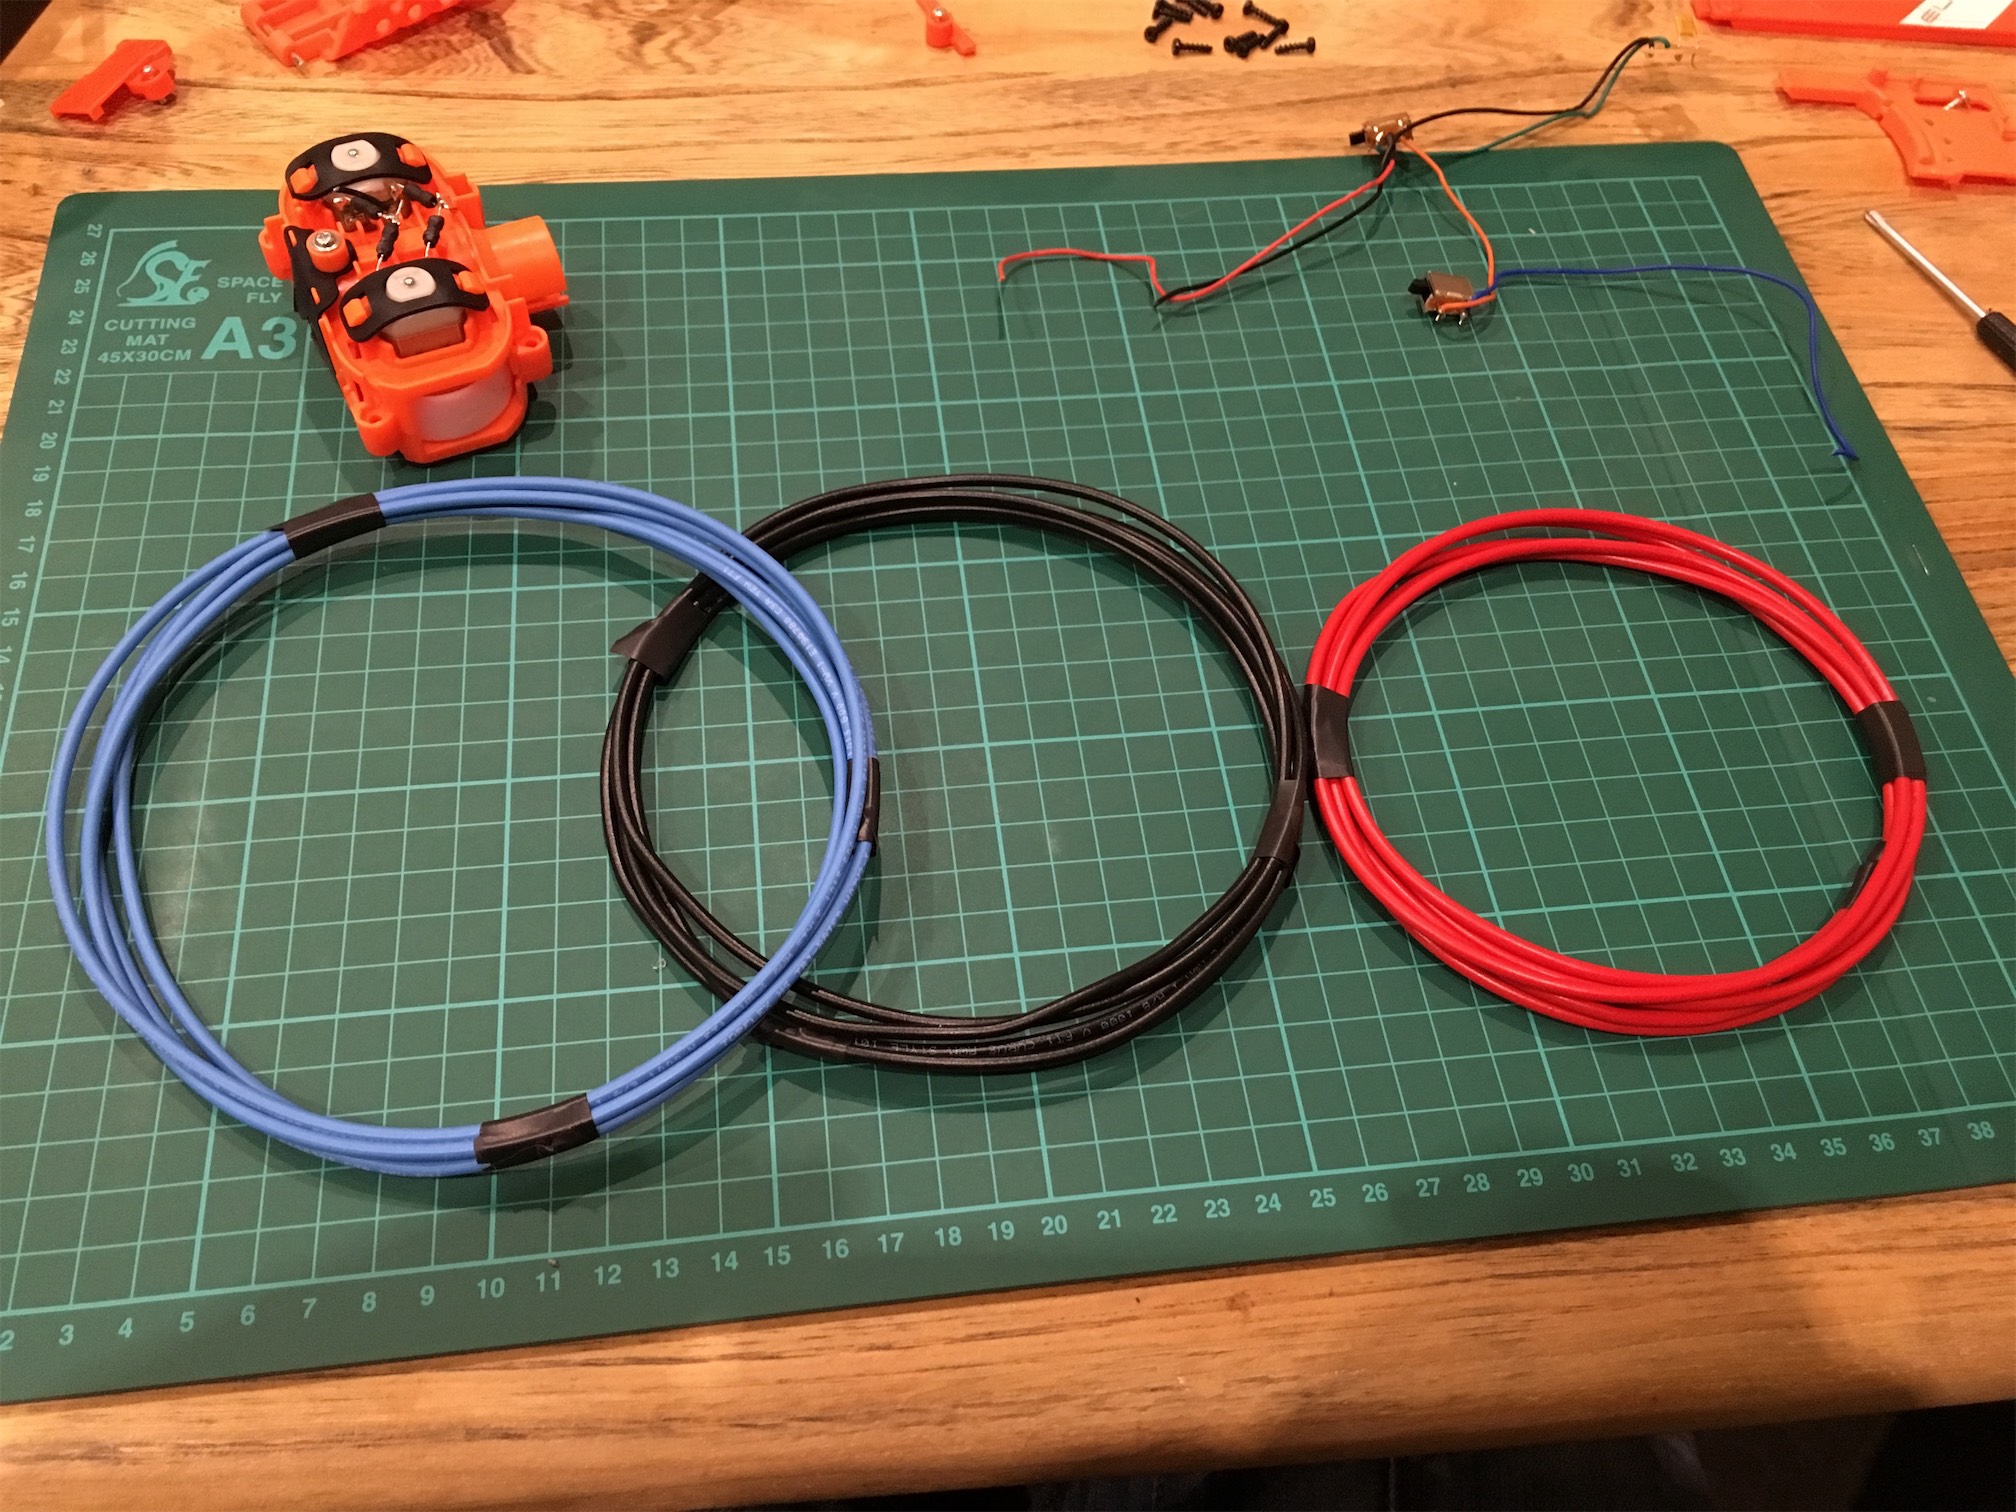
I started off with taking the Stryfe apart to remove the locks and do a rewire.


I realised as this was my first attempt, it was going to be tricky, but it wasn’t too bad. I made some mistakes and will be redoing this again when some more parts arrive.
Whilst I had the stryfe apart I fitted a new 3d printed magazine release catch designed by Gavinfuzzy on reddit. He very kindly shares the Stl files so that I could get it printed locally. As sadly the shipping for so such a small part was astronomical otherwise. It was my first bit of 3d printing and I discovered that there is a 3d printer manufacturer just down the road from me. (YAY!)

Next was to wait for more parts to arrive. The main parcel was from YOYbuy with the Kriss Vector parts. I also stuck some ebay orders in for Black banana magazines from Blasterparts.de as well as some motors from Blastersmiths (Also seemingly just down the road).
Finally the parcel from China appeared and after the painful Customs bill I had the parts in my grubby mitts.

The F10555 parts are 3d printed and are excellent quality. I was very impressed with them. I picked up a few worker bits as well that I would need.
The first job was to fit the stock together. It is adjustable so I managed to find a good size for my build.

Next when ordering I made the first of my two mistakes. I had ordered a separate rail cover for the bottom of the Stryfe. This isn’t needed, but I tried it on to see how it fitted. I also fitted the main top rail. Both these went on really easily.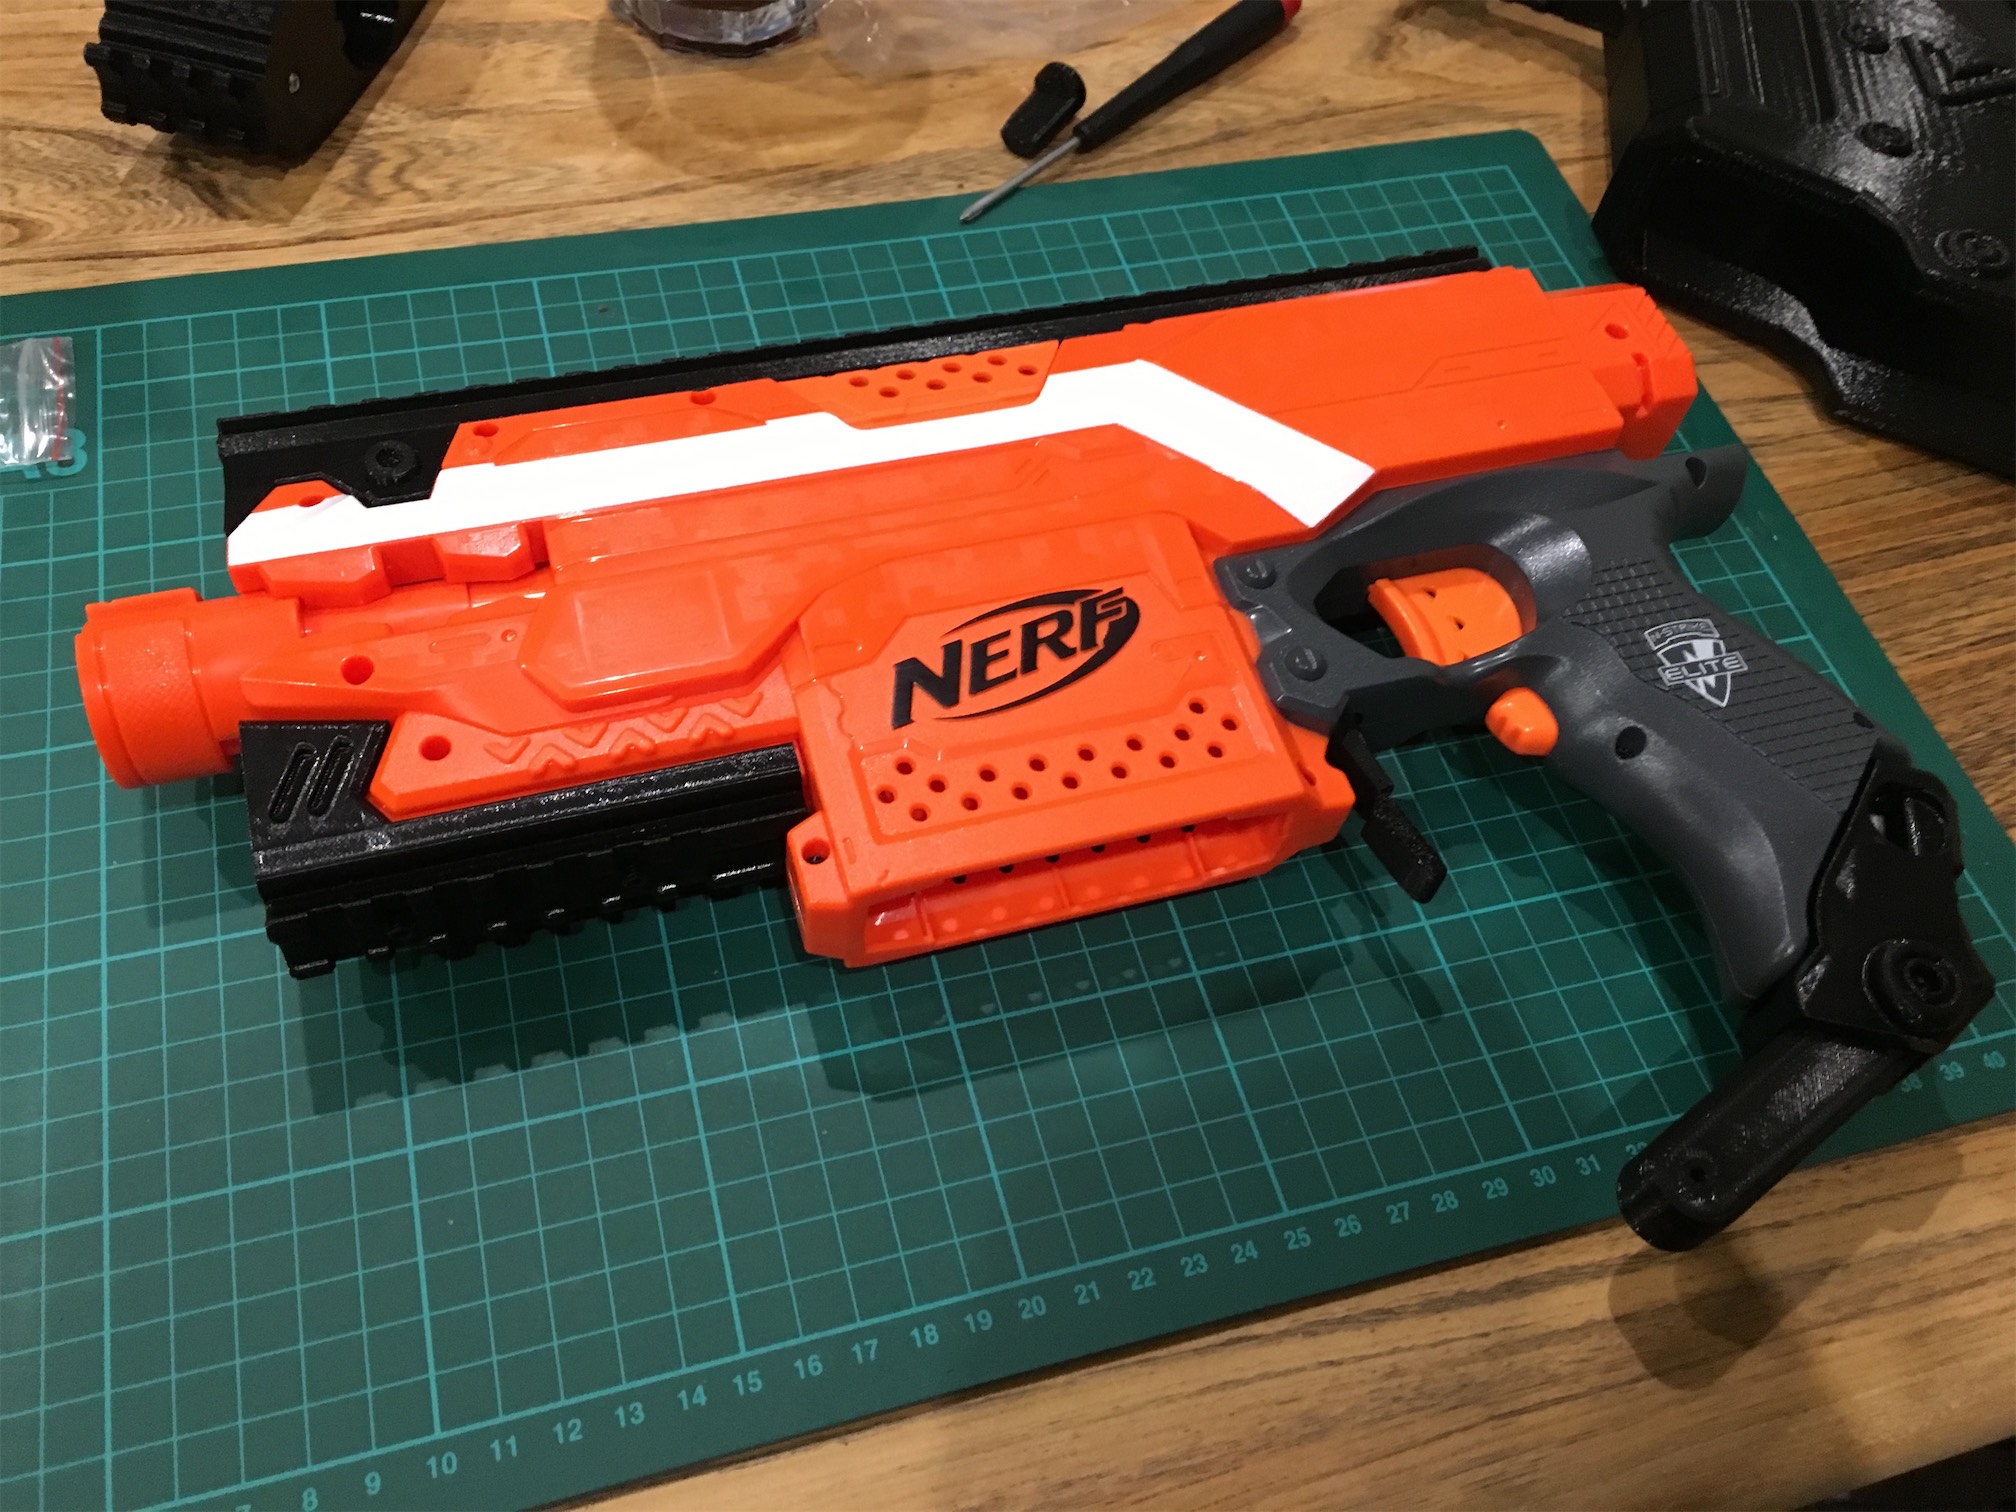
Next I ran into some issues fitting the magazine cover part. Basically the bottom rail cover was wrong. It had rails that were much larger than the ones on the Stryfe. Which is odd as the other rail mount fitted fine. Either way, I had to come up with a solution, so I took the dremel and cut off enough of the rail until the bottom rail fitted ok. A bit of a pig, but fine in the end.

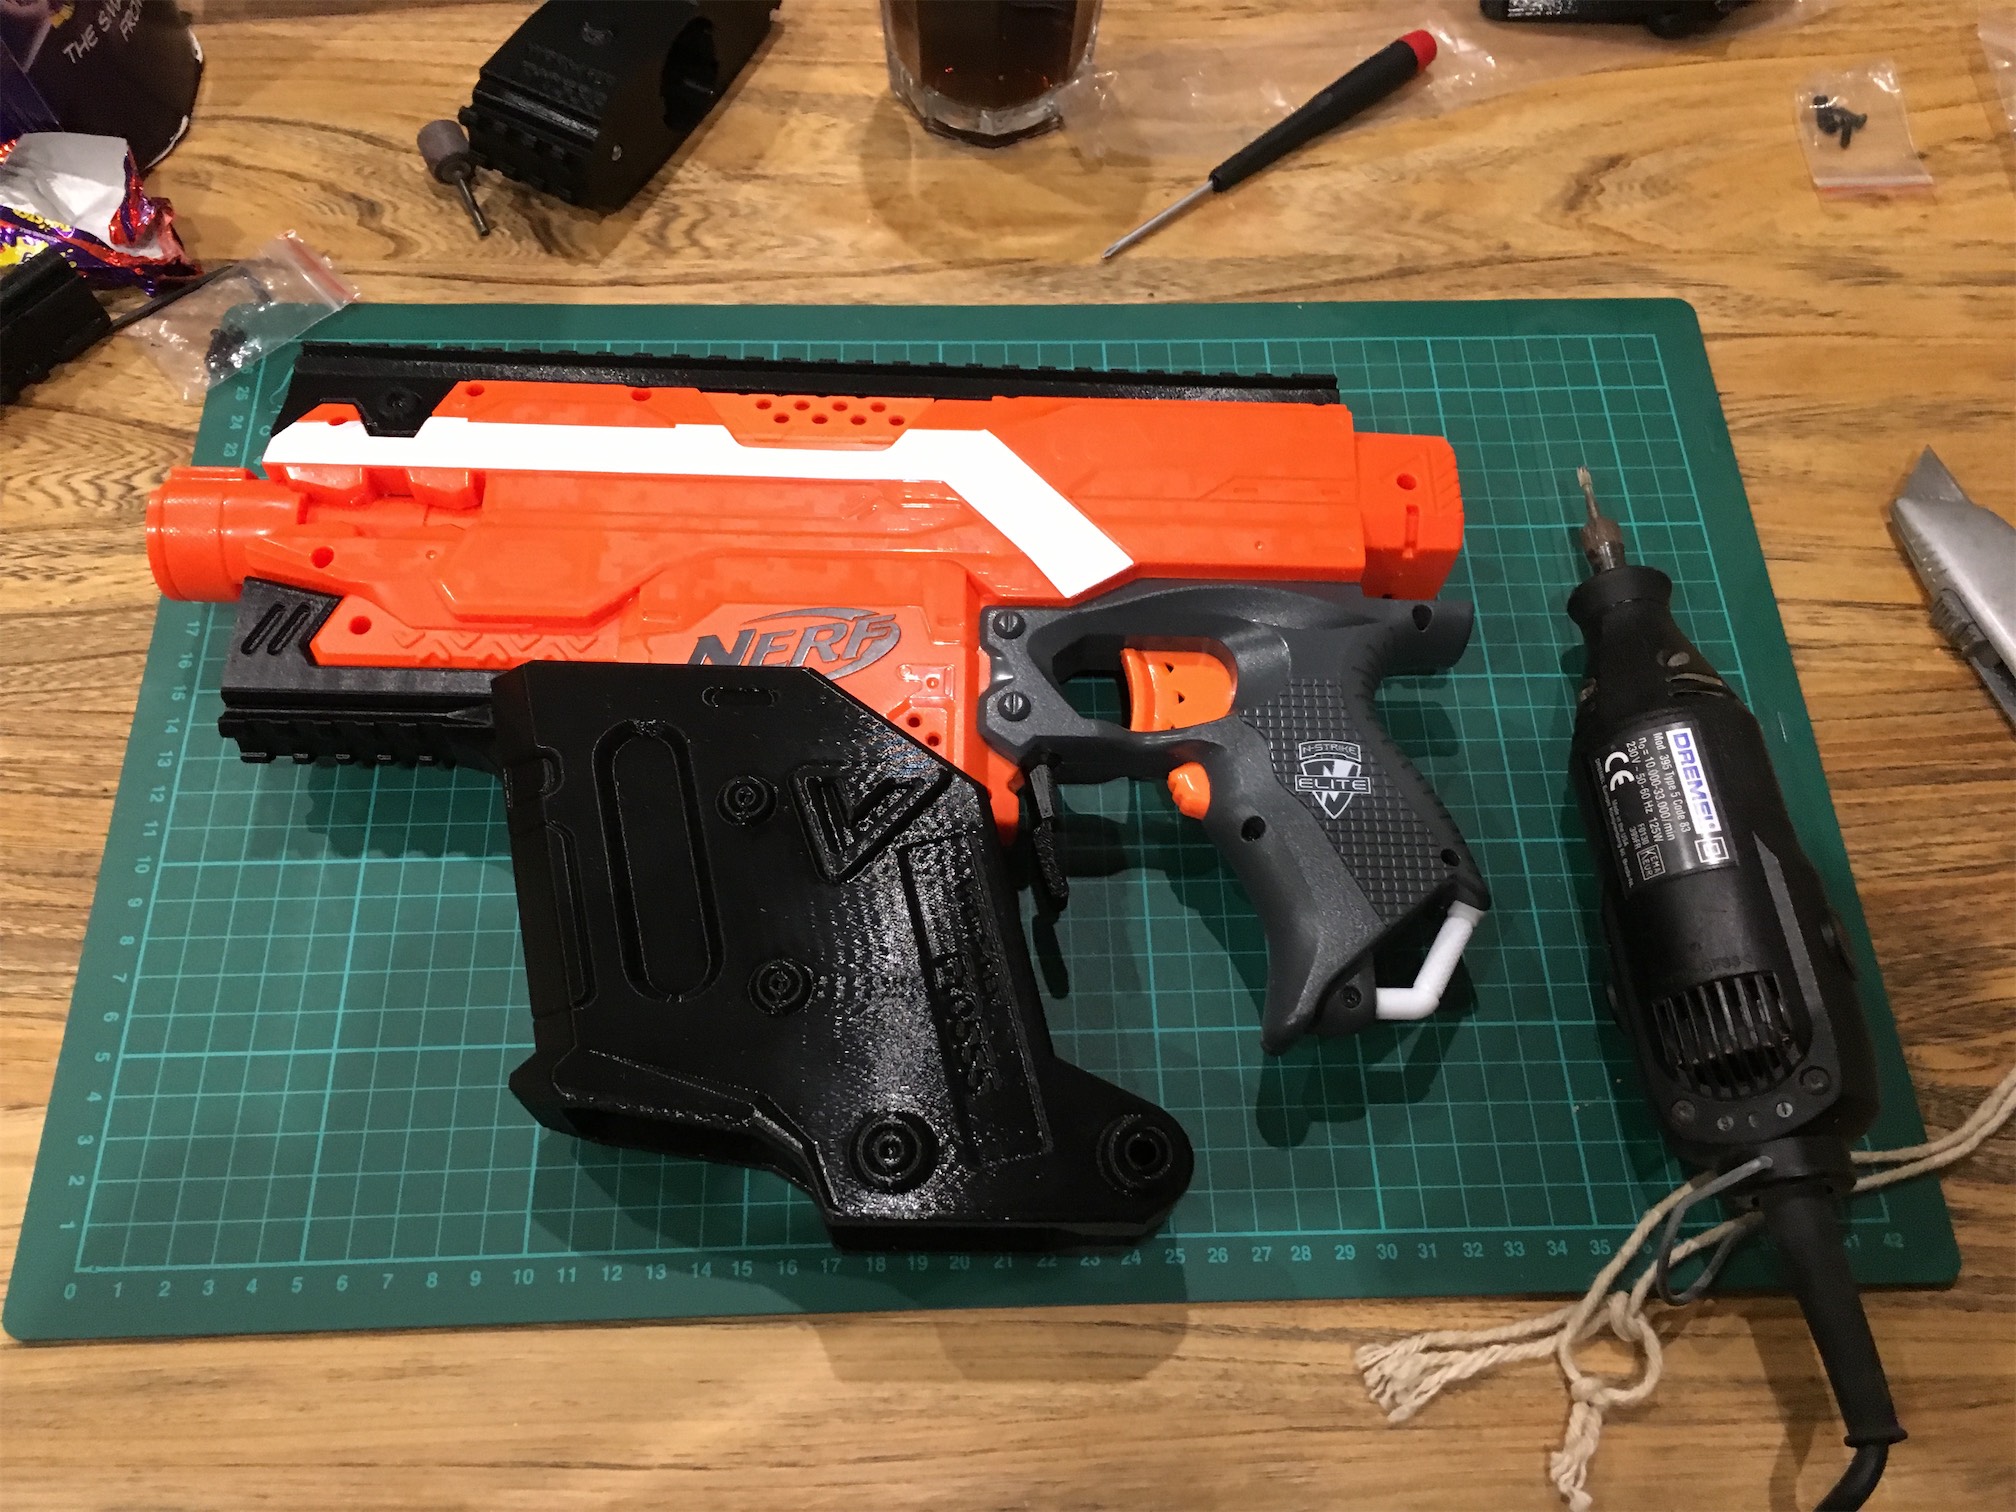
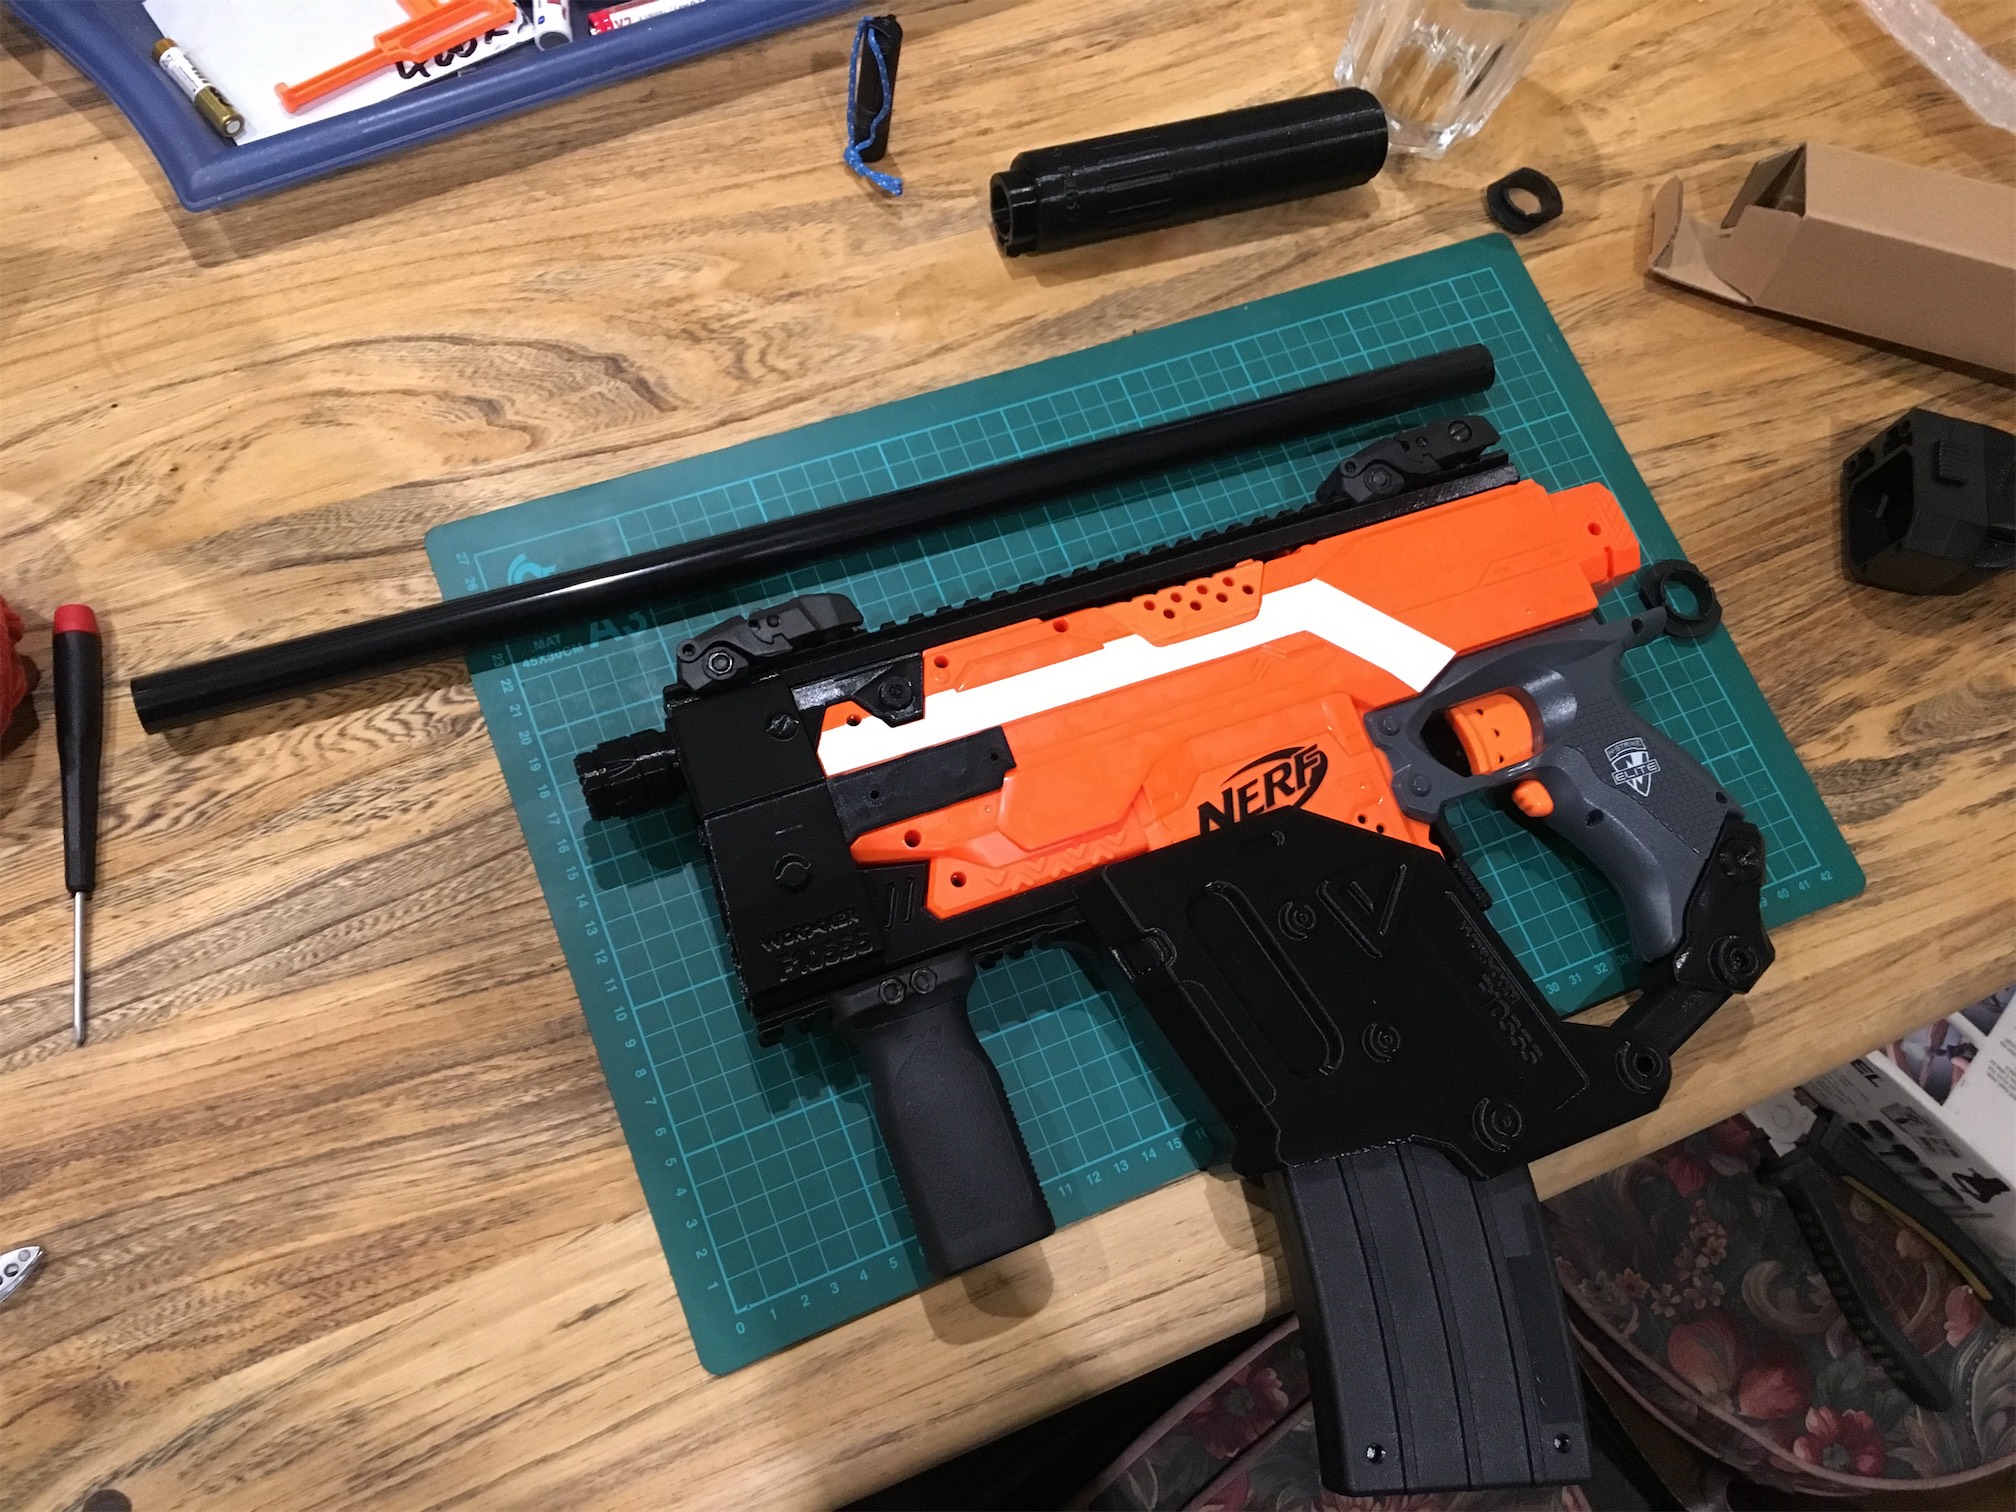
Next I fitted the grip to the clip cover section. It’s all really well built and thought out so this went well. I could then fit the front cover on as well. This uses the existing nerf barrel connection and is very quick to fit. I put on the front grip and the flip up sights I bought. My second mistake was discovered it. The side inserts came with a single 10cm rail instead of two 5cm one’s so I’d have to order some replacements. I’m not sure if this was something I ordered wrong or was sent out wrong, but not to worry.

It’s starting to look really good now. I next needed to fit the barrel and silencer. I made another ordering mistake here and got the longer silencer. It’s a bit too long for my liking, but I will order a shorter one. Cutting the barrel was fairly simple but my advice is to make sure you measure properly and make sure the barrel is really fully in the silencer…. Not that I cut wrong of course (cough!). Good job there is a long section of it!

Finally all the pieces were in place, and I could fire it up.
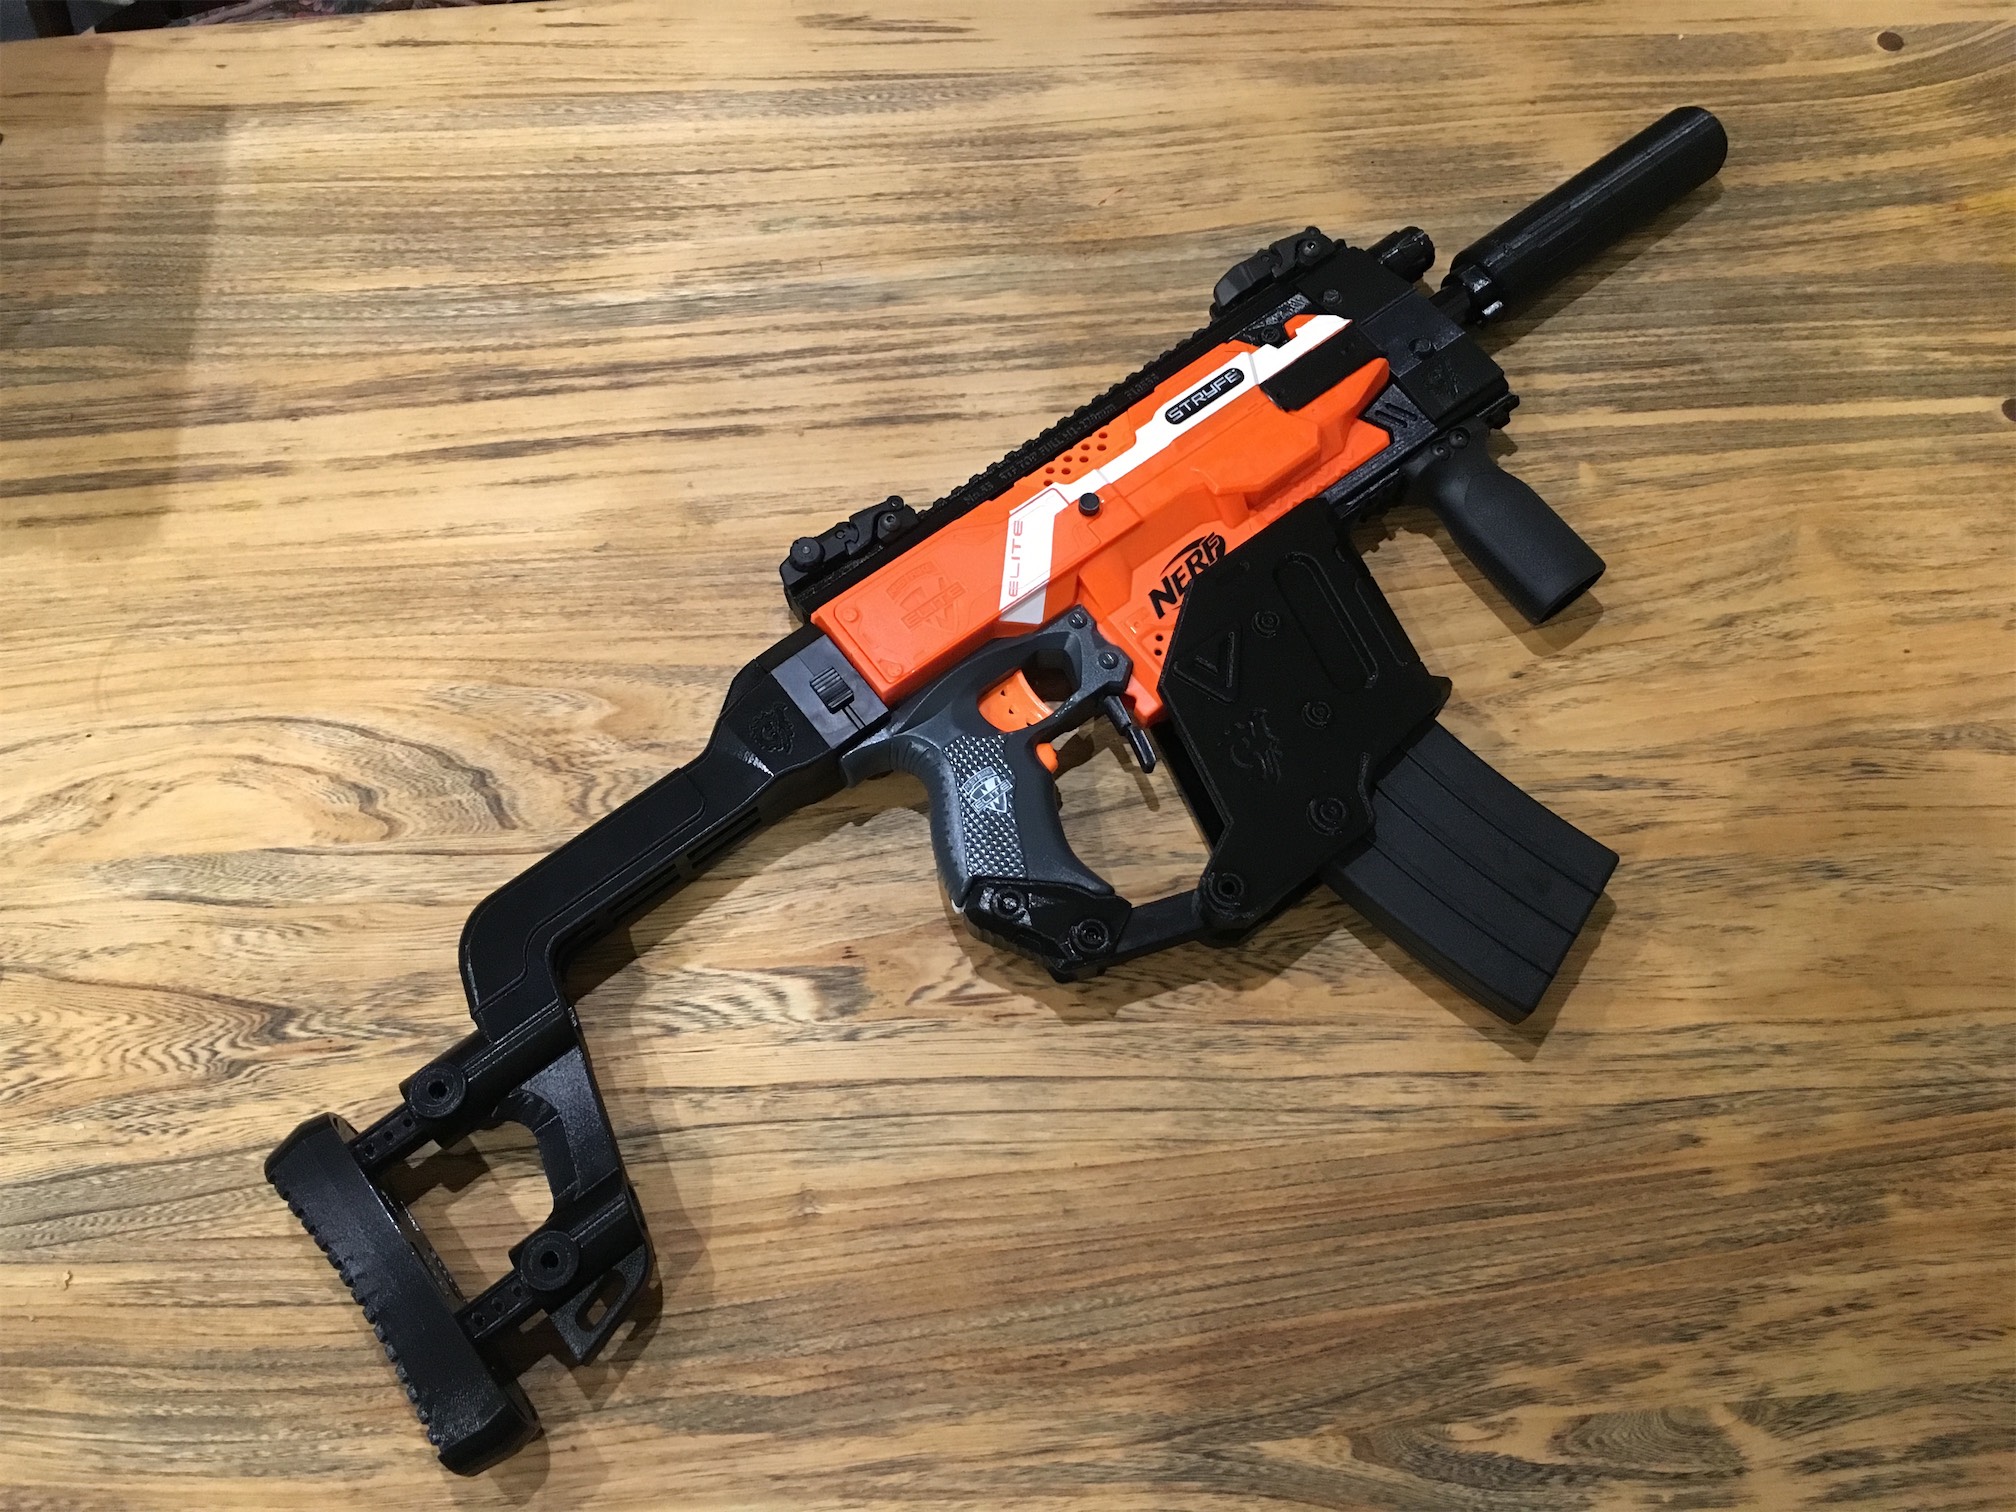
Currently I’m running it with 2 imr’s and 2 dummies. It fires really well with loads of noise!
Jobs and parts left to fit are as follows:
Worker flywheels
Rhino Motors
Silicon Wiring
Side rails
Sling mount and sling
Sound deadening.

Comments are closed.