


Headlight woes
Currently here is the problem. As it stands now there is all this mess of cabling in the current shell. Which is 7.5inches in diameter. As you can see it’s a total mess. I’ve cleaned up the speedo cabling, which was the worst of the looms, but there is still more that needs to be attacked.

The new headlight has a ring of LED’s around the outside just inside the shell casing. You can make them out in this picture here:

The whole thing is designed as a sealed unit that is not used to hide the cabling. So I think moving the cables back towards the tank area is the best plan of attack.

If the weathers not tipping it down, I will try to find some places to hide the wiring mess. I’m thinking maybe somewhere underneath the tank would be the best place. As it is hidden from view, but is close to where the existing wiring is. Maybe even in some kind of box to keep the connectors out of the worst of the weather.
Headlamp headaches
Well the headlight has turned up this morning and it looks great.
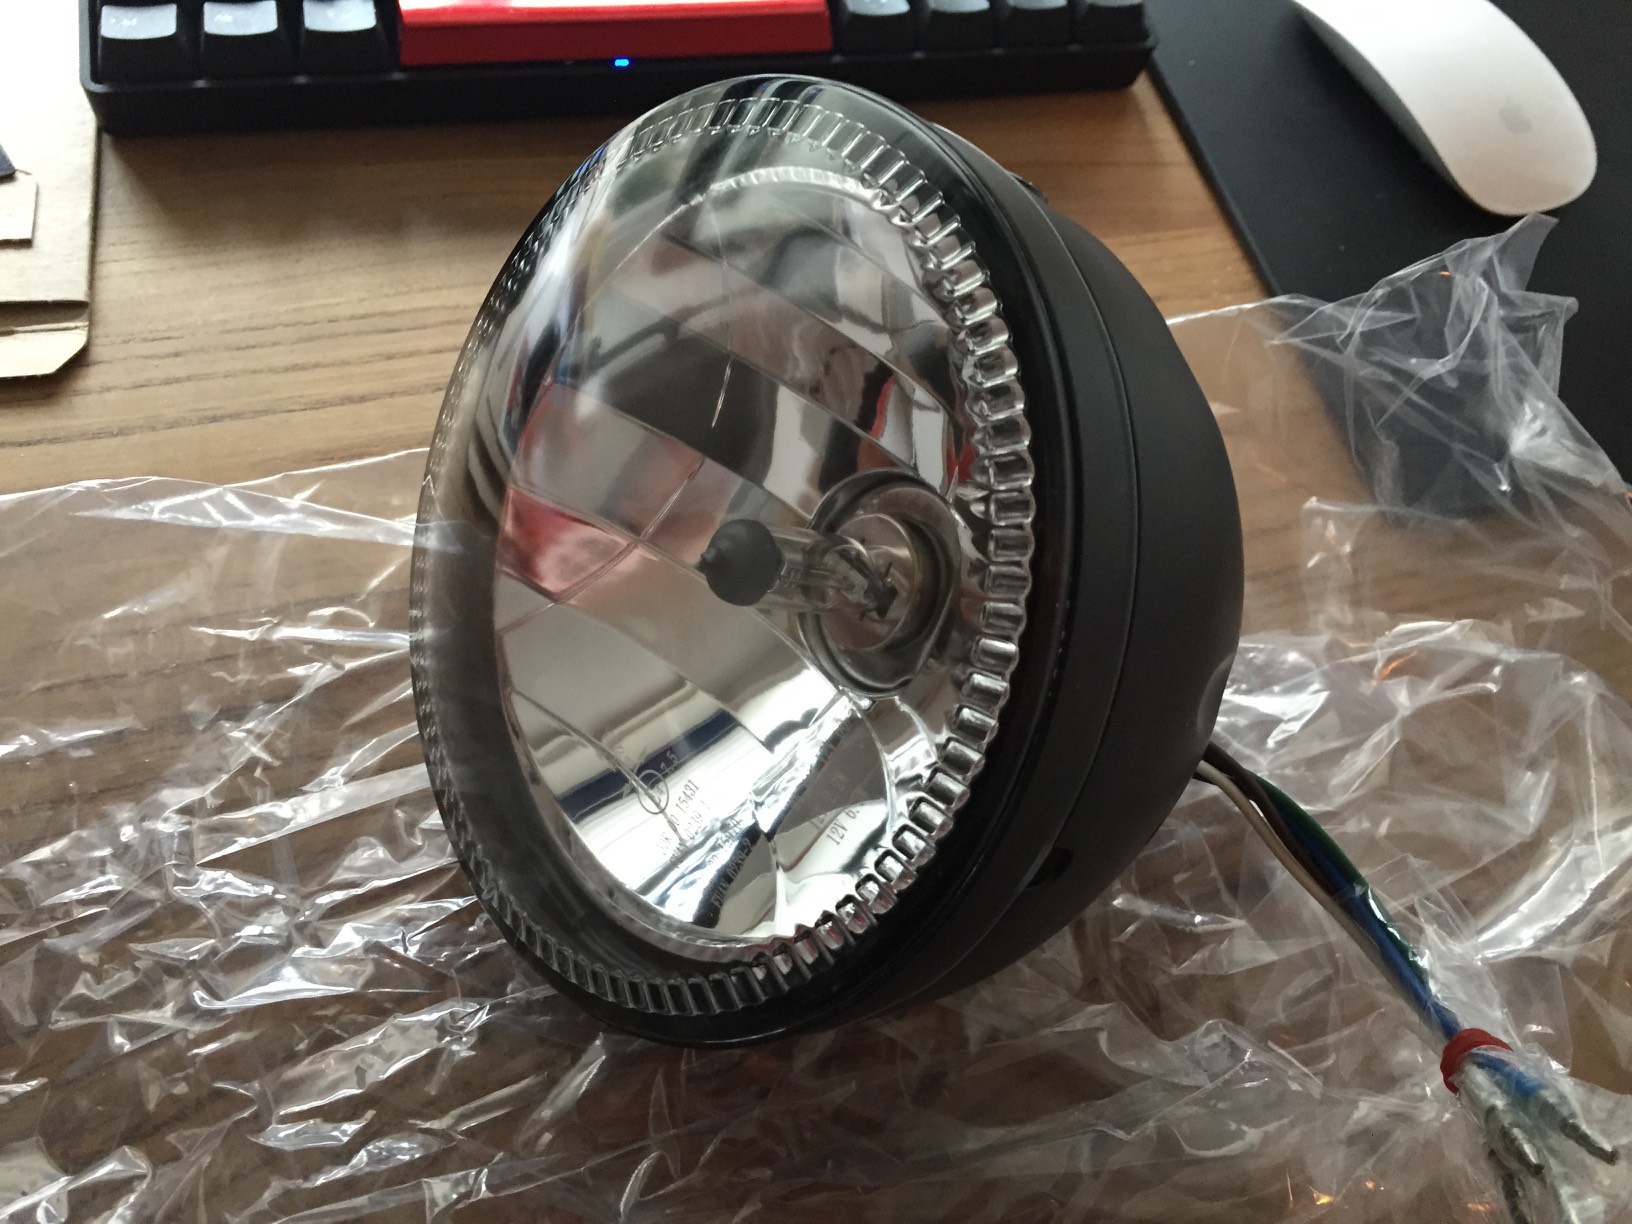
There is one thing that I wasn’t expecting. That is this headlamp has no space for the tons of wiring in the current one! Arggggh! Add to that the mounting system I’m currently using will not work as this uses smaller bolts and has no way for the indicator wires to go.

So I will have to think whether this can work, or do I have to modify it too heavily. I think I can work out moving the current wiring to somewhere else. The issue is where and how then do I mount the headlamp and indicators.
Speedo Bracket Fitted
I’ve managed to do a few more bits on the bike. I’m awaiting a few more parts before I can the last few bits done before getting it on the road.
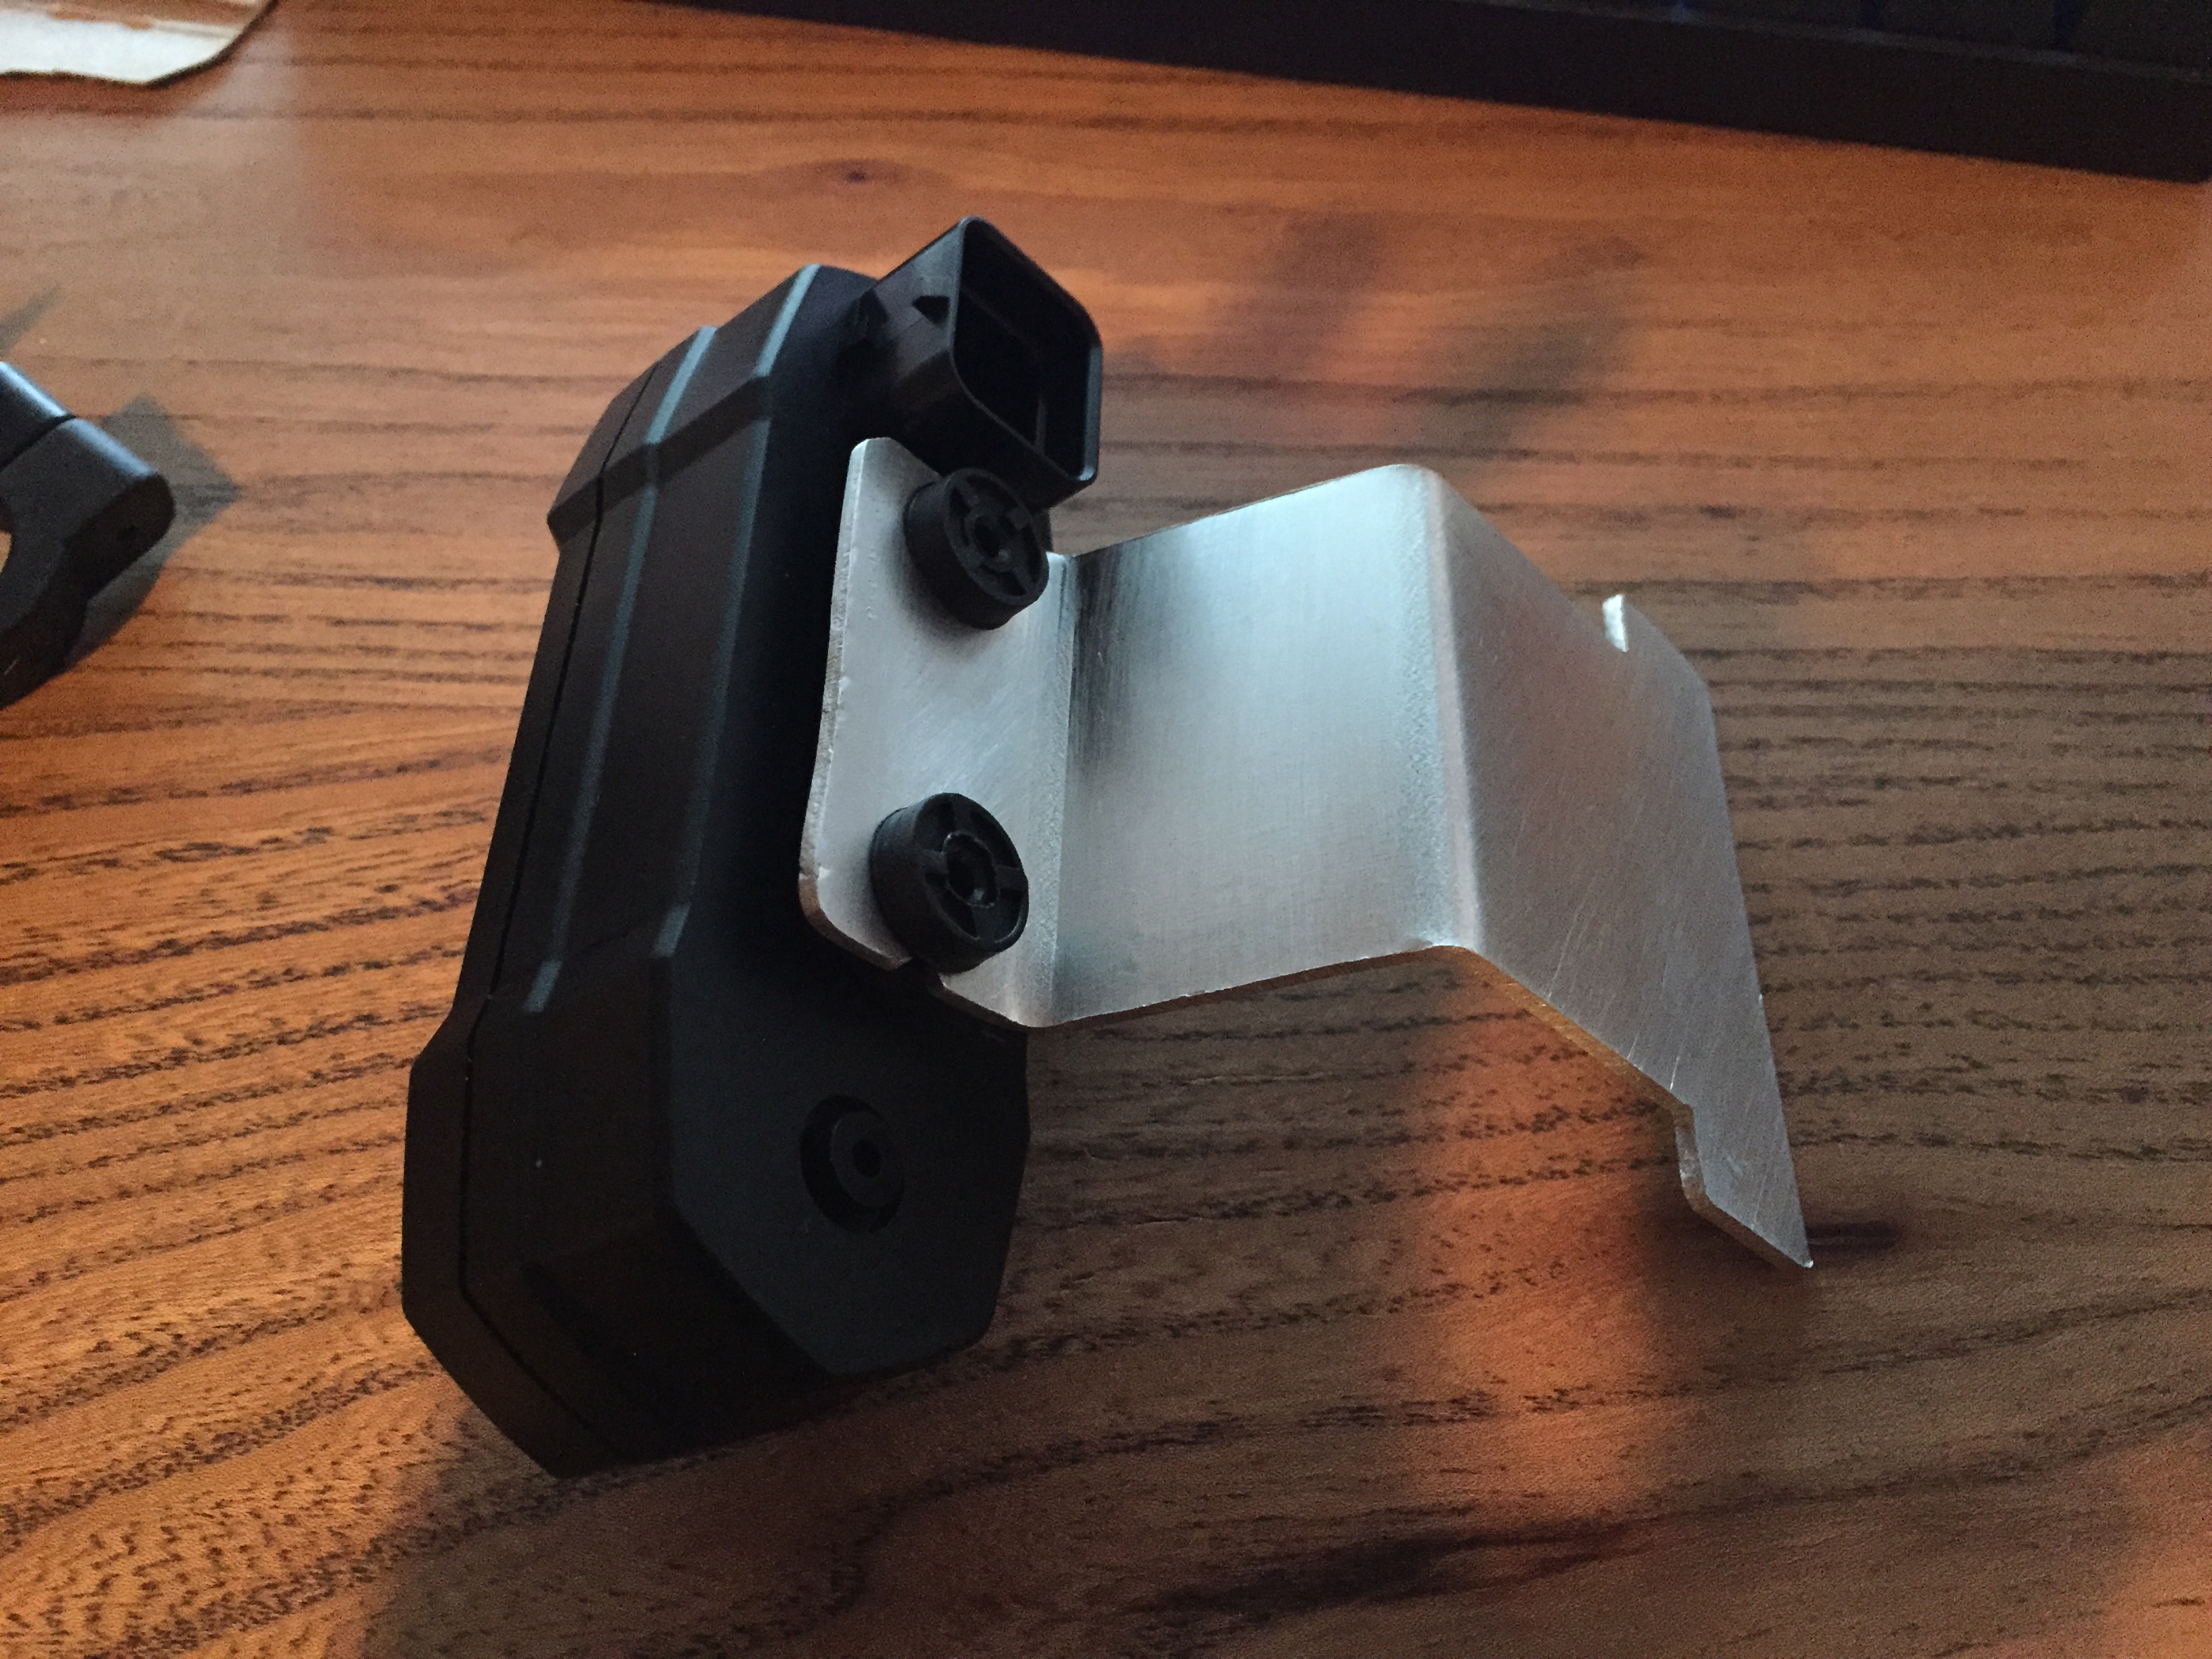
I’ve fitted the speedo bracket into place using the existing bolt holes. I was going to paint it, but actually it looks better in silver. So I’ve left it like that for the time being. I plan on changing this in the future when I get rid of the ignition switch for an m-switch.


I’ve rewired the front brake switch to something less dodgy. I’ve also ordered a new headlamp.

It’s smaller than the current one and has led’s in a ring. That should look nicer and be safer.
Wiring Hell
So, it’s been quite some time since I have updated this thread. I have made some progress on the bike. However not as much as I’ve hoped for. It’s still not on the road, but closer than ever!
The major issue has been some wiring gremlins. Some caused by me and some caused by some shoddy work in the past. I got a couple of wires wrong when hooking up the new controls, which I fixed quite quickly. However there was a very bad short which caused smoke to appear from near the speedo and fry the main fuse. After much poking around with the multimeter I realised that the speedo wiring was to blame. I found a really awful mess of cables hidden under some tape. Really really shoddy work, some of which was touching the frame of the headlamp and causing a short. So instead of waiting to fit the new speedo I’ve ripped out the old dials and wiring and started doing it now, as the wiring would have taken ages to fix properly.


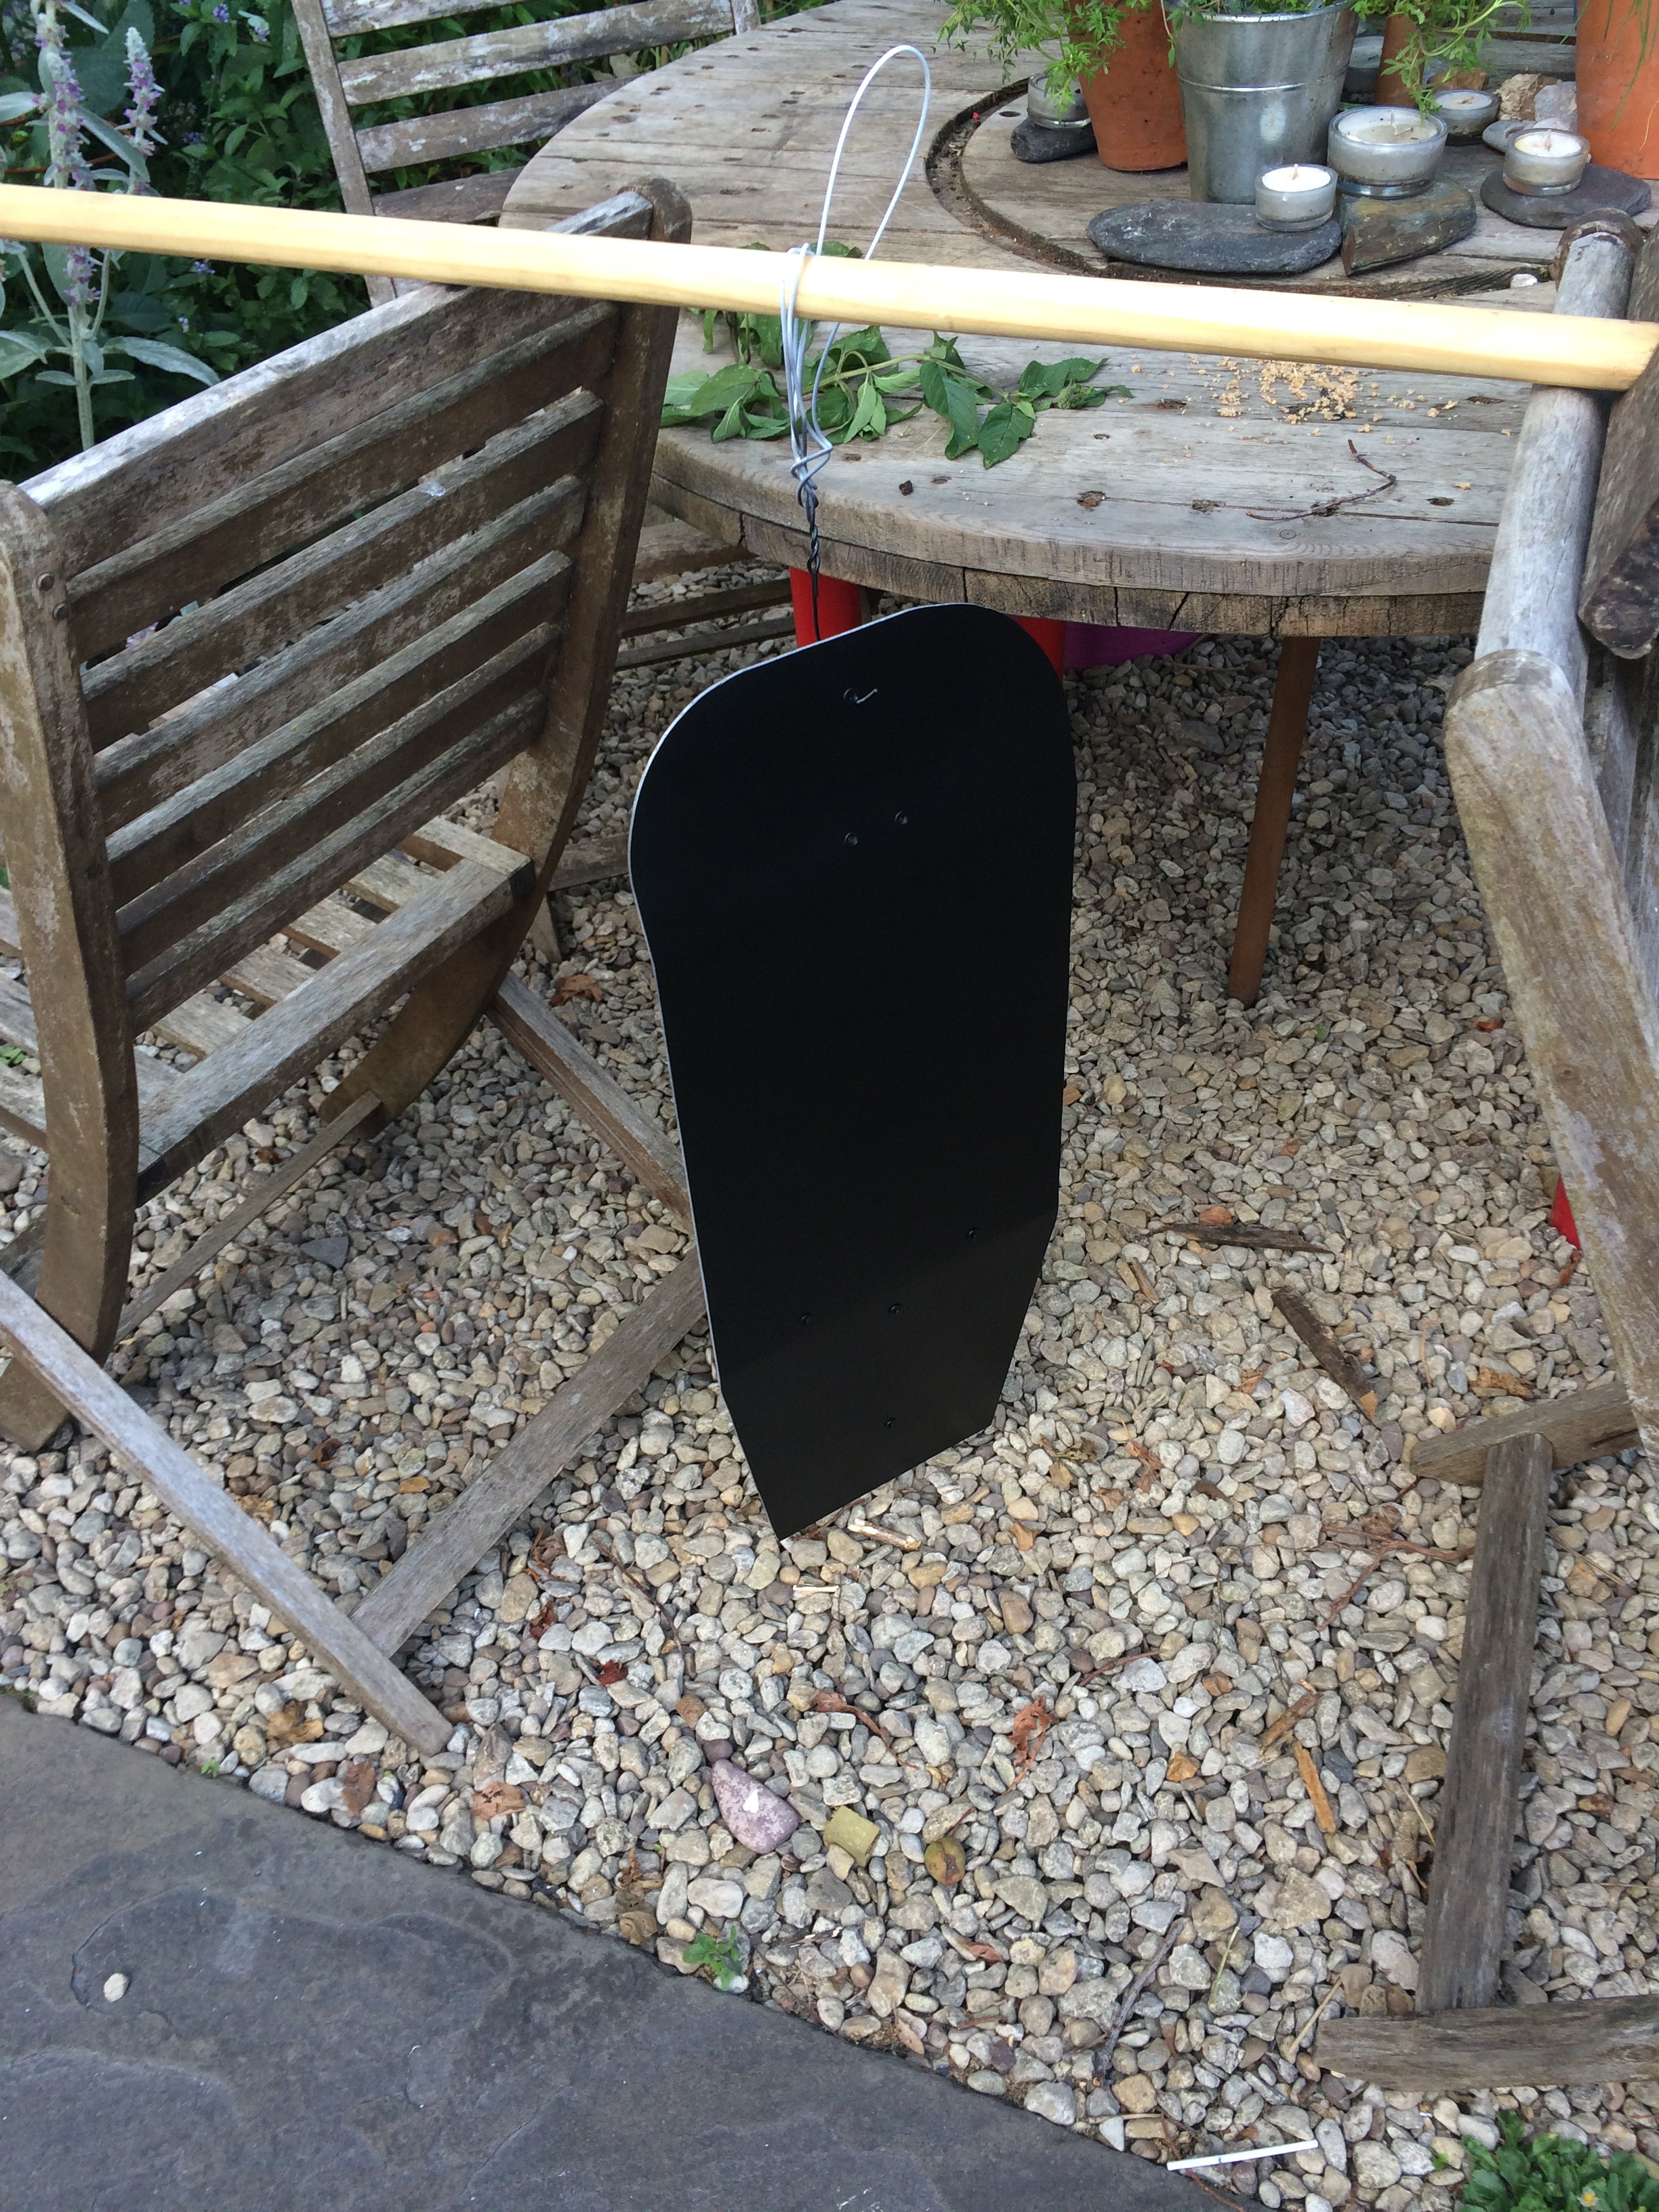
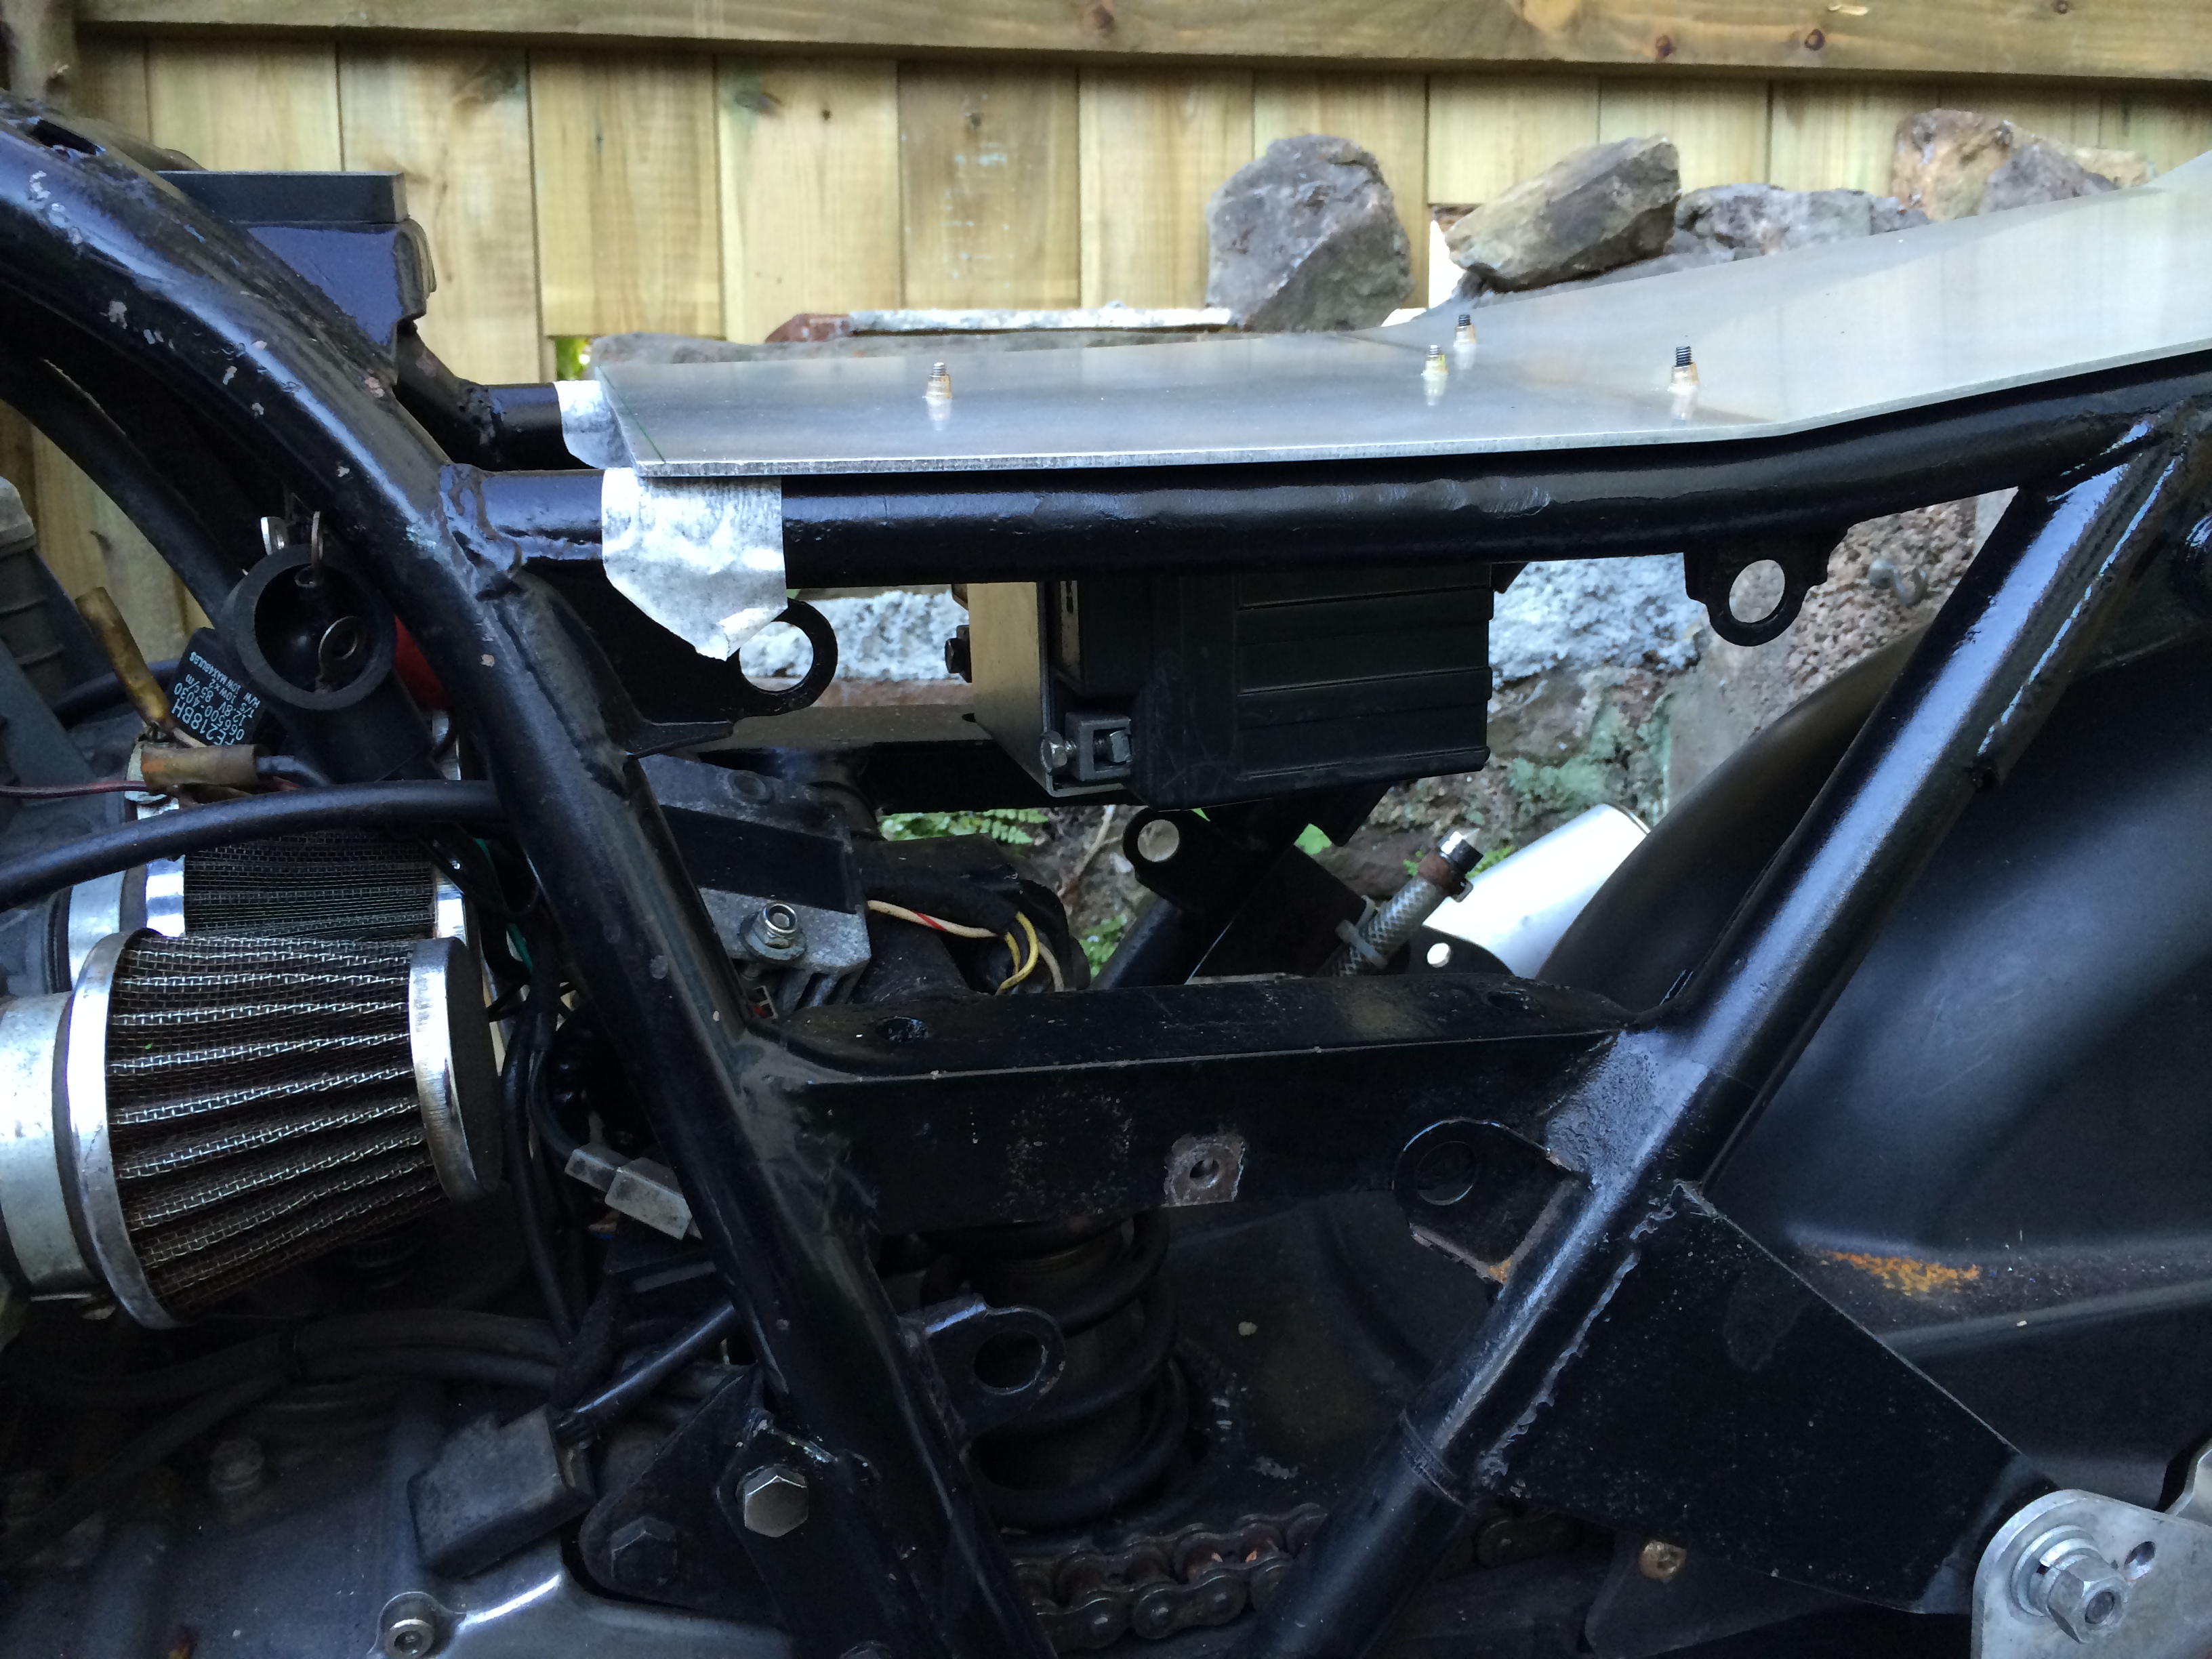
Next up I needed to create a bracket to mount the new speedo in place.
Here it is as it sits now, it needs painting and preparing, but I’m very happy with it.

The other major job ticked off the list is the seat. With the superb skills of my wife the seat is now fully in place. It was a pig to fit, but I’m really happy with how it looks.
Seat being fitted


The seat is in place.


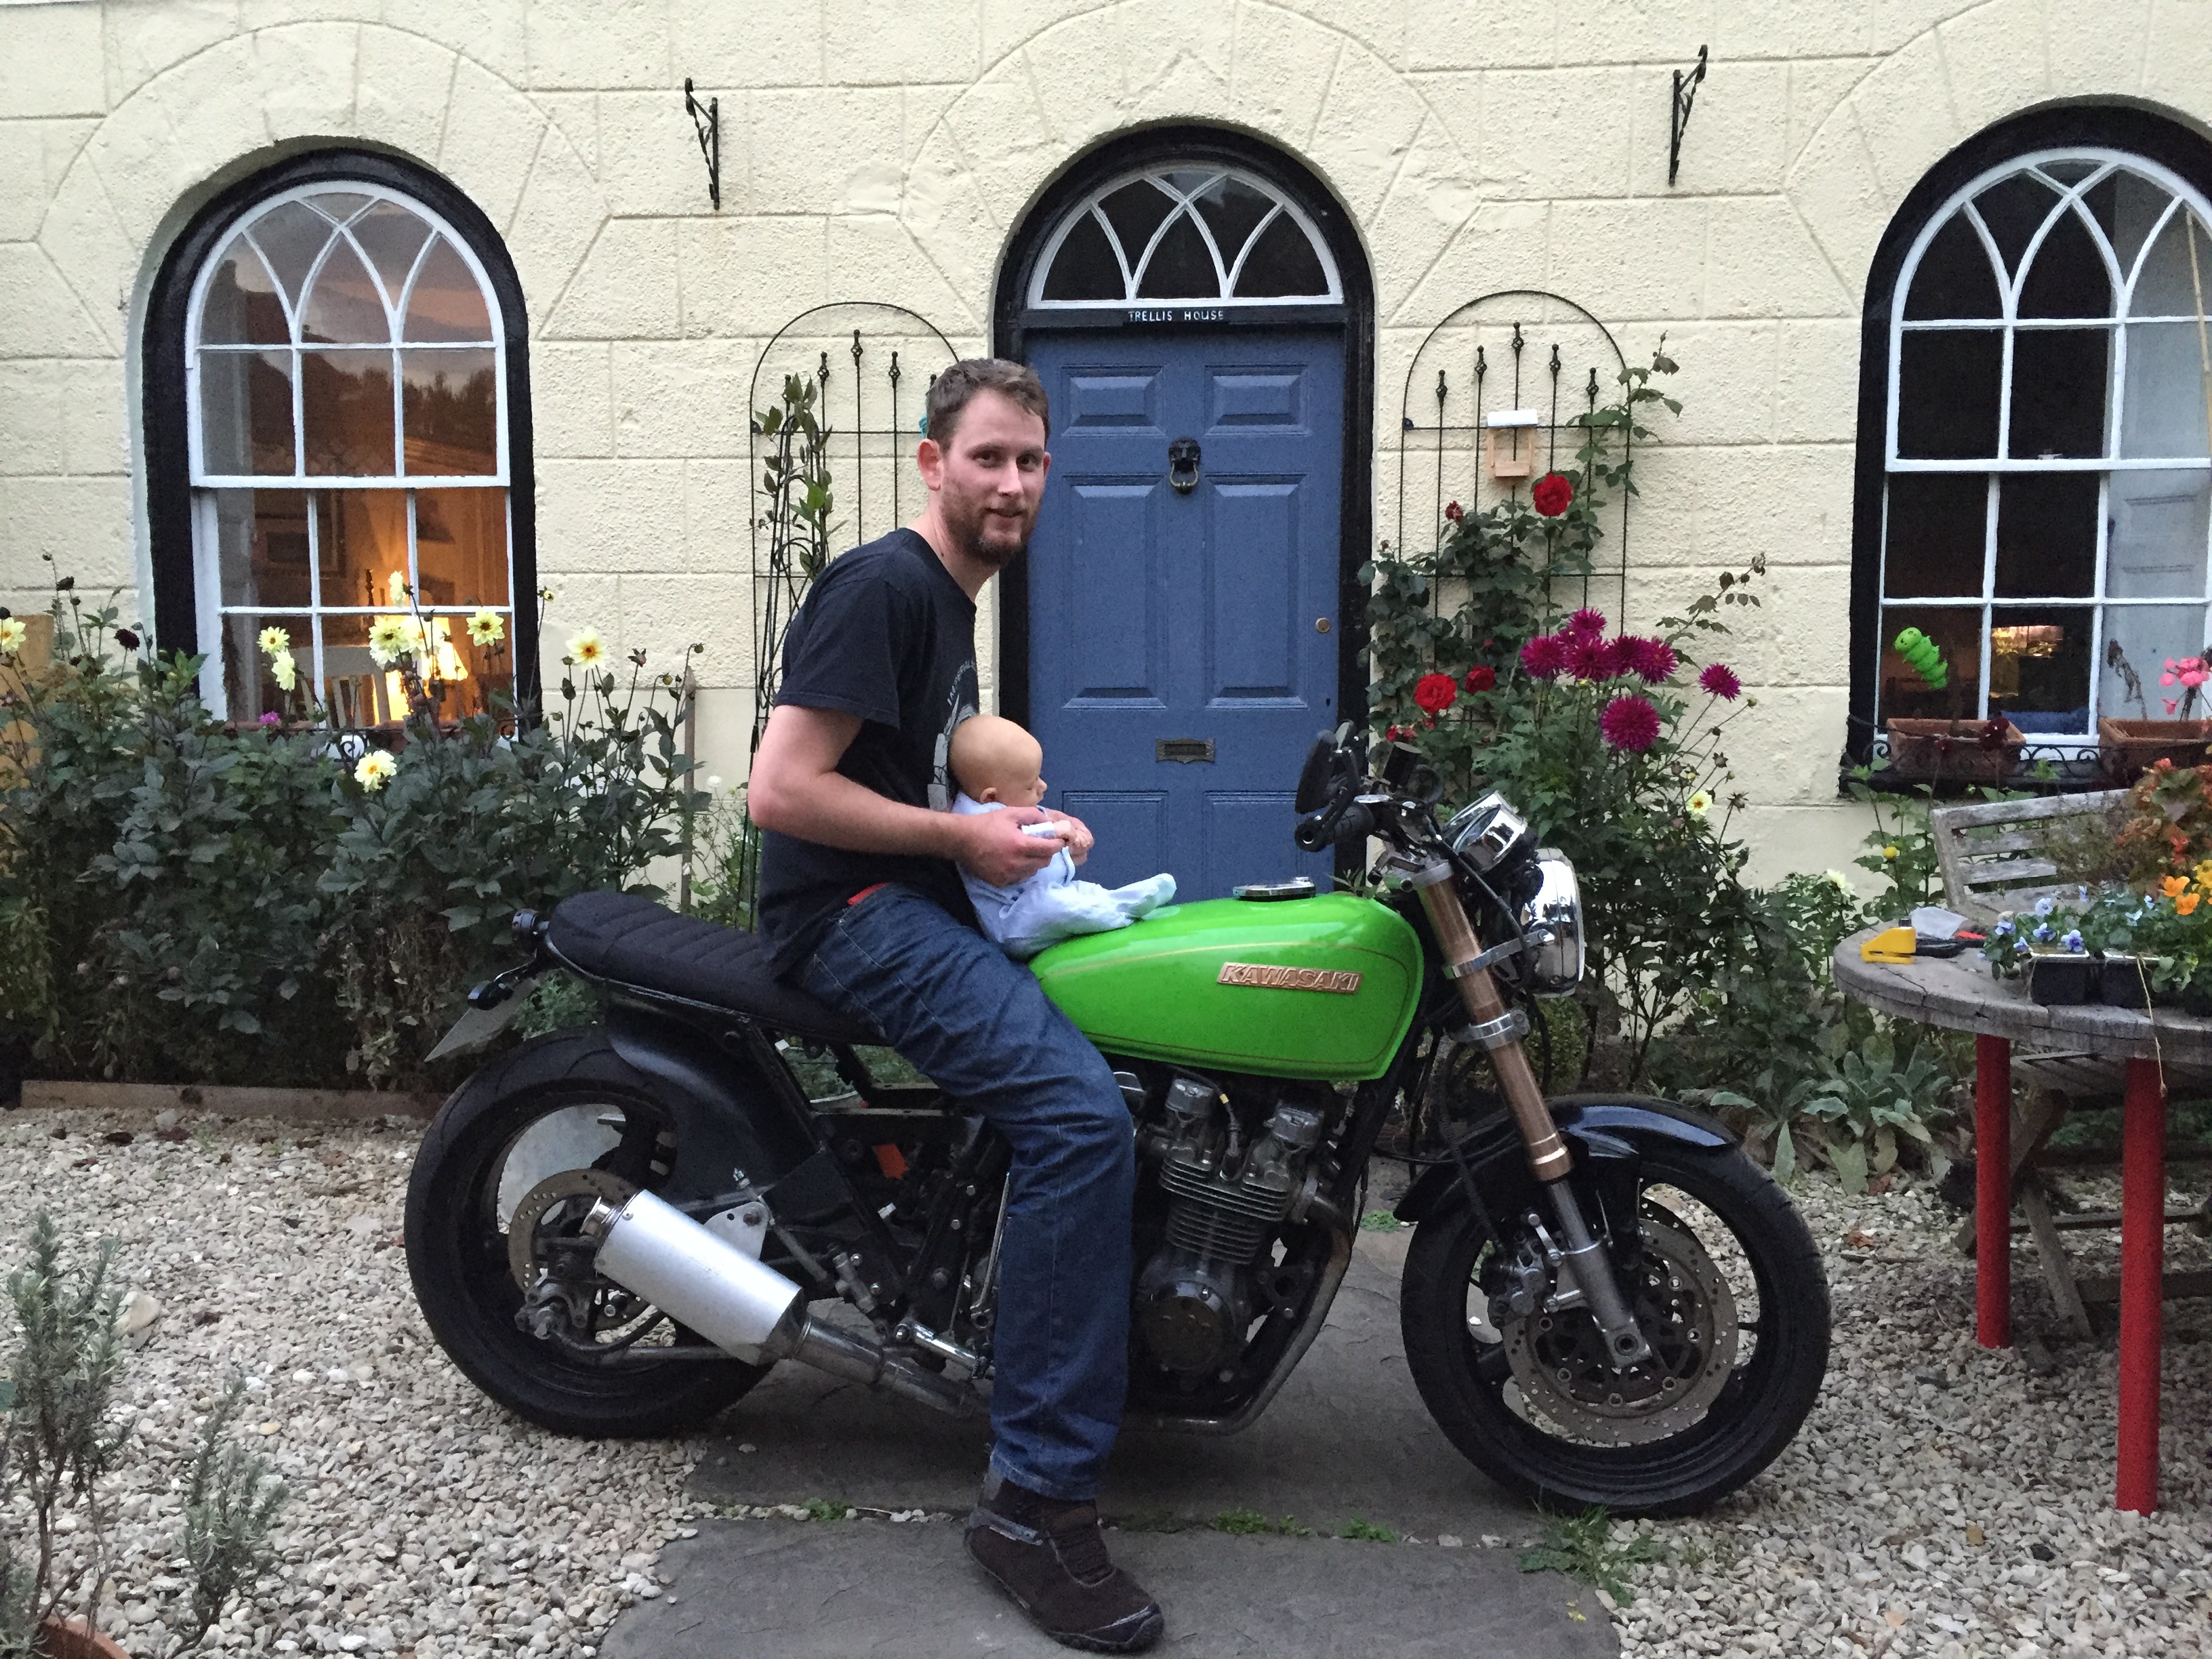
Got to make sure to start the little un on bikes as young as possible!
The next week or two is time for me to do some other wiring jobs. I need to wire up the new speedo and get that working. I also need to replace the current fuse box as it’s in terrible shape.
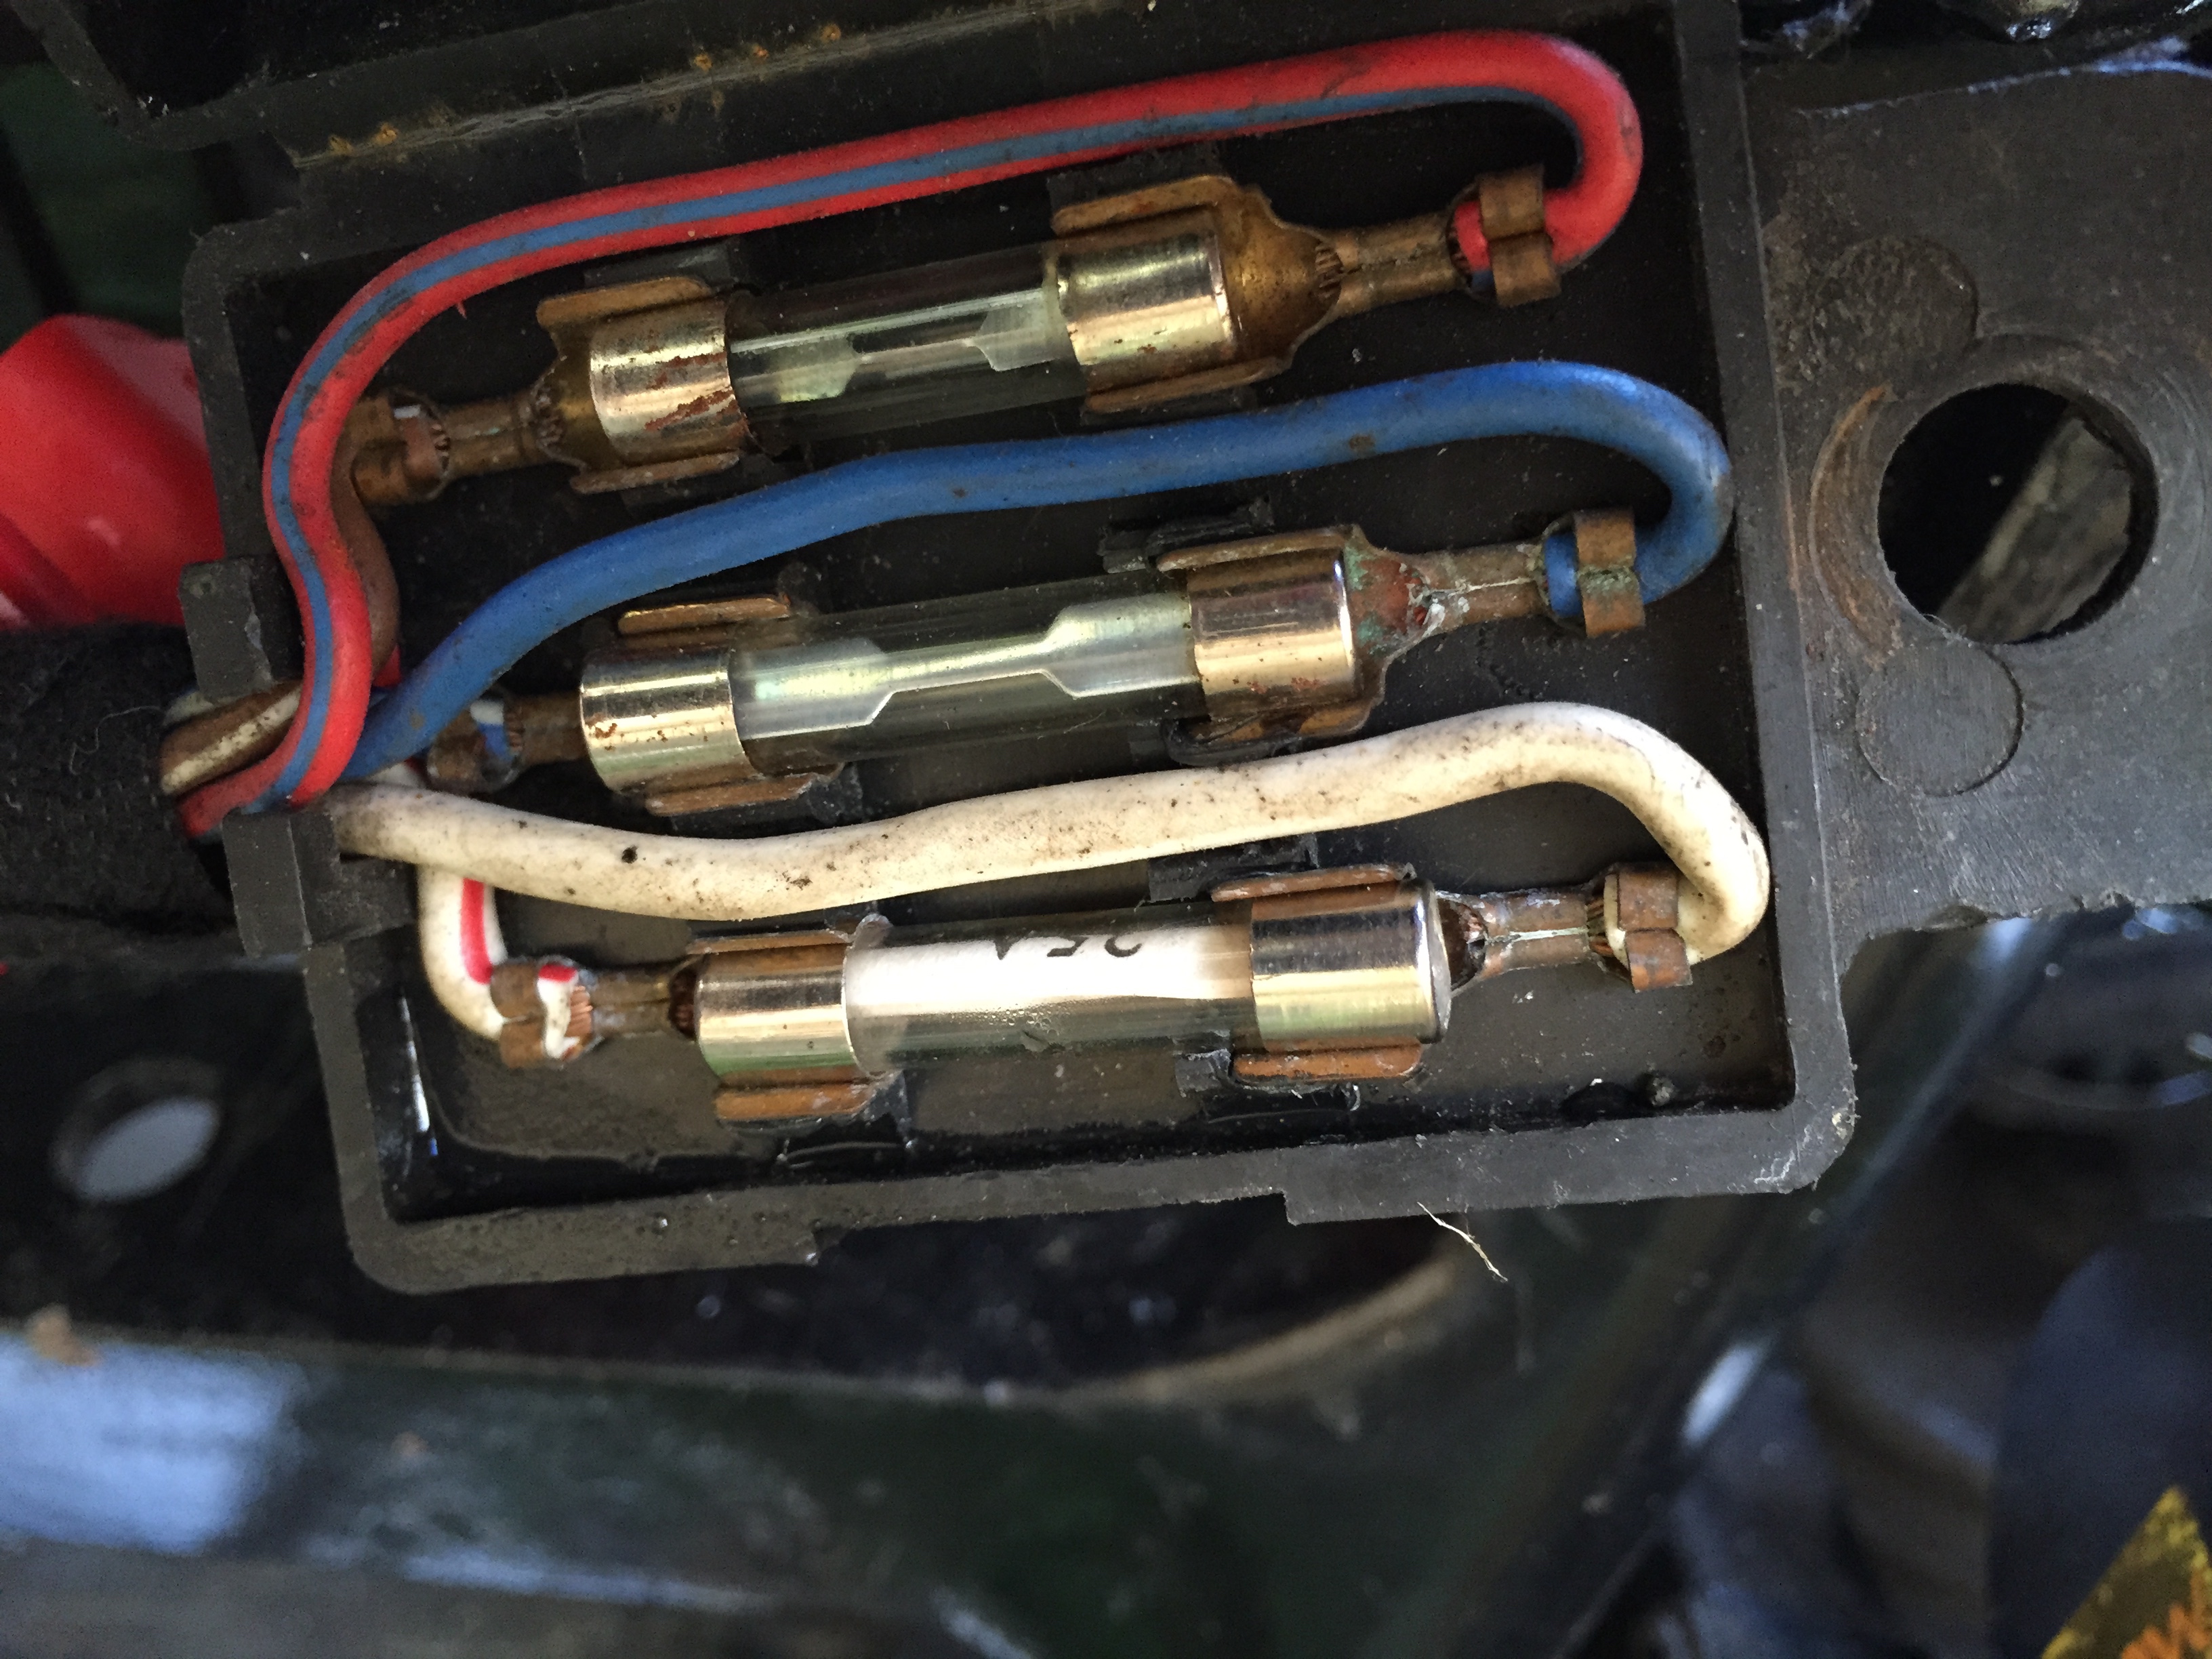
I’ve picked up this blade style fuse box to replace it with

That and the other wiring I’ve done will fix the headlamp issues I’ve been having. I’ve managed to fit a relay that fixes my led indicators which was one more job done.
Slow Progress
Well, I’ve not had a chance to do very much on the bike, as we’ve had a more important addition to the family

He’s taken a bit of focus away from the bike for some reason 😀
What I have been doing is fighting the mirrors wiring. The mirrors are supposed to be attached inside the bars, but they just don’t work very well. They come loose all the time. I tried various mirrors, but in the end realised the best method was to attach them around the bars and shift everything else inward. This leaves a hole in the bar end which I picked up some Hope Bar Doctors from the cycle shop. They were a nightmare to fit due to the bars, but I have one side in okish.

The other side will wait until I fit the new throttle.
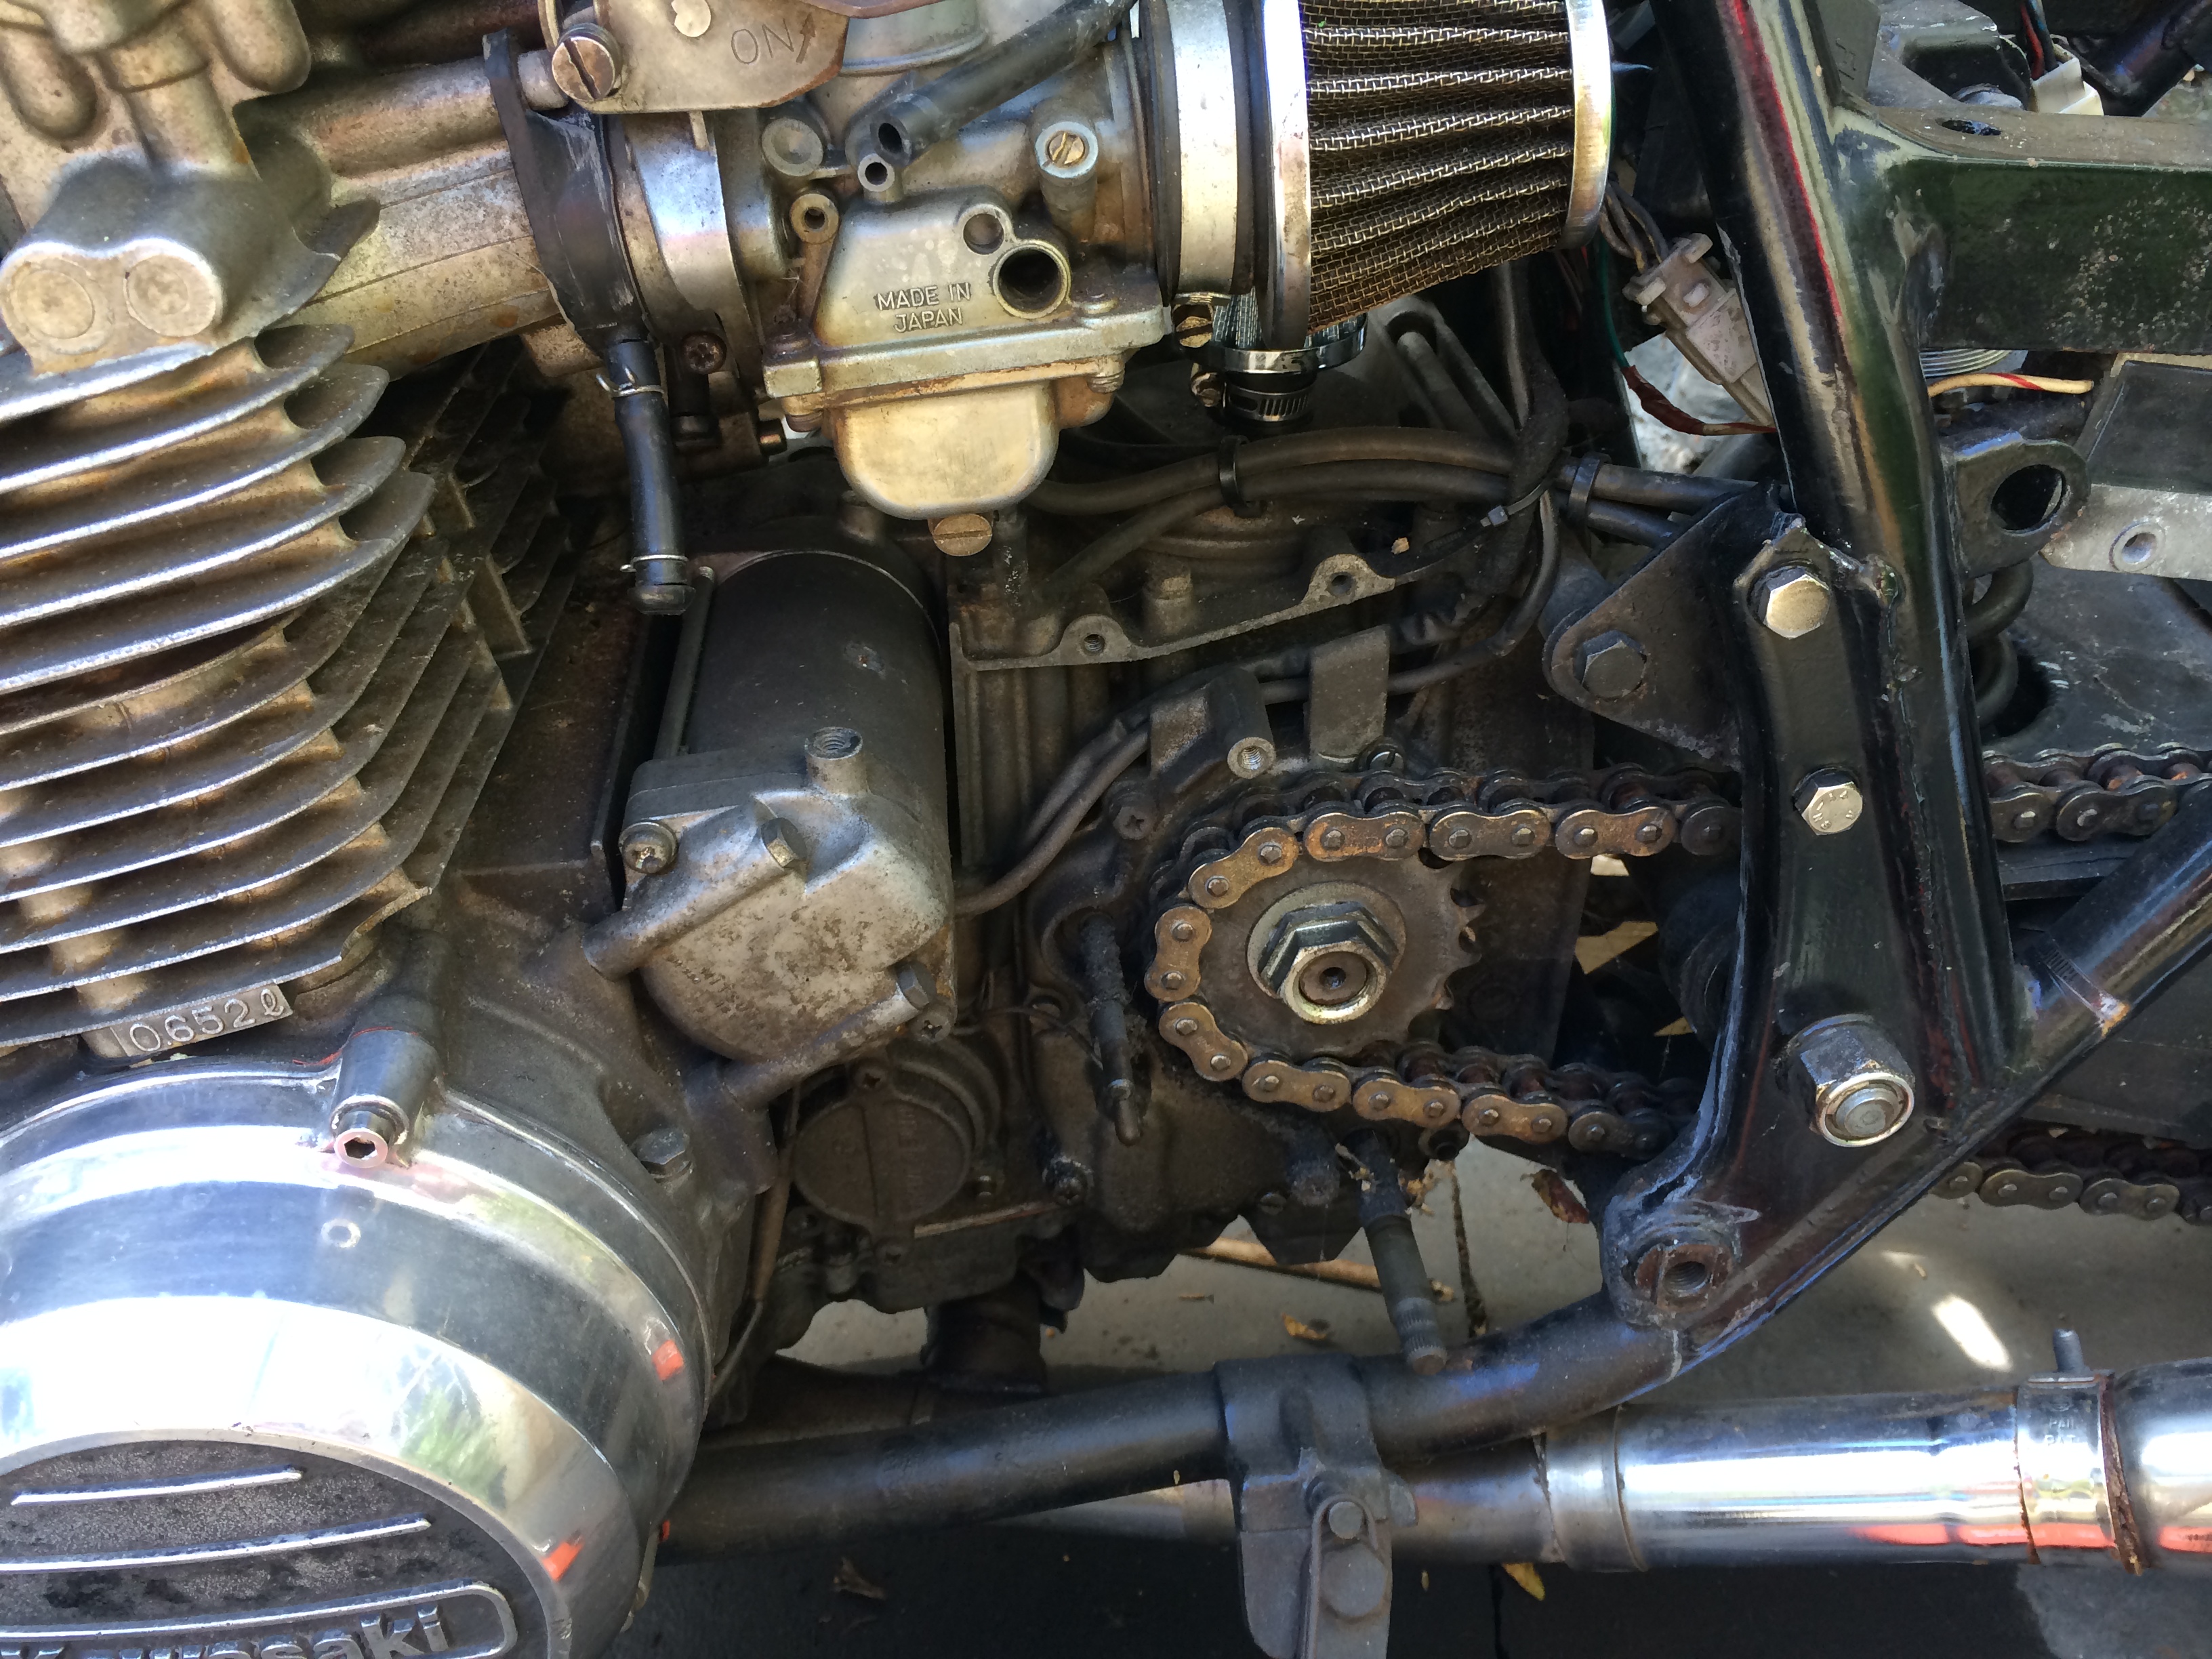
Next up I’ve been wanting to fit a replacement clutch cable as the original one was far too long and frankly dangerous. After reading a tip on here that the z1 was a good fit, I swapped them over. Getting the sprocket cover off was a little bit tricky, but I got it done in the end.
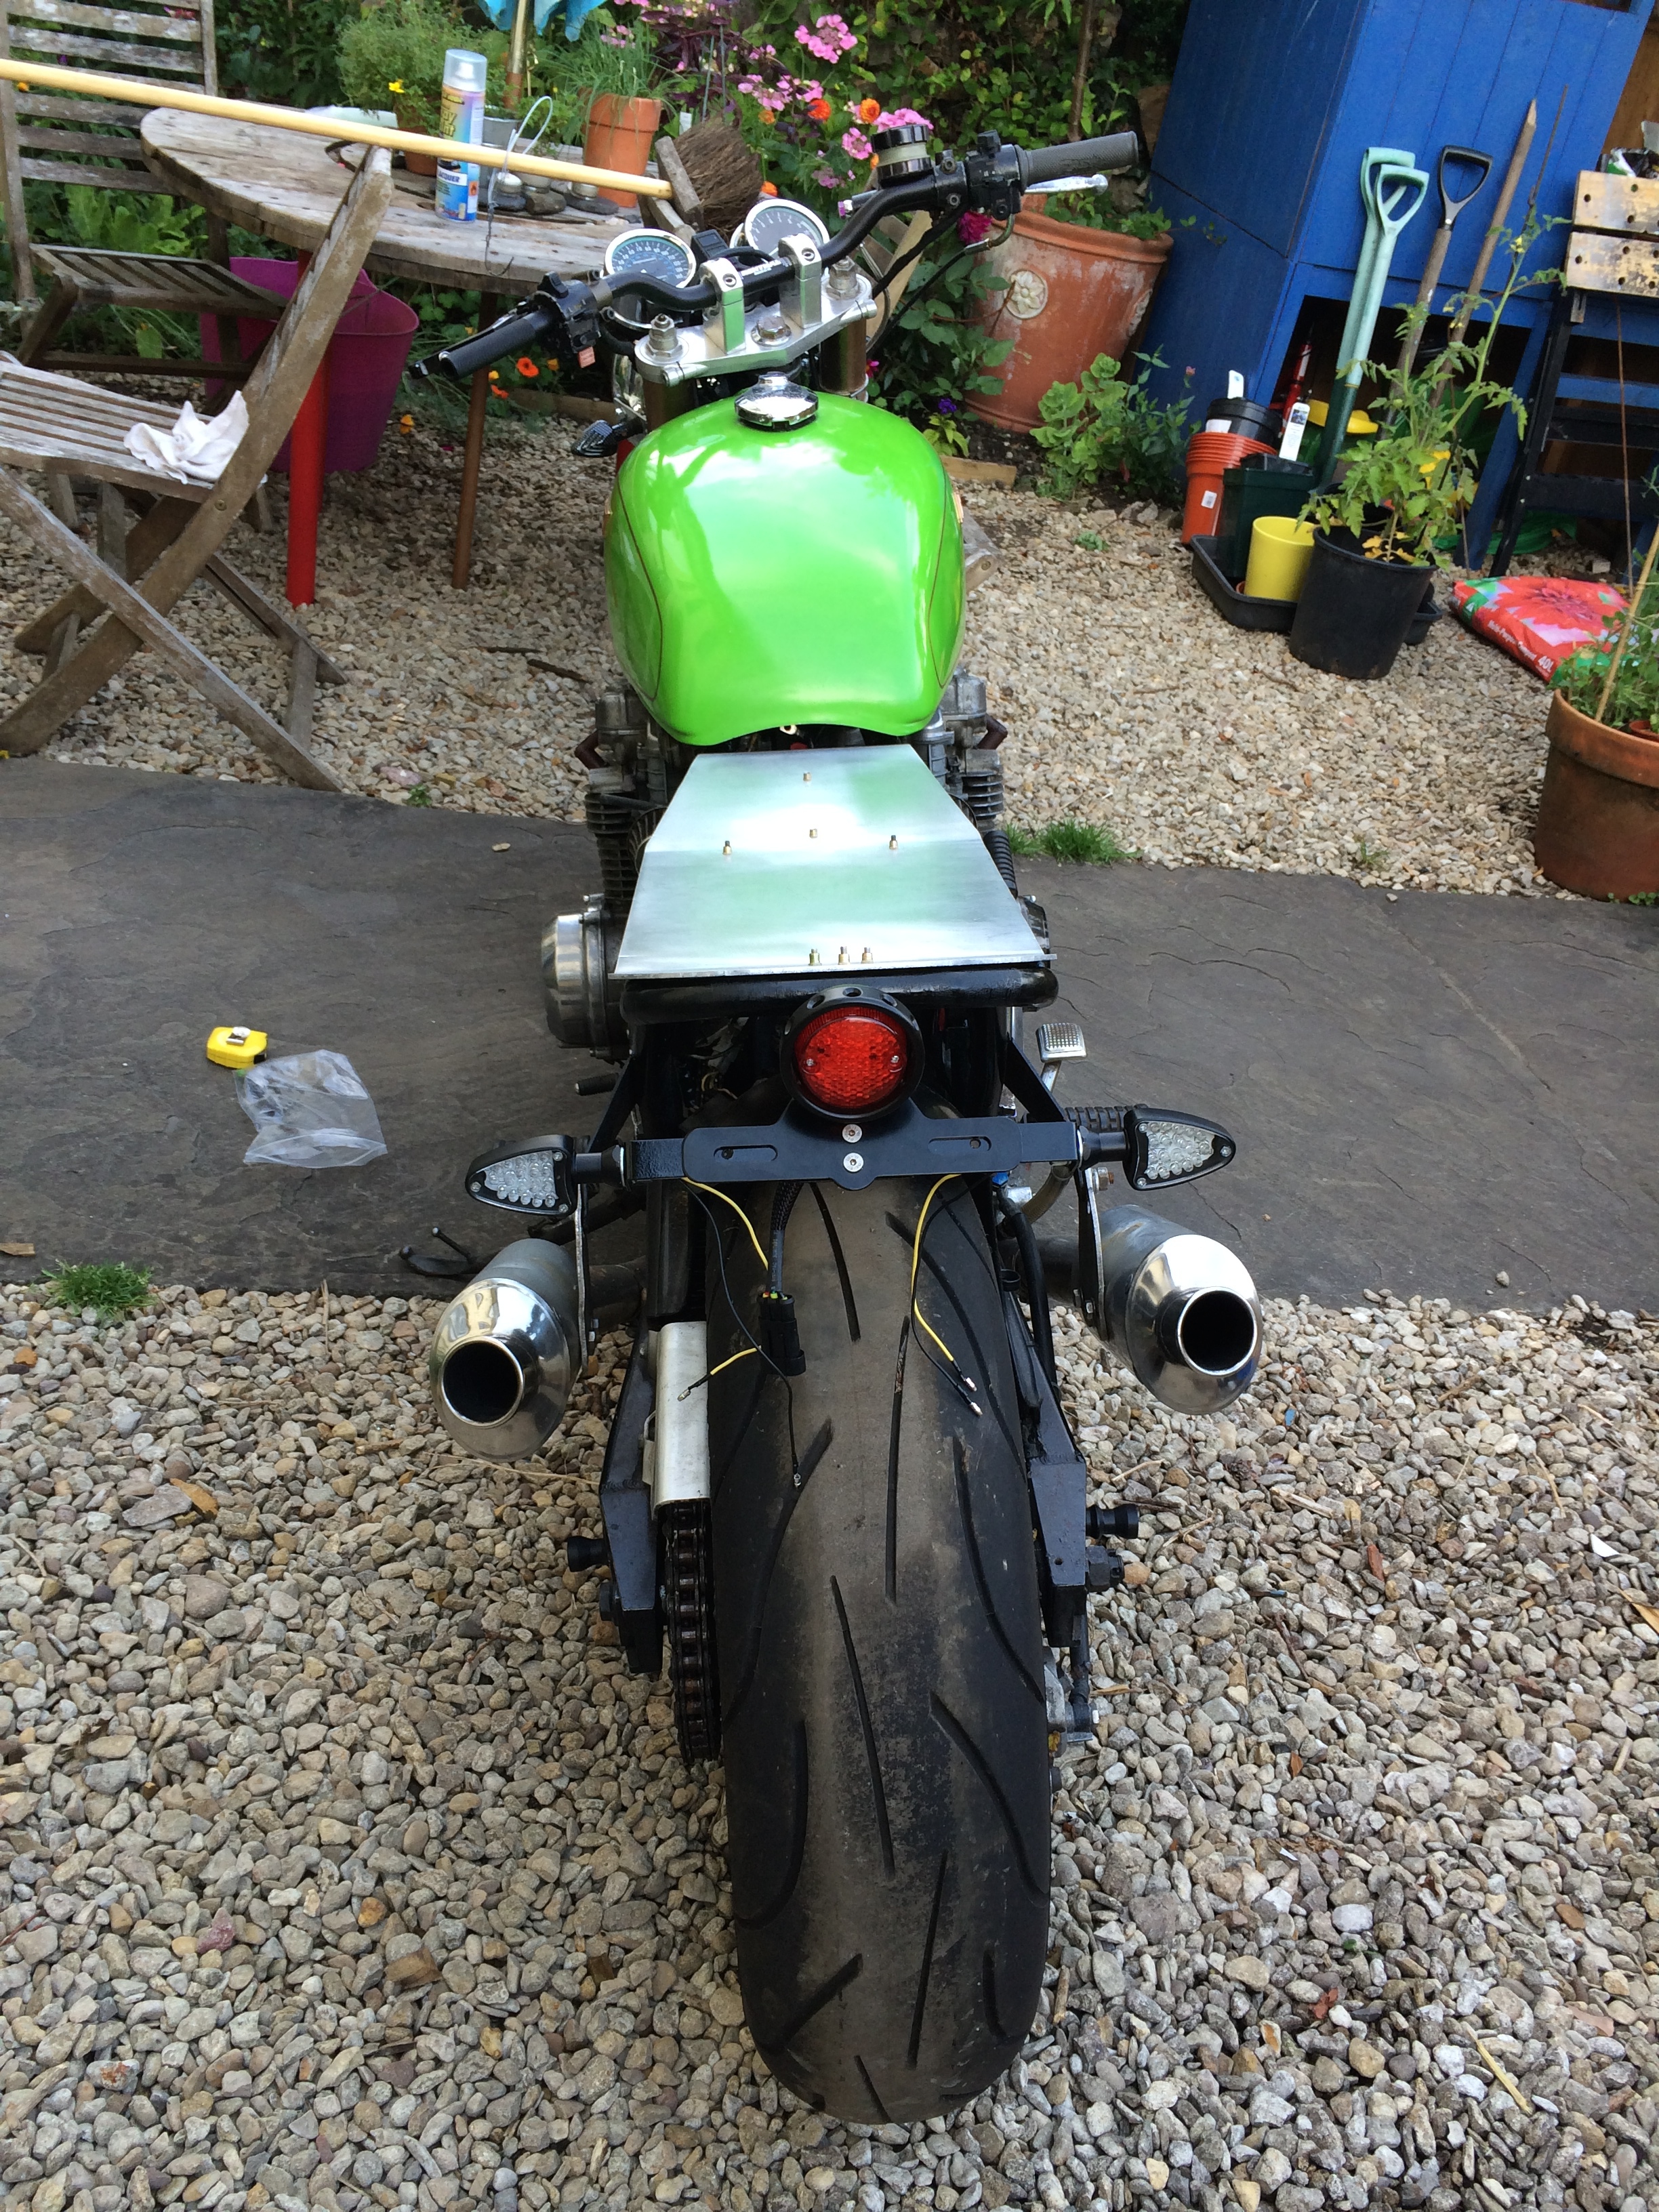
I’ve been wiring up the rear lights and indicators which I think I’m on the third different way of doing it now. I was going to use waterproof connectors, but these just end up looking messy. So I’m just going to solder and sheath them all instead.
Next target is to get the wiring done and tested, then to try to find a time with my wife and the baby so that I can finish my seat cover.
More seat action and painting.
Well, I’ve had an interesting couple of weeks, but I’ve made more progress on the bike. Not nearly as much as I hoped for but at least it’s moving forwards.
The indicators I ordered to go with the headlight brackets have arrived and I think they are going to look ace.

I’ve been making up a bracket for the rear lights and indicators along with the number plate. I’ve also after ordering four sets of indicators found some that didn’t look cheap and nasty. They are cnd’d and look good. I need to sort the wiring out for them though.


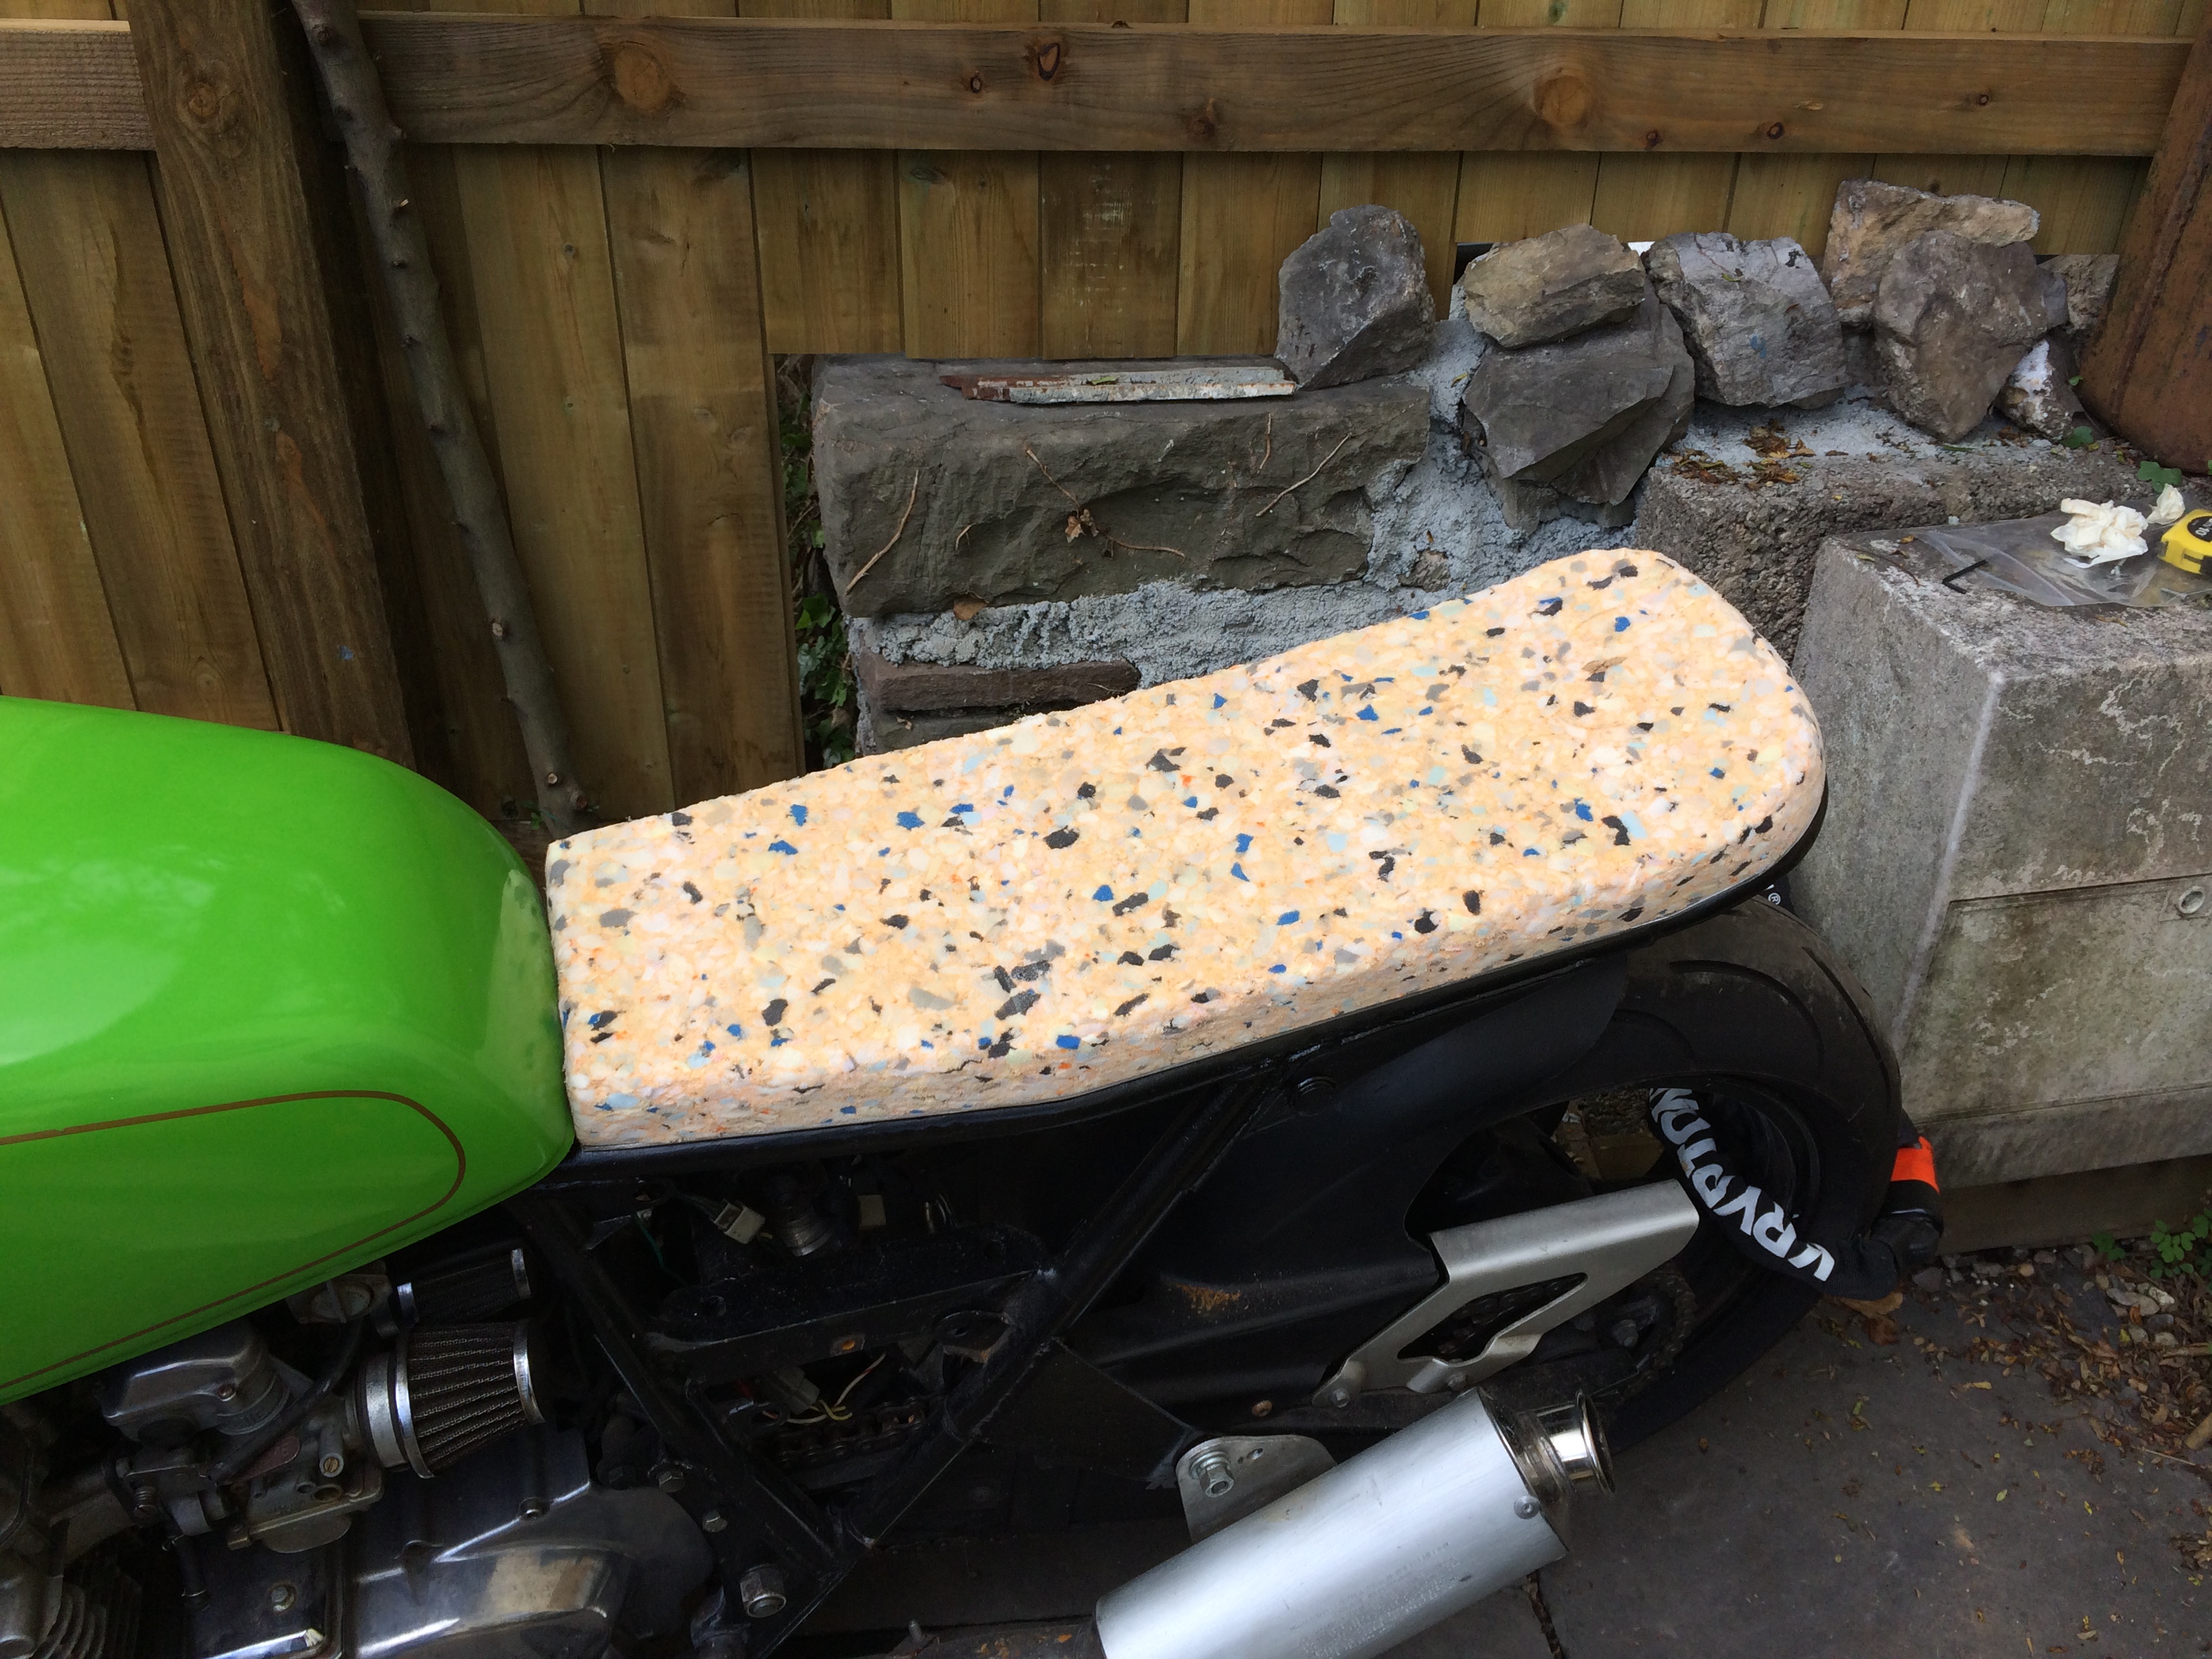
After this I have continued work on the seat. First order of business was to paint the seat base. It will be mostly be hidden from view, but I wanted to make it black like the other parts.

I then glued the seat foam into position using spray on contact adhesive. I used tape to hold the foam in place whilst it dried. I was worried that the glue wouldn’t work to well but it was great.

I then took an angle grinder with sanding disc to shape the foam. I thought this would be a nightmare, but it wasn’t too bad. I have quite chuffed with the results.


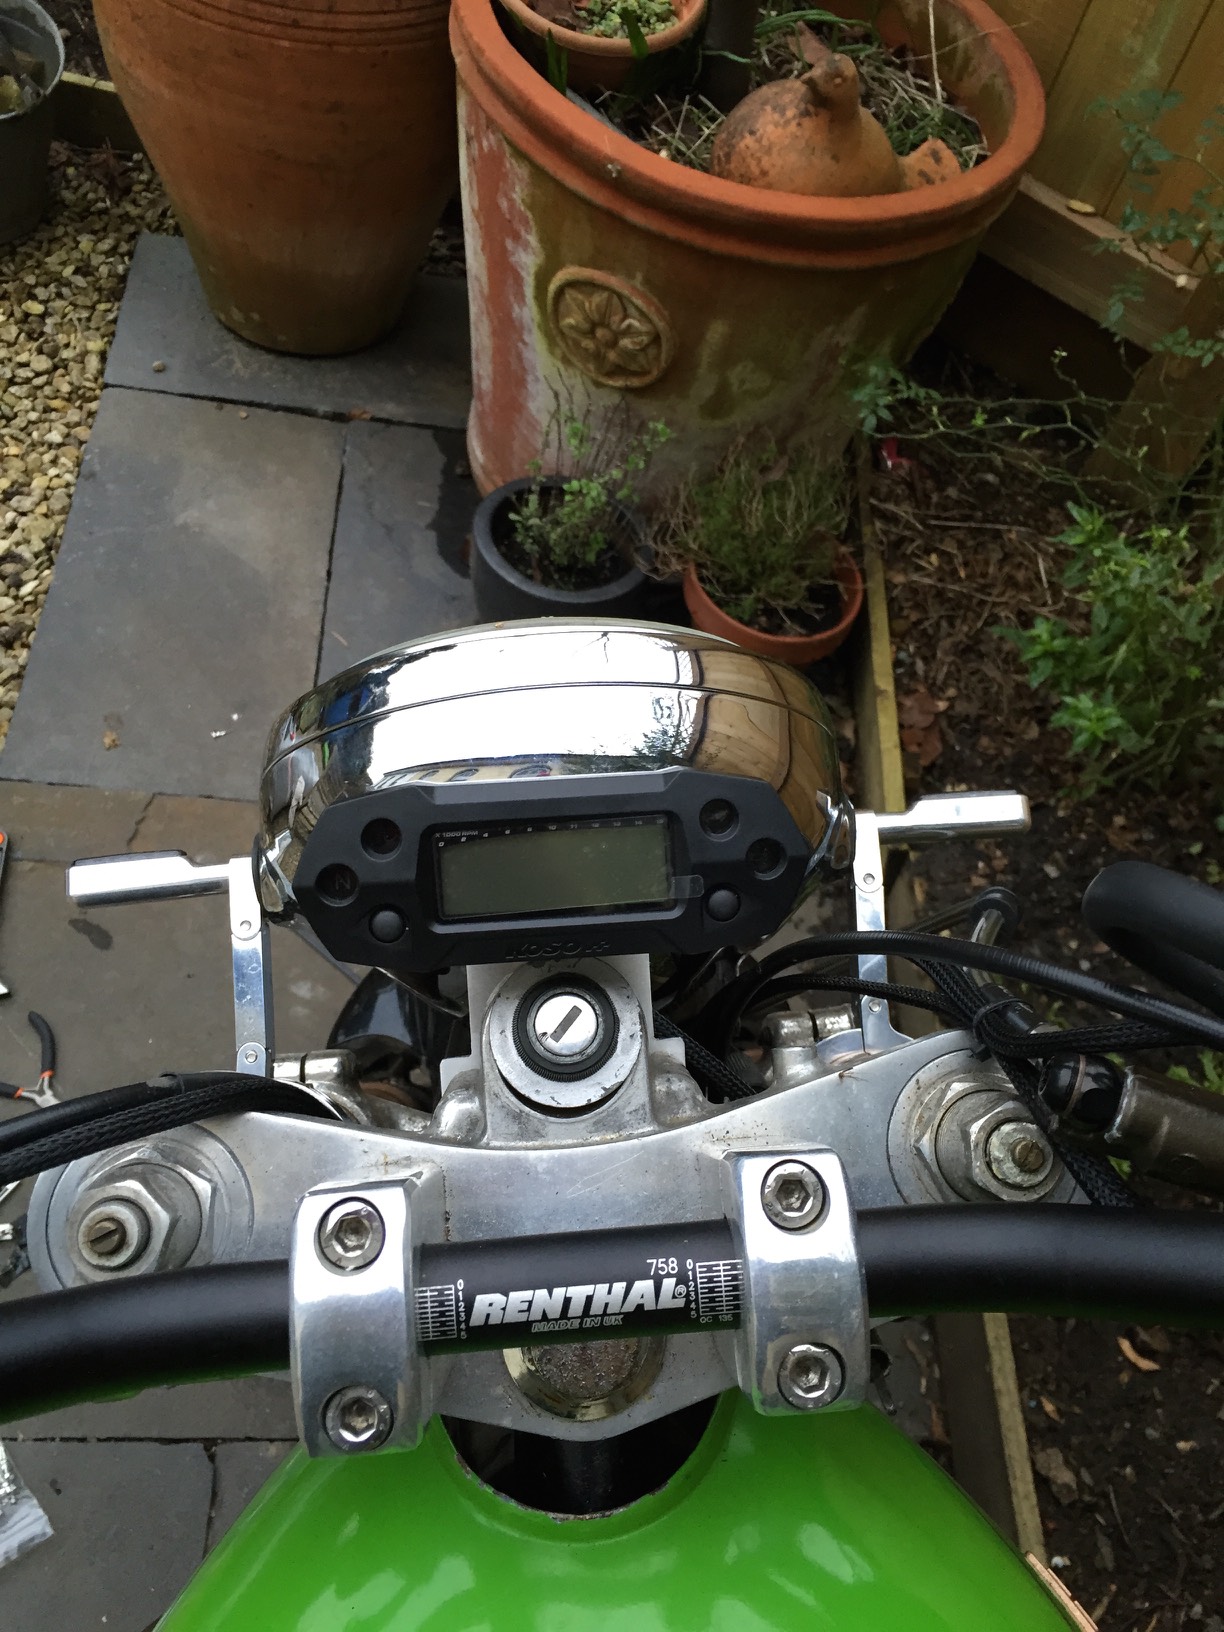
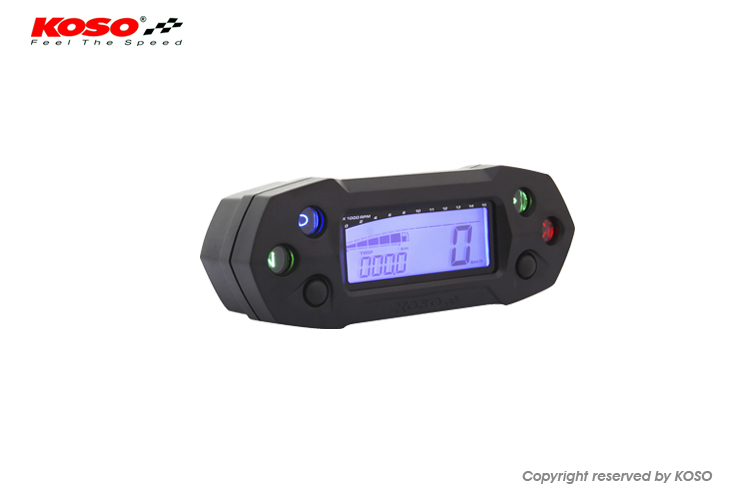
The other item I’ve been working on is getting a replacement set of gauges. As I would like to clean up the front a lot more. I was looking at Motogadget ones, but they are a little bit too expensive. Also the ones I liked didn’t have both a rev and speedometer. So in the end I went for a Koso DB-01R which ticked most of the boxes for me. Of being small, but having all the features.
It came with a mount to attached to the handlebars, but on my bars it isn’t going to work as you can probably tell from these pictures. Where the cable needs to go is right where the brackets are. So I will have to create some kind of mount so that I can attach it. I will wait until I remove the original gauges to decide where best to mount it.


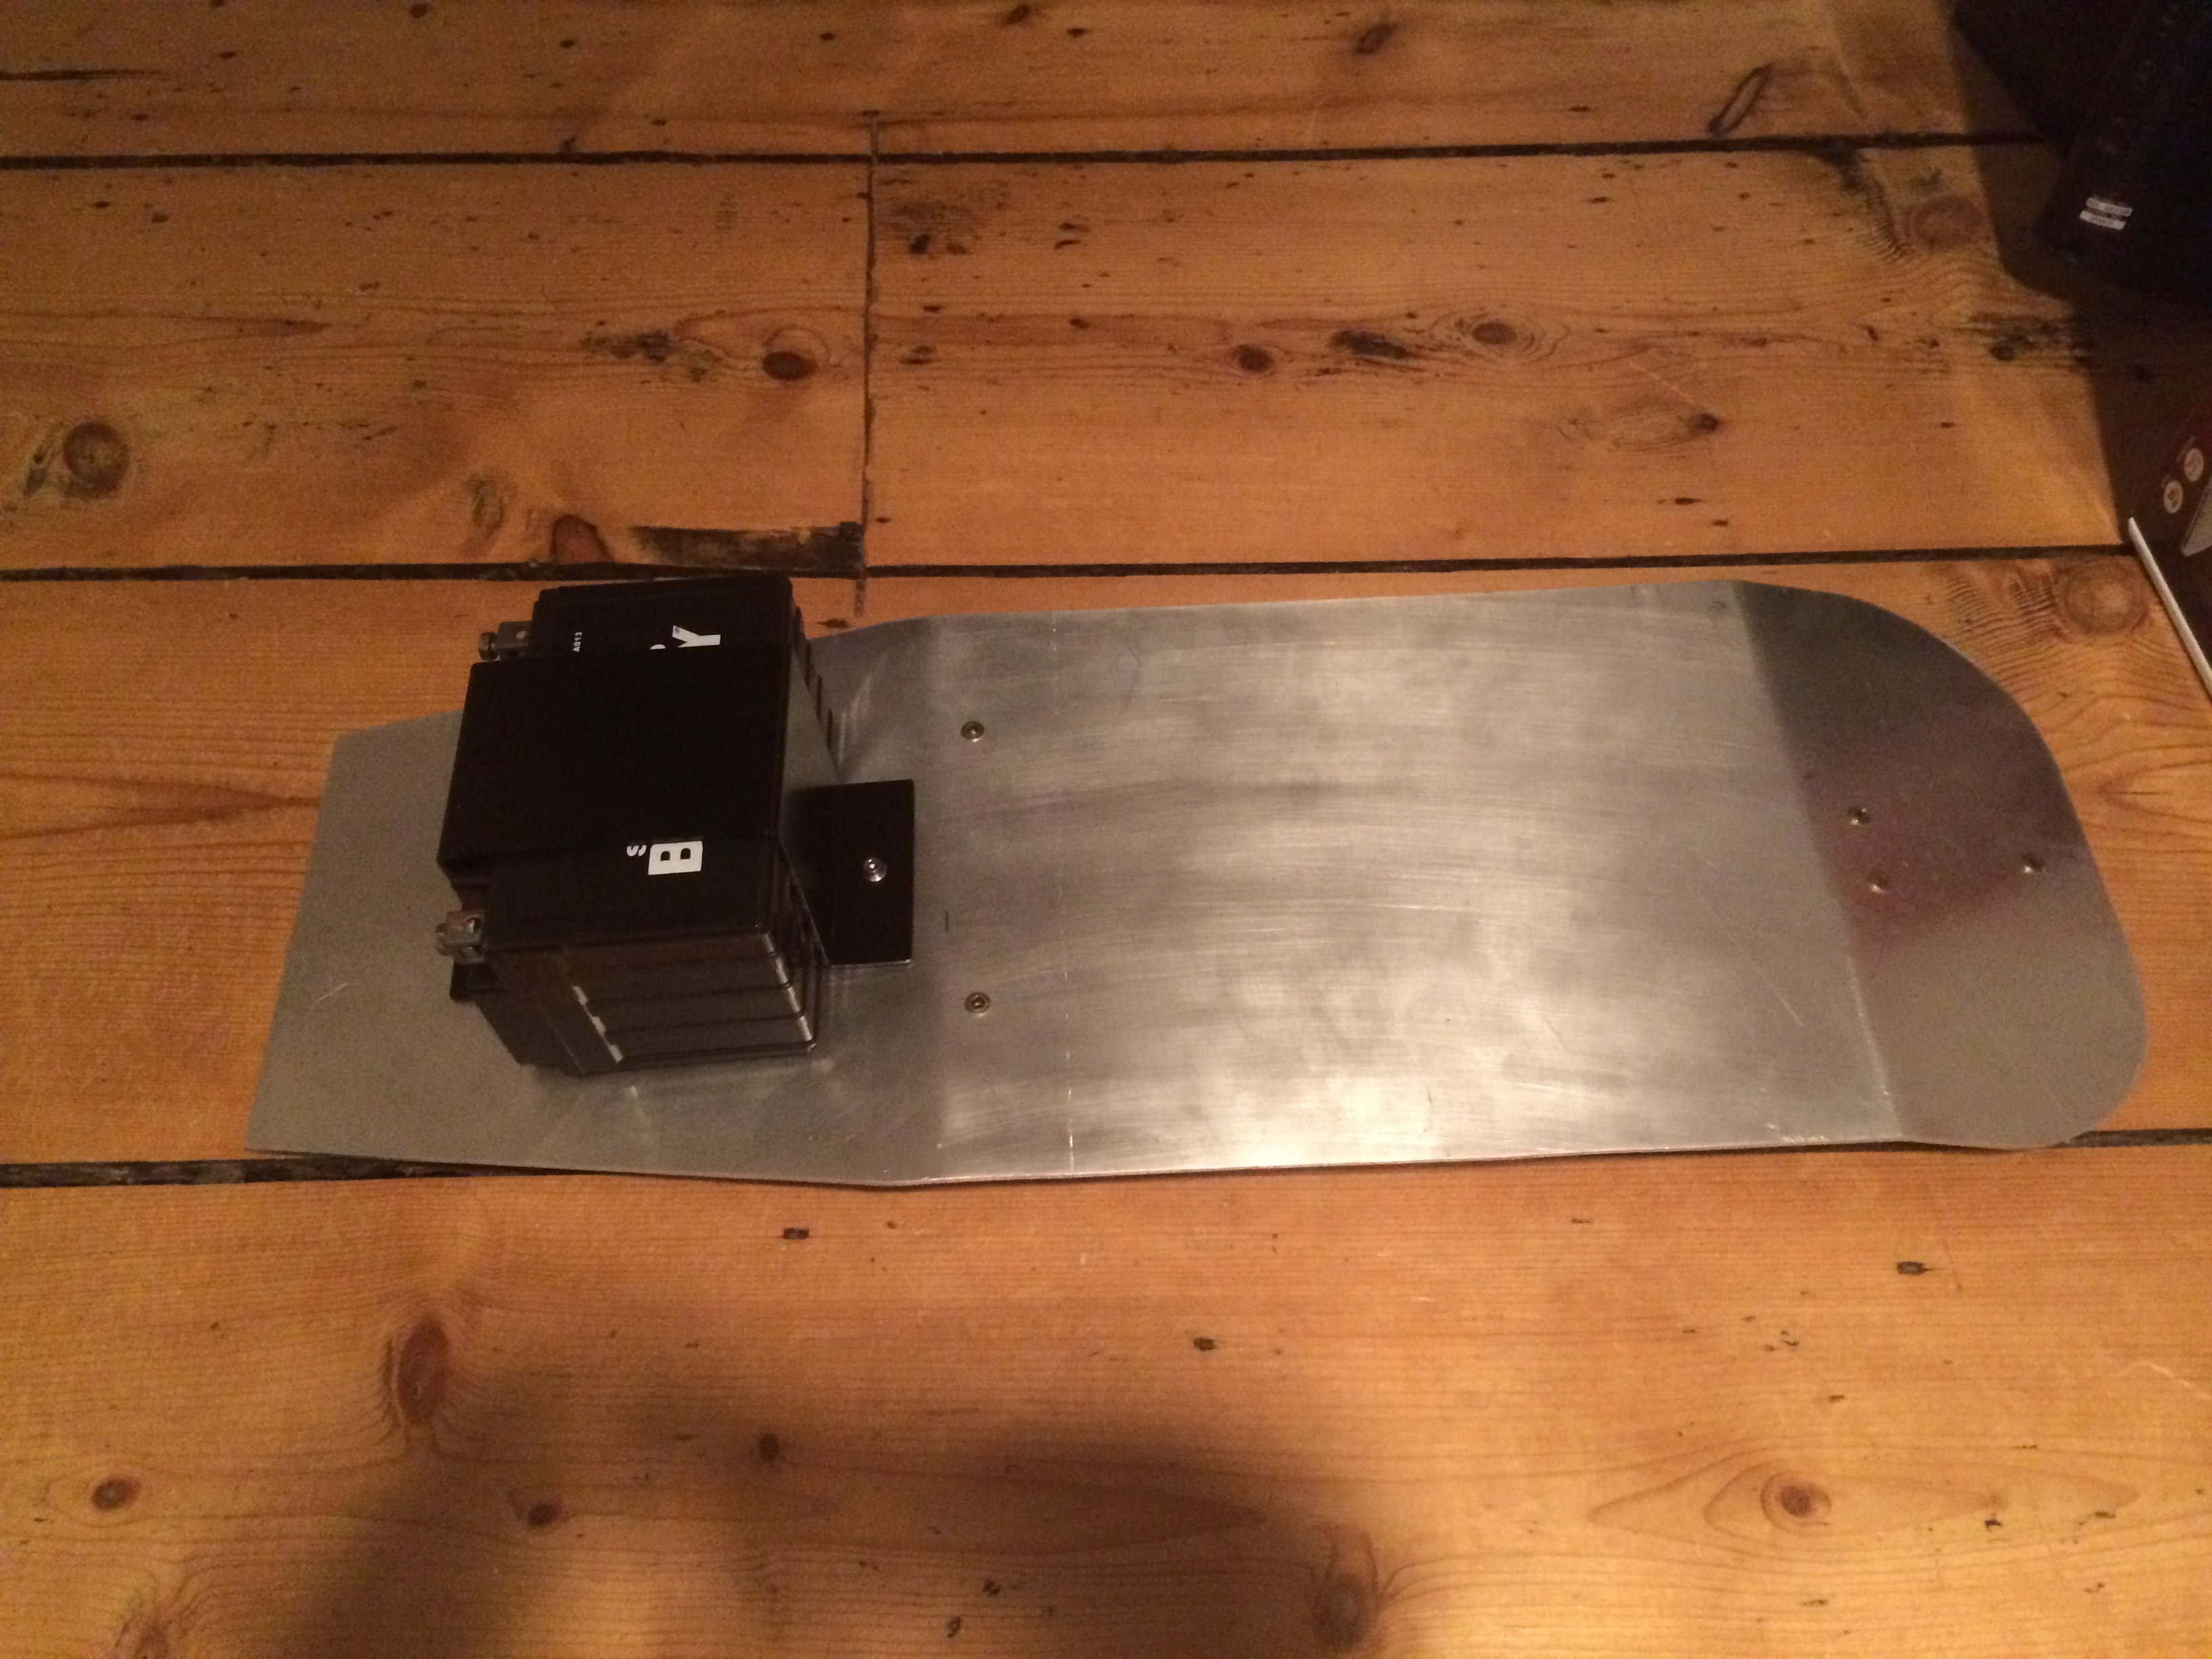
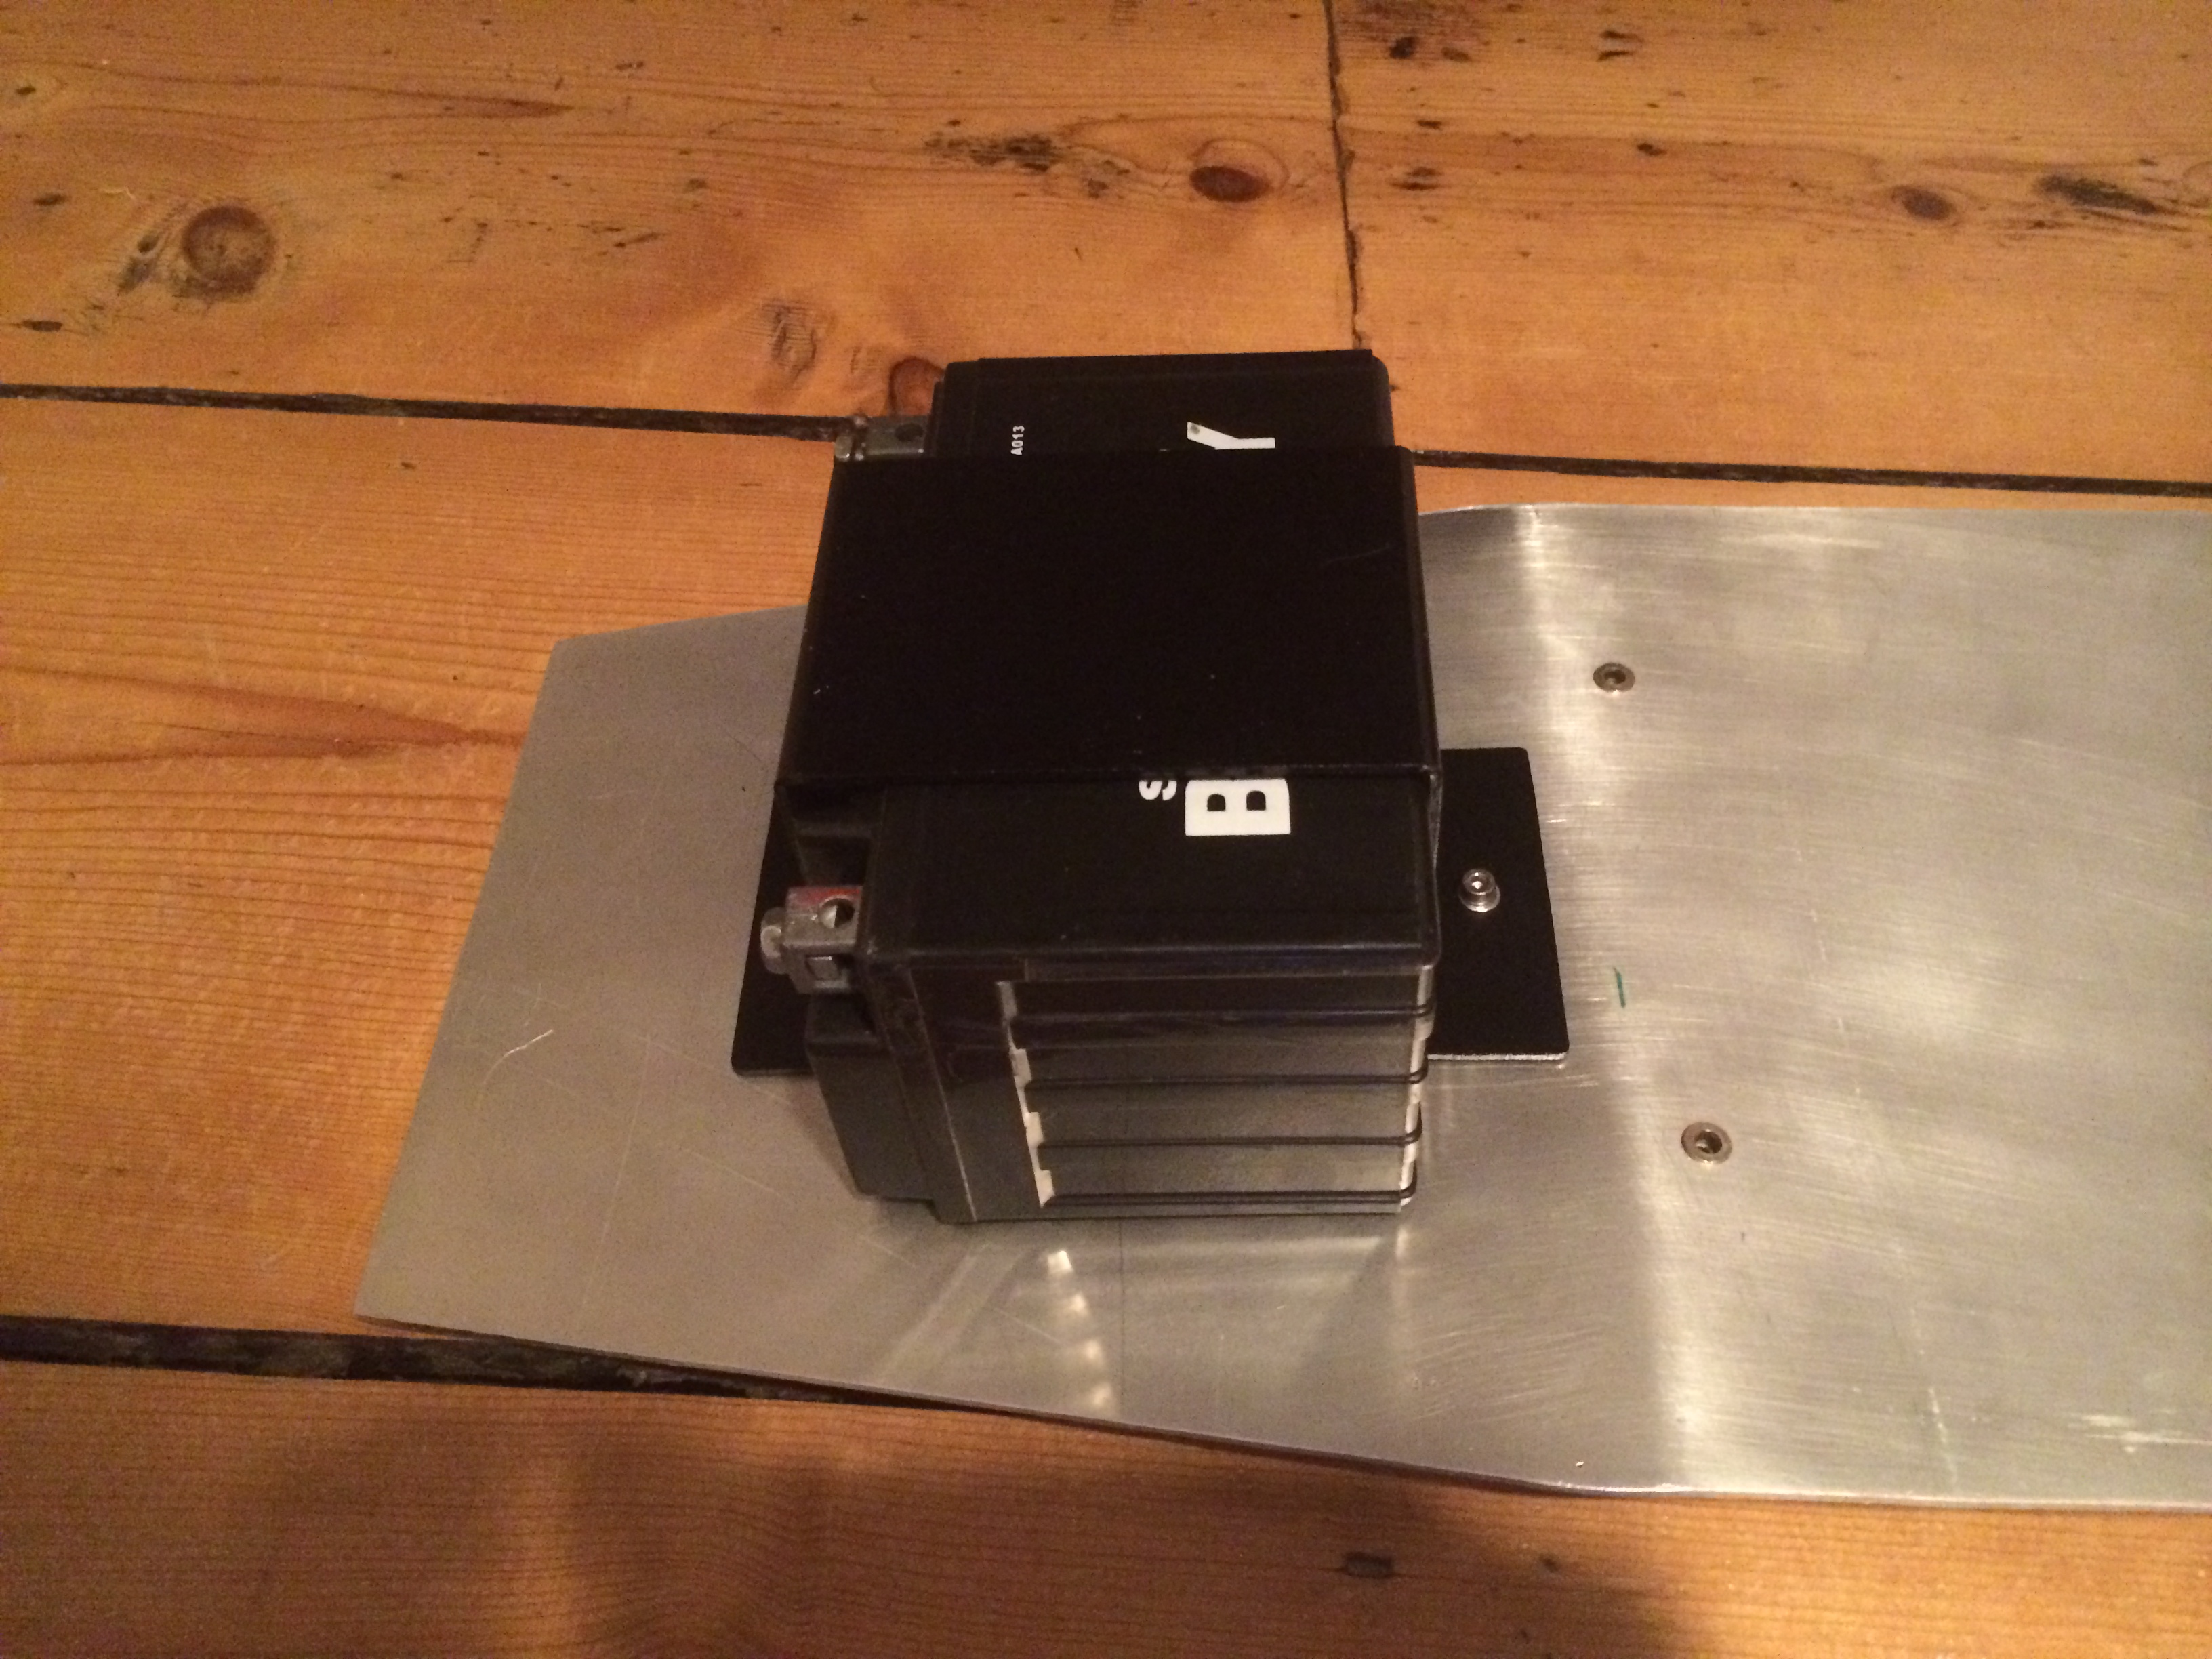
Another job that I have completed is the battery bracket. It is now painted black and has a rubber base to keep the battery
Kawasaki Purchase
Well it’s been a bit slow round here. I’ve got a few fun projects to add to the site over the next few weeks. First up though is my first motorbike. I bought it last week and I’m very pleased with it.
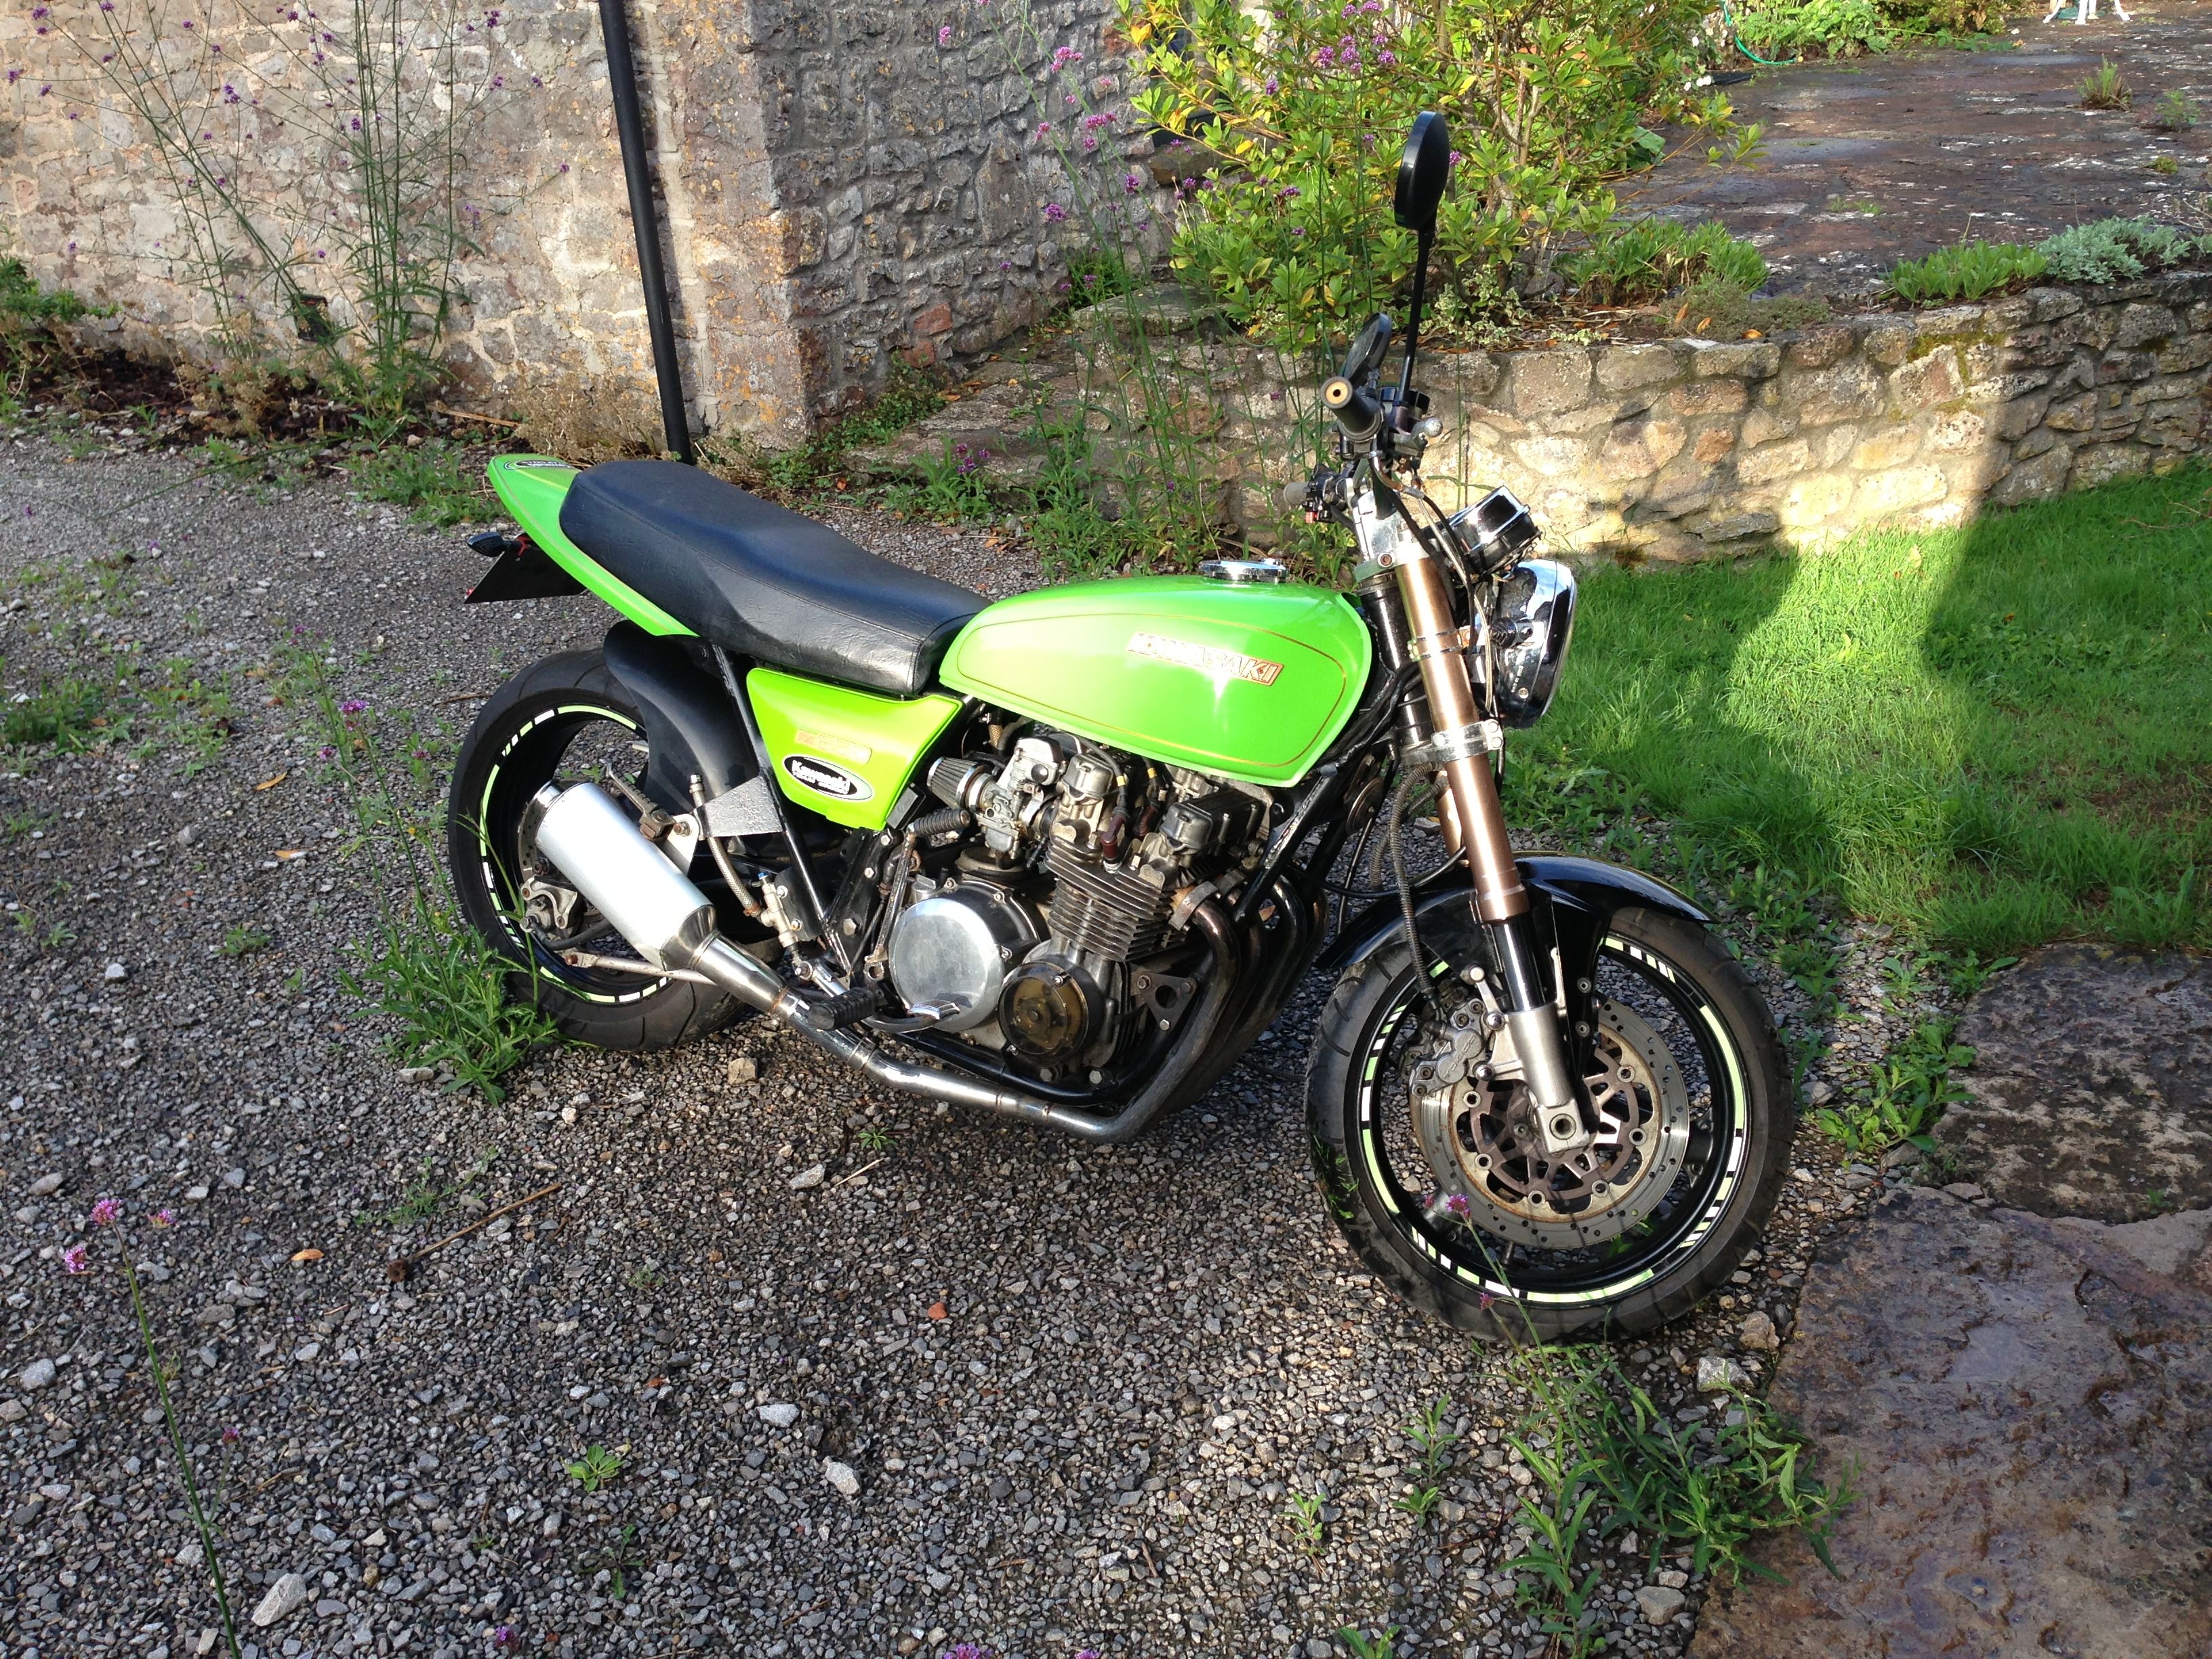
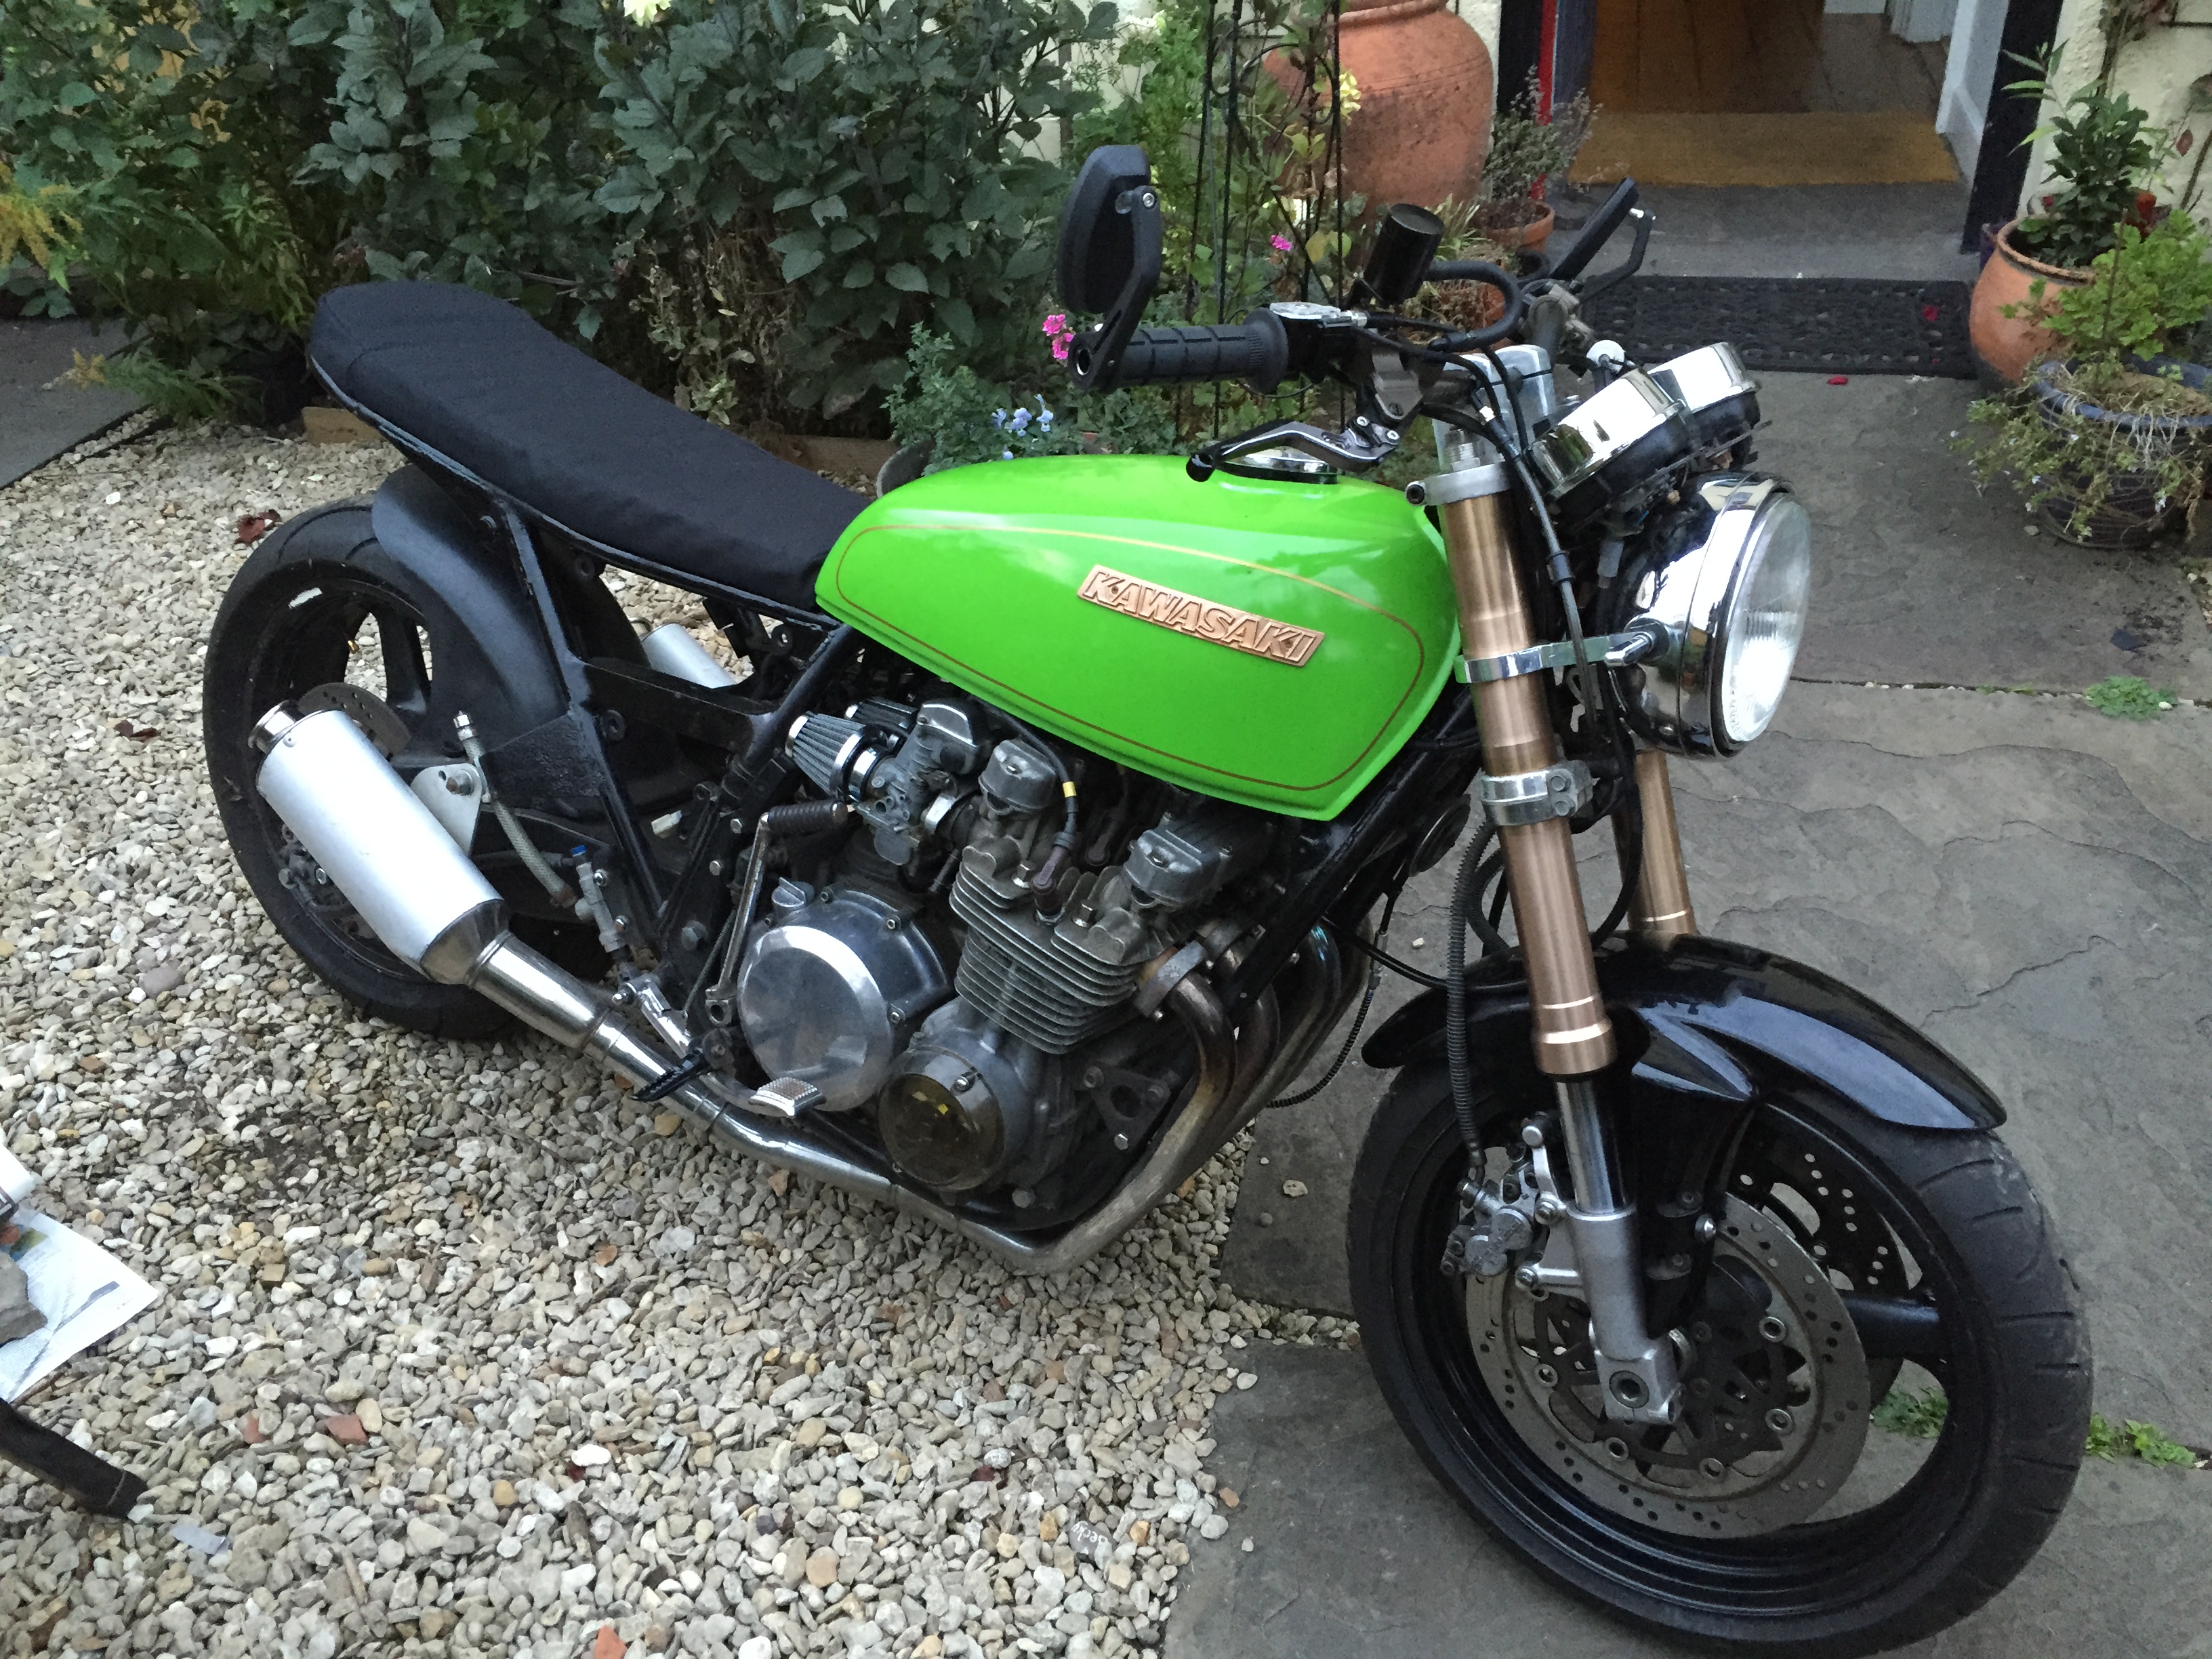
Kawasaki KZ650 Arrives
It’s a 1978 Kawasaki KZ650, though its far from standard. It’s had the front and rear of a ZXR400 added so has much better handling and braking. It’s also got Ducati monster exhausts for added sound.
I plan on modernising and simplifiying the bike, with the aim of making it more cafe racer styled and losing some of the bulk.
First off I’d like to clean up the bar area as it’s currently got lots on. I’ve a wish list of parts including the following

Motogadget M-Unit
This will clean up the tired wiring and make the whole thing much more simple.
Next will be a new speedo

Motoscope Mini
This is a tiny digital speedo, that will clean up the bars.

M-Switch
I think with these dream items I can clear the bars up a ton and clean up the current wiring a fair bit.
