


Project Silicon Page 1
Project Summary:
Inspired by Mashies conversion of a Silicon Graphics O2 case I sourced a similar case for a project of my own. These are very cool little cases but its a tight squeeze to fit a MATX sized motherboard inside. There have been three different versions of this project as I wasn’t happy with the first two. After nearly two years in the making its now finished. The specs of the final system is a Pentium IV 2.26ghz cpu, 512mb of Corsair Ram, 160GB Seagate HDD, Sony DVD writer and a Sapphire 9600XT Ultimate.
Previous Page | Next Page
Project Silicon: Version Number 1
2003-11-10
Well now that Project Bad Apple is complete its time to start working on my next project.
I was disappointed that the apple case was a bit too big for me as I’ve got used to having a small shuttle sized pooter, so I wanted my next project to be something smaller but still have a good sized mobo.
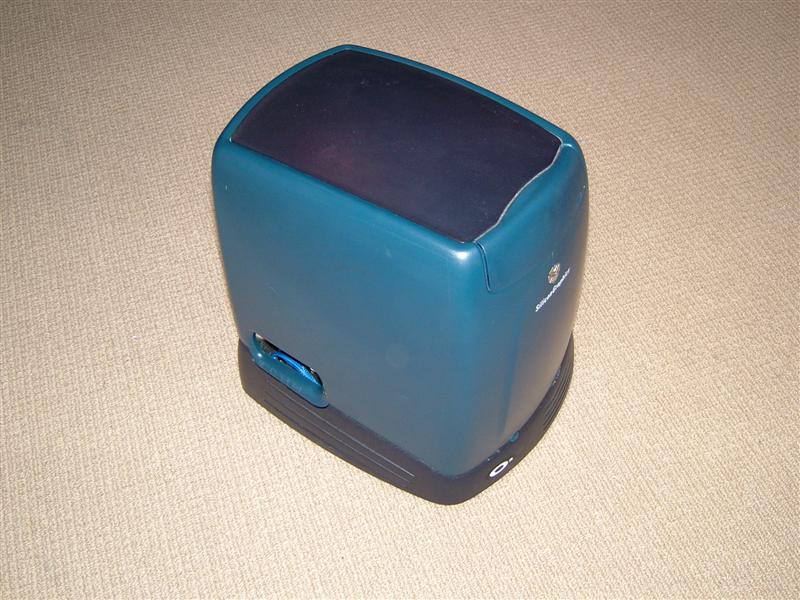
I remembered mashie’s entry to this years CPL Project Oenone and had a look at the size and it was perfect. I managed to source a Silicon Graphics O2 via ebay but not through it. It cost £122 with scsi cdrom and psu both of which will be ditched obviously. ( Project Oenone : www.mashie.org )
Clearly this isn’t the first time some1 has done this mod and I have to give big credit to mashie for the idea in the first place. I will be trying my hardest to make it different where possible. I have a long term idea that would be very different but cost could be very preventative.
I only got the case this morning and here it is:

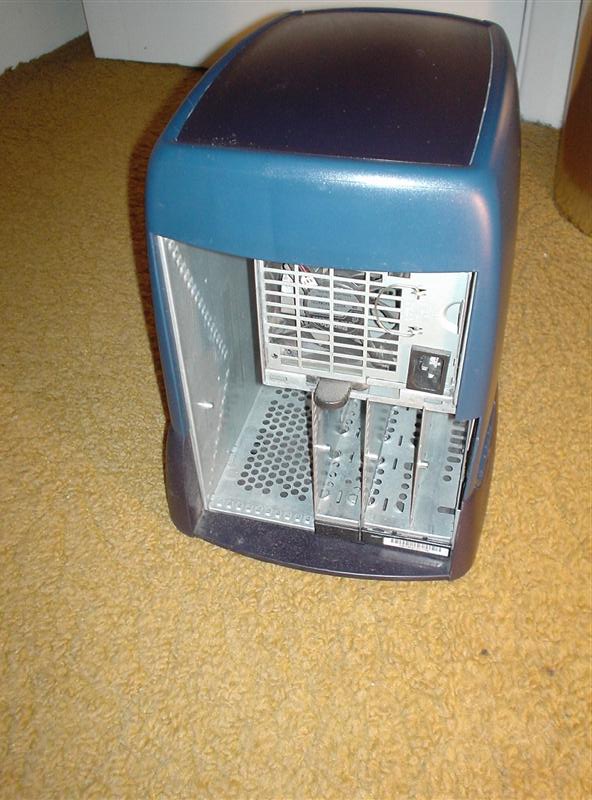
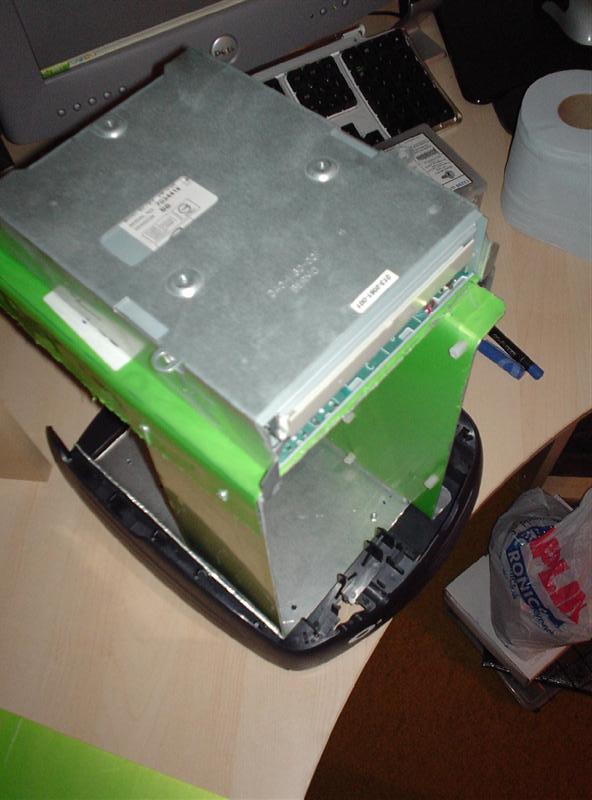
I then set about taking it apart it took some time to work out how exactly to do this but I got there in the end.
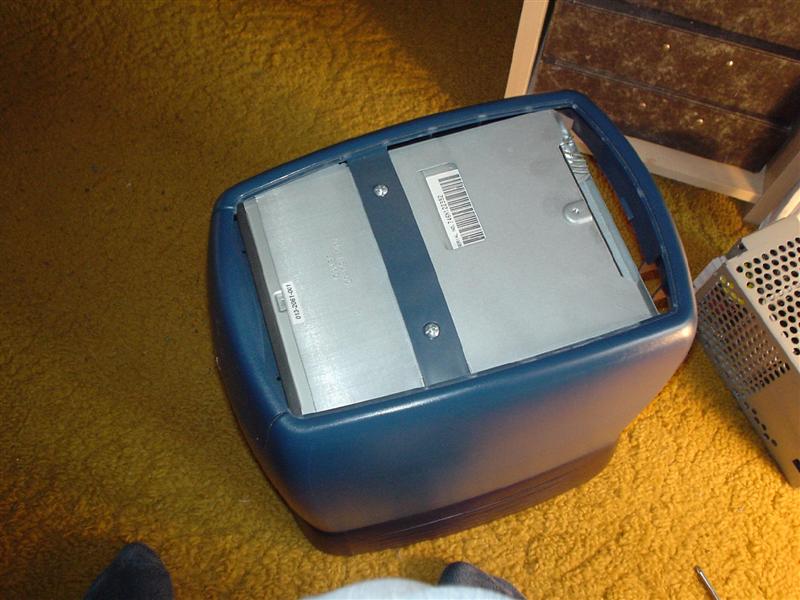


First thing to do now was to give it a blooming good scrub so I took the plastic parts into the bathroom to clean the dust off.
Before:

After:

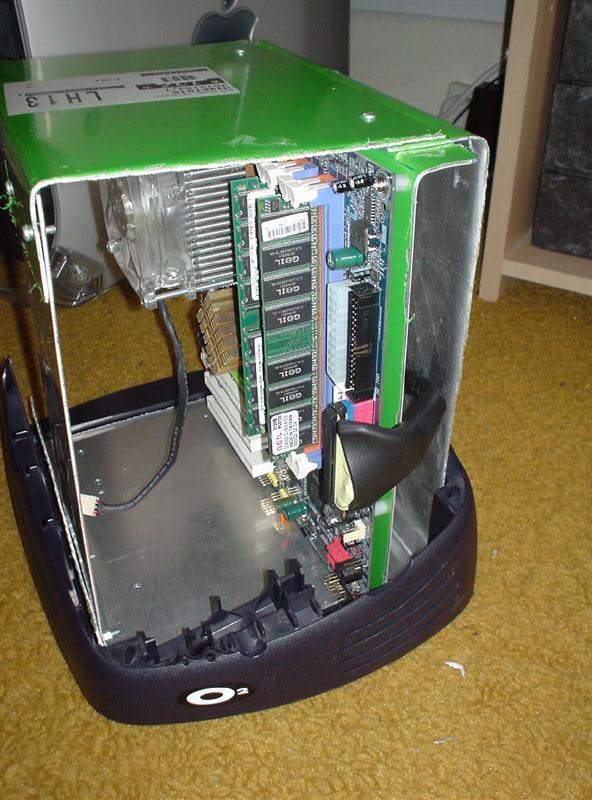
This is going to be a very tight fit to get the board and everything in place eeek.
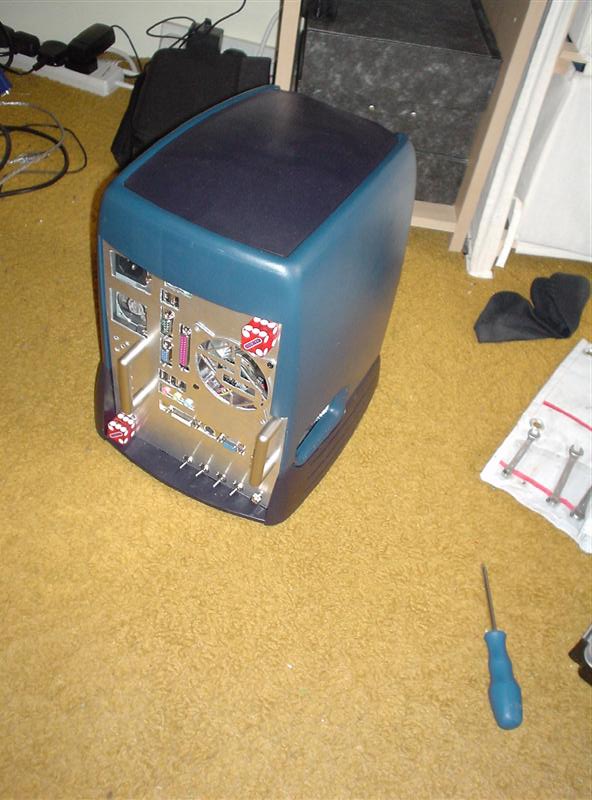
And finally here is a shot with project bad apple in the background to give u and idea of the scale.

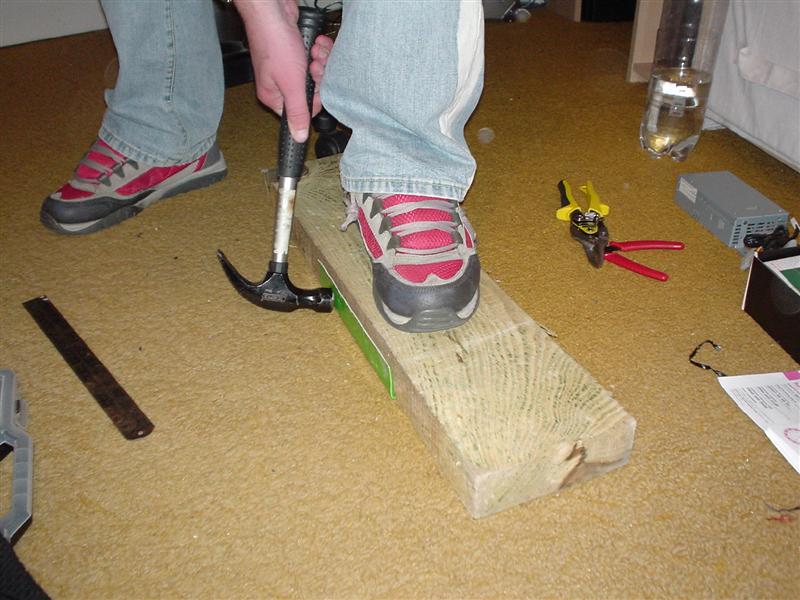
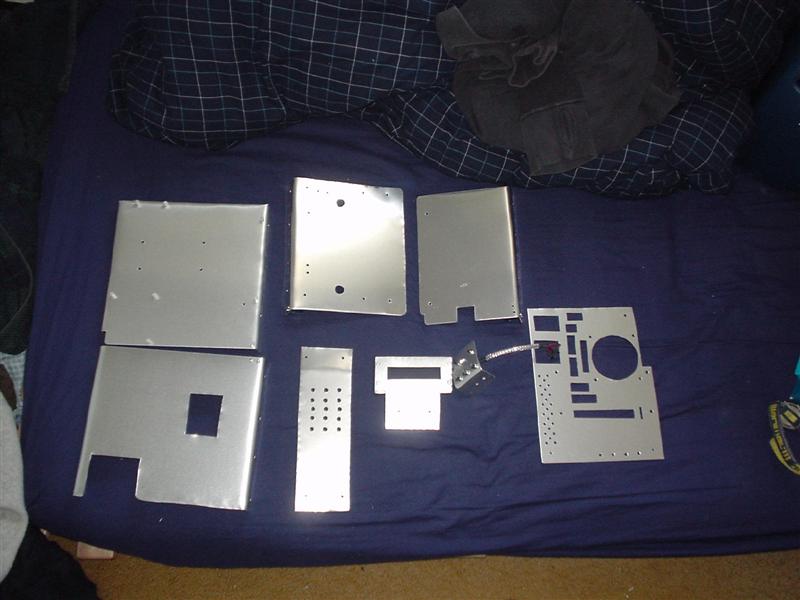
This project went through many different variations the first one used rough aluminium bends to create the inner chassis. The psu and hdd drive were mounted in a section behind the motherboard.


All the cabling was sleeved using chrome/silver braiding, and I intended on using a matrix orbital mx2 lcd, this would require me to split the lcd into its two sections. Unfortunately when doing this I killed the lcd sniff. I used some custom made fan grills made by kong on bit-tech.net and with the bit-tech logo.


By the end there was quite a few sections of aluminium that made up the chassis. I made some special thumb scews to hold the back panel in place. A guide to making them can be found on the modding page.


And the finished article for this variation is shown below.

Previous Page | Next Page
